Now that we are almost into December, I have launched myself into Christmas crafting with a felt bird Christmas decoration.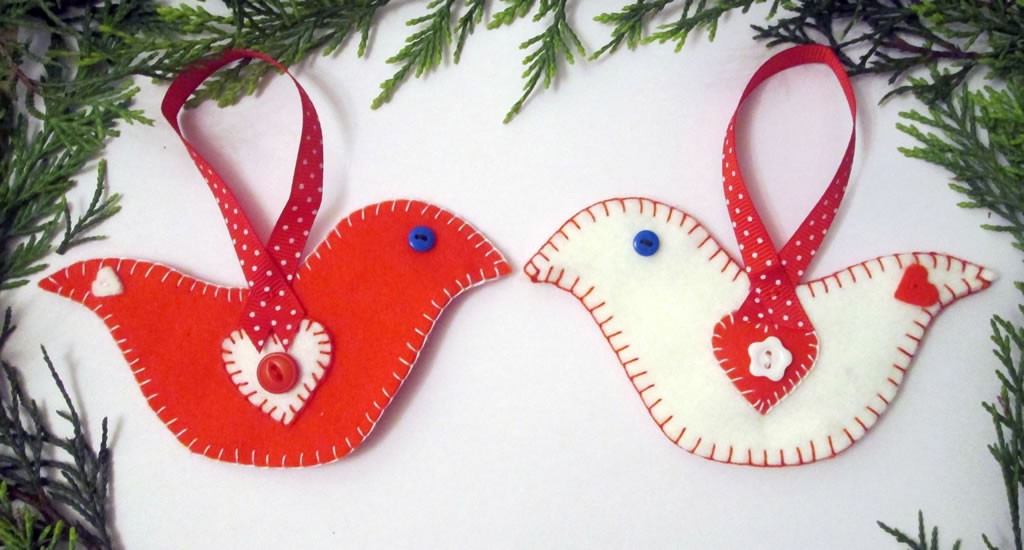
The problem I find with Christmas crafting is that the kind of thing you can make is more limited than the rest of the year. It’s fun to make things at Christmas, but how to make something that is different to what you have made in previous years so that you don’t just end up with more of the same?
Some Scandinavian fabric bought recently provided me with the inspiration I needed! This felt bird is easy to make and doesn’t require a sewing machine.
If you would like to buy a kit to make these birds, either for yourself or for someone else, you can get one here.
How To Make a Felt Bird Decoration
I’ve included links to Hobbycraft for the stuff you need, in case you don’t have the stuff already and, like me, you prefer to shop without leaving the house! They are affiliate links.
You Will Need: red felt and white felt, bird template, buttons (2 each of 2 styles unless you don’t mind the sides not matching), embroidery thread in red and white, needle, a small amount of polyester filling (optional), ribbon.
The templates for this are available here as part of the Christmas bundle.
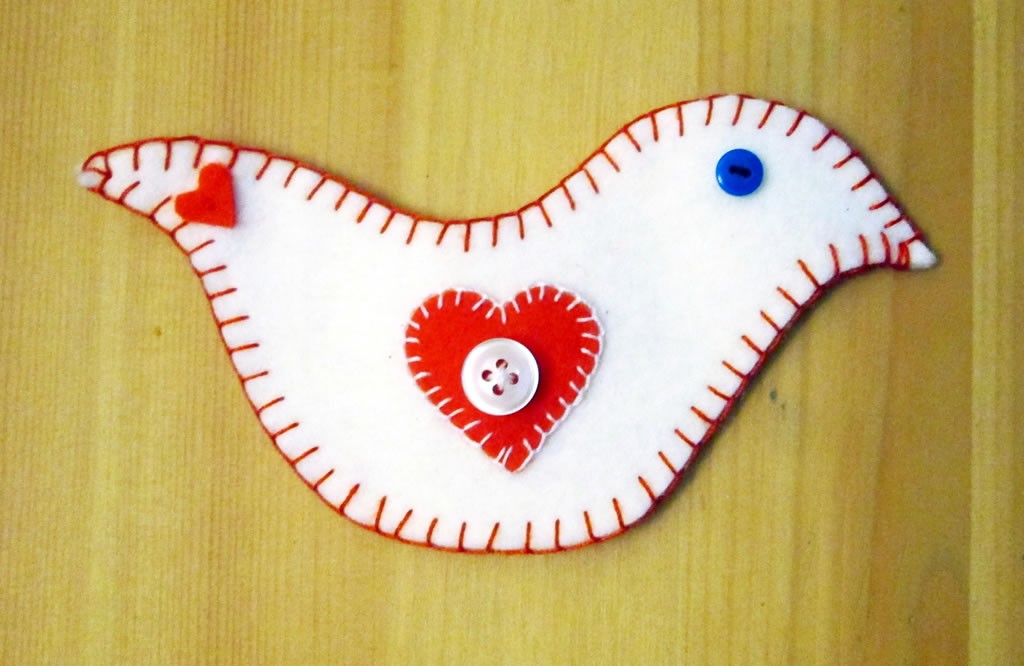
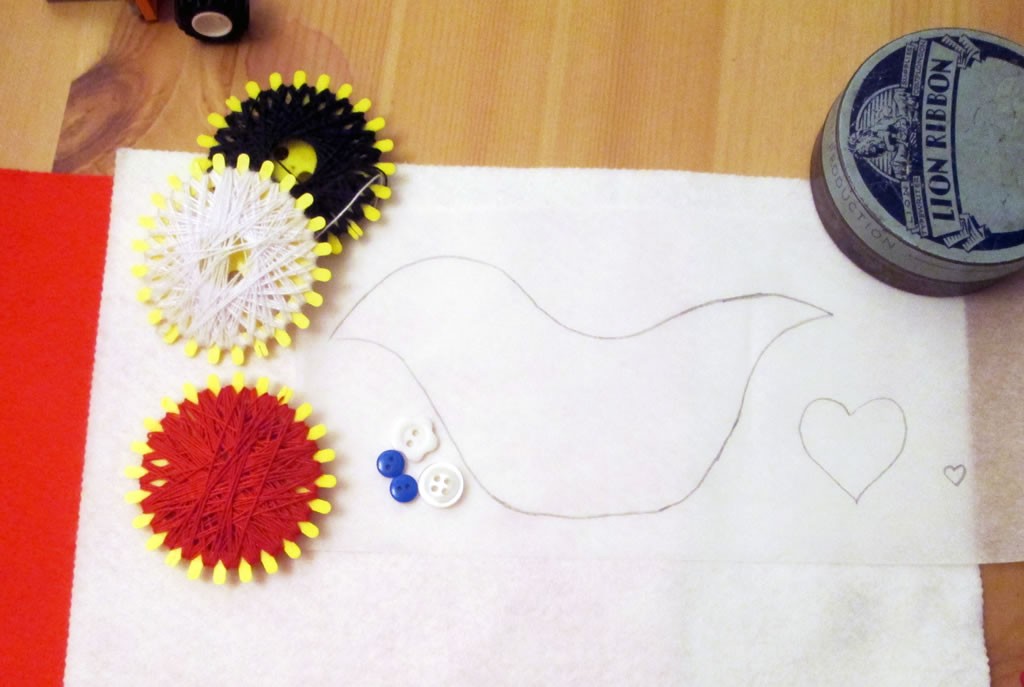
1. Make or print out your bird template. You will need 2 birds, 2 hearts to go on the centre of the bird and 2 smaller hearts for the tail (you could leave those off if you wanted).
2. Cut out the felt pieces. You will need 2 of the bird pieces in one colour, then the hearts in the 2nd colour.
3. Pin one of the larger hearts to the centre of one of the birds. 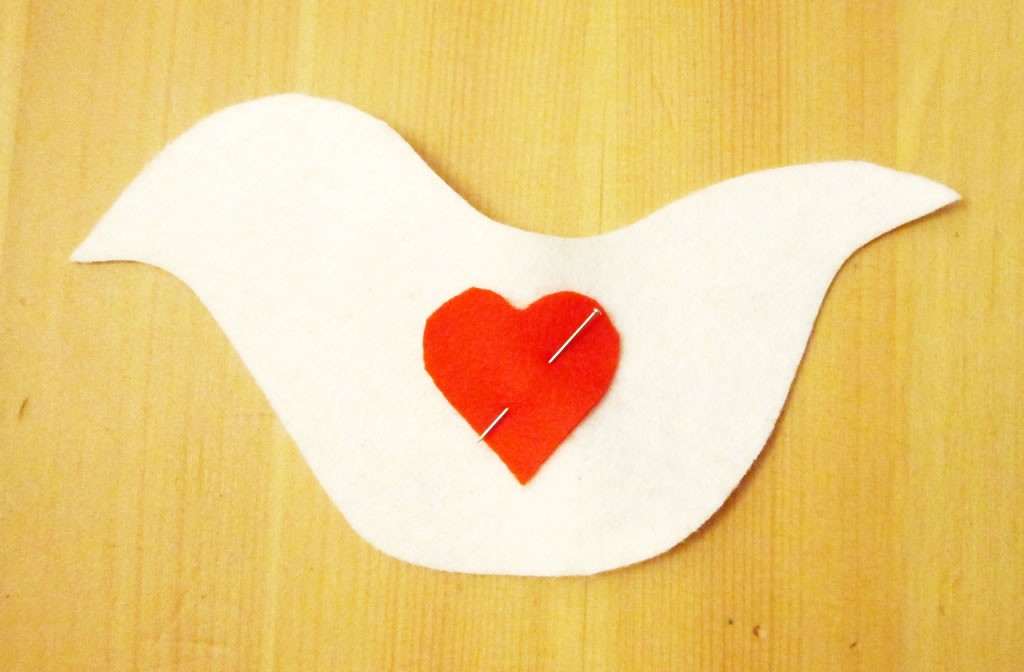

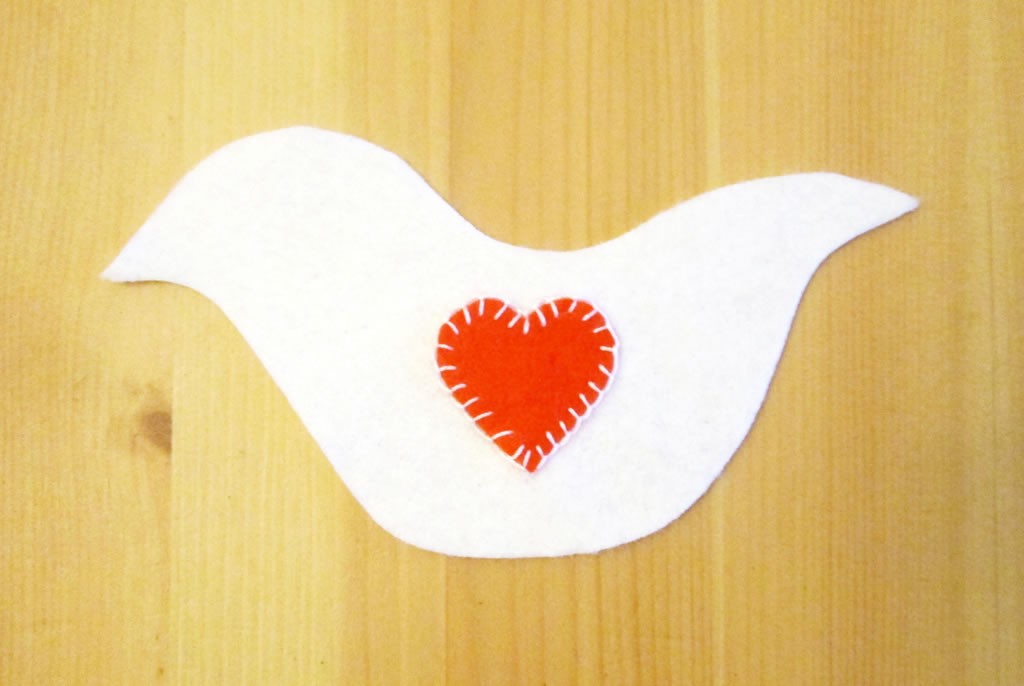

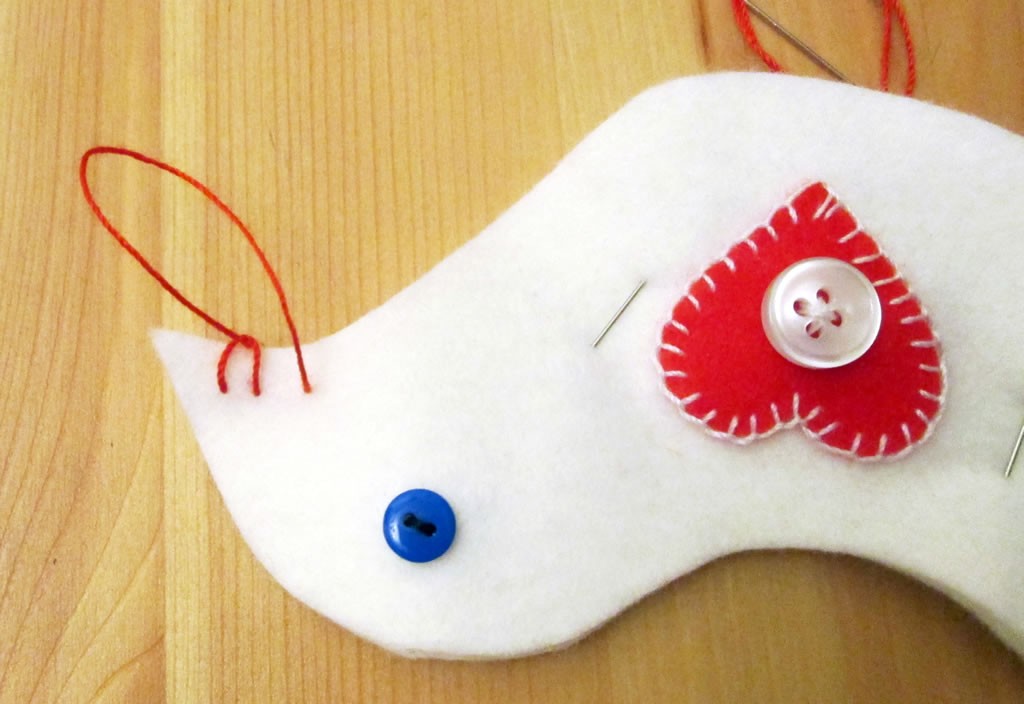
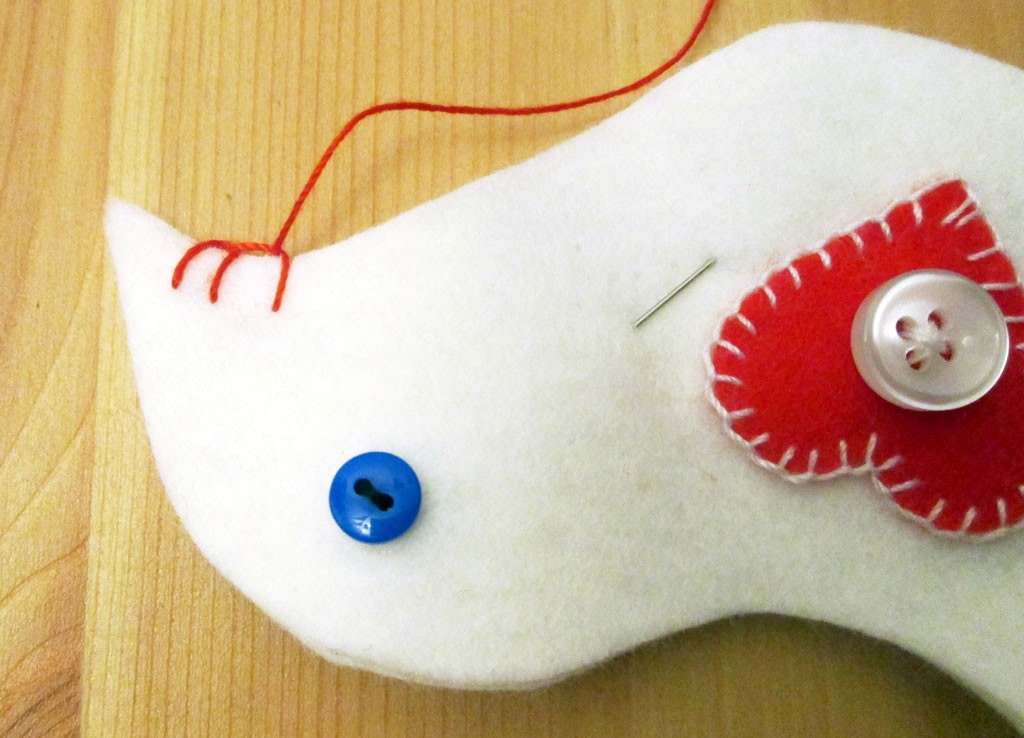
To sew blanket stitch, put the needle through the felt wrong side to right side, then back through the right side to make a loop. 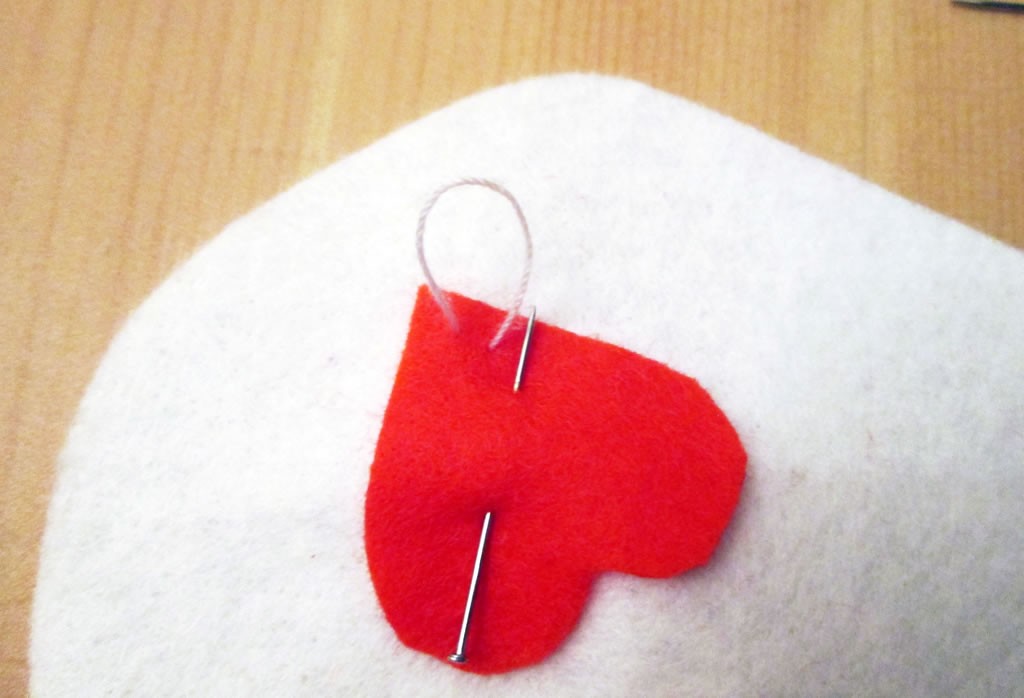

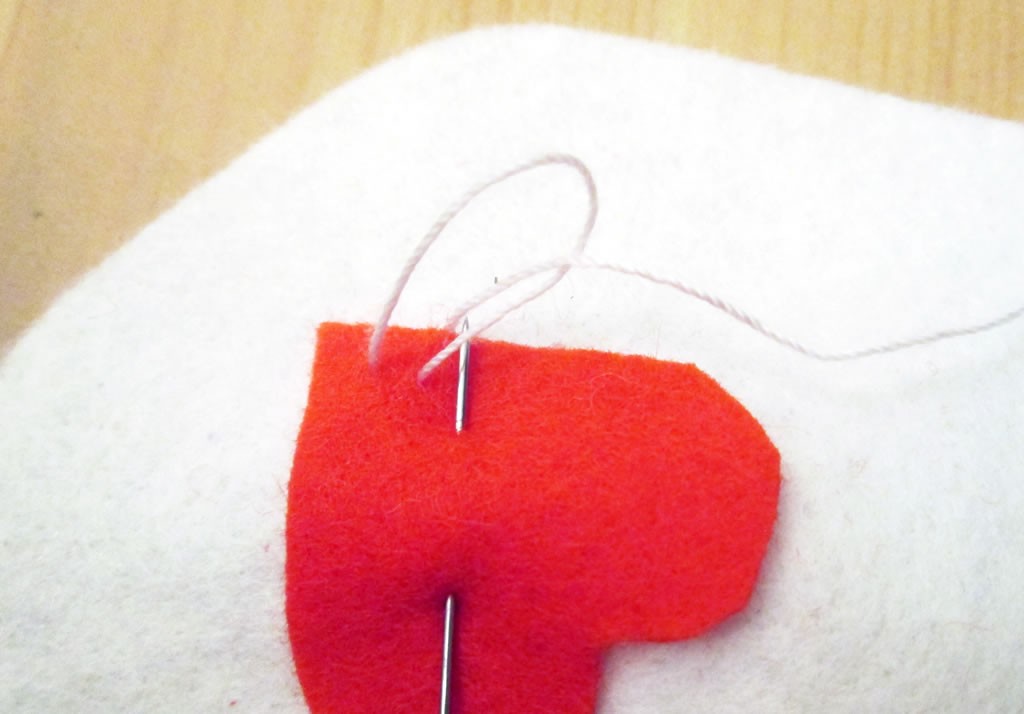

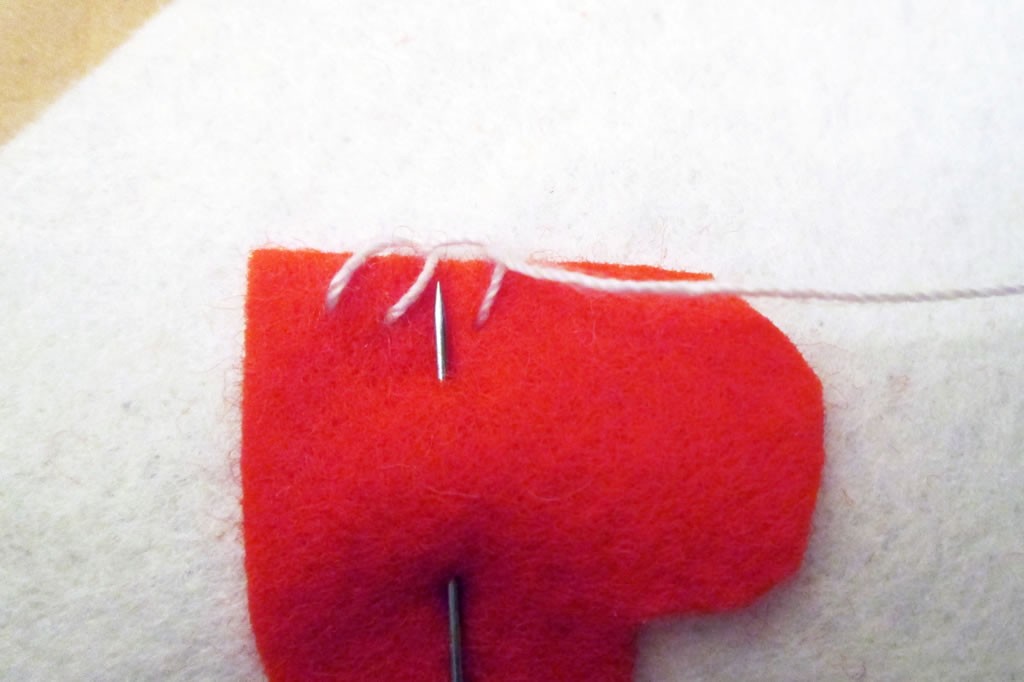

4. Sew one of the buttons to the centre of the heart.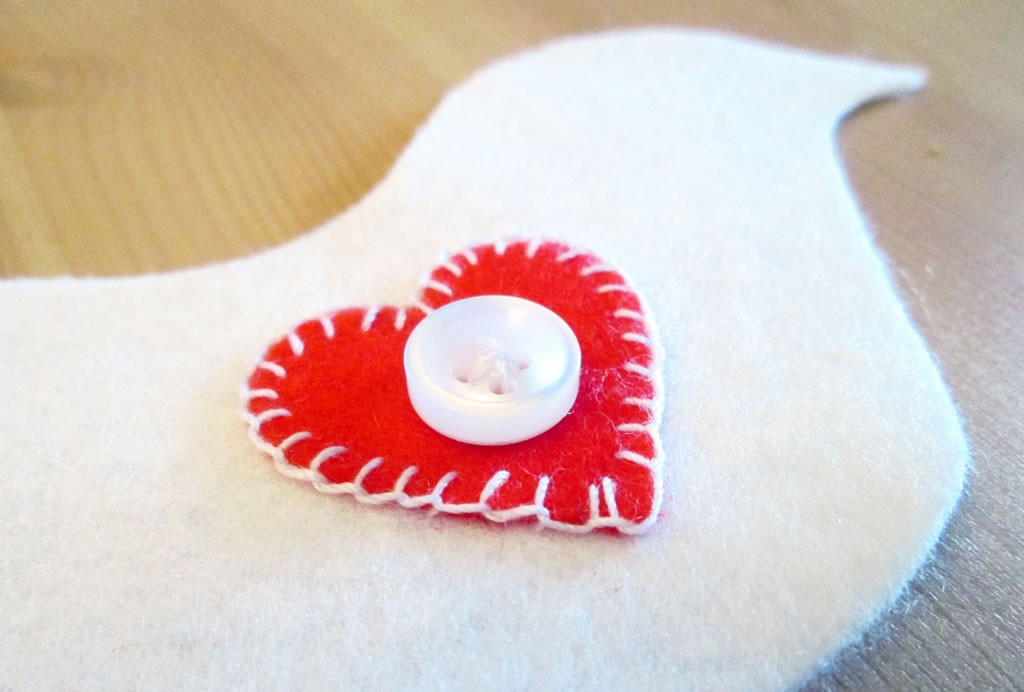

5. Sew another button to the bird’s head to make an eye.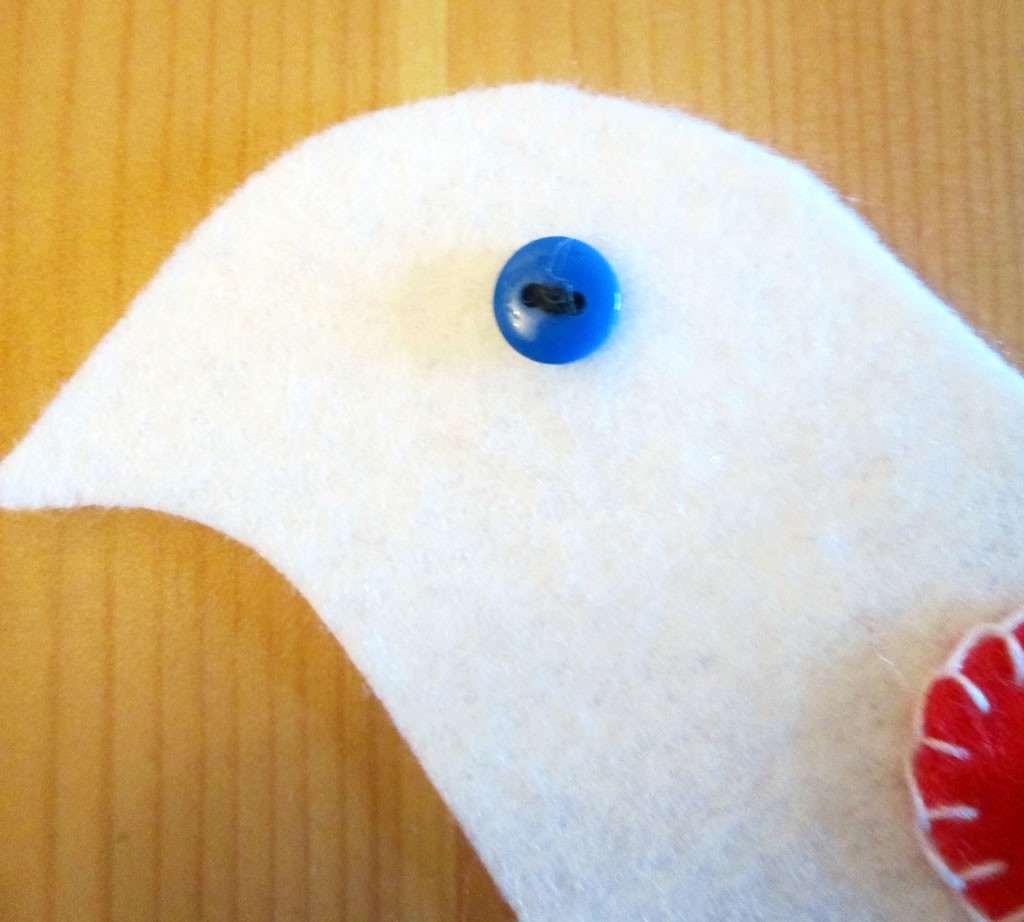

6. Sew the little heart to the bird’s tail area. I just used a couple of stitches in the middle of the hearts; doing anything else would have been just too fiddly.
7. Repeat with the other bird, but check that the bird is the other way round before you start!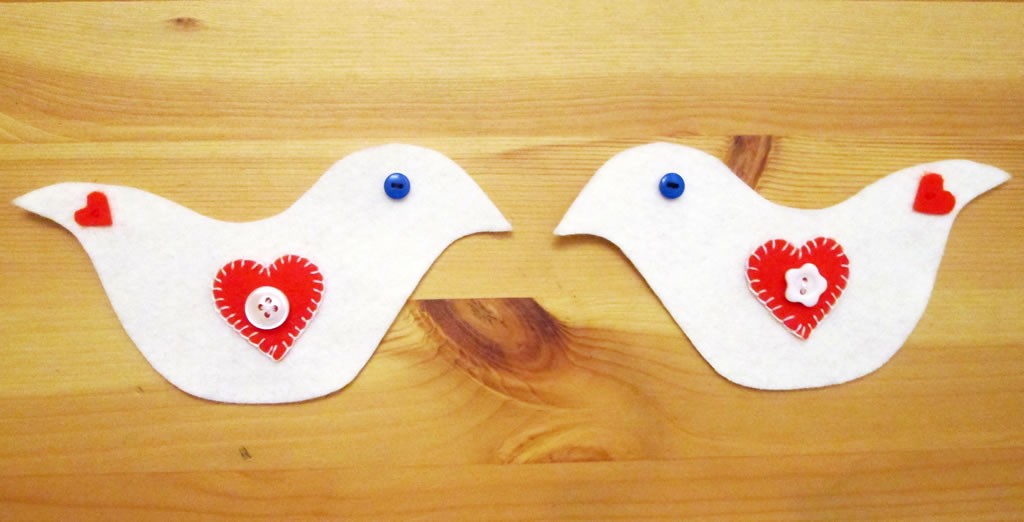

8. Pin the birds with the wrong sides together. You might want to put a little bit of polyester filling in the middle to give it some shape, but it doesn’t matter if not. I didn’t. Using blanket stitch in contrasting thread, sew the birds together.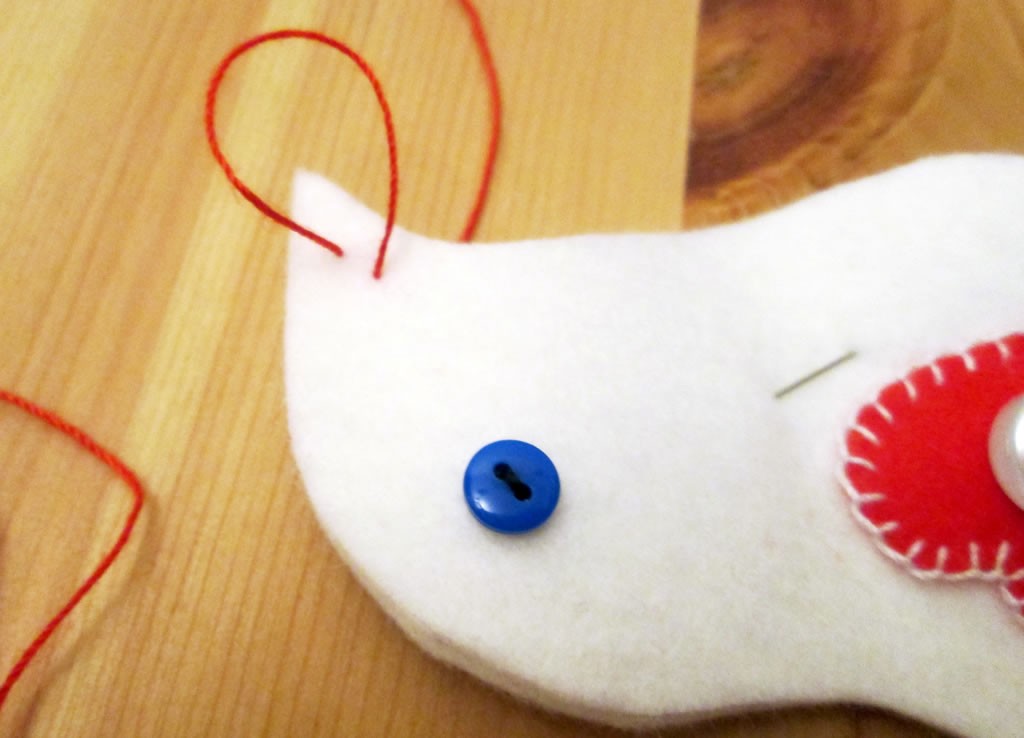

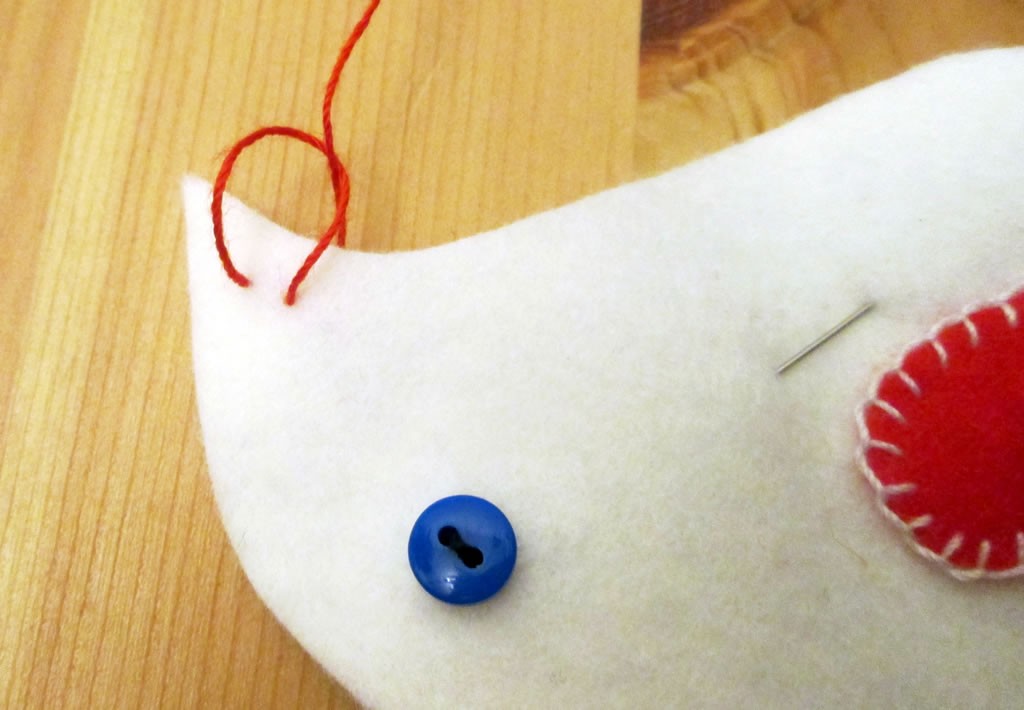

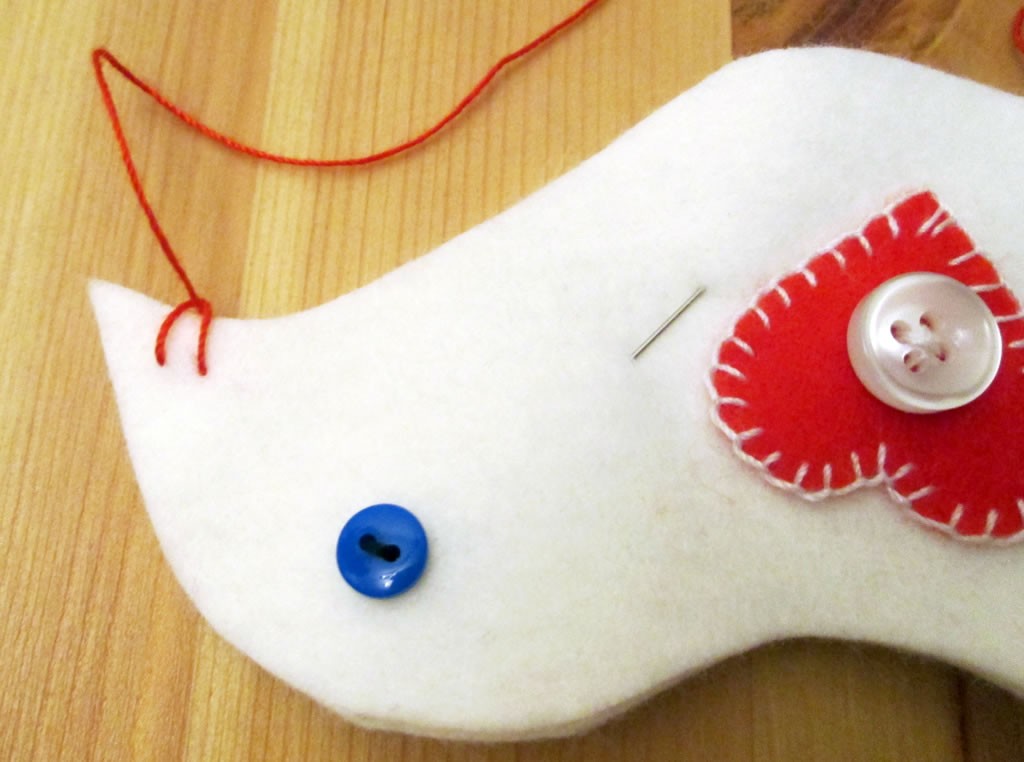




9. Attach a length of ribbon folded in half.


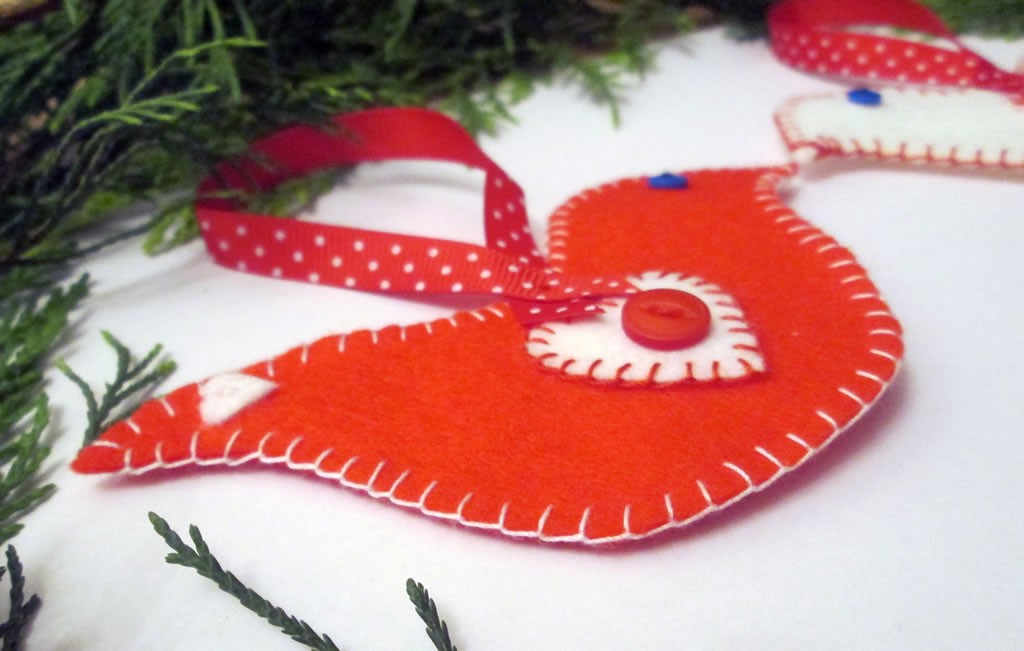

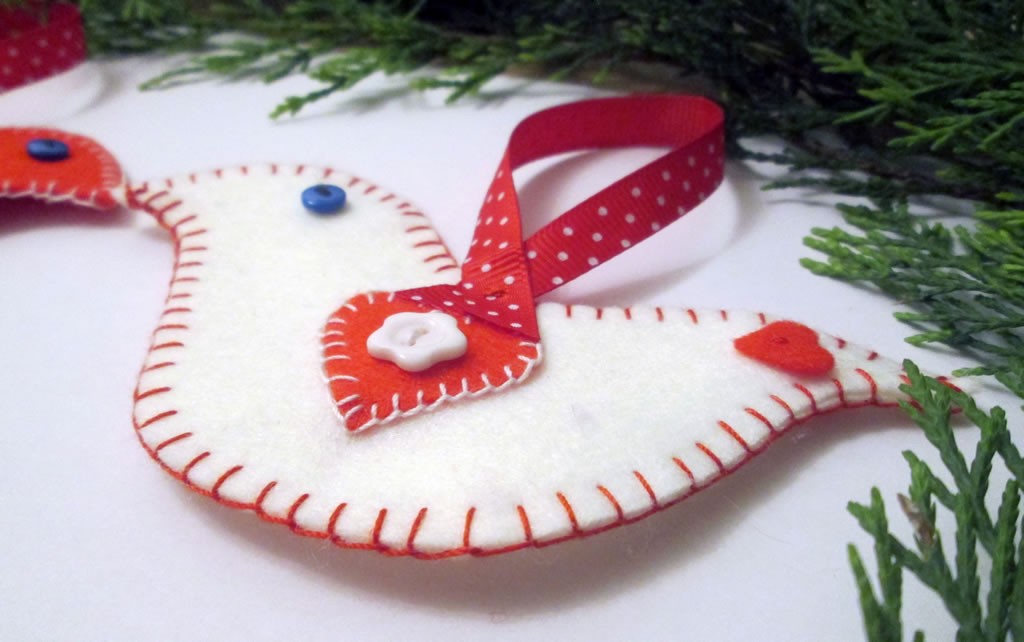

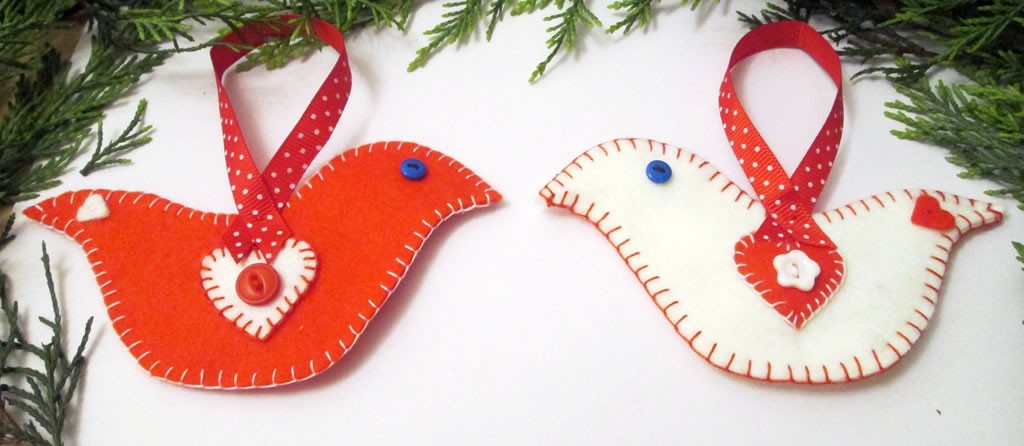

And if you would like to buy a kit to make these birds, you can do so here.
You might also like these posts:
GIngham Heart Christmas Decorations



Very Awesome ! Love these birdies 💕, especially love the detailed instructions THANK YOU ! Making these for my tree this year , can’t wait to see how cute it’s going to be .
Thanks Kim 🙂
I love these little birdies! I love the stitching around the hearts and the birds. So cute! Thanks for sharing at Submarine Sunday!!
Thank you!
I know, hey, so easy and looks GREAT!!! Thank you so much for linking this up at SHARE IT at FineCraftGuild.com I just cant wait to see what you’ll bring us tomorrow when a new party opens! Yahoo!!!! ~ Rose
Thank you 🙂
These are so pretty and the nice this is you can keep them displayed all year round. I love your lovely neat stitching 🙂
Thank you! I might leave them up after Christmas, I like them!
Love the birds, aways attracted to fabric etc with birds on, think because they look so free.
I like fabric with birds on too. They’re the sound of nature, alongside the stuff you see.