Year of Bunting Pincushion Tutorial With Mini Bunting
I’ve got a thing about pincushions.
It’s partly because I associate them with a simpler time, when milk lived in jugs with beaded crocheted covers and everybody ate boiled eggs, toast and cake for tea.
It’s also because when it comes to making pincushions, the possibilities are endless. And it’s fine to have a few!
My favourite pincushion is this one that I can wear on my wrist. That way I don’t lose it in the mess that always seems to accompany making things!
I have others as well, including these that I made last year while my concentration was taking a holiday.
I even have a Pinterest board devoted to pincushions!
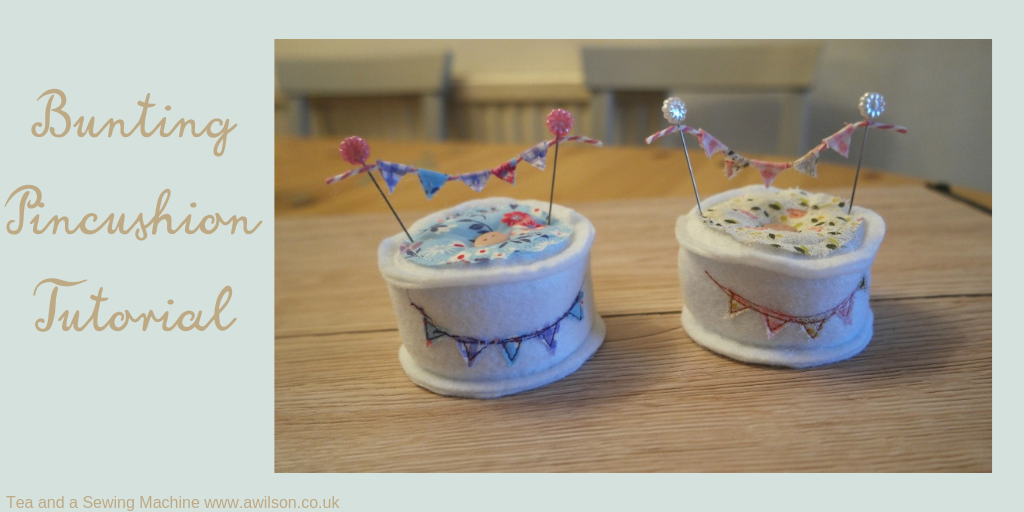
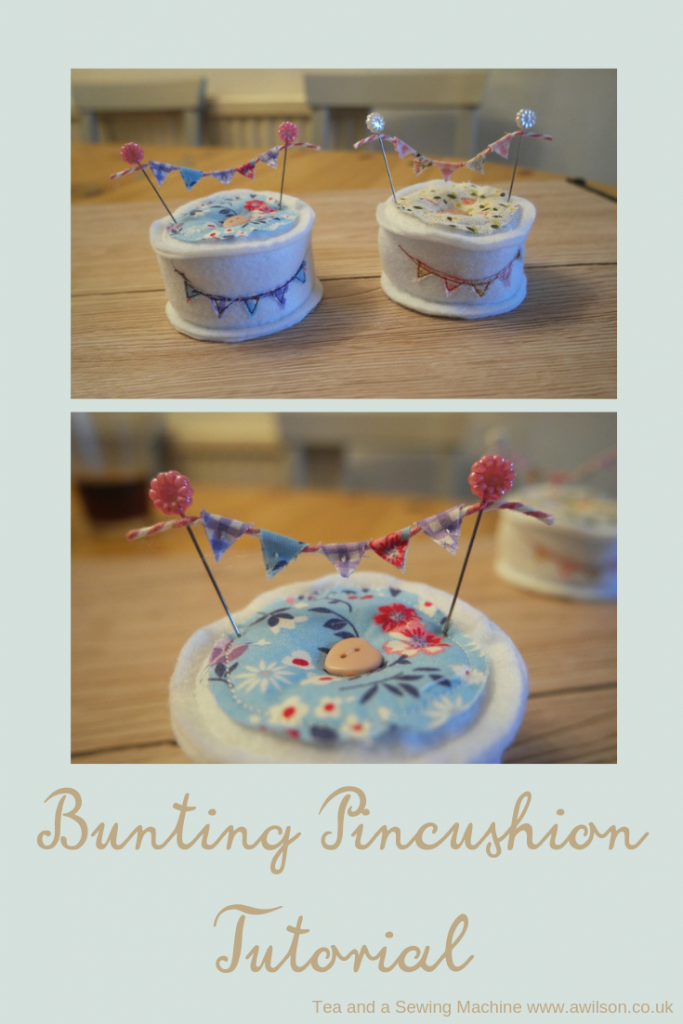
The Year of Bunting needs a bunting pincushion, so I’ve made these.
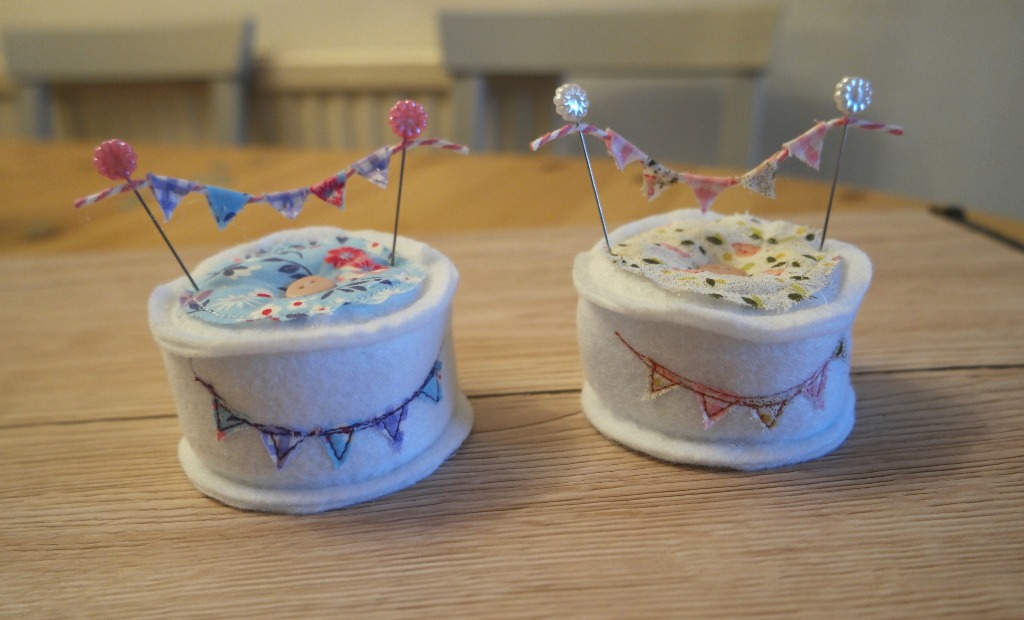
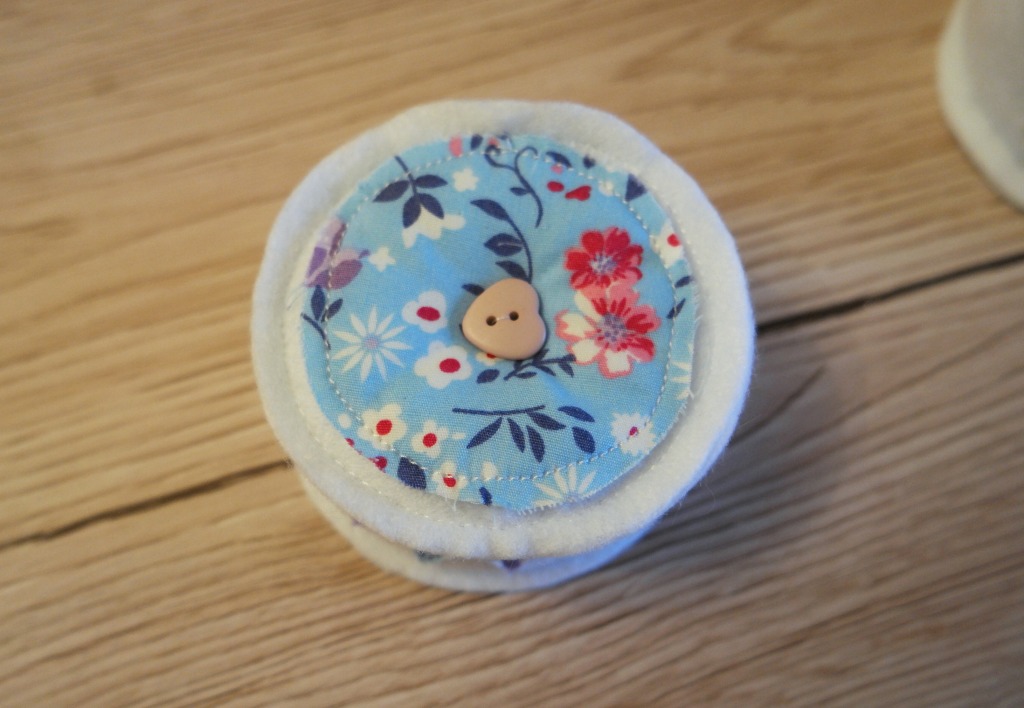
The bunting pincushions are made from white felt with appliqued cotton circles on the top and bottom and bunting on the side. The button on the top actually runs through to another smaller button on the bottom. This allows the pincushion to sit on a flat surface without wobbling about to much!
For some bunting fun, I made some tiny bunting from diamond shaped pieces of cotton and bakers’ twine. The bunting is strung across the pincushion by some pretty flower headed pins.
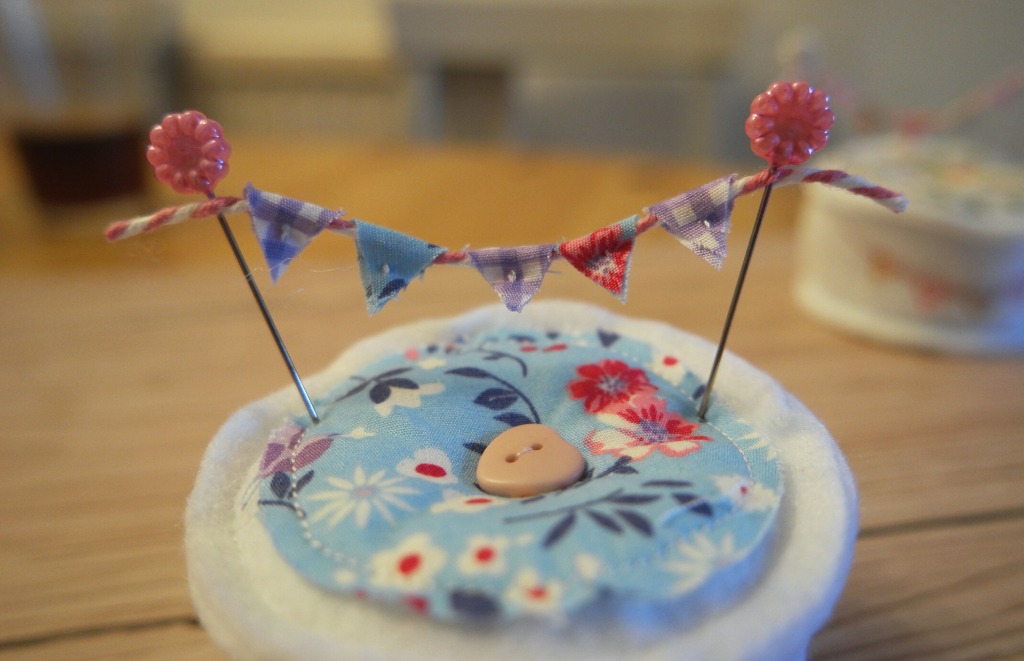
I filled the bunting pincushions with polyester filling recycled from an old pillow.
You might prefer to fill yours with wire wool or emery, so that your pins are sharpened when you stick them into your pincushion. There’s a tutorial for making a pincushion with emery here.
I’ve got some kits for sale here and here on Etsy if you want to make some like mine but you can’t be doing with faffing about finding everything.
How To Make a Bunting Pincushion With Mini Bunting
You Will Need
Felt
Scraps of cotton fabric
Filling for your pincushion (polyester filling, emery or wire wool)
2 buttons
Bakers’ twine
Longer than normal pins
Or you can buy a kit here.
Cutting Out
From the felt, cut 2 circles and a long rectangle. The rectangle needs to be as longs as the distance around the circle.
When I was learning about pi at school, I’d never have guessed that I would use it as much as I do!
It doesn’t matter an awful lot if you can’t remember anything about it! The only thing you need to remember is that the distance around the outside edge of a circle is about 3 times the distance across the circle passing through the centre.
So your rectangle needs to be 3 times longer than the straight edge of your circle if you fold it in half, plus a bit extra.
You’ll also need to cut 2 smaller circles from cotton fabric. I used jam jars for the circles.
For the appliqued bunting, cut 5 tiny triangles from the same fabric you used for your smaller circles. For the bunting that’s strung between the pins, cut 5 diamonds from the same cotton.
Assembling Your Bunting Pincushion
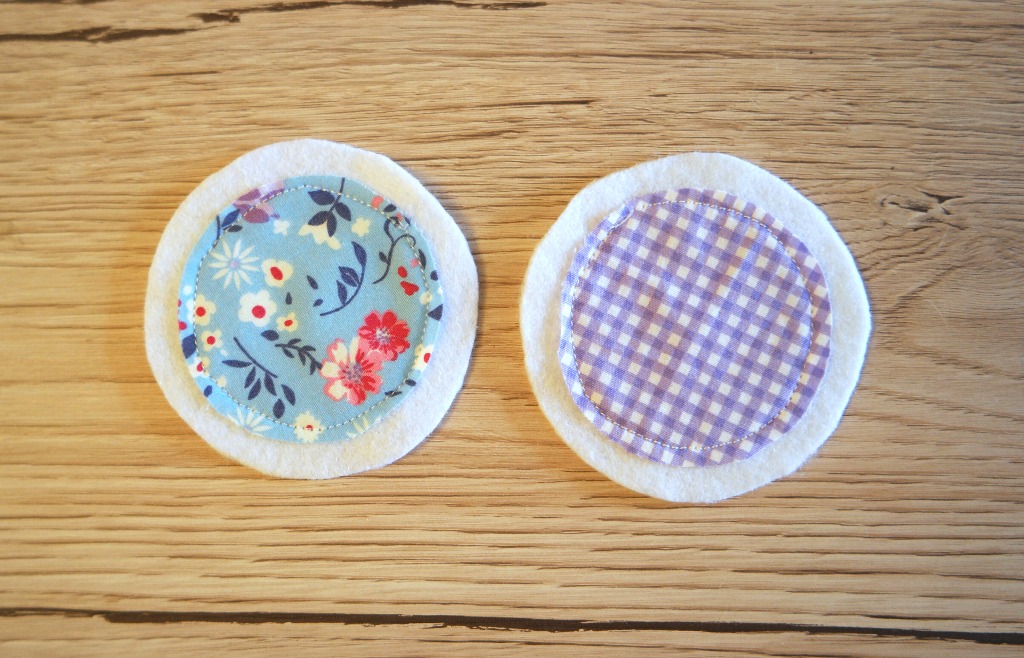
- Applique the cotton circles to the felt circles.

- Applique the bunting flags to the side of the pincushion. To do this, I sewed the sides of the flags, then sewed across the top a couple of times. I sewed past the end of the flags by a cm or so.

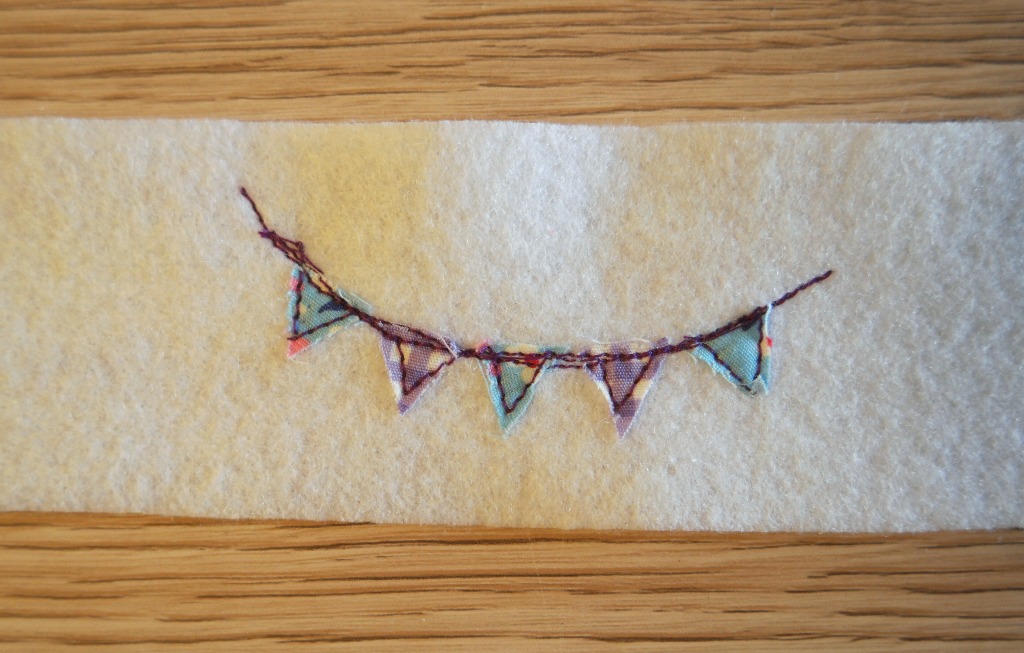
- Sew one of the circles to the side. The official way to do this is probably to sew the side into a circle, then to sew the circle. The problem with doing it this way is that the circles have to be exactly the same size! The way I did it was to start with one end of the rectangle and sew it all the way round the circle. I then sewed the rest of it so that it overlapped.

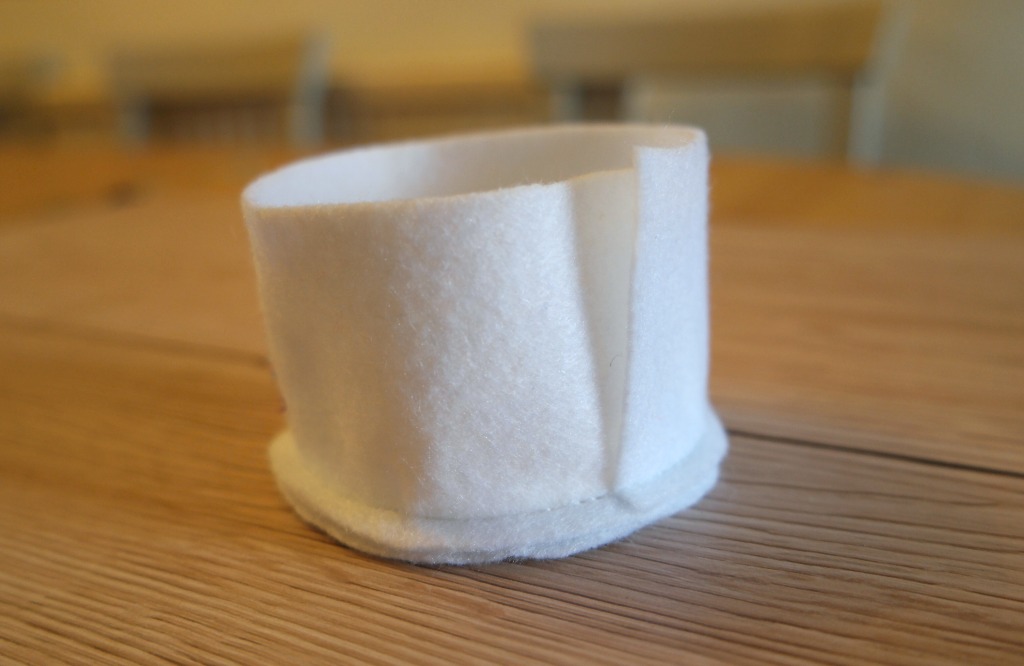
- You might like to hand sew the seam of the side piece, although it might be fine to leave it if you are in a hurry.
- Sew the other circle to the side, leaving a gap.Fill the pincushion then sew up the opening.

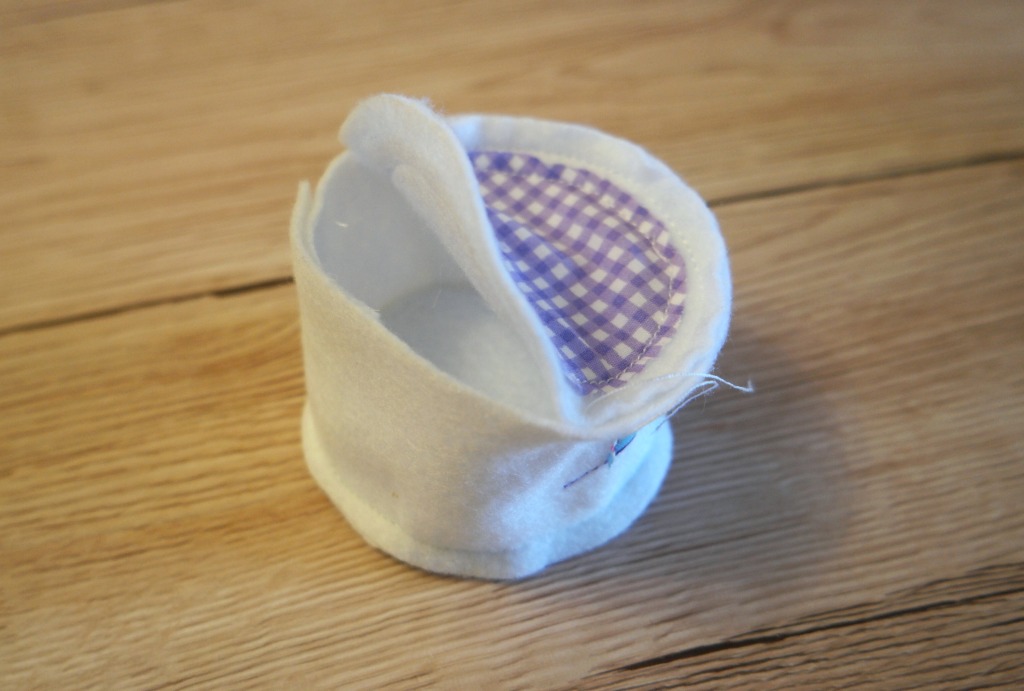
- Cut a length of thread and tie it to the button that you’re planning on putting on the bottom of your pincushion. With a needle, pass the thread through the pincushion in through the other button. Take the needle back through the button and the pincushion to the button at the bottom. Pull the thread, then tie it off.

- Making the tiny bunting proved to be fiddly! I tried a number of ways and this is the one that proved to be easiest. Take one of the cotton diamonds and fold it over the bakers’ twine. Sew a couple of stitches in the centre of the flag to hold both halves together.
- Push a pin through the bakers’ twine at one end of the bunting. Do the same at the other end. Push the pins into the top of the pincushion.




[…] Year of Bunting Pincushion Tutorial with Mini Bunting, by Tea and a Sewing Machine […]