Year Of Bunting Challenges: October’s Nature Themed Bunting
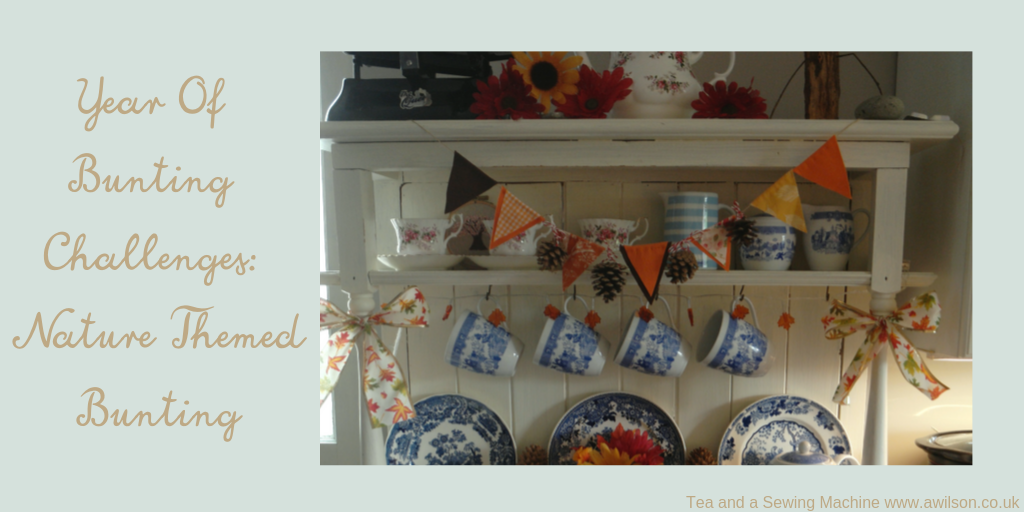
Year Of Bunting Challenges: October’s Nature Themed Bunting
Despite declaring back in January that 2019 was to be the Year of Bunting, I have managed to fall off my own bunting bandwagon.
Julie and Hazel in particular have joined in almost every month, so with a combination their enthusiasm and the Flylady’s, “You’re not behind. Just jump in where you are,” I’ve leapt back onto the bunting bandwagon with some nature themed bunting.
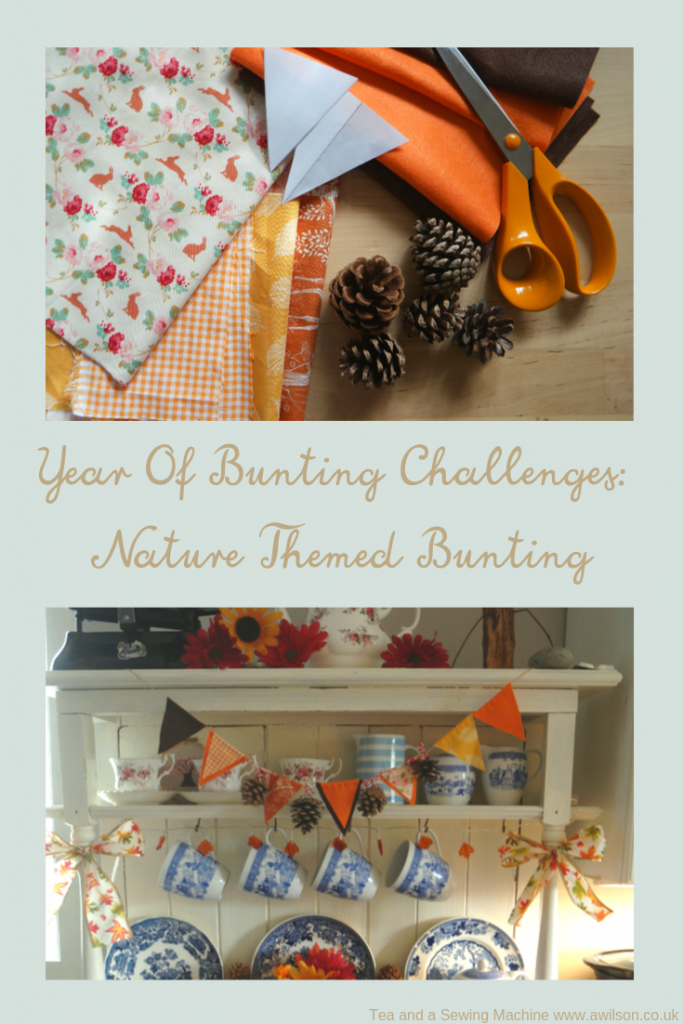
An Instagram/ Pinterest thing that I’ve adopted is decorating my dresser for the seasons. Probably like most other people, I look at other people’s gorgeous houses in internetland, then look at my own tatty, messy house with lego everywhere and cat food stains on the kitchen floor in despair!
But anyone can have a pretty dresser! Mine cost £25 at a junk shop. After we’d bought it, I installed it in the kitchen and there it stayed for a long time, a horrible shade of orange and barely visible under a pile of post.
But it’s amazing what a bit of a tidy up, some paint and some new handles will do! And it’s been years since the post situation has been as bad as it was, because I like being able to see my nice dresser.
It’s a perfect blank canvas for some seasonally themed bunting and some other bits and pieces.
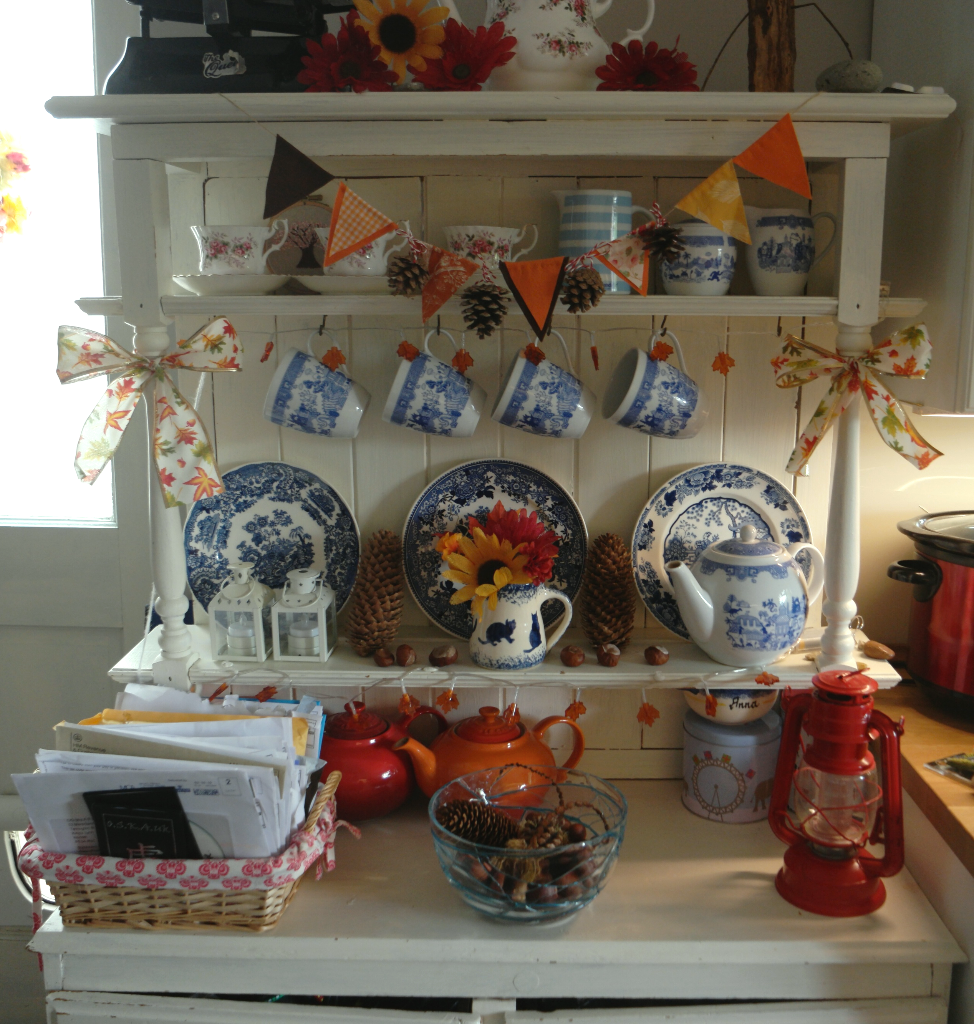
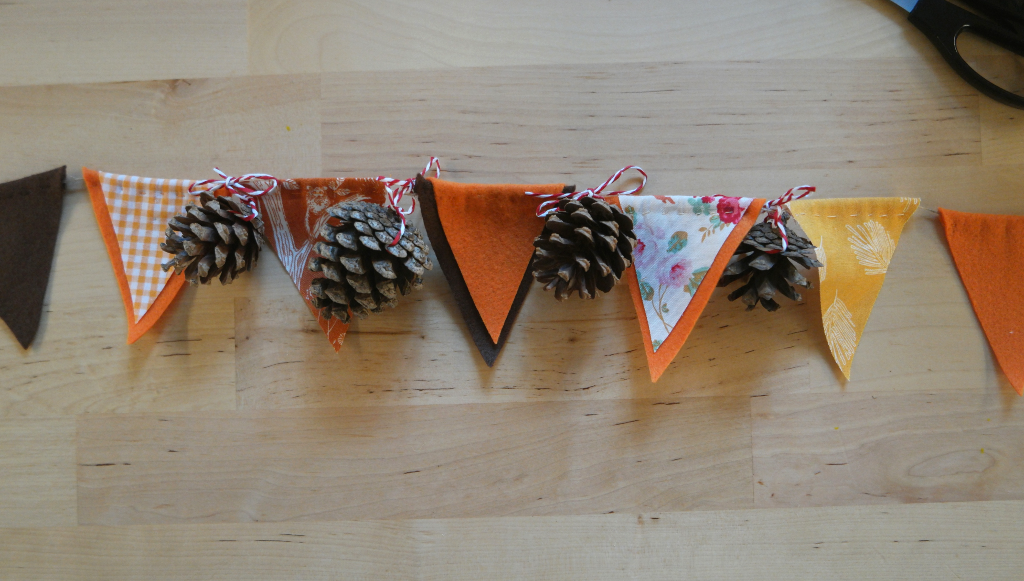
The inspiration for the bunting came from this. I liked how some of the flags were layered. I had all the fabric already (bunting’s great for using up scraps of things!), and I can’t walk through a wood without picking up pine cones and things, so I had those too.
So here are some instructions if you want to make some nature themed bunting yourself. Although I used autumn colours and pine cones, you could always use different fabric, and pompoms or silk flowers.
Instructions For Making Autumn Bunting
You Will Need
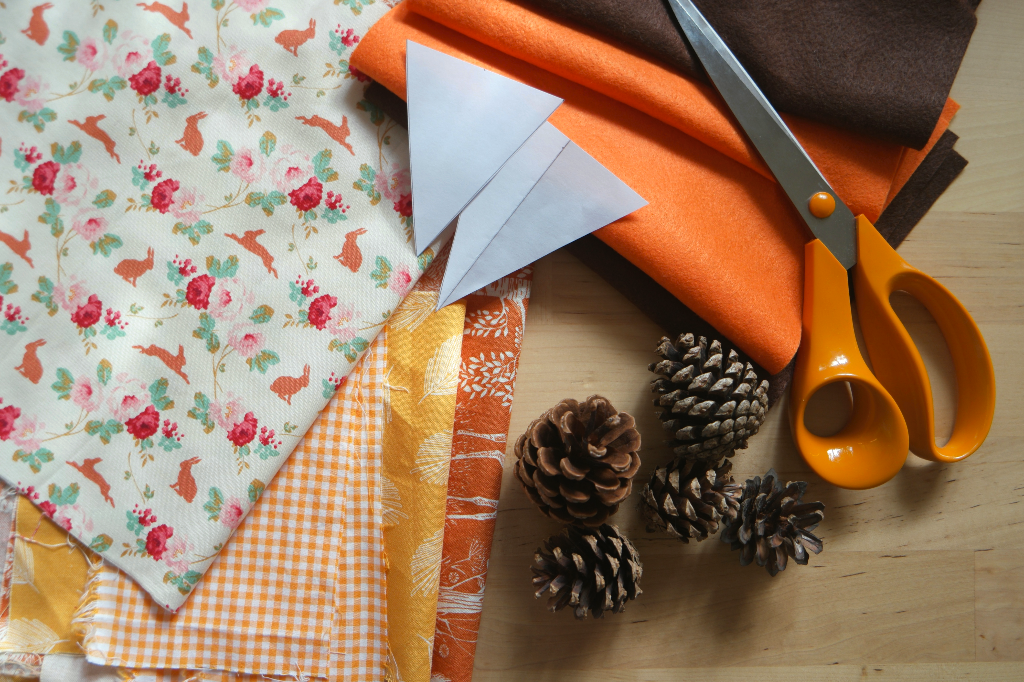

Bits of fabric
Pine cones
Twine, string or bakers’ twine
Paper, pencil and a ruler
Making the Templates
You’ll need to decide how big you’d like your flags to be. As I was making bunting for my dresser, I needed them to be quite small.
You can either make your own or you can download these templates that I made for another bunting project. Please note that I do ask for an email address, and if you want to know why, you can find out here.
To make the first template, draw a horizontal line 8 cm long. Mark the half way point, then draw a vertical line from this point 9 cm long. Join the end of this line to the ends of the horizontal line.
I made a second template in the same way, just a little bit smaller. This one was 7 cm x 8 cm.
Being unable to make my mind up, I cut out 10 larger flags and 3 smaller ones, then decided once I could see how they would look.
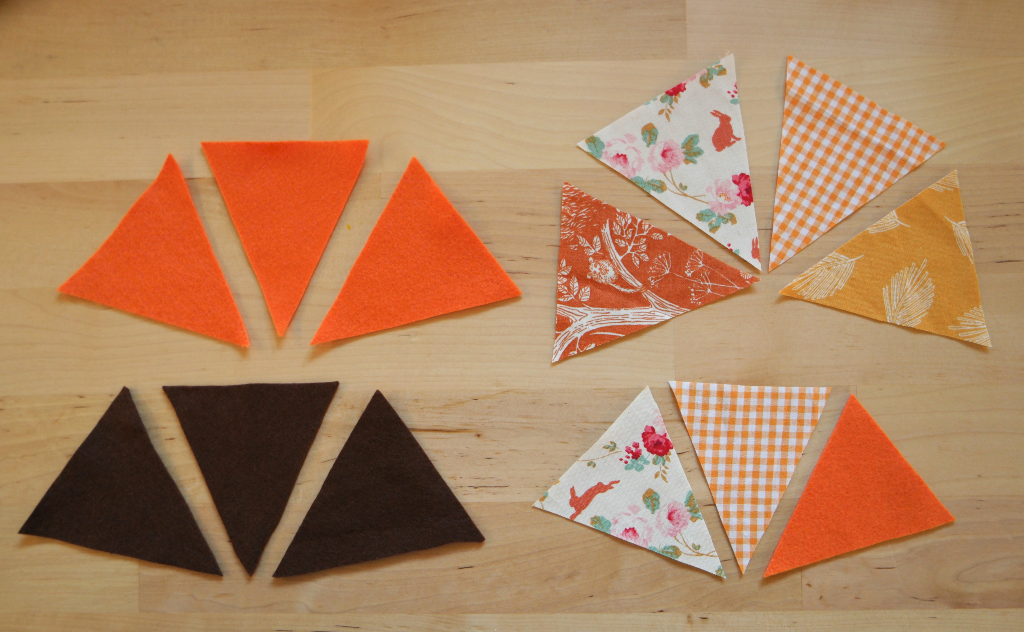

Sewing the Bunting
How I finish the bunting depends on what kind of thing I’m doing. Quite often I don’t finish the raw edges of the triangles, and this is what I did here. The cotton won’t fray very much and the other flags were cut from felt, which won’t fray at all!
You might choose to hem your flags, in which case you’ll need to do that first.
Next, decide which flags will have 2 layers, and which order they will go in.
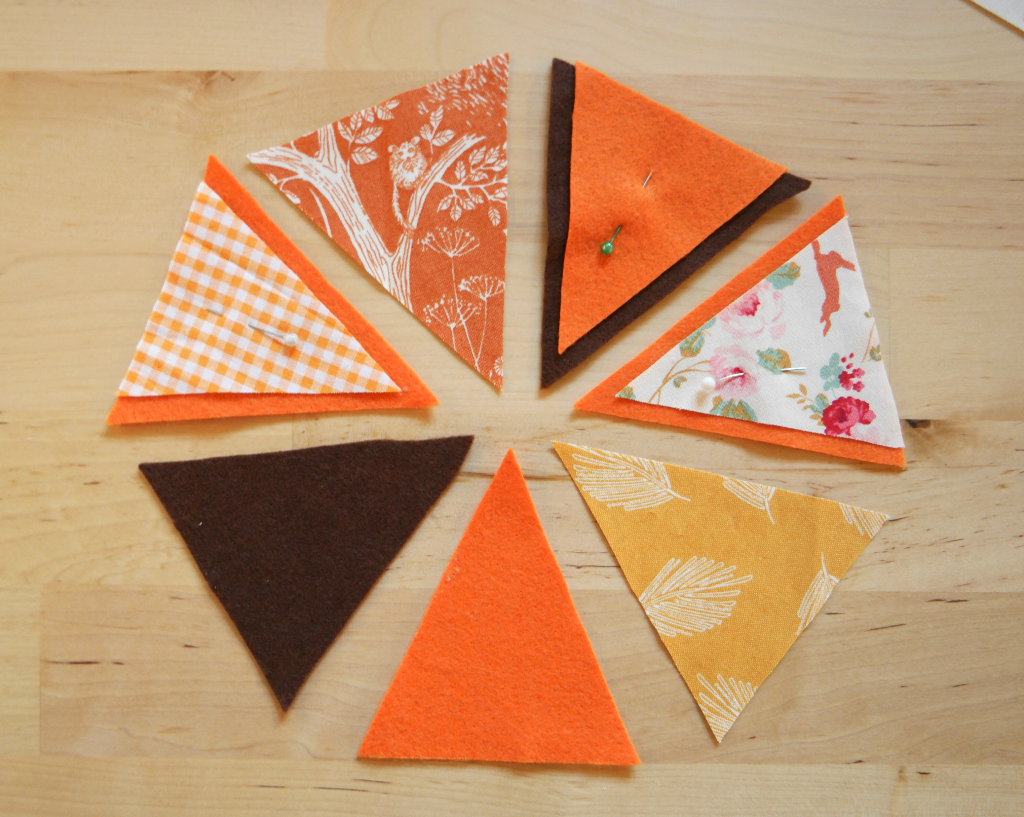

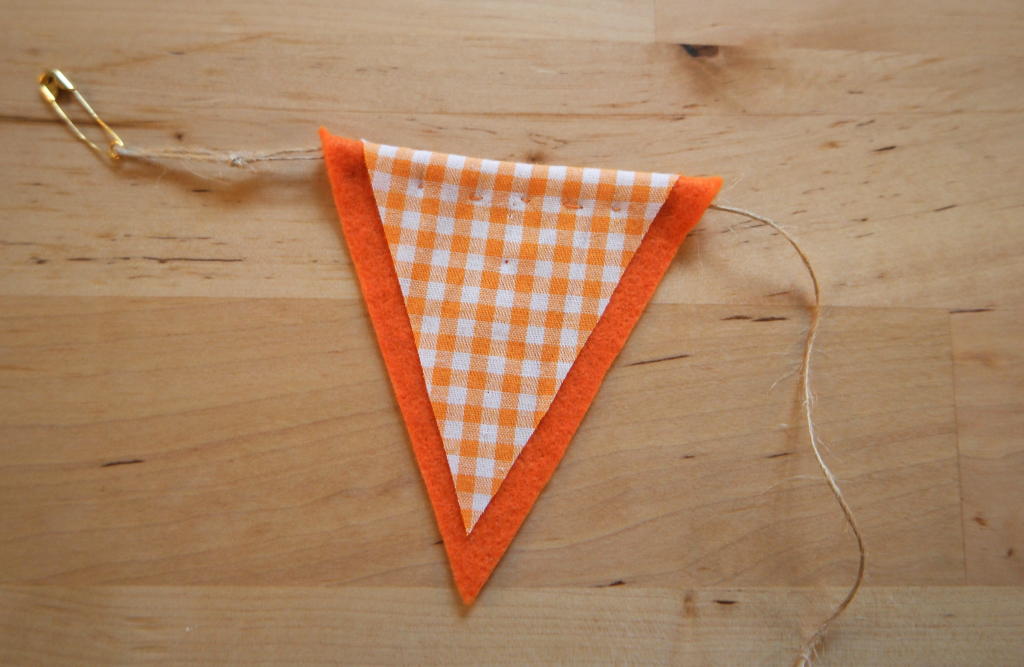
Take one of the flags (or pairs of flags) and fold the top edge behind. Pin it, then sew. You’ll need to get your twine through here, so bear this in mind when you are sewing!
Repeat for the other flags.
Making Loops For the Pine Cones
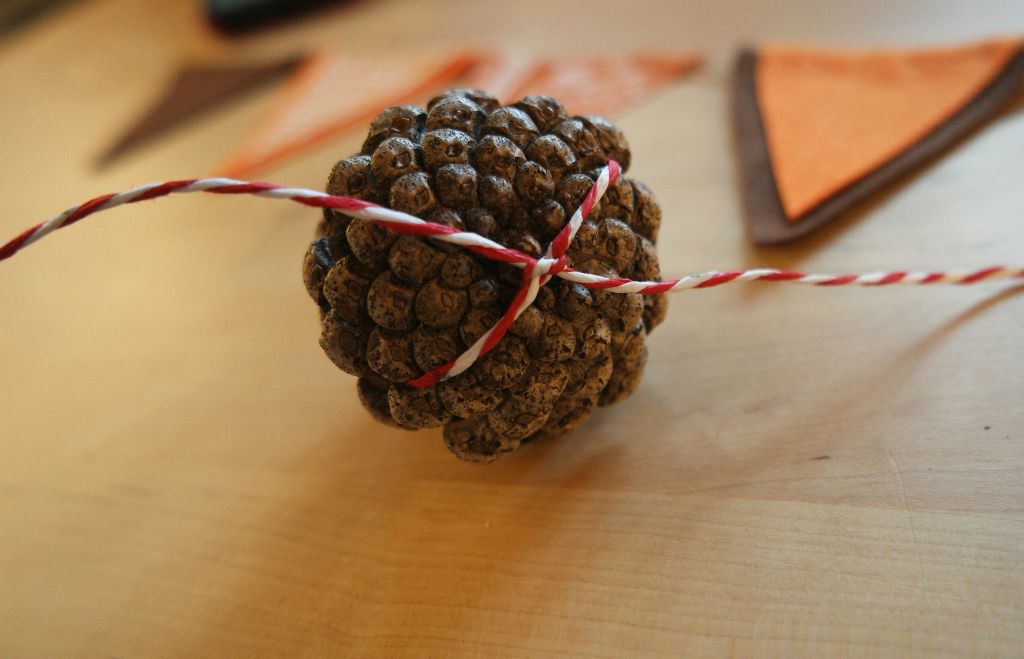
If you turn the pine cone upside down, you’ll see where the little leaf like things are no longer separated.
Take a piece of twine and pull it through between 2 of the leaf things, then between 2 on the opposite side. Pull the twine and it in a knot.

Assembling the Bunting
Thread the bunting and the pine cones onto the twine. You might like to tie some loops at the ends for hanging.

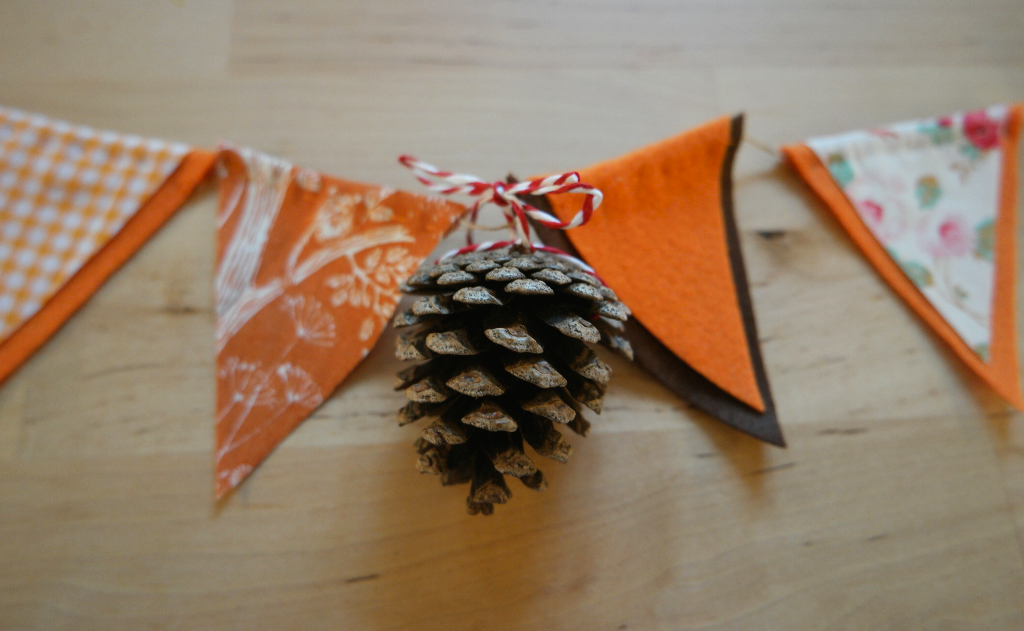

Now it’s all done! Find a place to hang it and enjoy your October bunting!
