Back in the summer I decided to make a coat.
My old coat was looking very tatty and I’d had a bit of a laundry mishap after Boy 4 threw up in the car on the way to Wales. It turns out that if you put an elderly car seat cover in the wash with a tatty coat, the tatty coat ends up with little bits of grey foam stuck to it which are impossible to remove.
The coat was creamy white, so this really didn’t help!
As I’d never made a coat before, I thought it would probably be best to use a pattern, so I started trawling the internet and I found this vintage coat Butterick B5824 (affiliate link).
.
It’s an updated version of a 1940s pattern, updated by Gertie as in Gertie Sews Vintage. Her book is very good (affiliate link) so I bought the pattern.
After a little bit more trawling I found some fabric on Ebay, pure wool and £5 a metre!
So back in August, I started making the coat, planning that it would be finished by the time the weather turned colder.
I have only just finished it. That is correct. It has taken me almost 6 months to make this coat. I’m actually quite surprised at myself for finishing it.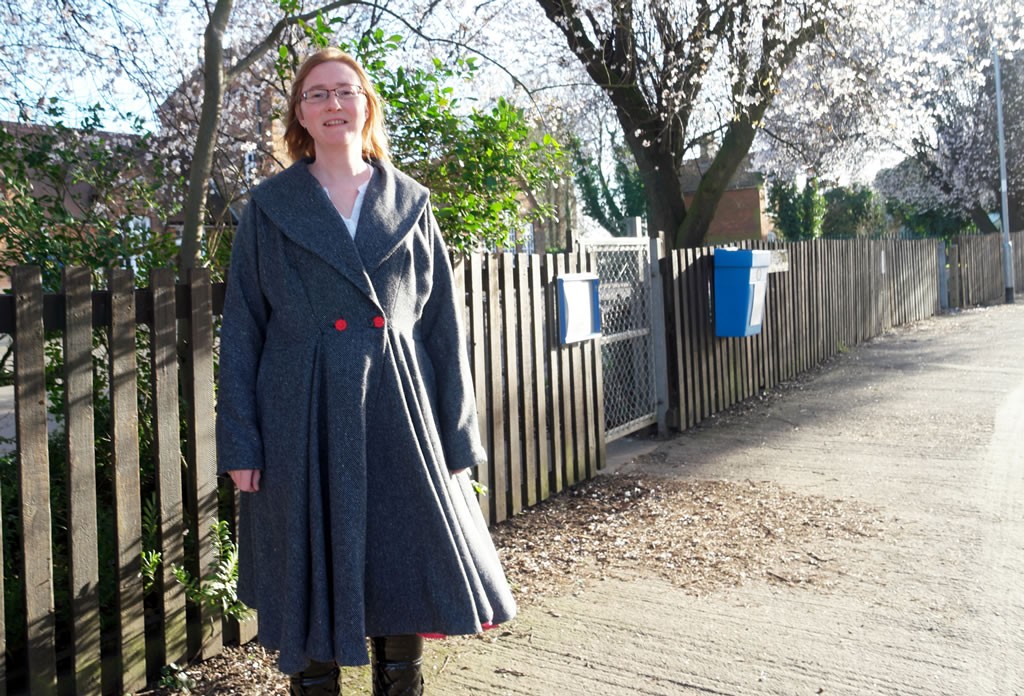
As these things go, it wasn’t particularly difficult, it just took me ages what with trying to fit it in round everything else.
Thankfully there’s still some winter left so I can wear it!
Although it wasn’t too tricky, there were some difficult bits. In the interests of being helpful, here are some tips if you want to make this yourself.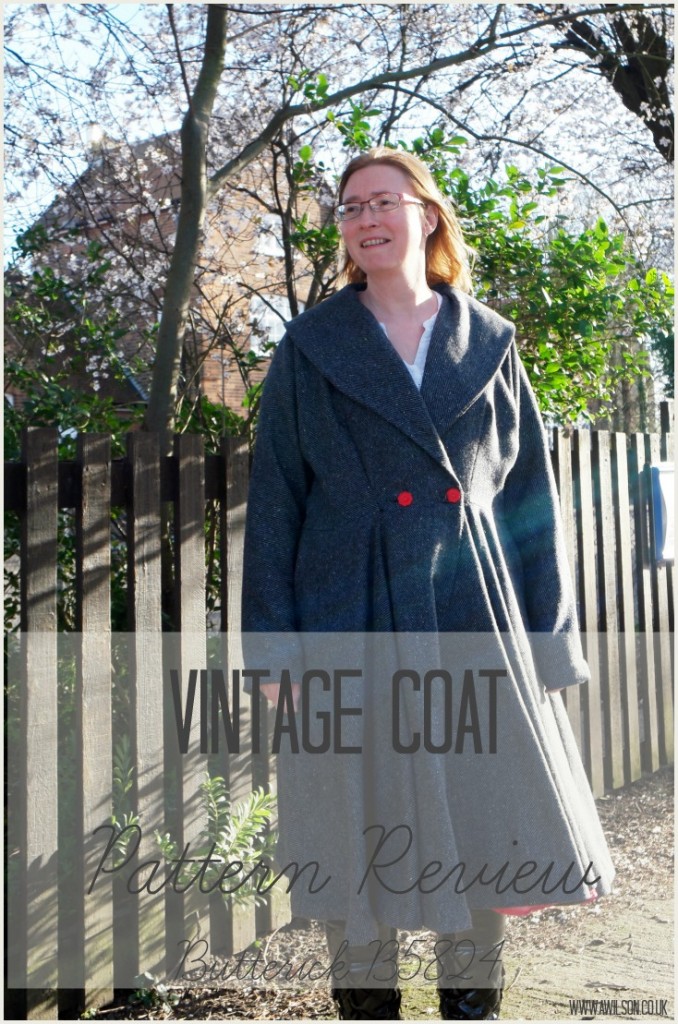
The Pattern Vintage Coat Butterick B5824
As you would expect,the sizing bears little relation to normal dress sizes. I am usually a comfy size 14. According to the pattern, I was 16 – 20 depending on which bit of myself I was measuring. All a bit depressing but never mind, I’m over it now and I’ve given up pretending to be on a diet!
The instructions cover the back of the first sheet and the front of the second. They are pretty clear (thanks Gertie!) so despite the odd tricky spot, I have used patterns that were a lot more confusing.
Cutting Out
This was the most difficult part of the whole thing. The skirt is very full so the coat requires 5 m of fabric. For the size I needed, the pattern specified 5.10 m. I wasn’t going to buy 6 m for the sake of 10 cm, so I got 5 m and hoped for the best.
As it turned out, 5 m was enough. Unfortunately as I do not live in a palace and as about 3 quarters of my house at any given time is covered in Lego , finding the space to lay out 5 m of fabric was a major problem.
In the end I had to cut out a bit at a time, so I actually didn’t know whether I would have enough fabric until the end. I also got into an absolute muddle and gave up using the layout directions on the pattern. Thankfully I had enough with a fair bit left over.
Cutting out the lining was less bad, partly because my mum passed on a tip from her mum and grandmother. The tip is to fold the fabric so that the selvedges are in the centre and cut out as much of it that way, then fold the rest in half for the bits that need more fabric.
Sewing Up
As tends to be my experience with patterns, there were some tricky spots that had me sayng “whaaat?” in a slightly shouty voice.
Generally though, it came together quite easily.
The skirt was very easy as it was just a case of sewing the different sections together.
The bodice was harder as this went together in a different kind of way to how I was expecting. The sleeves are not set into the bodice. Instead, the sleeves are cut out with the bodice sections and this caused me some confusion.
The trickiest part was sewing the bodice front to the back as various bits had to be aligned and being unusual shapes it was hard to visualise how it was supposed to look (this is Step 7). You have to sew the tops of the sleeves together then sew along the neckline. It was one of those situations where the bits really don’t look like they fit together!
There was a similar tricky spot with the lining (step 24).
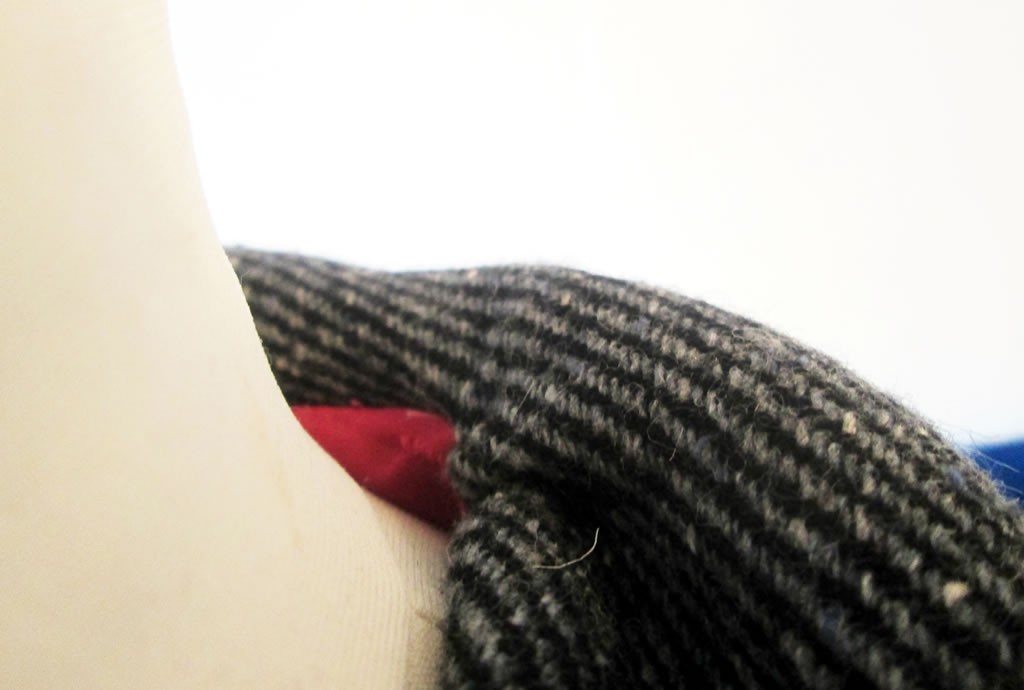 On the finished coat, this part where the collar, lining and shoulder area meet.is the part I am least happy with.
Once the outer and the lining were completed, they were sewn together along the skirt facings and the collar.
The lining was then attached to the outer by hand sewing it in various places. I put some extra stitches in the back of the neckline as it wouldn’t stay put.
Hand sewing the hem took an age because there was miles of it. I used the sewing machine to sew the lining because I was fed up with it by this point!
I had major issues with the button holes too. My sewing machine would not co-operate! In the end I abandoned the button hole foot and made bound button holes instead. 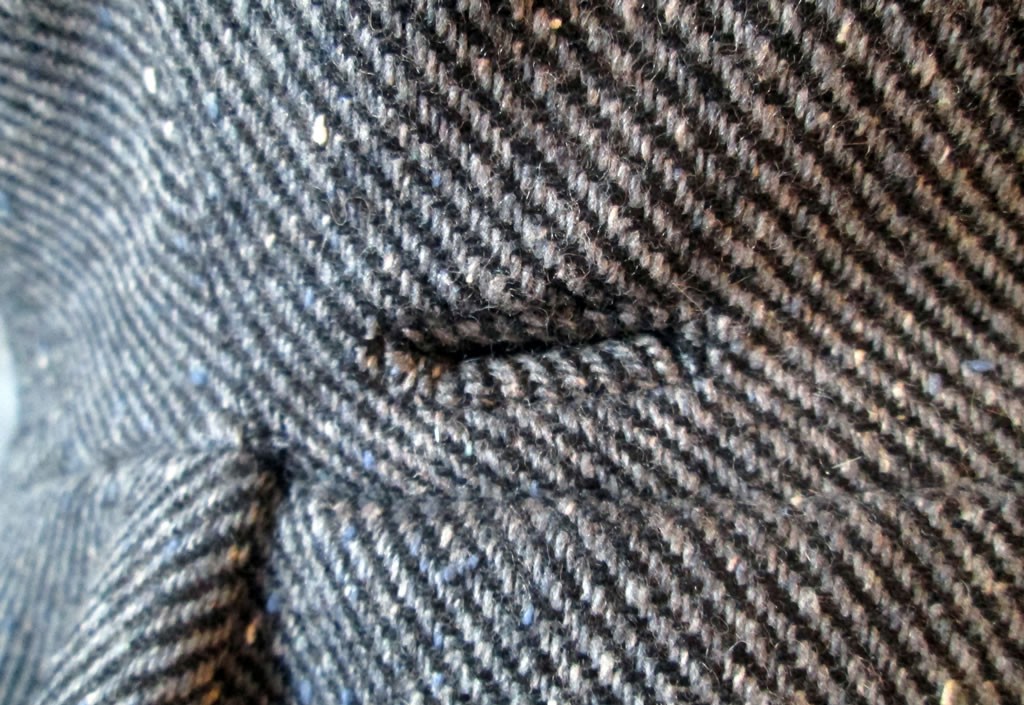 I’m actually pleased I had to do this, as it’s much nicer to have smart button holes on a nice coat! If you don’t know how to make bound button holes, it’s a little bit fiddly but not too tricky. There’s a tutorial here.
After the drama with the button holes, I couldn’t cover the buttons! The fabric was too thick or the buttons weren’t very good. By this stage I just wanted it finished, so I rummaged in my button jar and found these beauties. 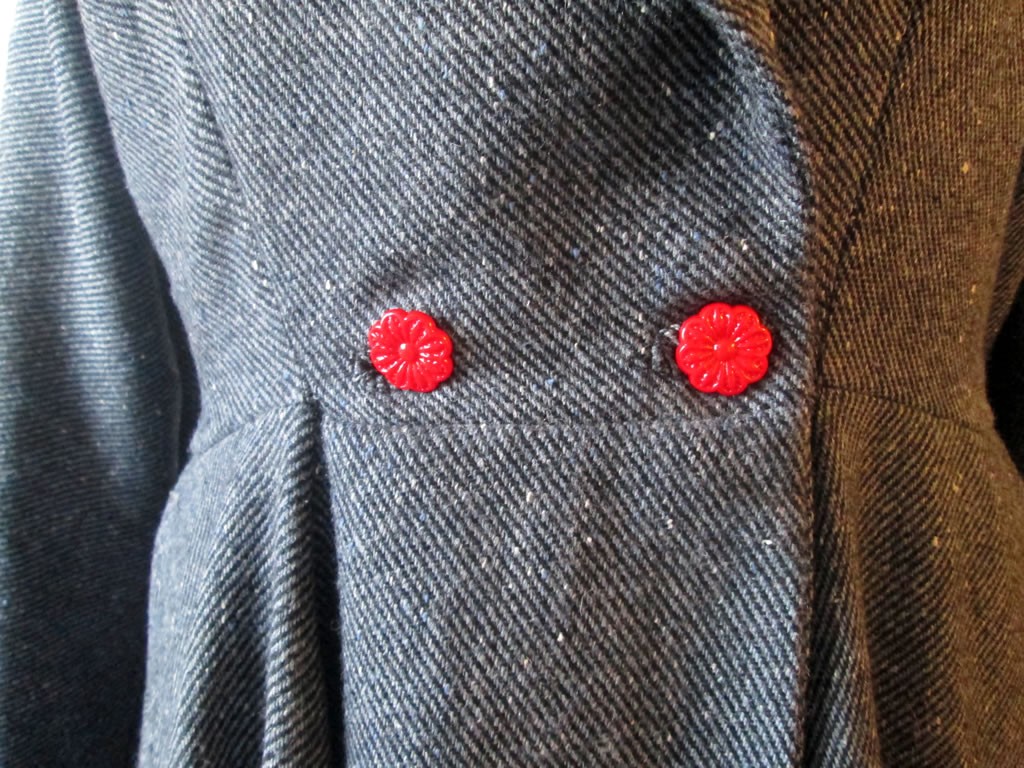 It’s a shame they clash with the fuschia pink lining, but at least I can wear it!
Tips
- Consider moving house or befriending royalty so that you actually have space to lay out 5 m of fabric.
- Make extra pattern pieces for those sections where you need to cut out 2 (on the layout diagram they have to be cut out separately, which was one of the reasons why I got into such a muddle when cutting out).
- Pin post its to each section to identify them.
- Hand sewing several miles of hem takes a long time! If your sewing machine does blind hem stitch, then it would probably be quicker (I didn’t because I don’t know how to do it!).
- For the tricky bits in Steps 7 and 24, it’s easier to sew the sleeves, then faff with the neck.
- Once you’ve attached the lining, put some extra stitches in just below the collar if it won’t stay put.
- Bound button holes are definitely the way to go.
- If you live somewhere with very cold winters, consider adding a thermal lining. It’s probably alright as it is for mild UK winters if you wear a warm jumper underneath.
- Measure yourself and check the pattern sizes before you start cutting out!
Overall I am pleased with the results. It could have been a lot fiddlier and I have used patterns that were a lot more confusing.
Dominic (Boy 1) took the photos. Considering he usually only ever takes pictures of buses, he’s done a good job!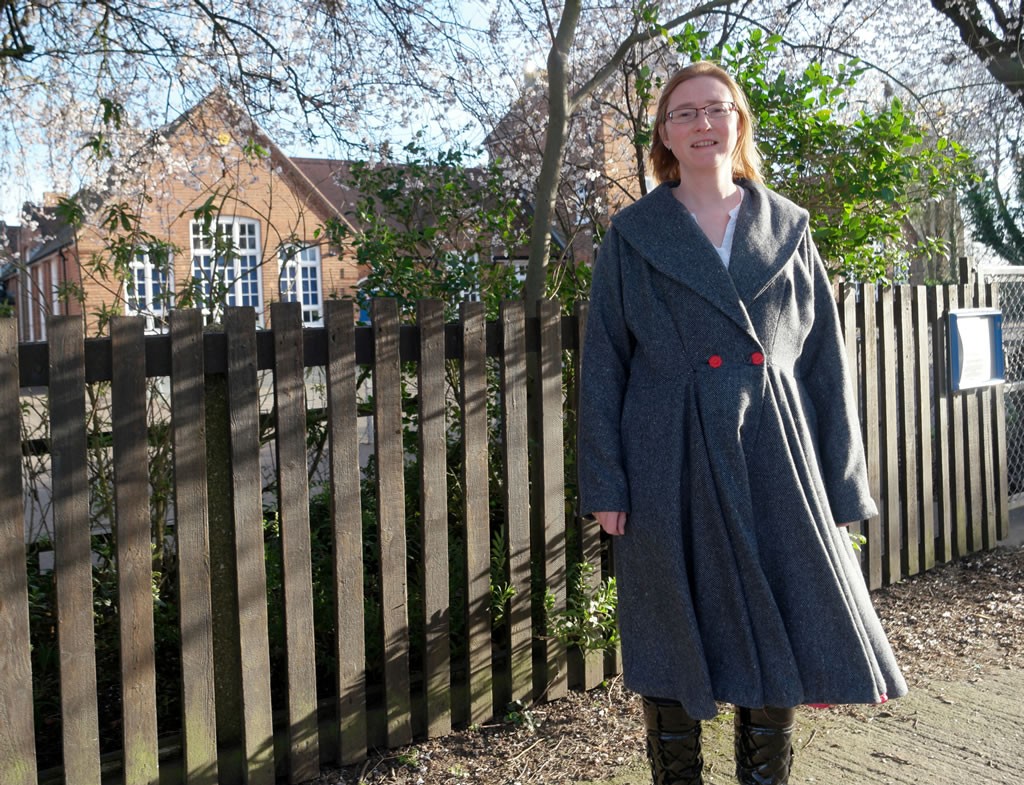
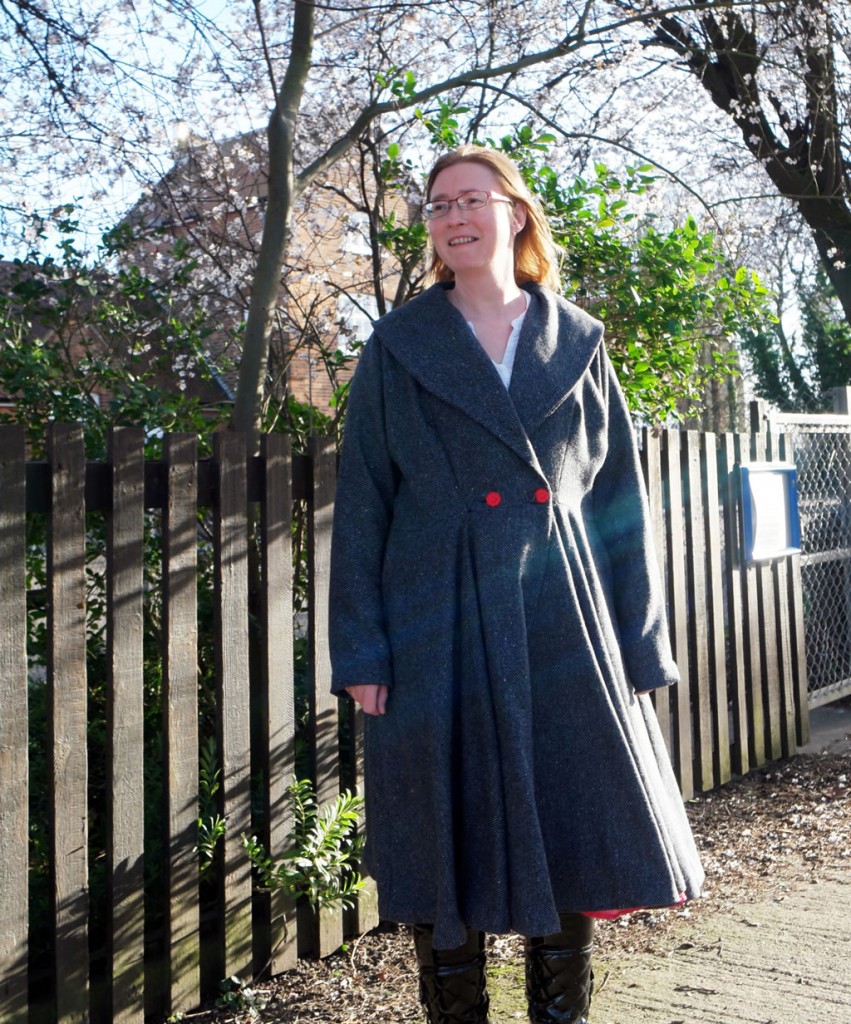
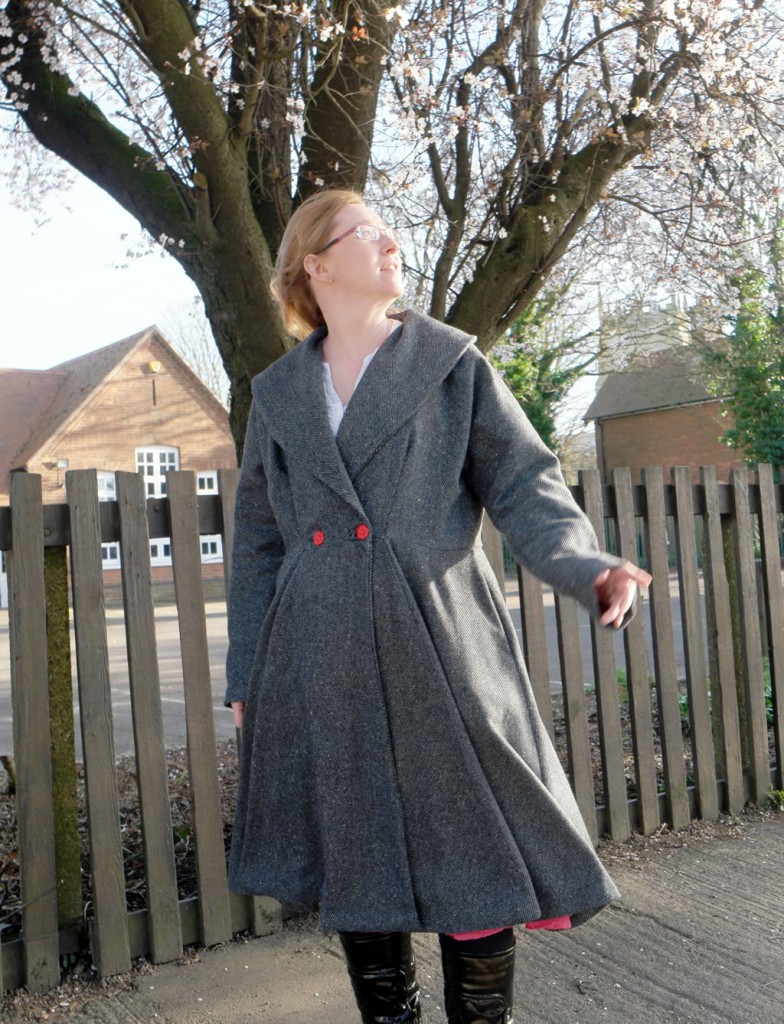
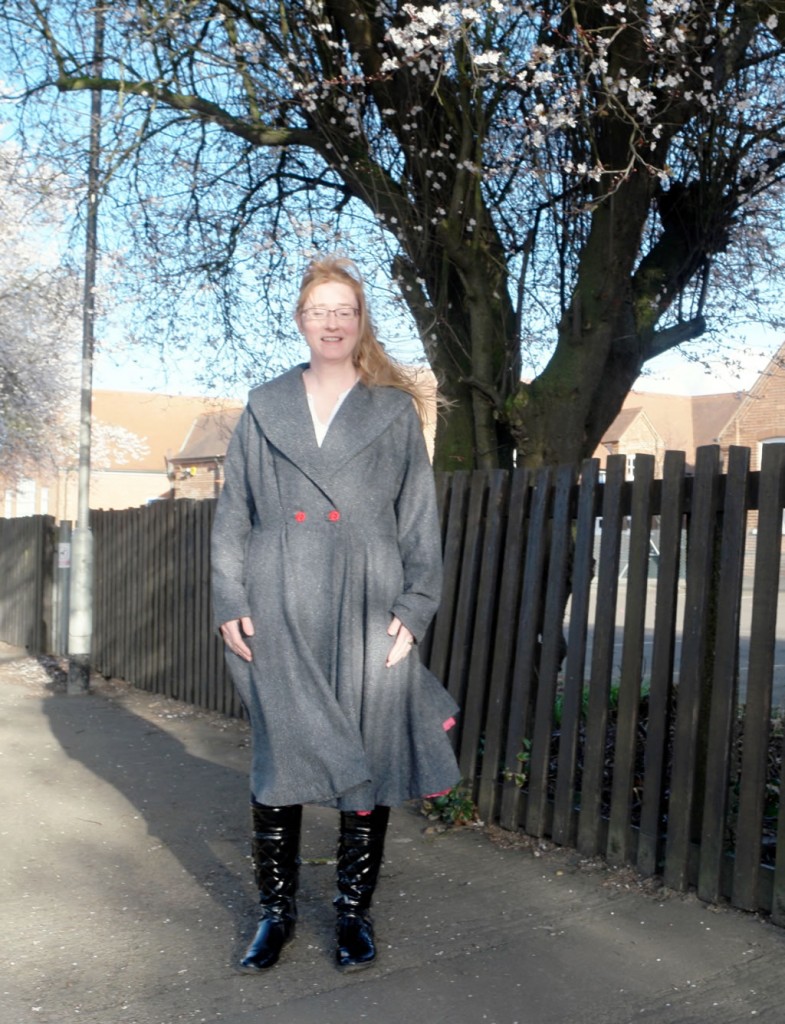
It was pretty windy!
Will I wear it? Definitely.
Will I make another one? Probably not.
Would I make a coat using a pattern again? I’d think twice, and probably think about making one without.
I am glad I made it and that I used the pattern. Sometimes you just have to try and see what happens, and I am happy with how it has turned out. Plus I now have a warm coat again!


Oh, this is a babe of a coat! Love the movement in the bottom of it.
Thank you, it’s a bit big now but I still wear it because I love it!
I always feel I have just emerged into your living room when I read your blog. Stepped over the Lego, patted the cat, drank my cup of tea, ate the cake made by boy two or was it boy three. The coat is interesting, too hot and tricky for me! Swimming weather here in Tweed Heads NSW. Liked the hint about combining craft supplies with Xmas present budget, hadn’t thought about it that way. Also the selvages in to the middle for cutting out.
Thanks Georgina :). Selvedges to the middle is a good tip, it’s one of my mum’s too, passed down from her grandmother.
Well done you, you’re braver than me 🙂
I love the flower buttons and the pink lining and the photo’s are lovely 🙂
Thank you! Dominic did very well with the photos 🙂
Gosh well done you! looks great
Thank you xx
Looking good and well done on the tailored buttons know these can be tricky and yours are perfect
Thank you xx
It’s a beautiful coat, well done for making it yourself.