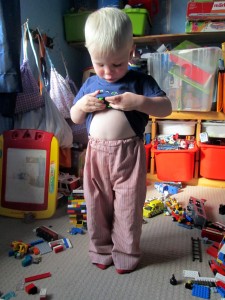
I found myself in a v good situation the other day. One of Husband’s shirts had a tear in it and Boy 4 needed new trousers. Crank up the sewing machine, it’s a chance to make stuff. Hooray!
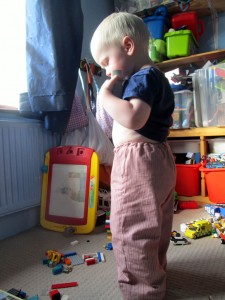
There’s a lot of fabric in a man’s shirt, especially if it’s a shirt belonging to a large man. More than enough to make a pair of trousers. Happily, it was a nice shirt, cotton not polyester, and in a fairly practical colour. I just knew the stripes would look very cute as a pair of trousers! I’m also getting warm fuzzies knowing that a) the trousers were free and b) the shirt has not ended up clogging up landfill but has been given a second lease of life.
Here’s how to make a pair of upcycled toddler trousers.
1. Find some fabric. Men’s shirts are great. Depending on the prints, there might be enough fabric in an old pillowcase. A skirt or a pair of trousers might provide suitable fabric too.
2. Find or make a pattern. I had a pattern already. These are actually the third pair of trousers I have made from this pattern, and I have also made the dungarees and the top that came with the pattern. If you do not have a pattern, that’s not a problem. Trousers are basically made up of 4 pieces, so choose a pair of your child’s trousers, turn them inside out and draw around one leg, the whole leg round to the middle seam.
3. Cut out the pieces. Remember to turn your pattern piece over for two pieces. I cut one piece out of each of the shirt fronts and 2 pieces out of the back.
4. Take the two front pieces and, with the right sides together, sew the middle seam. Trim and press. Repeat for the back.
Ironing the shirt first is probably a good idea. As you can see, I did not do this.
5. Put the front and the back together with the right sides together. Sew up the side seams. Trim the seams.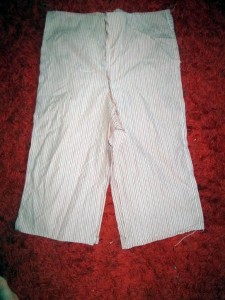
6. Sew up the inside leg seam. Trim the seam and snip the curves.
7. I made a lining for Boy 4’s trousers to make them a little bit thicker. If you are making trousers for summer they will probably be alright without a lining. For trousers for colder months you might wish to line them, in which case repeat steps 3 to 6. This might be a good way to use up pale coloured shirts!
8. Pop the lining trousers inside the outer trousers so that the right sides are together. 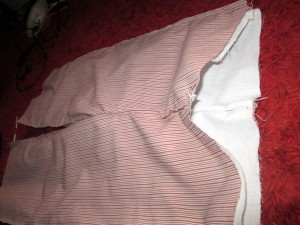 Sew around the top, trim the seam and turn the right way out. Put the lining back inside the trousers so that the wrong sides are together. Top stitch around the top of the trousers.
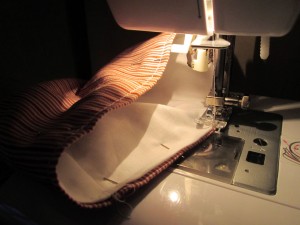
9. To make the casing for the elastic, fold the top down 1.5 cm, pin, then sew in place, leaving a small gap at the back for threading the elastic.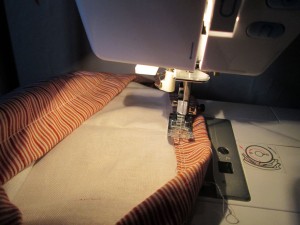
10. Fold up the raw edge at the bottom of the outer leg. Pin. 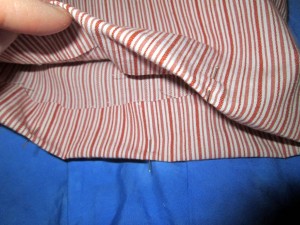 Repeat for the lining so that the folded raw edges are together and the lining leg is a couple of mm shorter. Pin together.
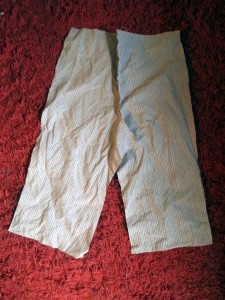
 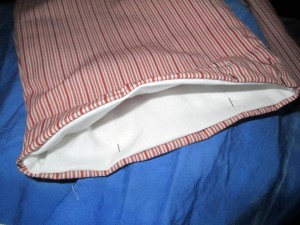 Sew around the bottom of the leg. Repeat for the other leg.
11. Cut a piece of elastic as long as the distance around your child’s waist plus a couple of cm extra. Using a safety pin, thread the elastic through the casing and tie in a knot.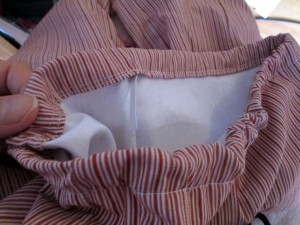
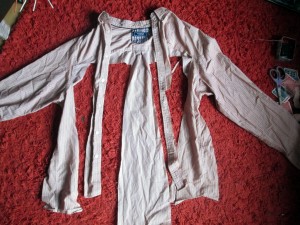
This what is left of the shirt now.
Husband won’t be wearing that again unless they have a Raggedy Pirates’ Day at work. There’s still fabric in the sleeves though, not to mention the buttons, so enough for another small project or two!



Leave a Reply