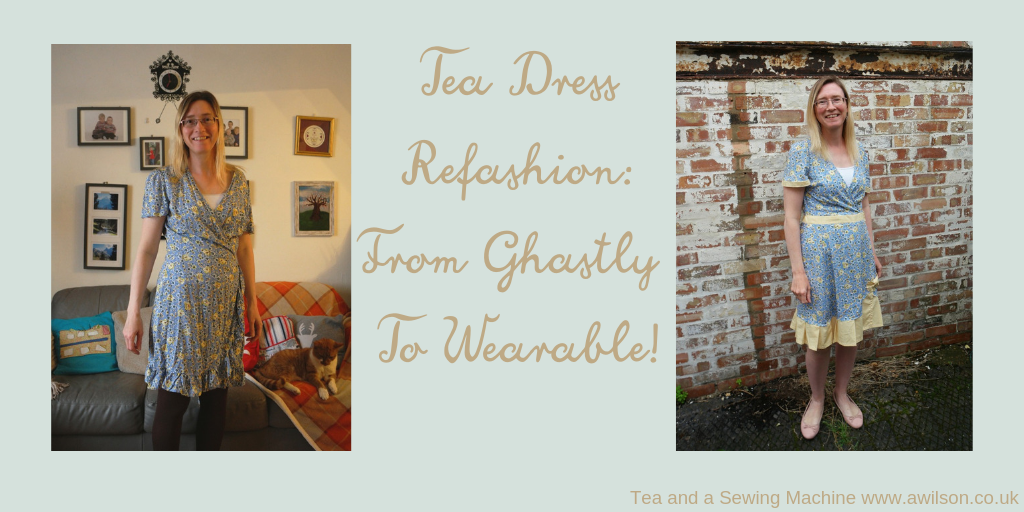
Dress Refashion: Adjusting Fit, Length and Style
Last summer I bought this dress.
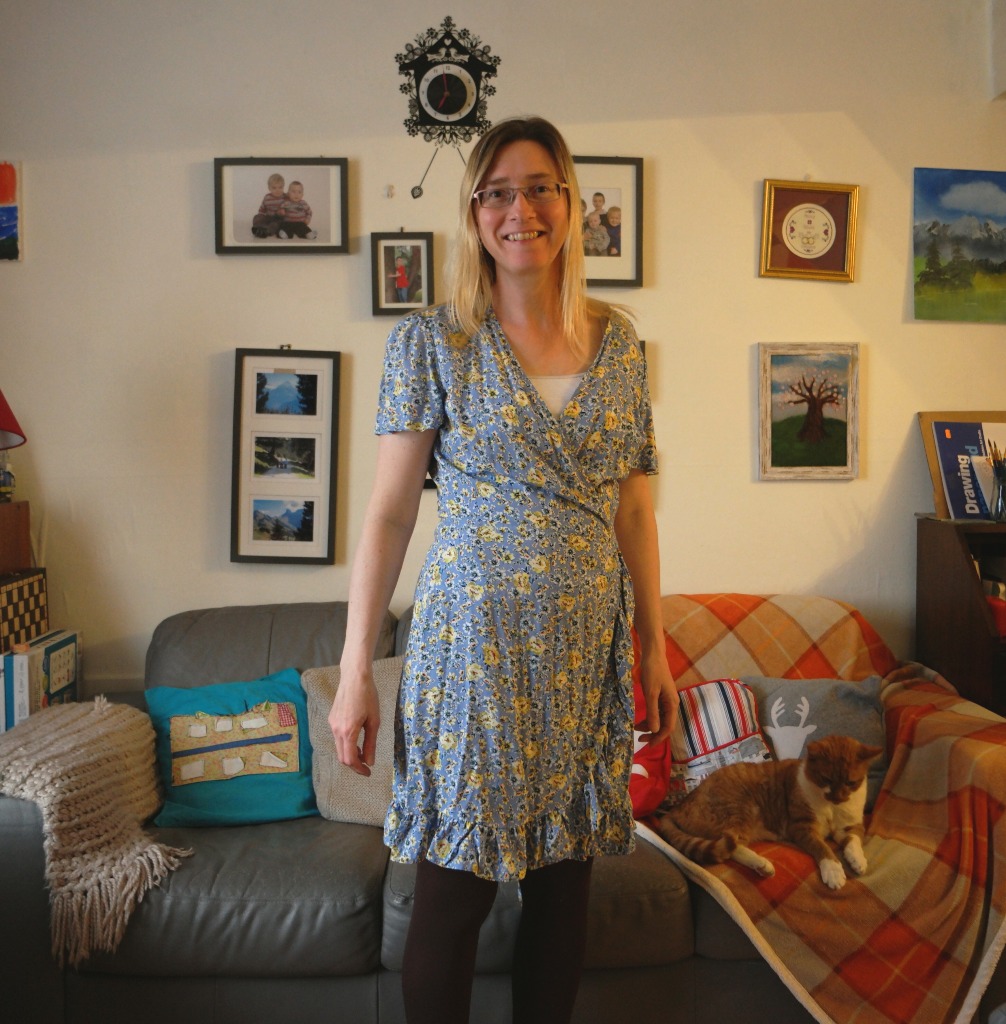
The print was pretty, the fabric draped nicely and I liked the print. Although I don’t do yellow (I’m not Josie Jump!), the flowers made me think of harvest time.
It was about the time that I’d lost a lot of weight, so I had no idea what size to get! I couldn’t be bothered to try it on so I guessed the correct size
When I got home, I found that I’d guessed wrong! As it didn’t fit at all I decided to take it back.
I don’t go into King’s Lynn that often, so a couple of weeks later, I still had the dress at home when I saw somebody else wearing the same dress.
Seeing it on a person rather than a hanger made me realise that swapping it for one in a smaller size probably wasn’t going to help! The poor girl who was wearing it had strategically placed some safety pins so that she wouldn’t flash everybody, but the fit was bad and it didn’t look good. I actually wonder whether she wore it again after that.
It was a shame, because it should have been a pretty dress.
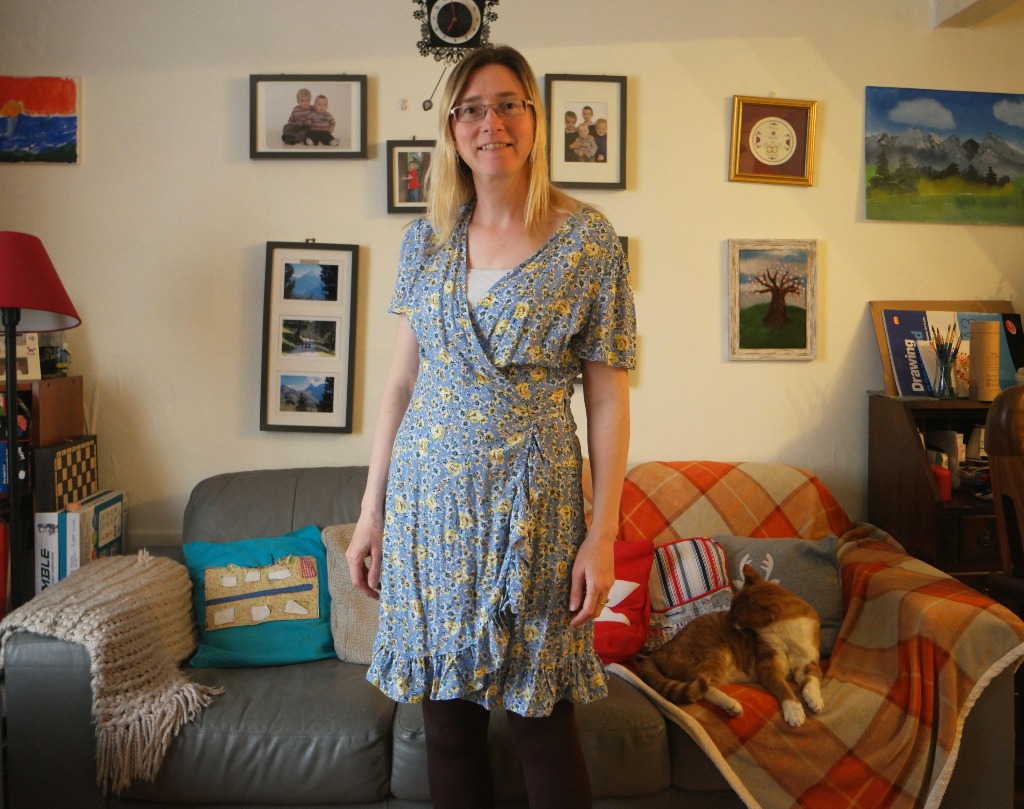
Anyway, as there was not much point in taking it back, I thought perhaps I could refashion the dress into something I would actually wear. I didn’t get round to it last summer, but now I have and here it is!
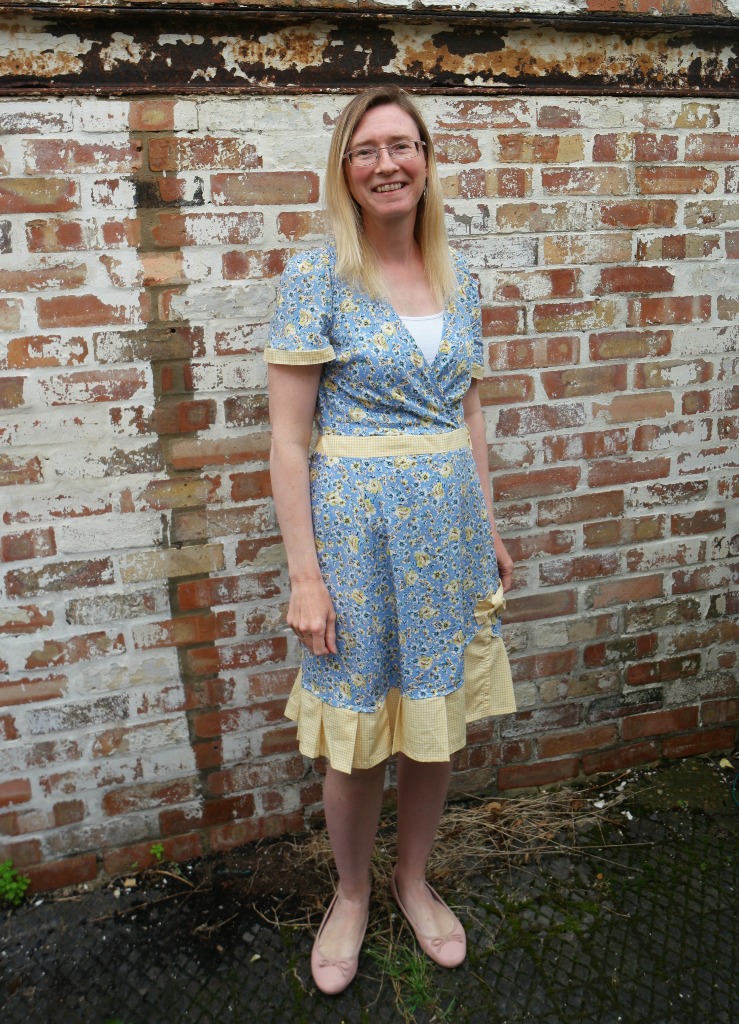
This is the process I went through to refashion a dress that didn’t fit and was generally awful into something I now like and will wear!
Identifying What To Keep and What To Change
With a dress refashion, it’s a good idea to decide what you want to keep and what you want to change before you start cutting! Having a plan always helps.
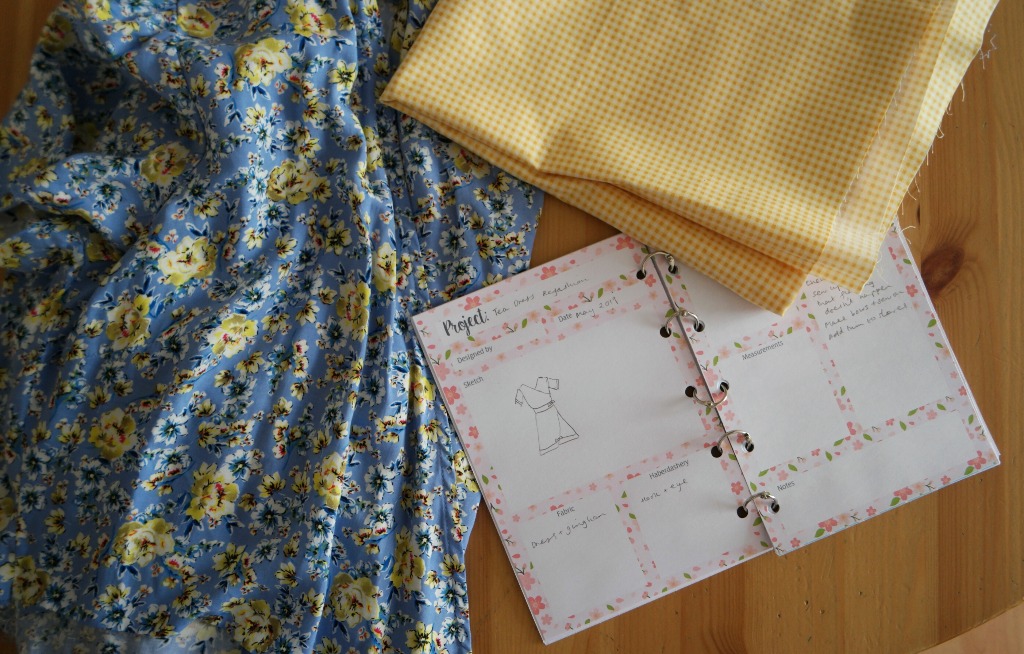
With this dress, I liked the fabric and the wrap around style.
What I mostly didn’t like was that it didn’t fit! It was too short and I didn’t like the ruffle. I was also worried about accidentally flashing people, but I didn’t want to wear it with leggings.
So the things I needed to change were:
The fit
The length
The ruffle
The potential to flash unwitting members of the public
Adjusting the Fit
The skirt was fine but the top half was awful.
So the first thing I did was remove the top from the skirt.
Shapelessness can often be fixed by adding some darts. The bodice had darts at the side, so I adjusted these and added some to the bottom of the bodice.
I also took the bodice in at the sides.
Then I checked the bit where it crosses over. I was planning on wearing something underneath it, but i still didn’t want it gaping. I pinned the crossover sections and trimmed a bit off the bottom.
While doing this, I put the bodice on inside out and pinned it while I was wearing it. It was tricky but not impossible!
Changing the Skirt
There were several issues with the skirt. The first was the ruffle. This was sorted out after half an hour with the unpicker! The other things that needed addressing were the length and the skirt’s flashing potential.
Adjusting the Length
Making things shorter is easier! But lengthening things isn’t impossible, it just involves extra fabric and some creative thinking.
As I loved the harvest yellow flowers, I bought a metre of yellow gingham and I used this to add some length to the skirt.
I didn’t measure anything, I just used the width of the fabric! I used the whole width on the back of the skirt and half on each of the front sections.
To get the length right, I worked out how much longer I wanted the skirt to be, and used the skirt as a guide so that there would be enough for where the hem line curves upwards.
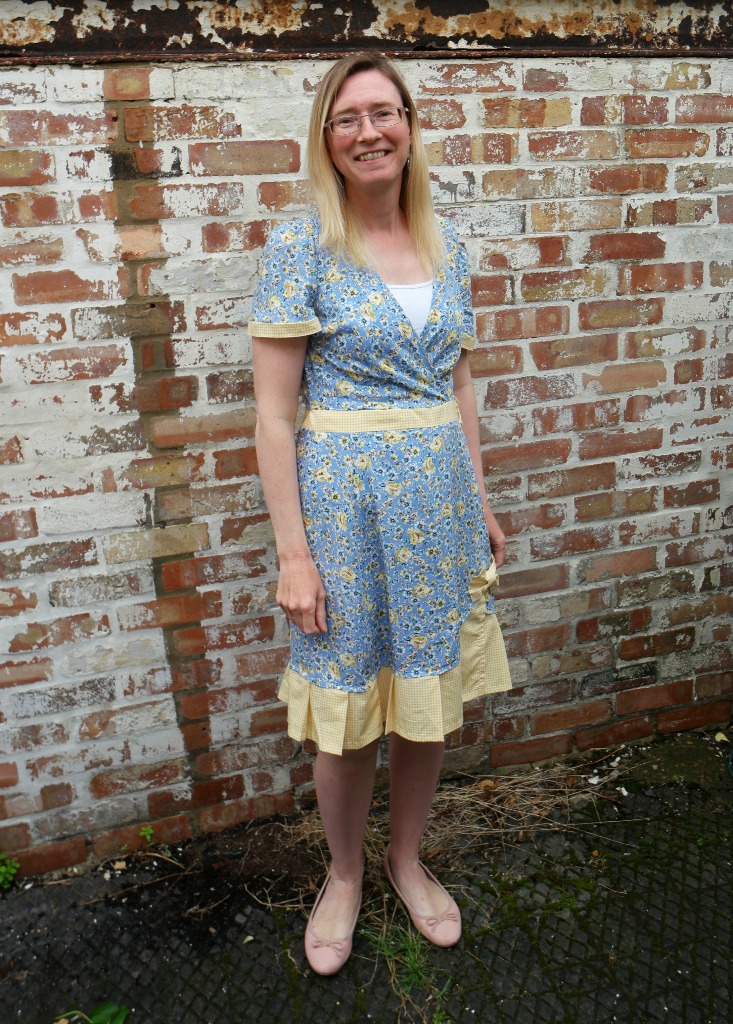
I pleated the gingham and pinned it to underneath of the skirt. Then I sewed it to the skirt.
I wanted to add a piece of gingham to the top of the skirt too, but I needed to take care of the potential flashingness first.
Changing the Skirt So That the Dress Was Decent
To do this, I wrapped the skirt around myself and pinned it. Not too tightly as the bodice is still quite loose fitting and I like being able to breathe and eat!
Then I took the skirt off and laid it out flat. I repinned it, lined up the bottom edge of the gingham, and sewed along the front section of the skirt that would previously have flapped open. I also sewed along the overlapping bit of the skirt at the top to hold it.
Reattaching the Skirt to the Bodice
Firstly I added another piece of gingham to the top of the skirt. I overlapped the ends at the side seam.
Then I sewed the top of the gingham to the bodice.
To make things a bit easier, I sewed the overlapping sections of the bodice together first.
Because the skirt was wider than the bodice, I needed to add a couple of little tucks to the gingham at the sides.
Finishing It Off
My regular readers will know that I don’t like to pretend that things are perfect! I’m a normalish human so sometimes things don’t go to plan and occasionally there are disasters!
Although this wasn’t a disaster, I did have to reattach the skirt a couple of times, and the front of the bodice took a couple of goes as well.
The tuck on the waistband area was a bit messy, as was the bit where the skirt overlapped.
Bows and ruffly flowers hide a multitude of sins! I whipped up a couple of bows and sewed them on to hide to messy.
The last thing I did was add a little bit of gingham to the sleeves to pull it together.
The Results
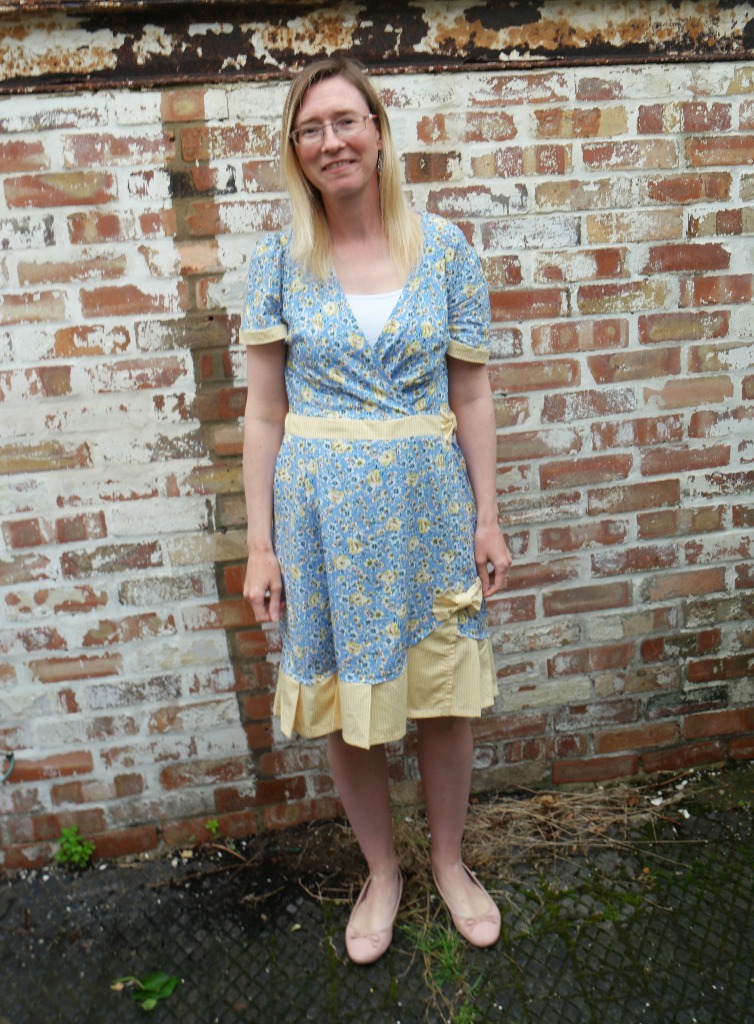
It’s not perfect, but I’m pleased with it.
The gingham works as well as I thought it would.
The length is much better and the general public are safe from getting an eyeful of pasty flabby legs!
The bodice fits much better. It’s still a bit baggy under the arms, but it’s wearable.
I considered sewing the overlapping bit of the bodice, but if I had I would have needed to add a zip to be able to get in and out of it.
Overall I’m happy!
PS If you like upcycling and refashioning kind of things, there are lots on my friend Vicky’s blog here.
There’s another dress refashion post on Tea and a Sewing Machine from when I turned a top into a dress.
And if you like the idea of making dresses from your own designs, you might like my ebook Designing and Making a Dress From Scratch.


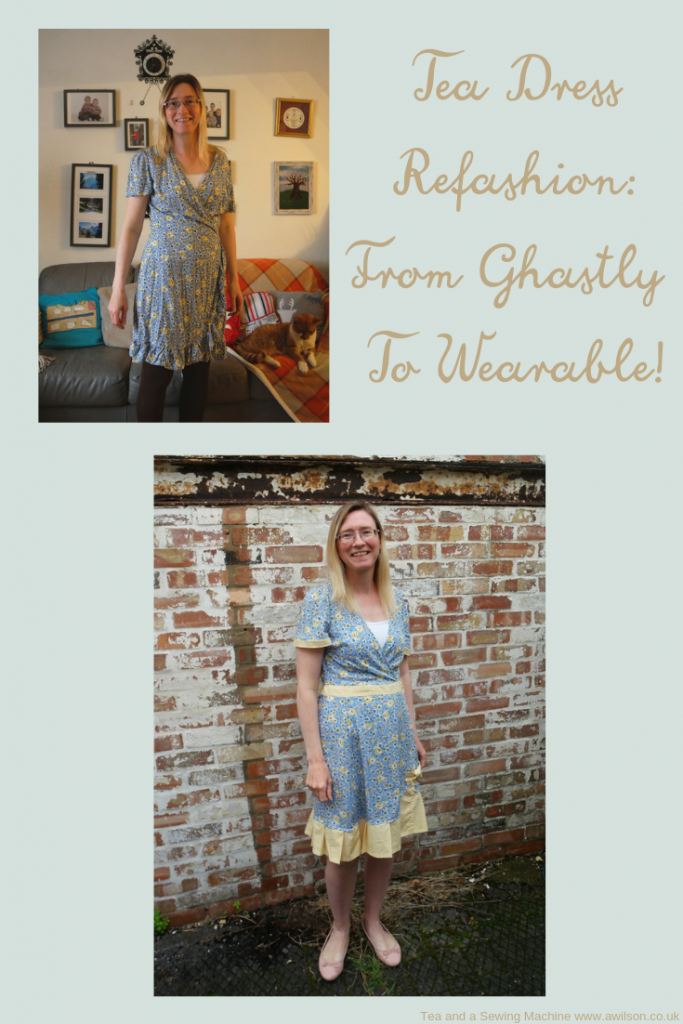
[…] This one shows how I refashioned a tea dress from something that was ghastly and didn’t fit at all into something wearable. […]