How to Make Spring Bunting
It will probably come as no surprise if I tell you that I love bunting.
I have bunting hanging up in my living room, in the kitchen and on the dresser. I did have bunting on the front of my house too, until some clown or other decided to swing on the brackets and it ended up adorning the pavement. I even have bunting on my blog header!
There’s something very cheery about those little flags and it’s possible to decorate the flags for a particular purpose, to spell out a word or by appliquing pictures to them.
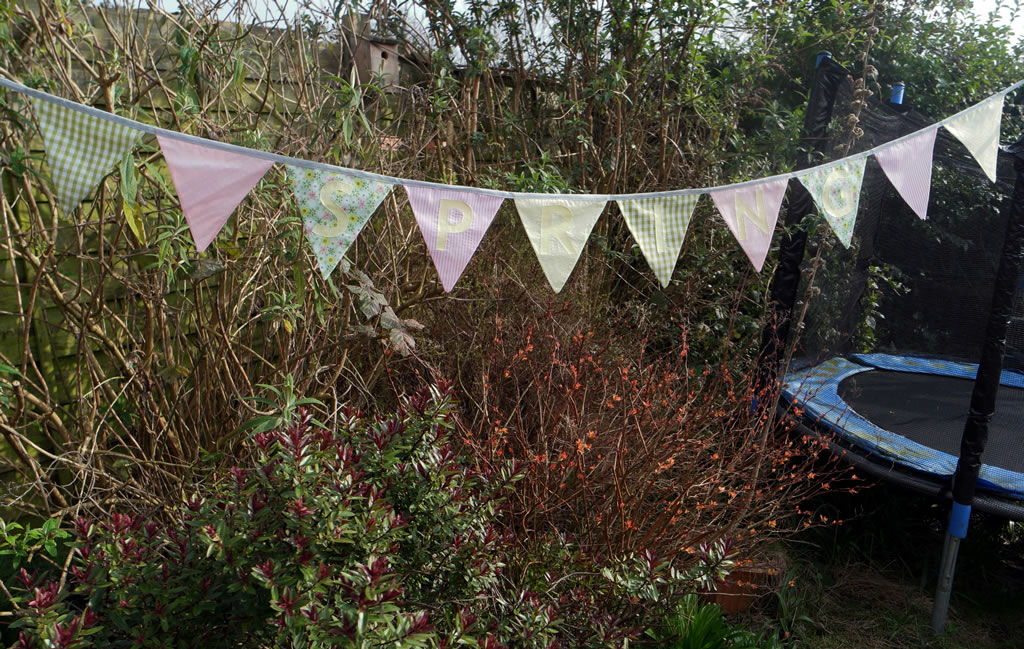
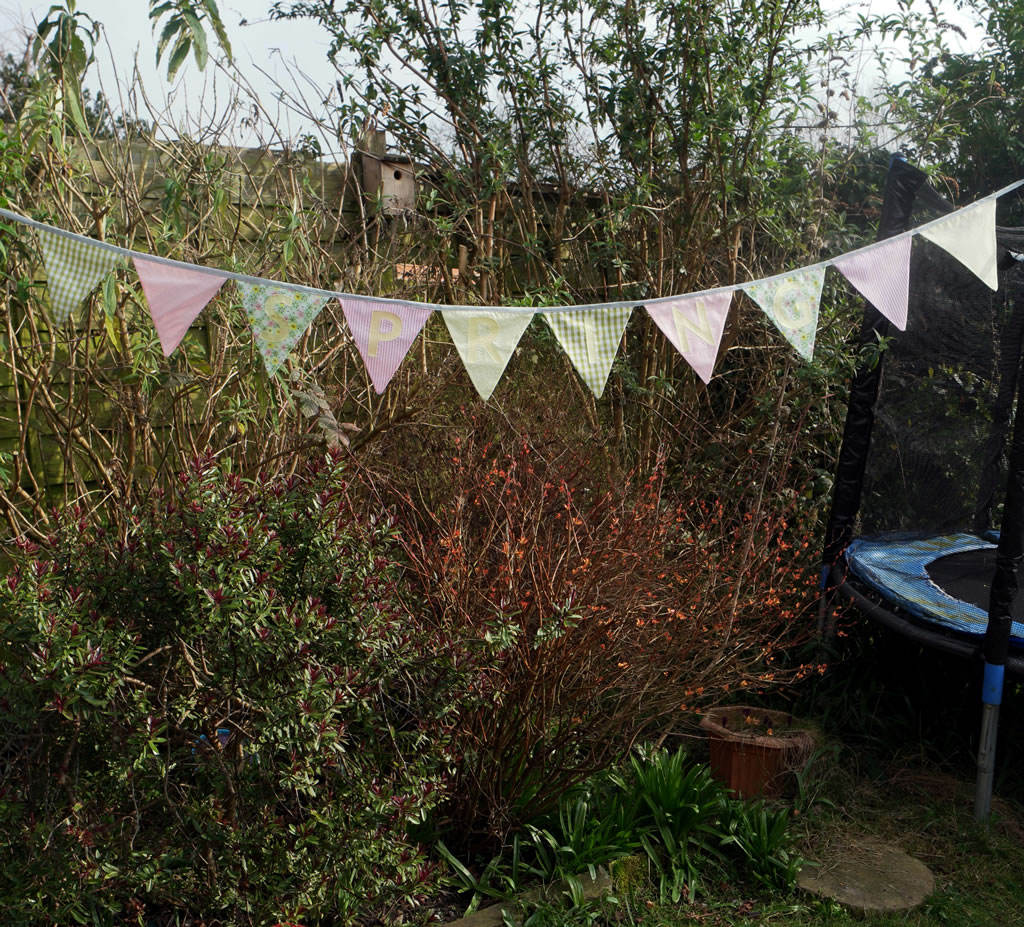
So this week I have made some spring bunting.
How to Make Spring Bunting
You Will Need: card (a cereal packet will do), a ruler and a pencil, cotton or polycotton fabric (I got mine from Ebay but there are some nice fabric packs on Hobbycraft that are not too expensive Hobbycraft), fusible interfacing or Bondaweb
, bias binding
(affiliate links).
Making the Template
If you don’t want to make your own template, you can download one for free here!
1. On a piece of card, draw a line 20 cm long.
2. Find the middle. Draw a second line 20 cm long from middle of the first line and at right angles to it.
3. Join the end of this line to the ends of the first line to form a triangle.
4. To make the lettering, you could either draw them, or you could find a nice, simple font on the computer and print out the letters. Cut your templates out.
Making the Bunting
1. Decide how many flags you will need. Obviously you will need 6 for the word spring, then how many extra flags is up to you. 8 or 10 in total would be good.
2. For each flag, cut 2 triangles. If you are using the free template, you will need to add 1 cm to the sides for the seam allowance.
3. Decide on the order for the flags. Put them to one side.
4. Iron on some fusible interfacing to the wrong side of the fabric you will be using for the lettering. If you have Bondaweb, fab! If not, don’t worry.The interfacing will do the job, It’s just that the Bondaweb
will make things slightly easier as you can fuse it to the flags before sewing (affiliate links).
5. Cut the letters out.
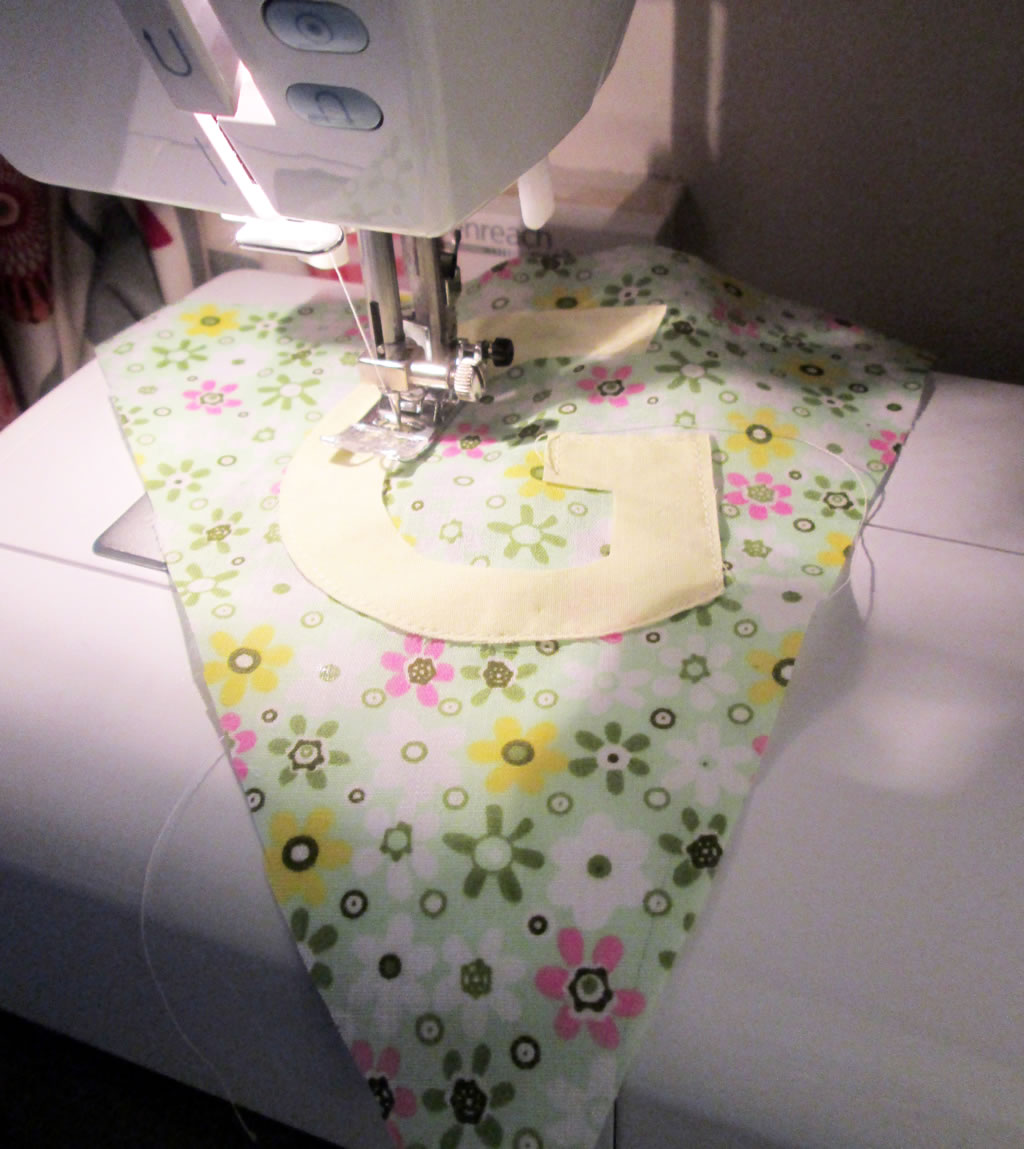
6. If you are using Bondaweb, fuse the letters to the flags. Otherwise pin them on.  Then applique the letters to the flags.
7. To make the first flag, take 2 triangles. With wrong sides together, pin, then sew the sides, leaving the top open.
8. Trim the seams and cut across the corner, Turn the right way out.
9. Repeat for the other flags. Run the iron on them so that they look neat.
10. Take the bias binding and start folding it in half lengthways. It is easiest to leave it on the roll and unwind it as you go.
11. Sew along where you have folded. Make sure that you allow enough to tie your bunting onto something.  Then slip the first flag in where you have folded. Continue sewing along the bias tape until you have sewn the flag in place.
12 Leave a gap of a cm or 2, then slip the next flag in between the fold. Sew.
Keep going in this way until you have sewn in all the flags. Leave a similar length of bias binding at the end for tying and sew along this too.


Thanks for sharing over at the DIY Crush Craft Party. This is a great tutorial for bunting! We’ve added this to our Pinterest board. Don’t forget to stop by on Thursday to add your tutorials to our next craft party!
Thank you!
I’m so ready for spring! Thank you for sharing at The Really Crafty Link Party! Pinned!
Thank you! xx
I do like a bit of bunting, it always looks so ‘happy’

I have red and white gingham that I use if ever I do a craft fair.
Love your spring fabrics 🙂
Jan @ Handcrafted by Picto recently posted…St Patricks Day Charms & a little snippet of WIP
I love bunting 🙂 And gingham as well actually!
Another lovely tutorial Anna, they are always so clear to follow.
Thank you xx
I have been waiting for a reason to make bunting for a while! Your instructions make it look very straightforward, thank you! x
It’s easy and it doesn’t take too long!