A Small Round Bag Tutorial
This small round bag tutorial is the third in a series I’m writing to show what you could make using the new Tilda collections, Memory Lane and Cabbage Rose.
I was sent the fabric by the people at Stitch Craft Create.
The previous two are a very easy fabric basket and a lined, zippered pouch with a flat bottom.
This little bag is a more involved project than the previous two, but it still fairly easy. It just takes a bit longer because there are more steps.
If you like the tutorial, there is a pattern available for this, which includes the pattern pieces and full instructions.
Here is my small round bag tutorial!
How to Make a Small Round Bag
You Will Need
2 fat quarters of cotton fabric, one for the outer and one for the lining, interfacing (either sew in or fusible is fine), 1 magnetic snap, paper and pencil, usual sewing supplies.
Making the Template
If you want to skip making the template, you can buy the pattern here.
If you do want to make the templates yourself, this is how to go about it.
1. Cut a square of paper measuring 25 cm x 25 cm. On that piece of paper, draw your main bag shape. The sides will be curved but the bottom part will need to be flat and the sides will need to curve less near the top. 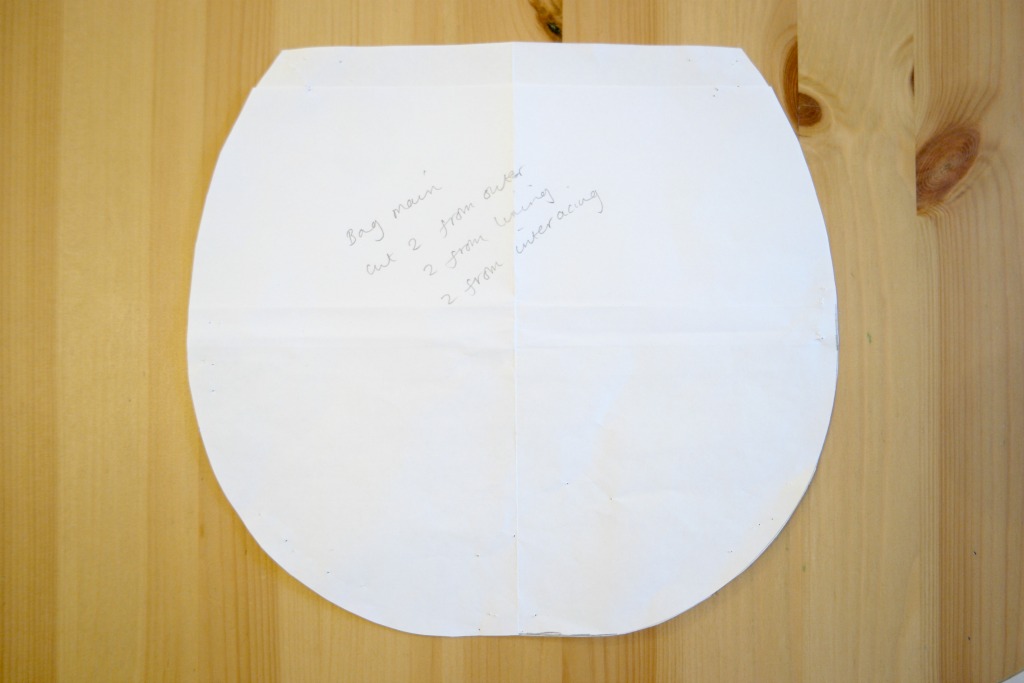 If drawing free hand is not your thing, you can use a plate to help you get the curves right. This is what I did! Another thing that helps is to fold the paper in half and only draw half of the bag. That way when you cut it out, your bag template will be symmetrical.
2. Using your main bag piece, draw the pocket section. It will need to be about two thirds the height of the bag.
3. The pocket tops are 2 triangles folded in half. Measure from the outside edge of the pocket top to about 2 thirds of the way along. This will be the bottom edge of the triangle. Using the main bag section as a guide, measure about 4 cm up the side and draw the side of the triangle. Join the top of the triangle to the point at the bottom. You will need 2 of these triangles joined together so that they can be folded in half.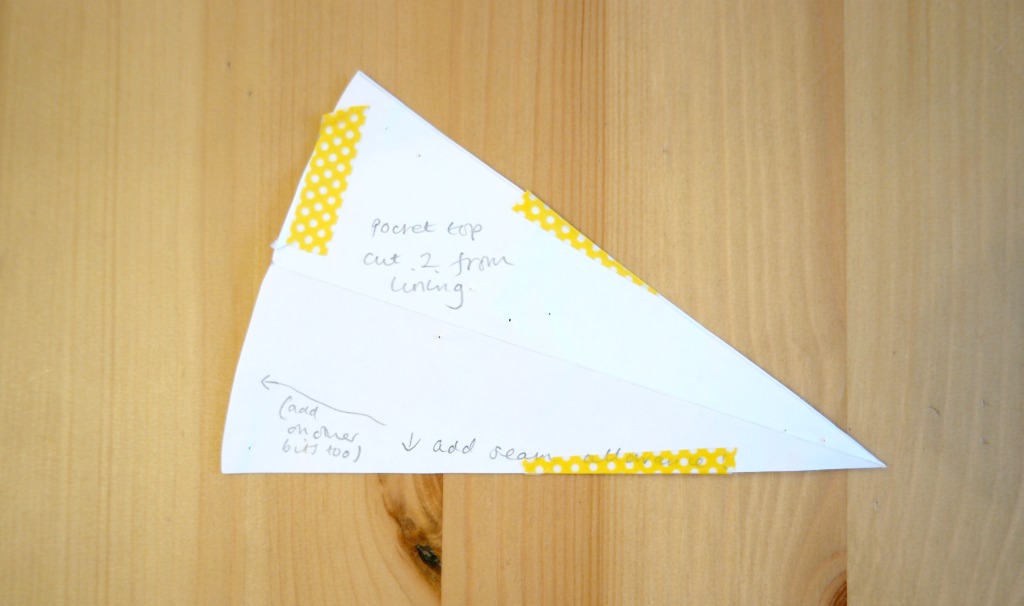
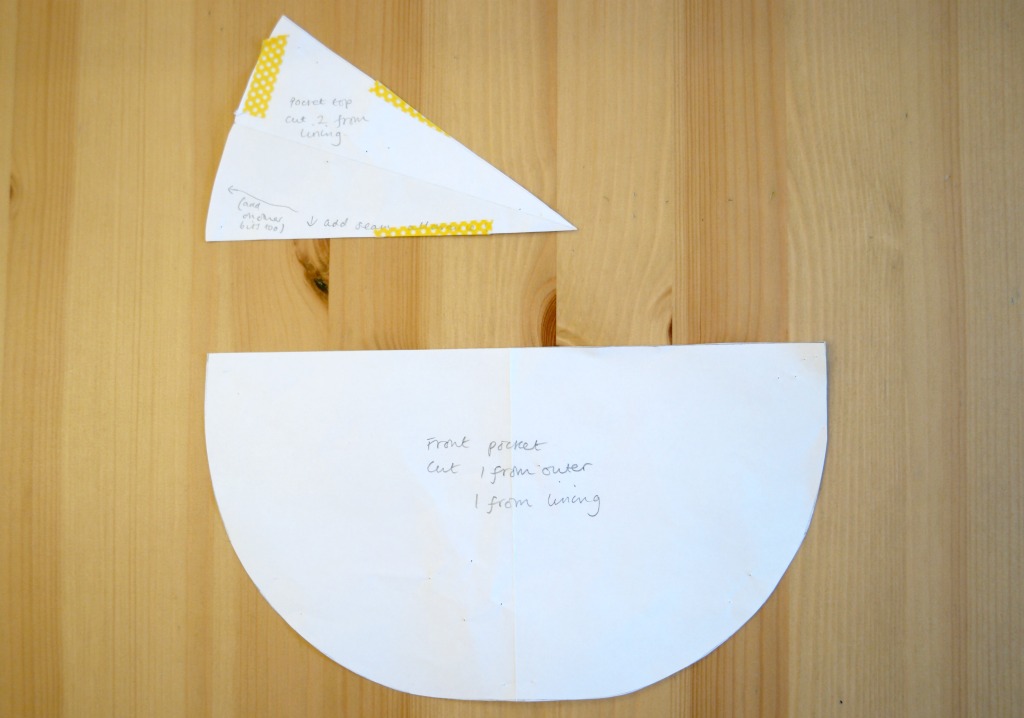
4. For the gusset, decide how far up the bag you want this to go. It doesn’t need to go right to the top! I made mine 30 cm long, mainly so that I could be sure of cutting the entire bag out of 2 fat quarters. If you find that you don’t have quite enough fabric when you are cutting out, you can always make it a bit shorter.
Draw a line the length that you need for the gusset piece. At one end of the line, measure 2 cm on either side and mark with a pencil. Then at the half way point, measure 4 cm on either side of the line and mark those points too. Using a ruler, join up the points.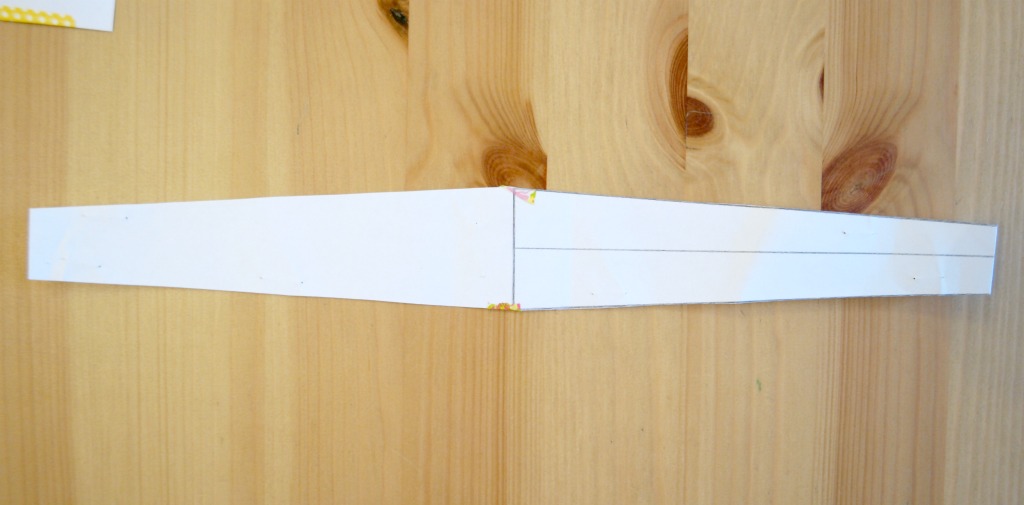
5. For the handles, draw a rectangle 5 cm x 34 cm. You will need to cut 4 of these, then join them to make 2 handles.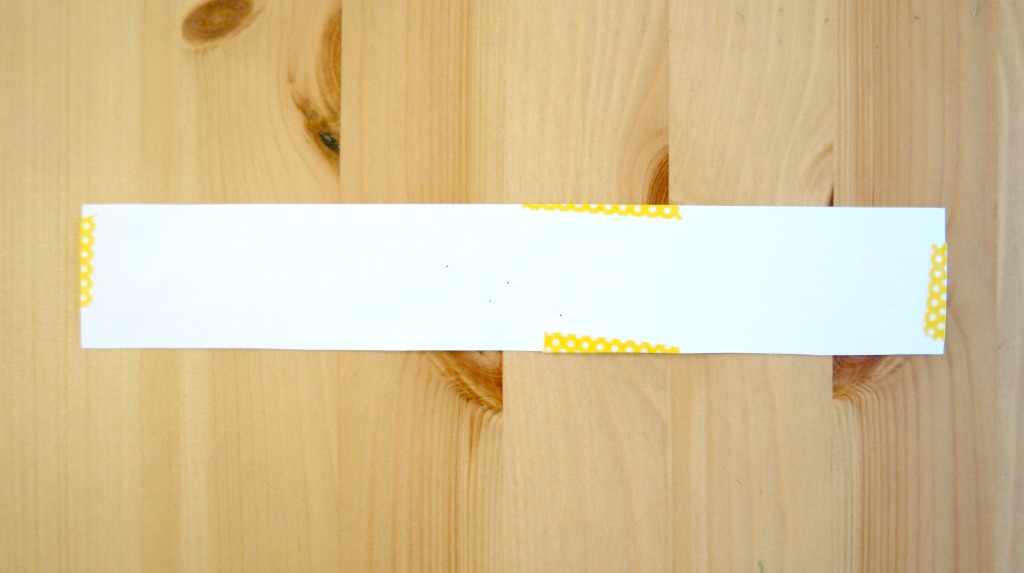
This does take a bit of doing, so if you prefer, you can buy the pattern here.
Cutting Out
From the outer fabric cut:
2 of the main bag piece
1 pocket piece
4 handles
1 gusset
From the lining cut:
2 of the main bag piece
1 pocket piece
2 pocket tops
1 gusset
4 handles.
From the interfacing cut:
2 of the main bag piece
4 handles
1 gusset.
It is possible to cut all of this from the 2 fat quarters, but it is tight fit and you will need to have the pattern pieces touching in some places!
Sewing Up
If you are using fusible interfacing, fuse it to the handles, main bag pieces and gusset that you cut from the outer fabric.
Handles
1. Join 2 of the handle outer pieces together at the short edge to make 1 longer handle. Repeat for the other outer pieces, the handle linings and the interfacing if you are using the sew in kind.
2. With the right sides together, pin 1 handle outer to a handle lining. If you are using sew in interfacing, this will need to go on top of the outer. Sew. Repeat for the other handle. Trim the seams.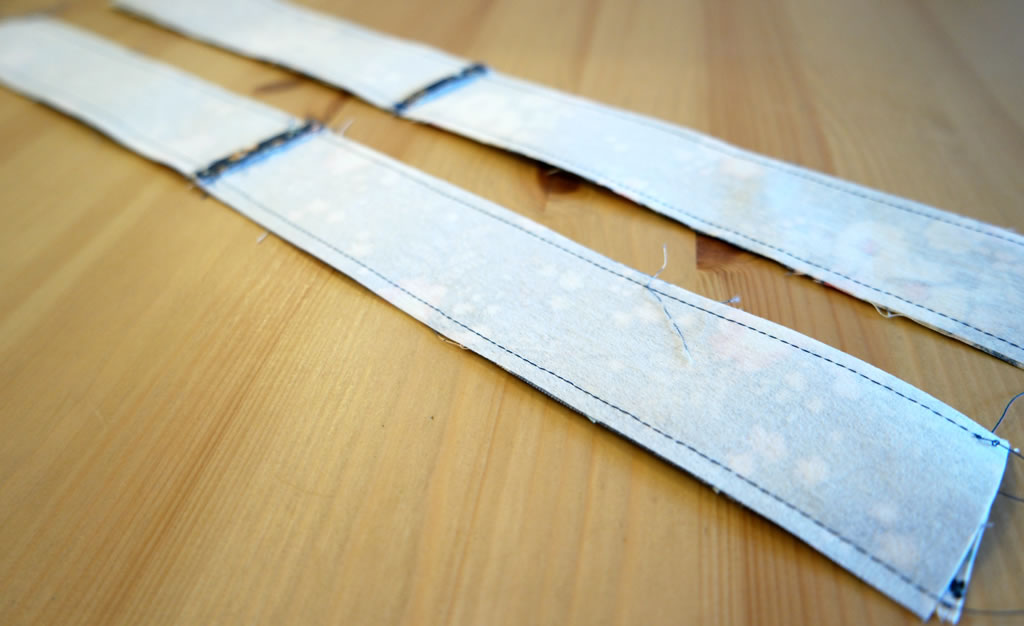
3. Turn the handles the right way out. The easiest way to do this is with a safety pin and a piece of string. 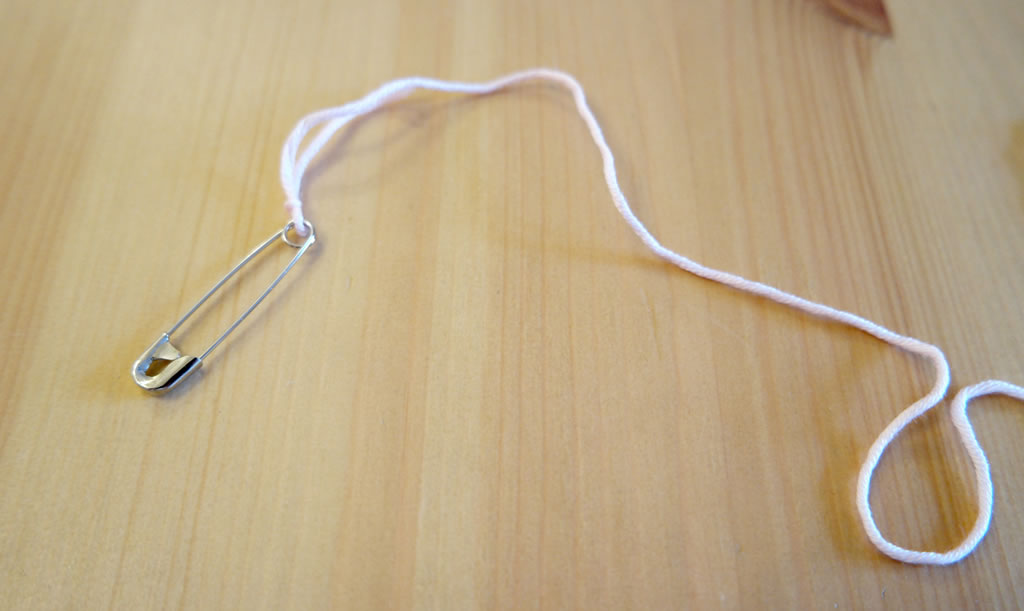 Thread the string through the handle and attach the safety pin to the top. Pull the string and the handle will turn itself the right way out. It might need a bit of coaxing to start with!
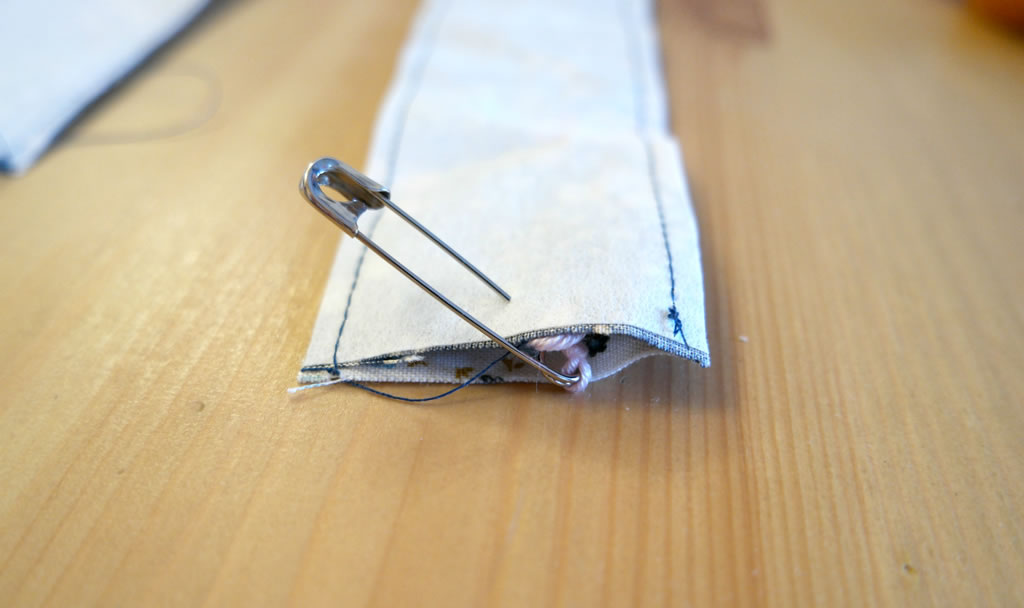
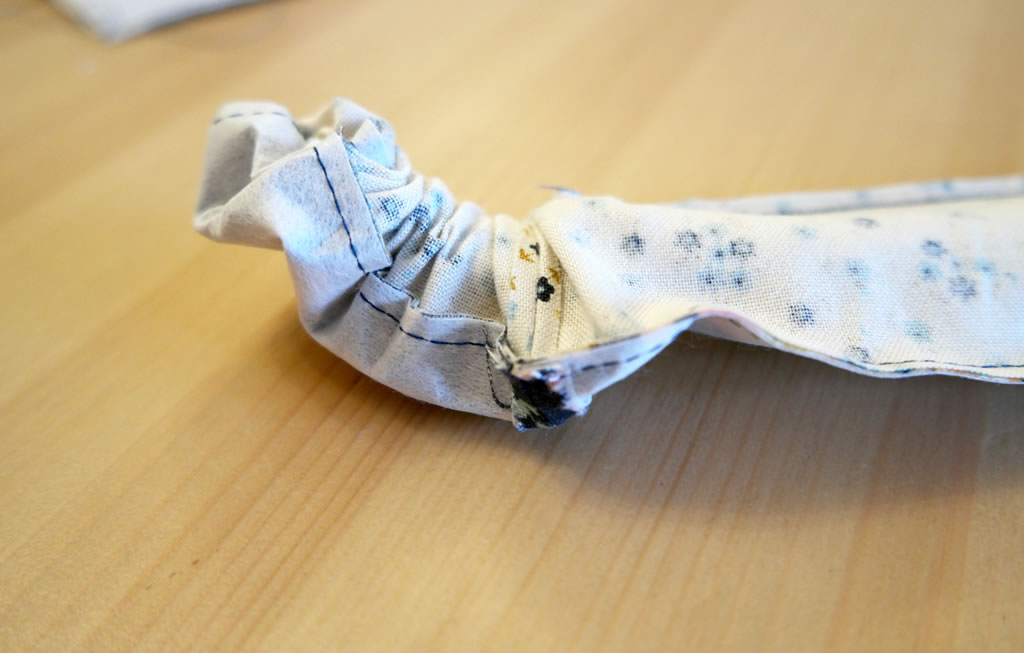
4. Run the iron over the handles and put them to one side.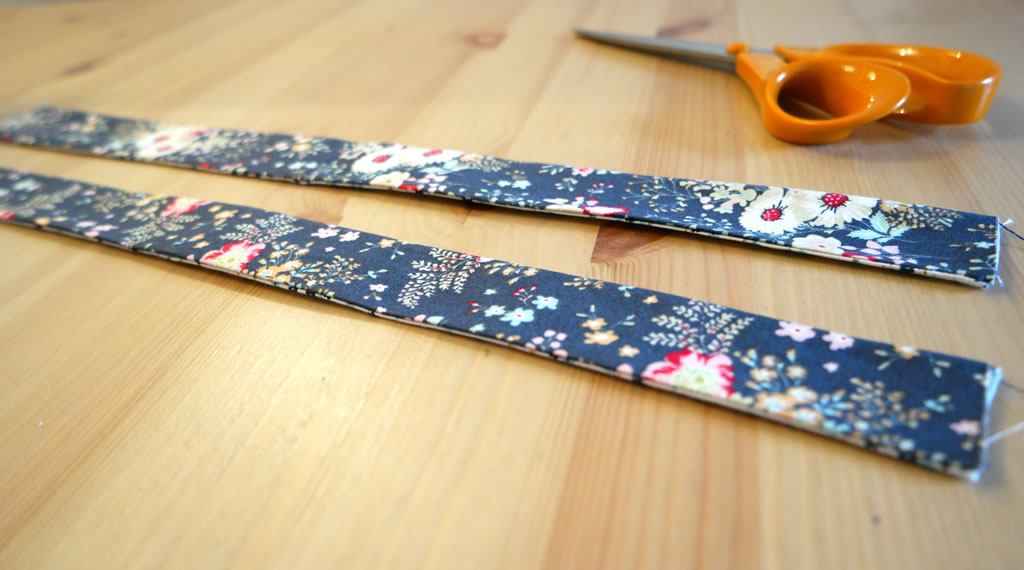
1. With the wrong sides together, fold the pocket tops in half and press.
2. Take the pocket outer and place the pocket tops on the outer, pointing downwards.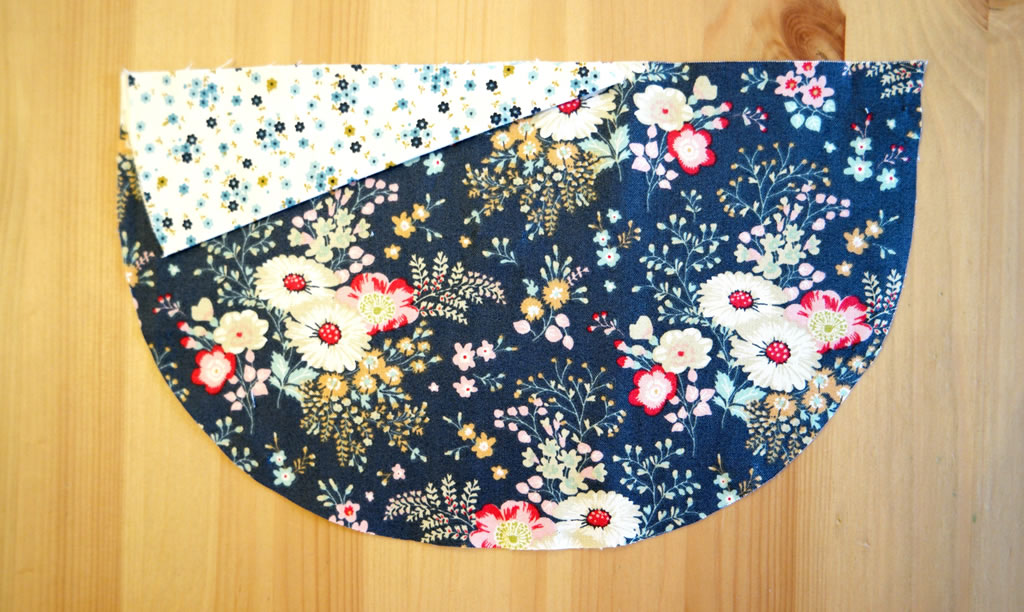
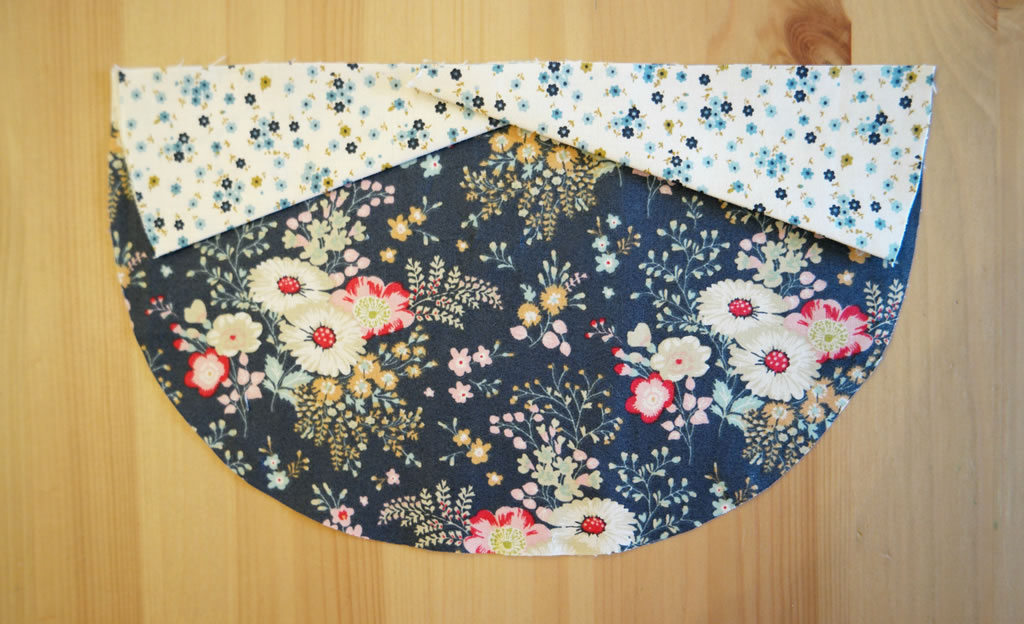
3. Place the pocket lining over the top so that the wrong sides are together and pin along the top. Sew along the top of the pocket.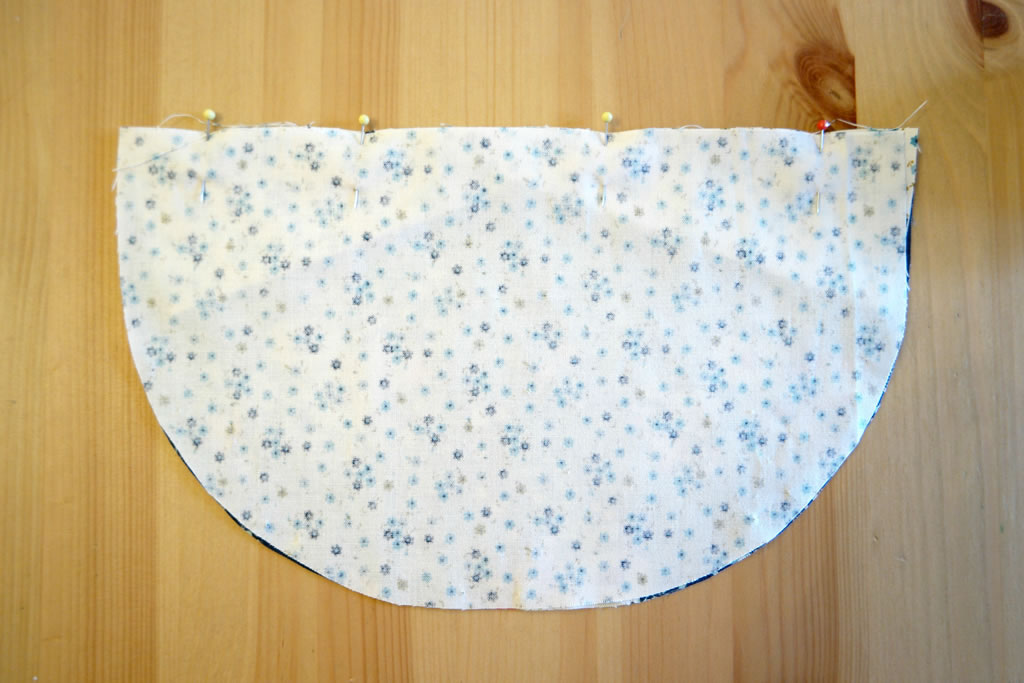
4. Turn the pocket pieces the right way out, with the pocket tops pointing upwards. Press, then top stitch along the top of the main part of the pocket.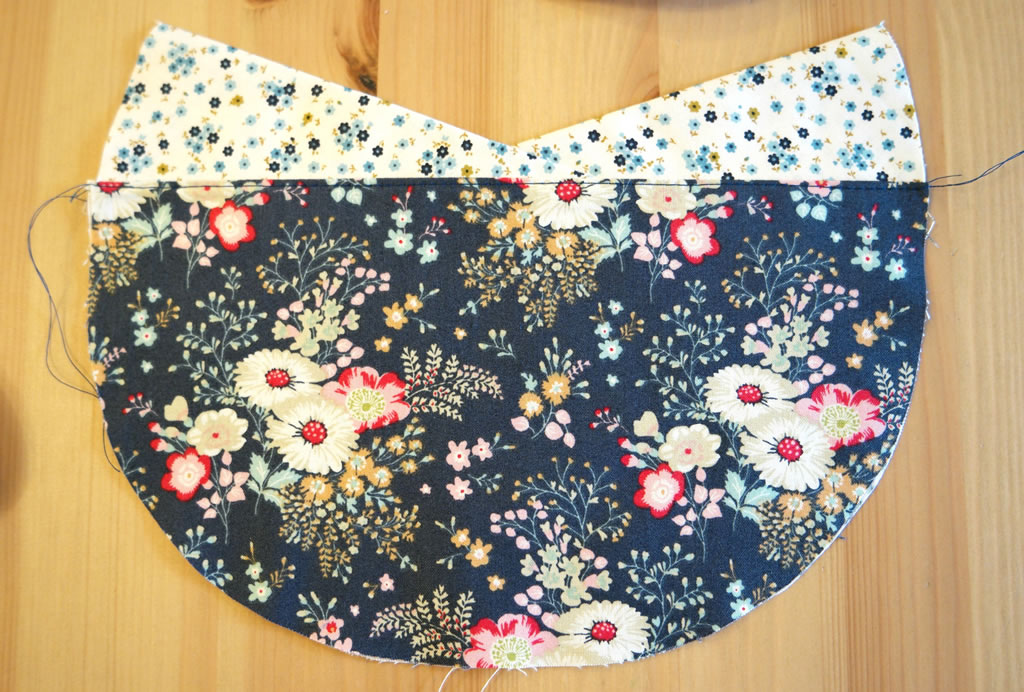
Attaching the Magnetic Snap
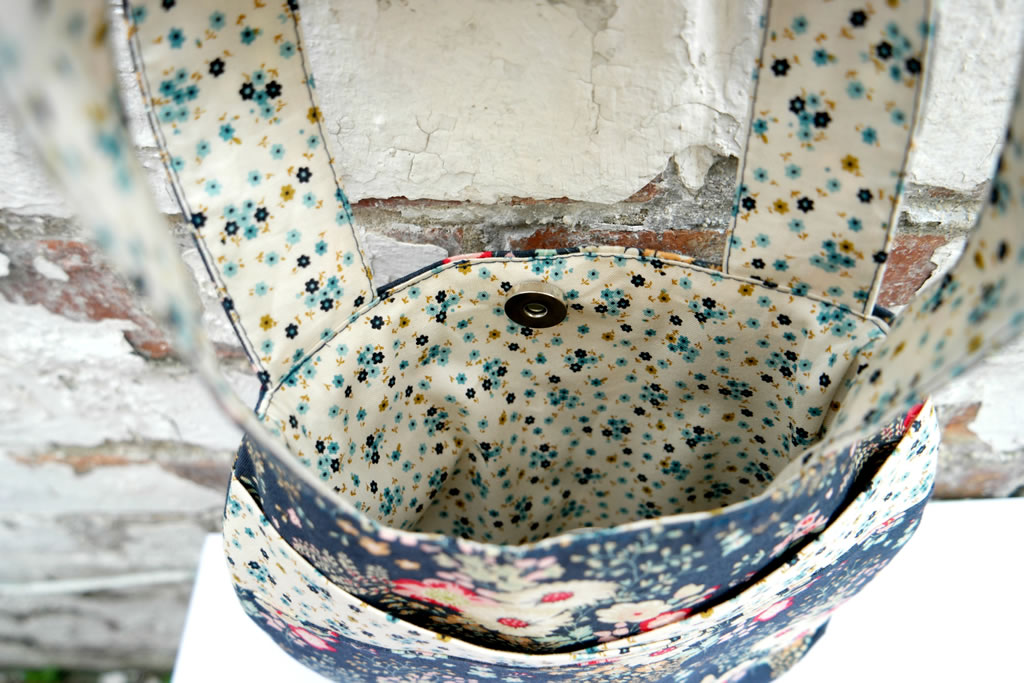
1. Cut 2 small pieces of interfacing about 3 cm square. Take one of the bag lining pieces and pin one of the squares to the wrong side about 2 cm down from the top. Repeat with the other lining piece.
2. Take one of the back pieces from the magnetic snap and place in the middle of the interfacing square. Mark where you will need to cut with a pencil.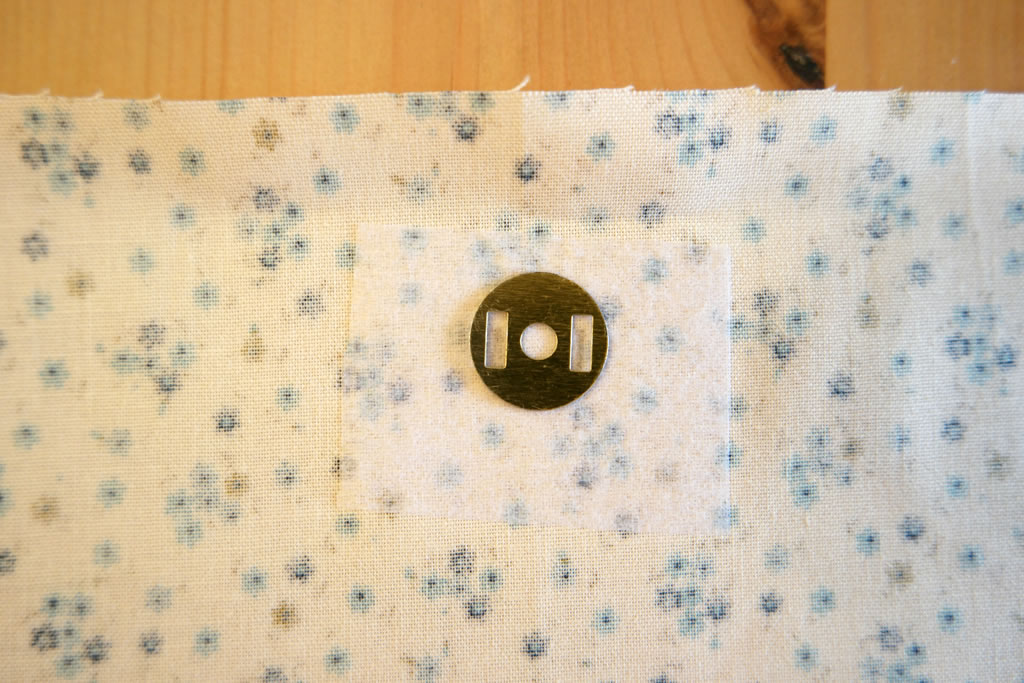
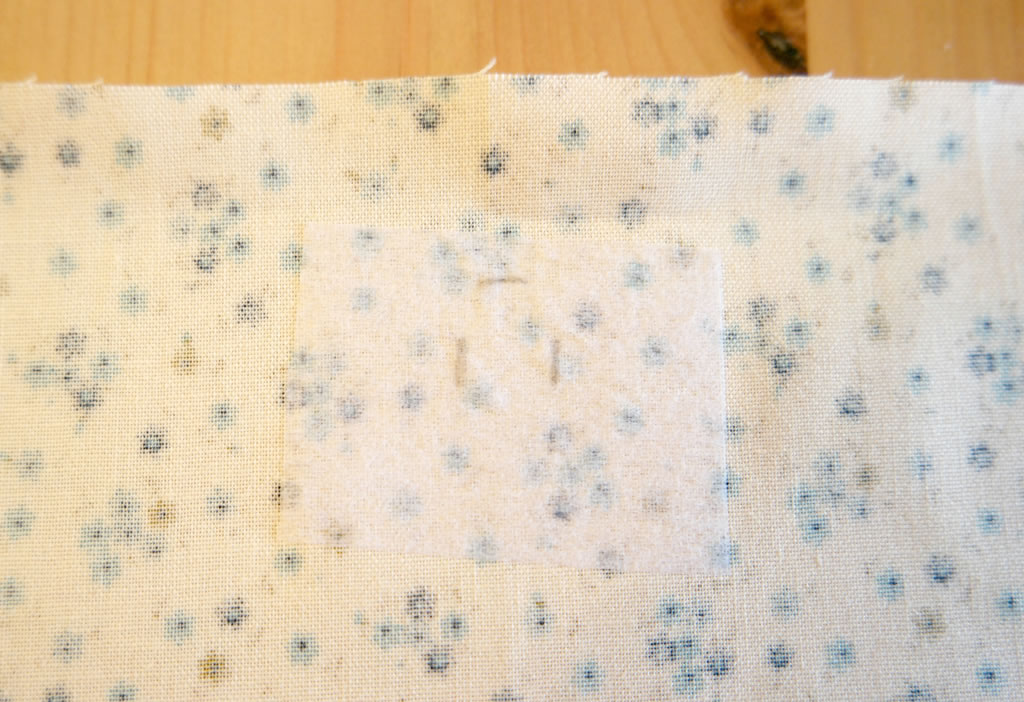
3. Cut 2 little slits where you marked and push one of the front pieces of the magnetic snap through.
4. Slip the back over the prongs and bend them over. 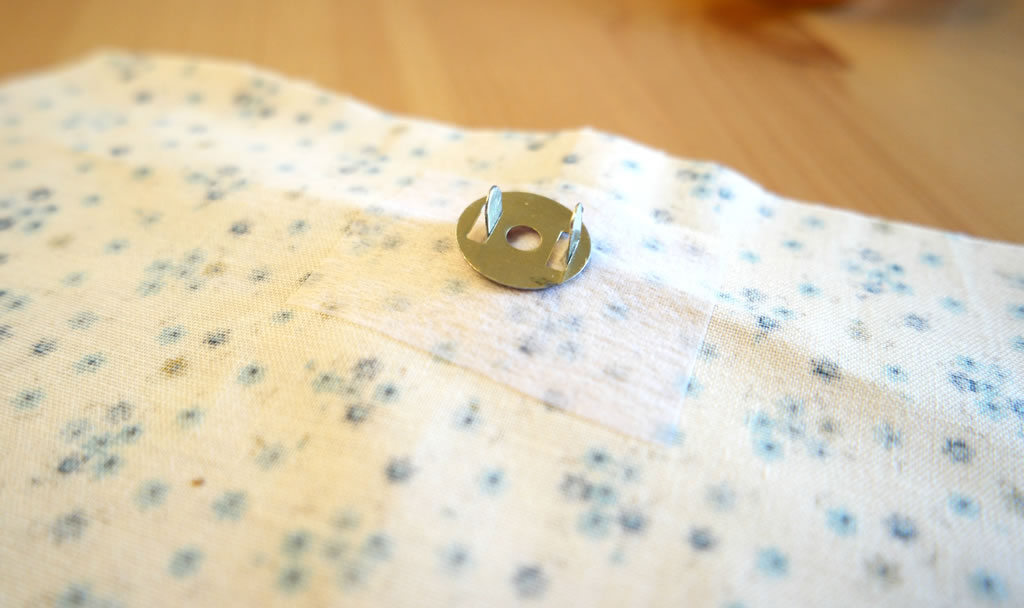
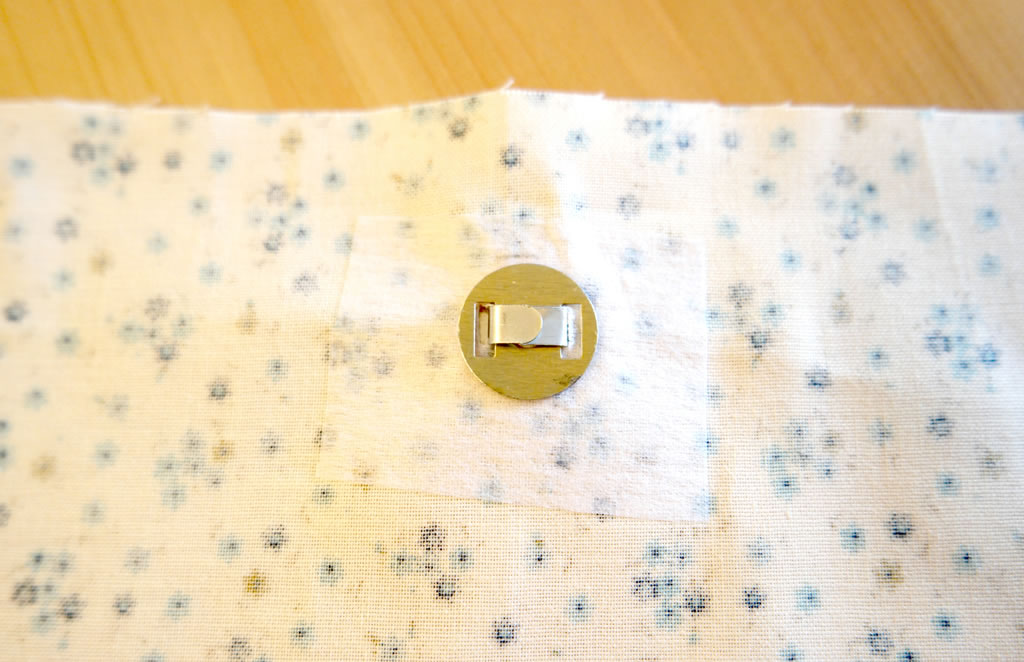
Repeat with the other half of the magnetic snap.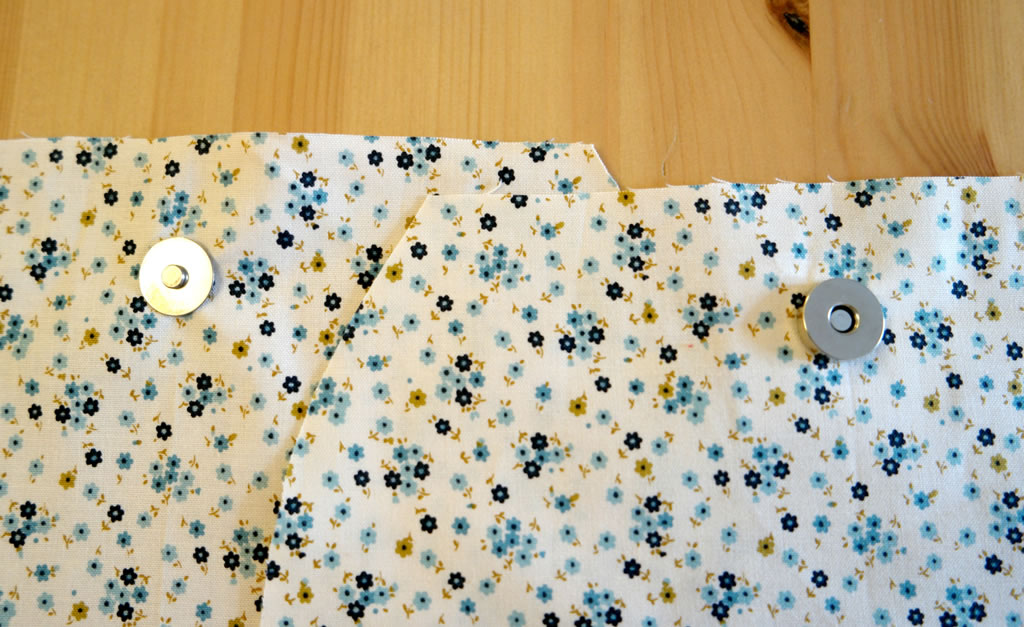
Lining
1. Find the centre of the gusset and the centre of the bottom of one of the bag lining sections. Match up the centres. With the wrong sides together, pin the gusset to the bottom of the bag lining. Sew.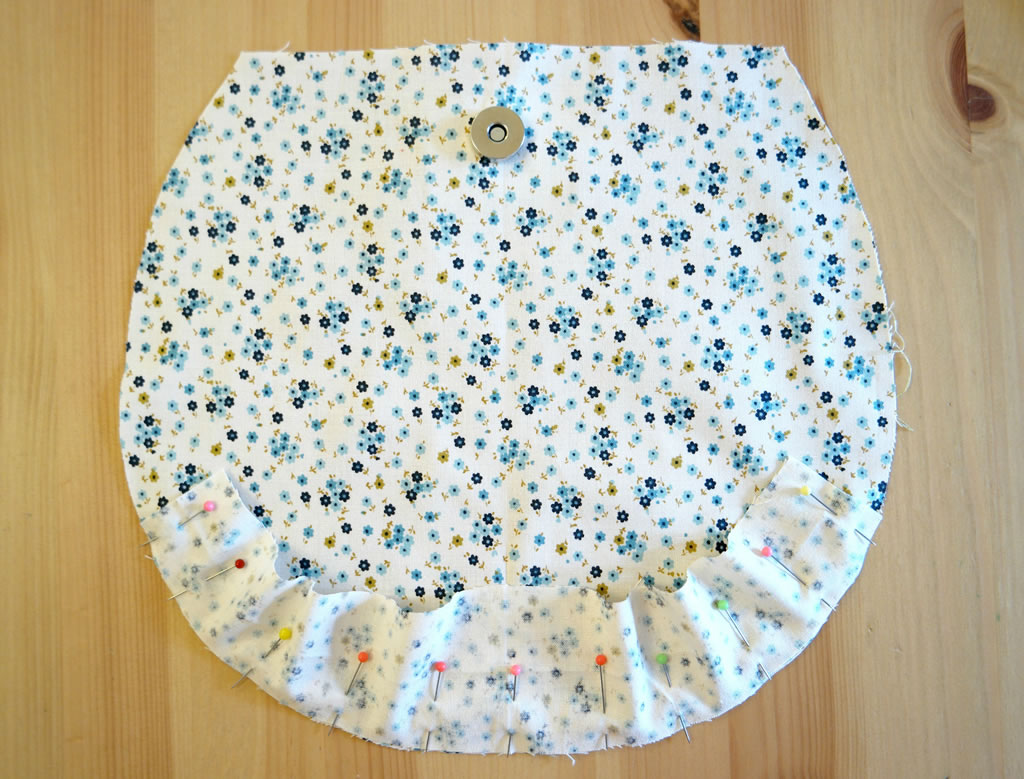
2. Sew the other bag lining piece to the gusset in the same way.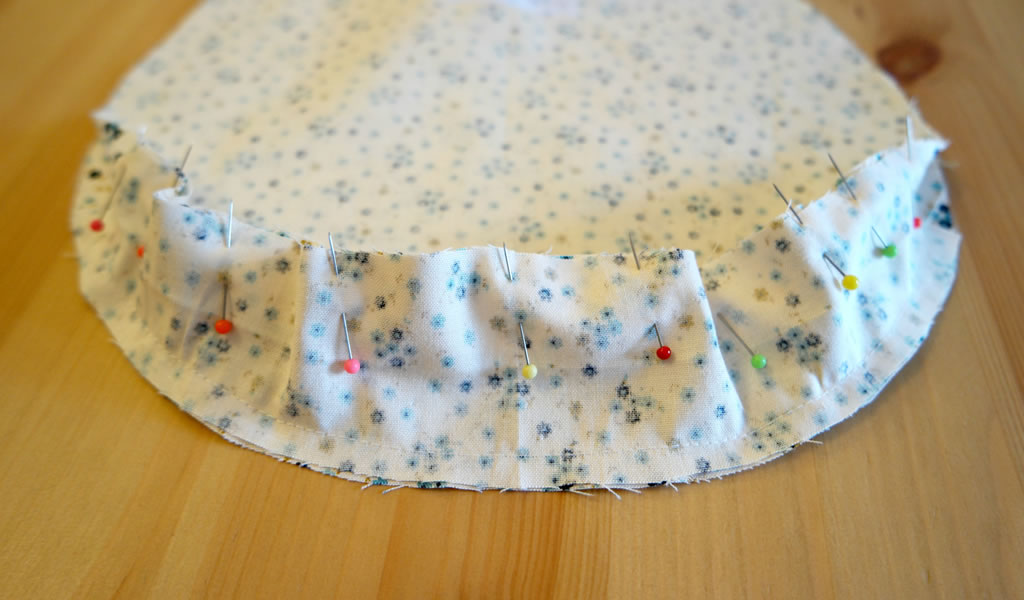
3. Make a small pleat in the top of the gusset. Pin it, then pin the top part of the lining pieces together. Repeat for the other side and sew, ensuring that you catch the top of the gusset. Trim the seams and put the lining to one side.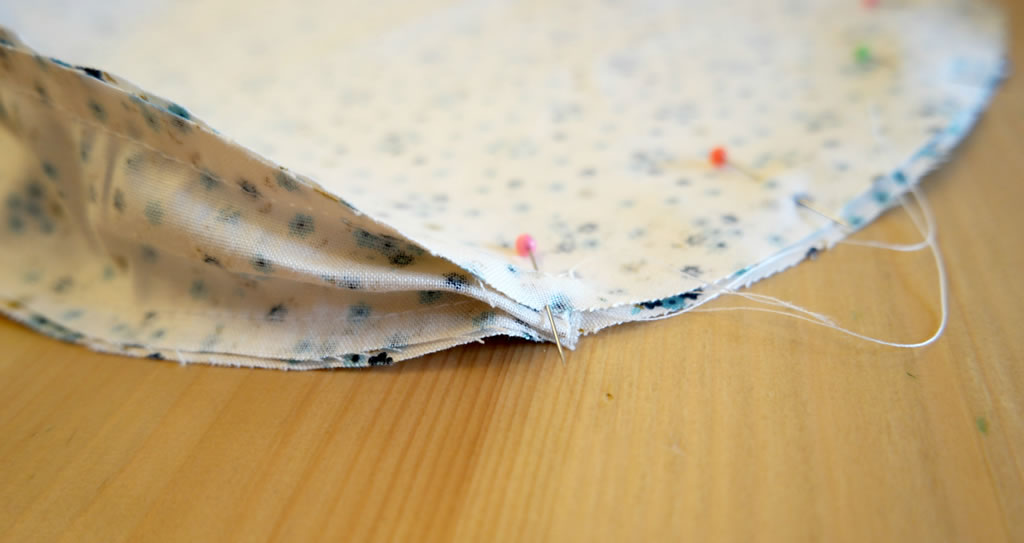
Bag Outer
1. Take one the bag outer pieces. If you are using sew in interfacing, this will need to be underneath the outer piece. Place the pocket on the top so that the bottoms are aligned and they are both facing upwards.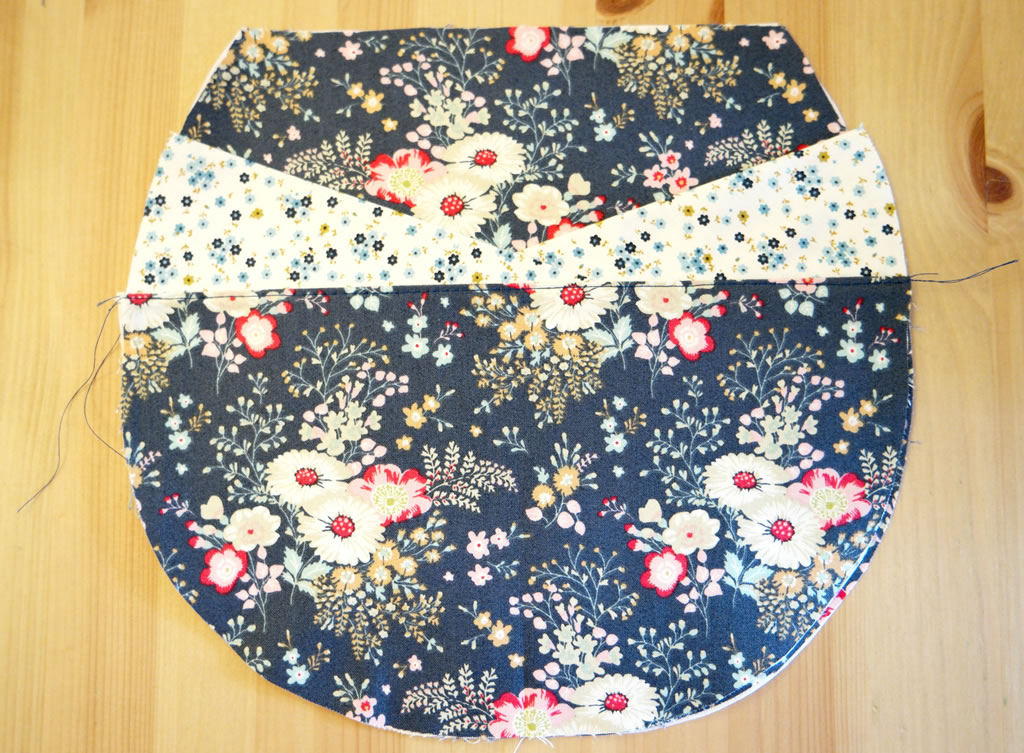
2. Pin the gusset to the outer and the pocket. Sew the gusset in place.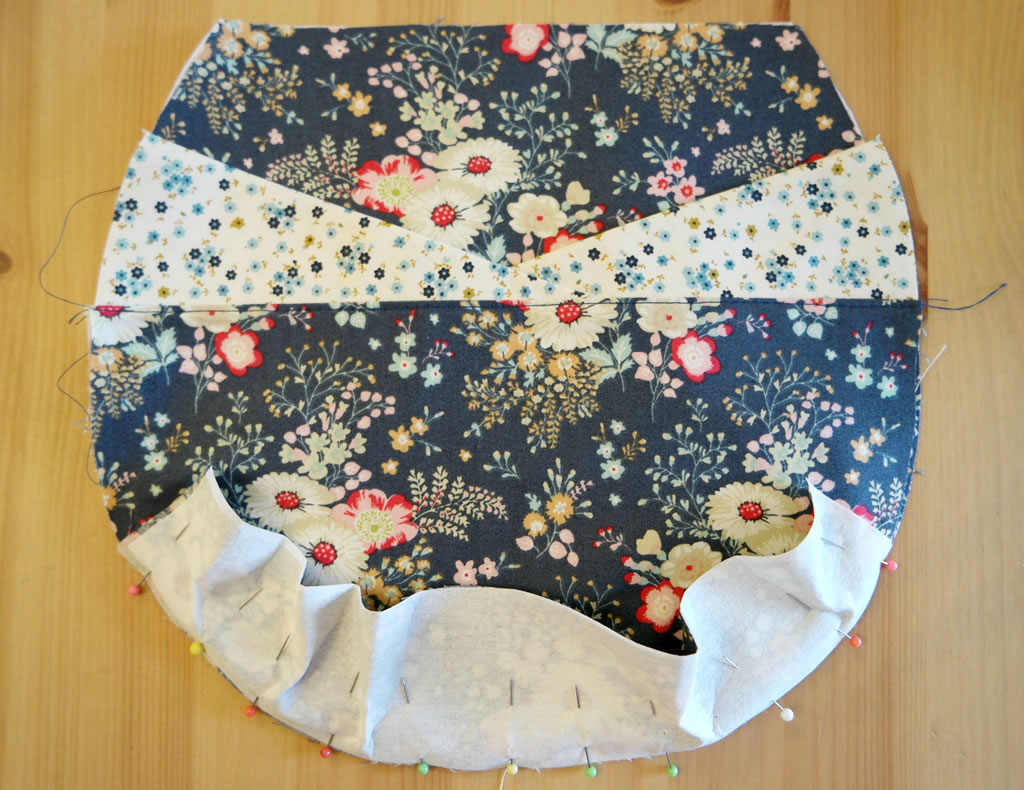
3. Pin, then sew, the other side of the bag outer to the gusset in the same way as you did for the lining.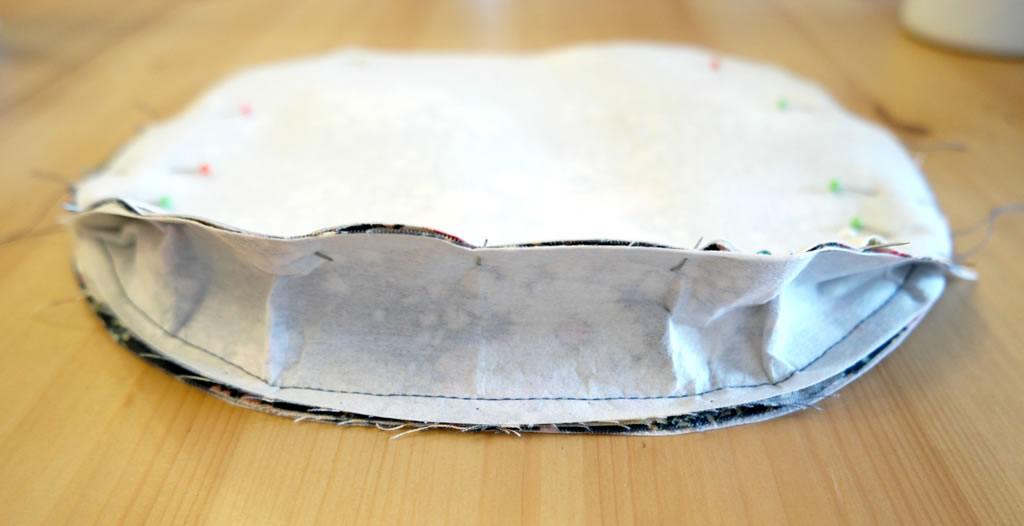
4. Pleat the gusset. Pin then sew the sides of the bag as for the lining. Trim the seams and turn the bag the right way out.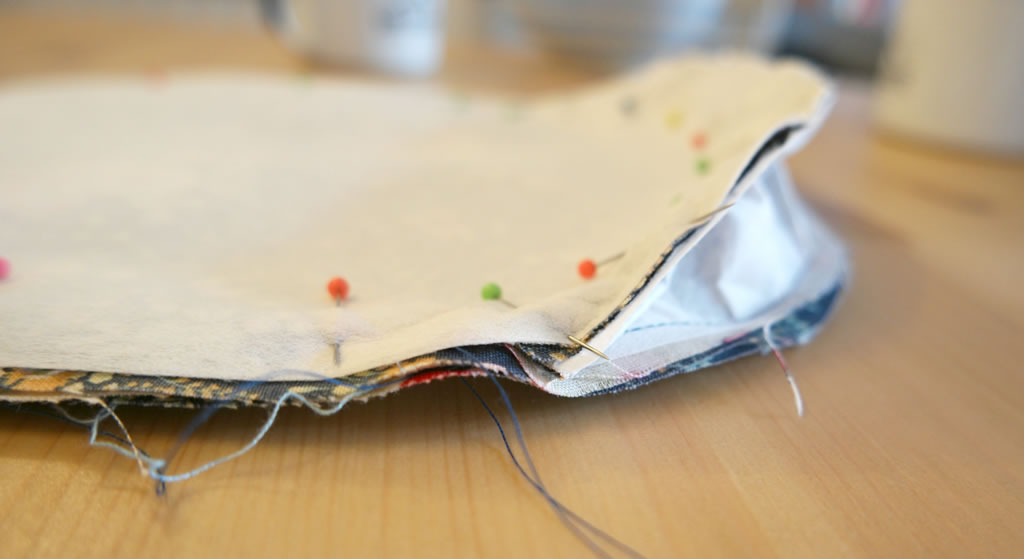
Sewing Lining, Outer and Handles Together
1. Pop the lining inside the bag outer so that the wrong sides are together.
2. Fold down about 2 cm so that the raw edges are inside. You might need to unpick the side seams of the bag outer a little bit to get it all to sit flat. Pin.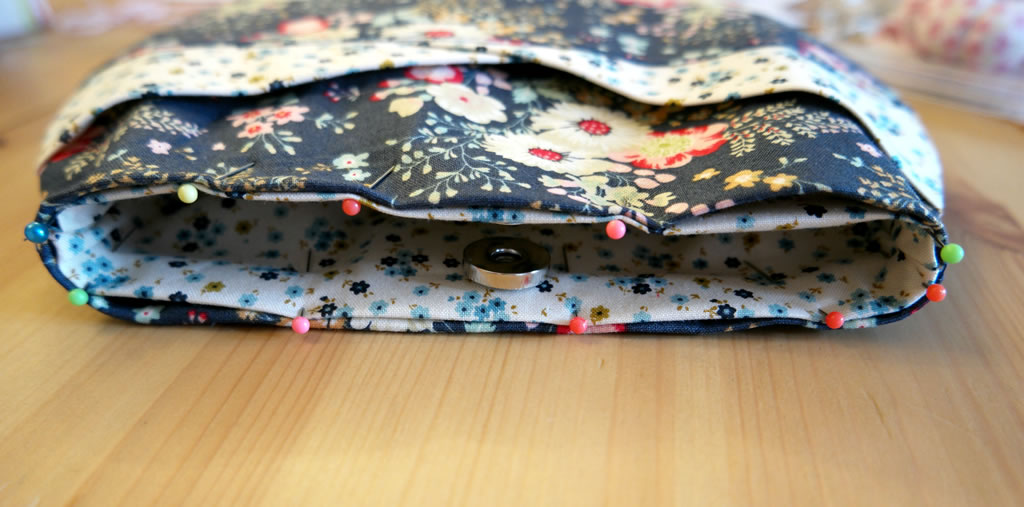
3. Take one of the handles and push about 3 cm of one end between the lining and the outer, keeping close to the side seam. Pin in place and repeat for the other end of the handle. Do the same with the second handle.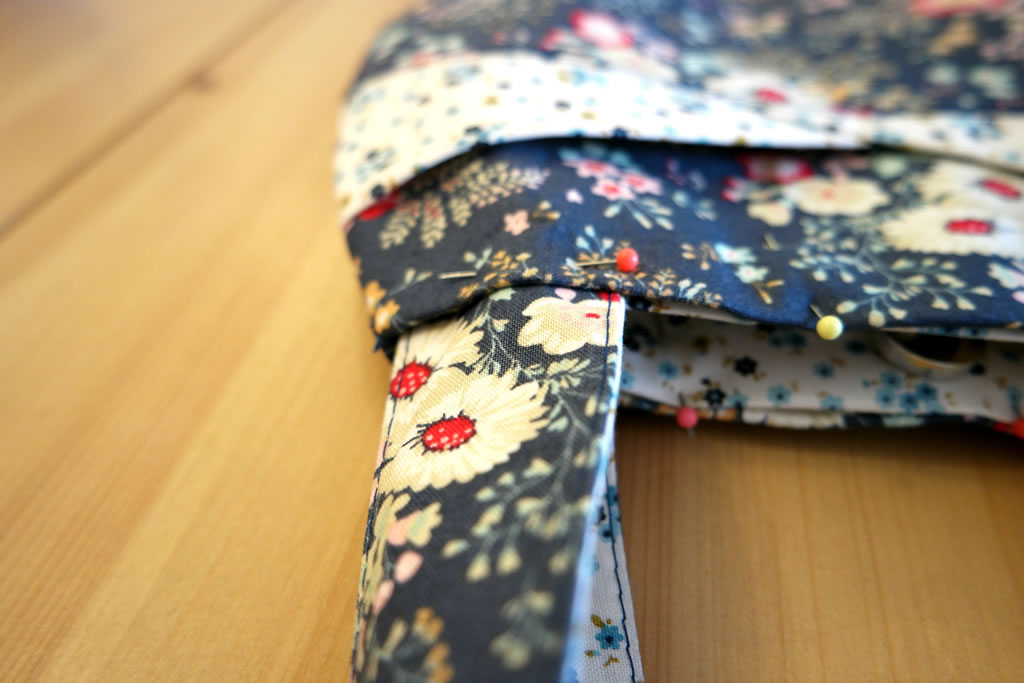
4. Top stitch all the way around the bag. Sewing near the magnetic snap can be tricky. Your might be able to get your machine foot underneath it, or you could try using a zip foot. Otherwise, you might need to miss out the bit near the snap and sew it by hand.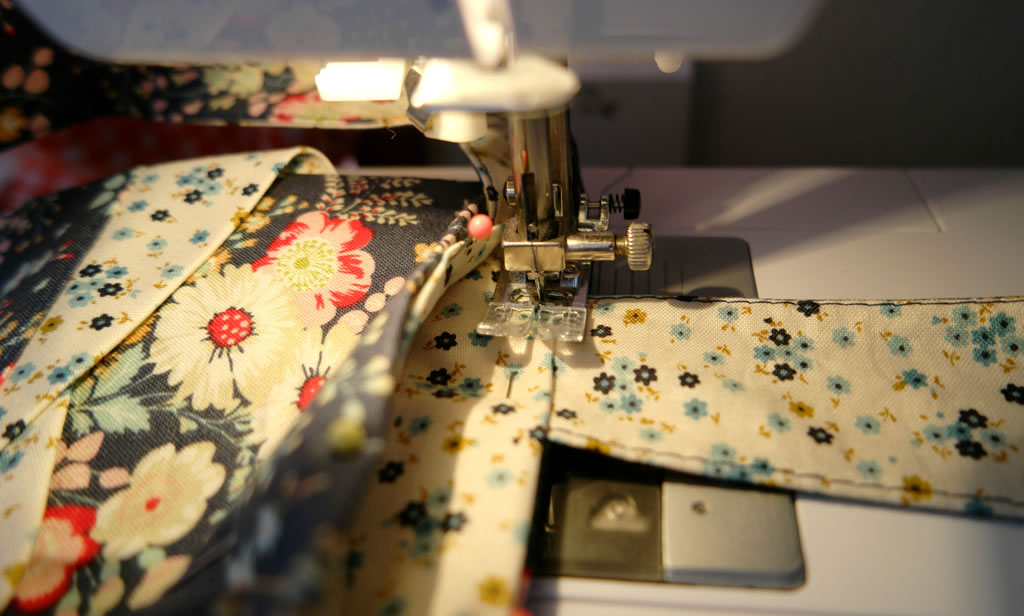
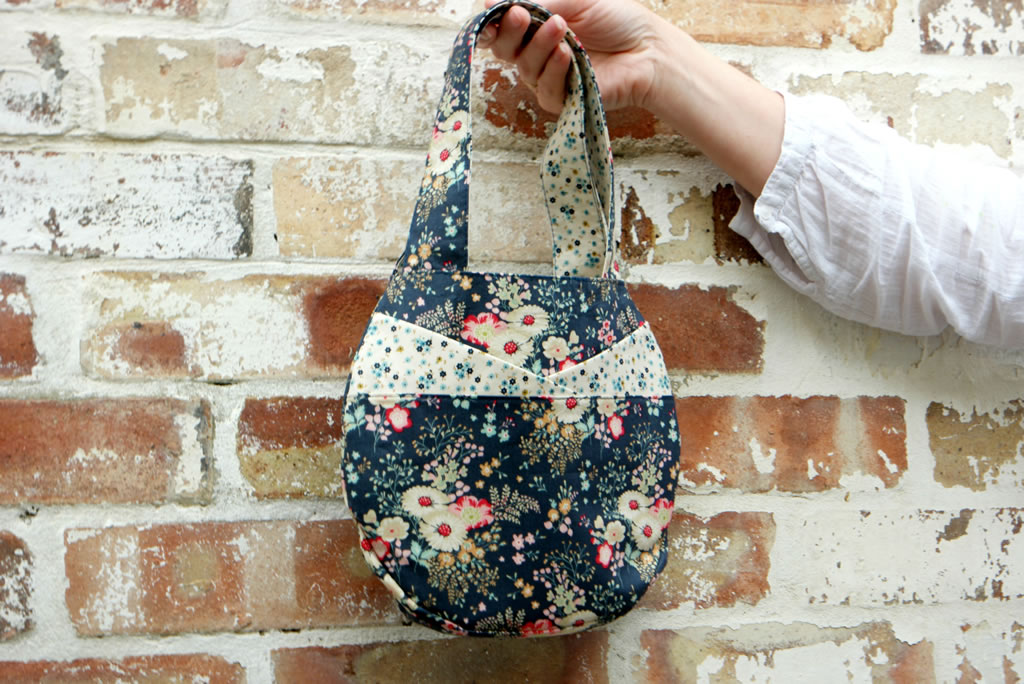
All you need to do now is trim any stray threads and your bag is ready!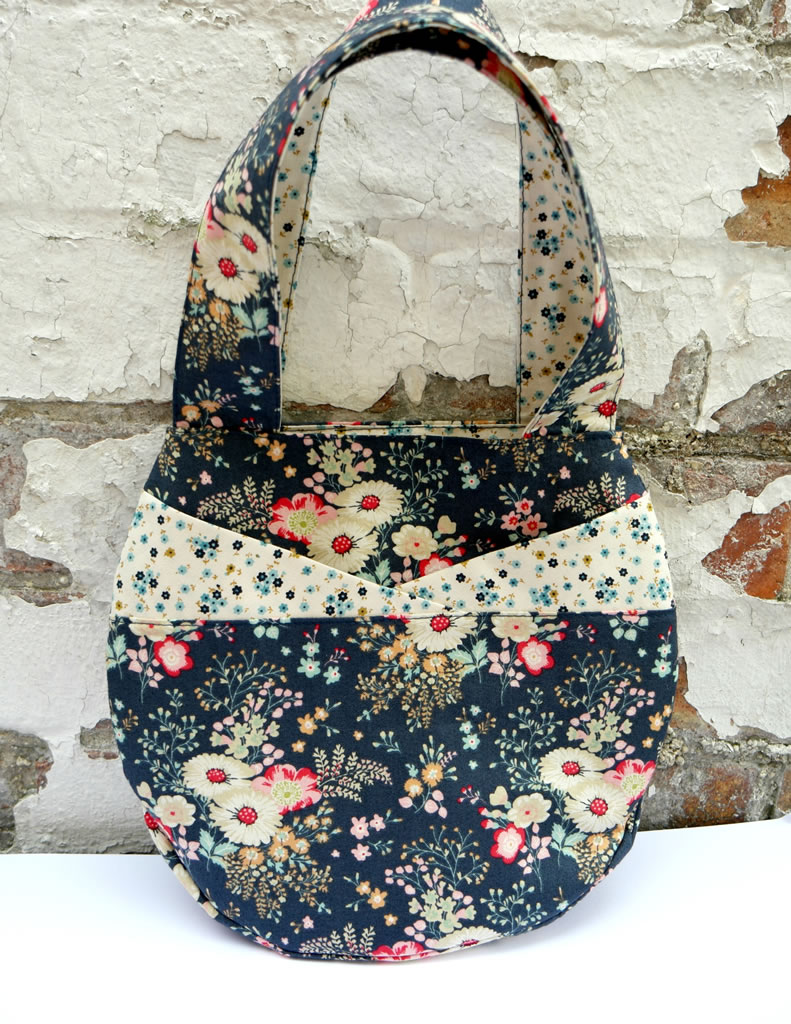
If you like this small round bag tutorial, you might like these.
Burlap Bag Tutorial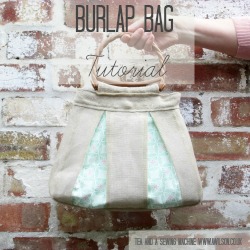
Quick and Easy Shopping Bag Tutorial
Linking up here.


Have a sis getting ready for kidney dialysis 😩…. She had a cloth wallet she used right down to it’s last threads !! 🤣
Going to try and make your wonderfully cute, happy wallet for a surprise gift for her as she completes her first week of treatment 🤗
You are soooo creative !!
Thank you, I hope she likes it. Best wishes to you and your sister x
I love the style of the bag, thanks for the tutorial
I wanted to make a bag that was a little bit different 🙂
Clever pockets.
Thank you 🙂
Very cute. Love this Tilda fabric.
It’s lovely isn’t it
What a super cute bag:) Love the triangular detail on the pocket:)

vicky myers recently posted…Refashion runaway – velvet
VERY PRETTY! THANKS FOR SHARING!
Thank you! I was aiming for pretty 🙂