Sewing To Hide an Eyesore
Sewing To Hide an Eyesore
You’ve probably seen that meme that says something like, “A clean house is a sign of a broken sewing machine”.
My house is usually a bit of a mess, and my sewing machine works just fine, so perhaps there’s some truth in this! But I don’t believe that it’s all down to having a fully functioning sewing machine. It’s also due to the fact that there are 6 messy people living in quite a small house.
In an effort to get the mess under control, we have had several deliveries from Ikea and I am usually in the middle of a sort out.
One of the recent deliveries included a new shoe rack. 6 people means a lot of shoes, especially in my husband’s case. He seems to have 4 times as many as everybody else, me included!
The old shoe rack had 2 shelves and I was wedging the shoes into it, only to lose them under the piano.
The new one has 4 shelves, so a lot more room, but unfortunately it’s an eyesore.
When hubby put it together and put all the shoes on it, I wanted to cry. It was like we lived at a bowling alley with all the shoes in the shelves. I posted a picture in Instagram if you want to see how bad it was!
Anyway, I don’t like to feel defeated, and this kind of problem is usually solved by a little bit of ingenuity.
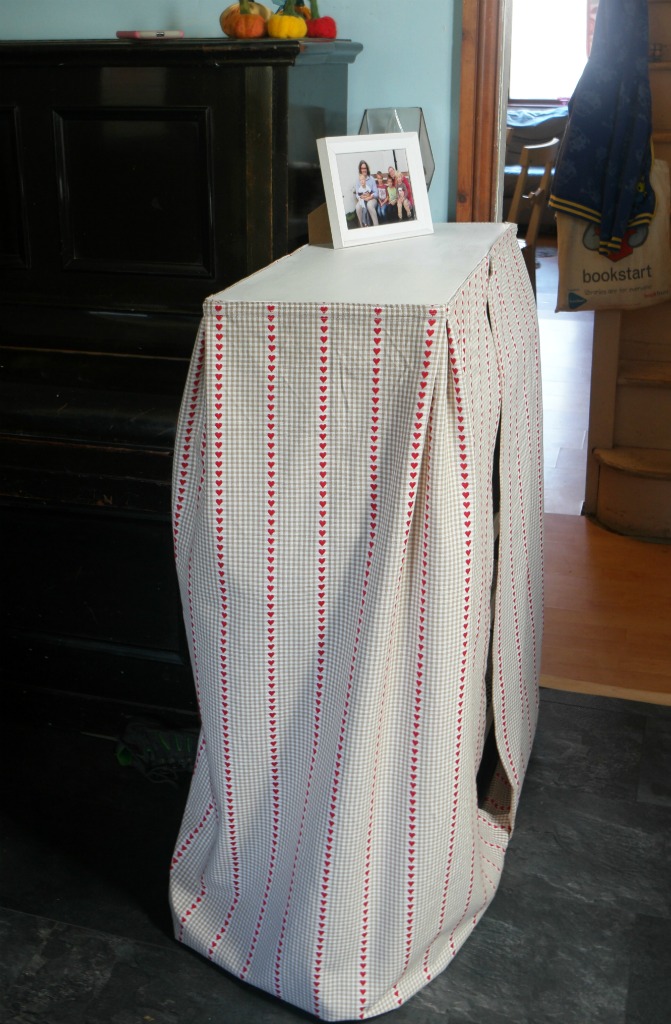
So I had a think and a poke around and now the hideous eyesore of shoes looks like this.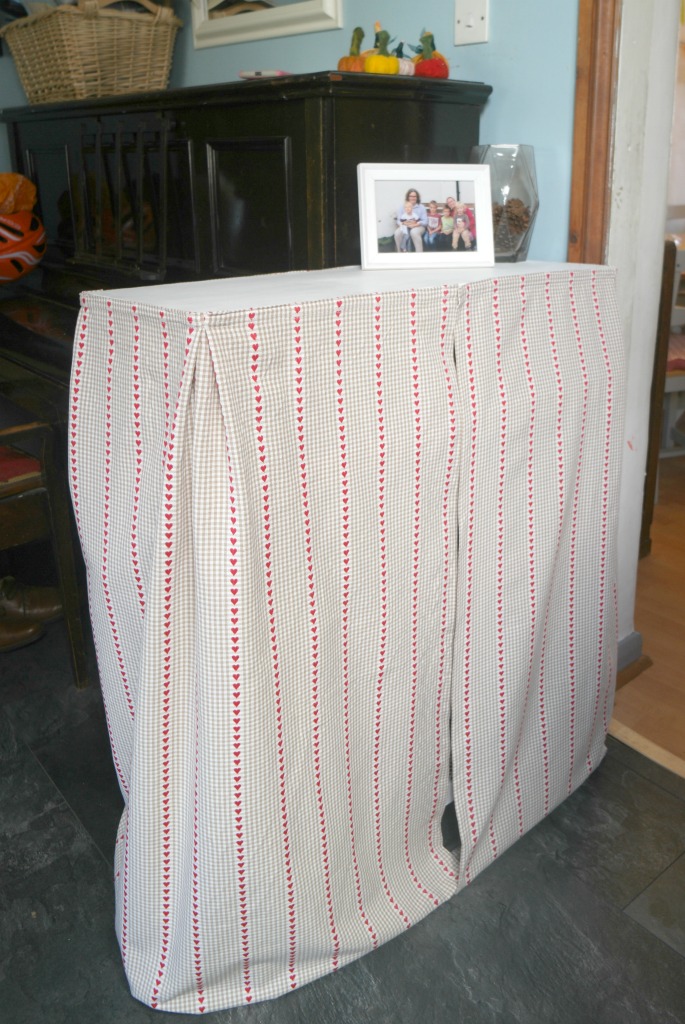
Much better!
I used a shelf I found upstairs, bought ages ago but never used, some stick on velcro and a couple of metres of pretty fabric.
This strategy will work for all kinds situations, so if you need to hide an eyesore, this may well work for you!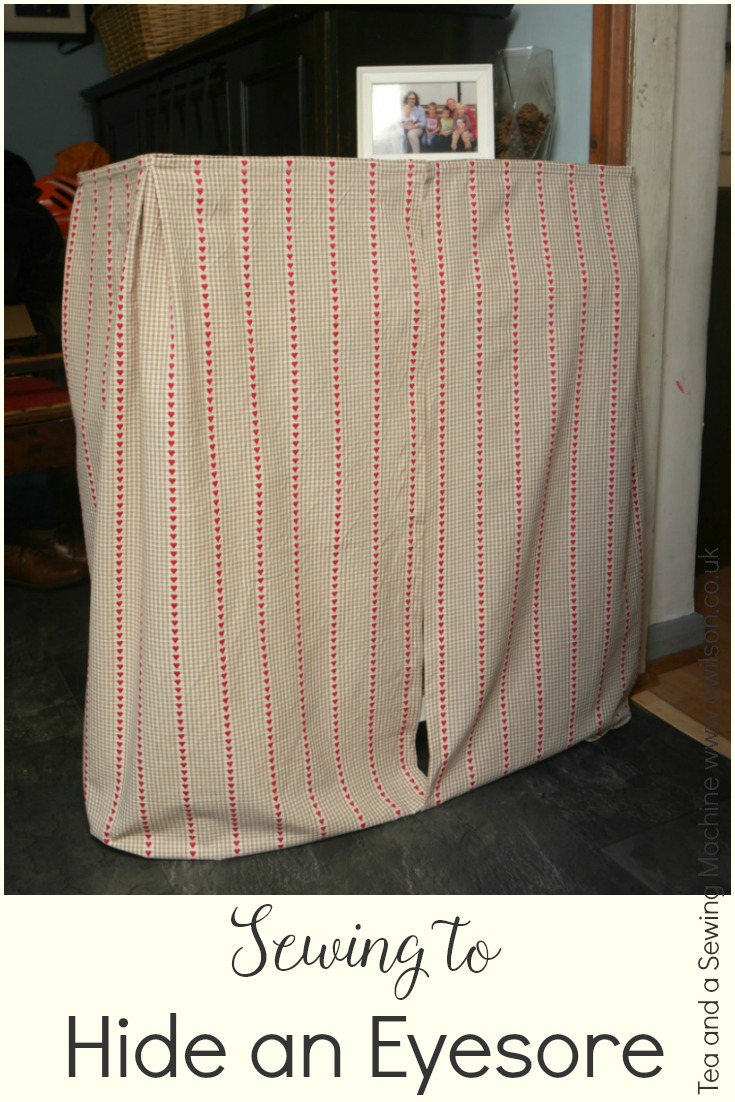
How to Hide an Eyesore
You Will Need
Fabric (something heavier is best, but you could always line it or use interfacing), a shelf, stick on velcro, paint (optional).
Making the Curtain
1. If you need to paint your shelf, do that first. I used some Annie Sloan chalk paint that I had left over from something else. It dries very quickly and doesn’t smell bad, but it will need waxing.
2. Cut your fabric to the right size. It will need to be wide enough to go around the shelf, plus seam allowance and a bit extra for pleats if you want them, and long enough to cover your eyesore.
You might need to sew several sections together. My fabric became the right size easily when I cut in half then sewed both halves together.
3. Hem the top, bottom and sides.
4. I added some pleats at the corners. You could miss out this stage if you don’t want pleats or don’t have time or enough fabric.
Line up the centre seam with the centre of the long edge of the shelf. Mark where the corners are with pins.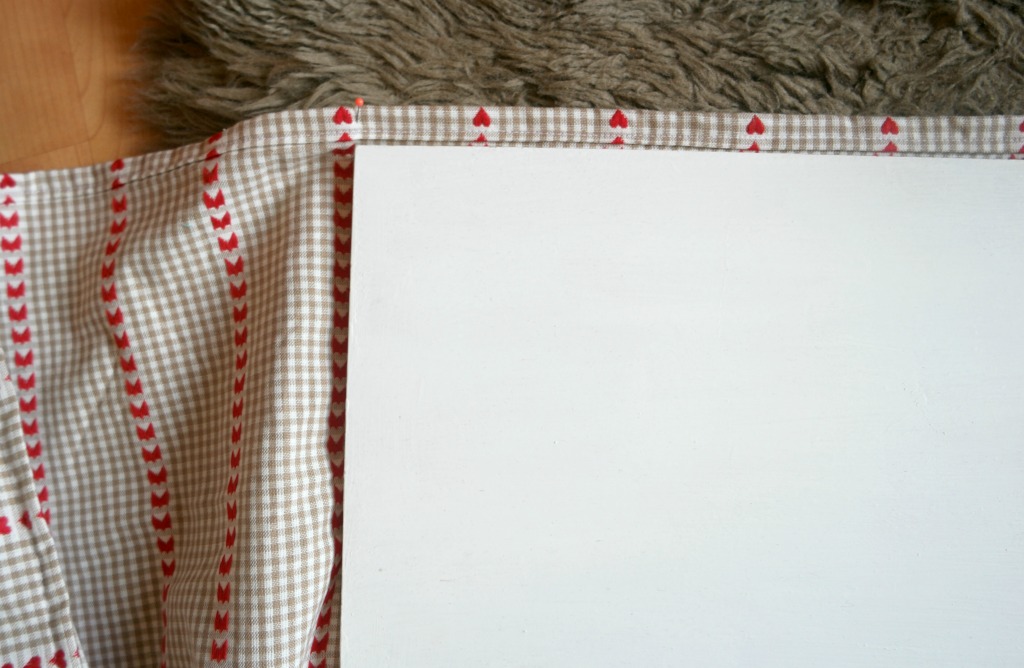
Line the sides up with the centre seam. Using where you’ve already pinned as a guide, pin where the front corners are.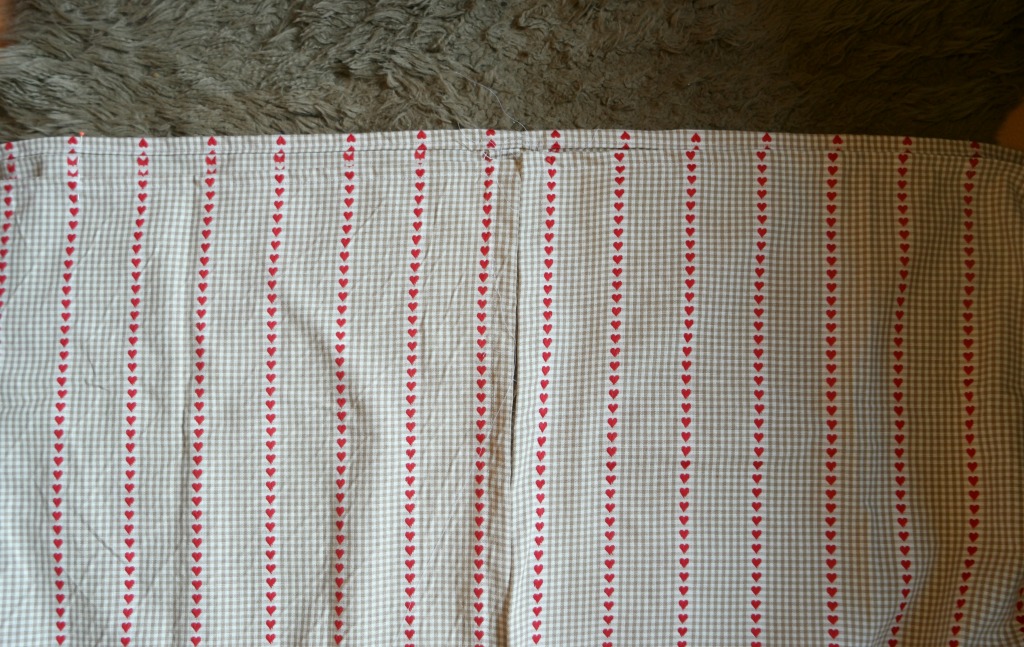
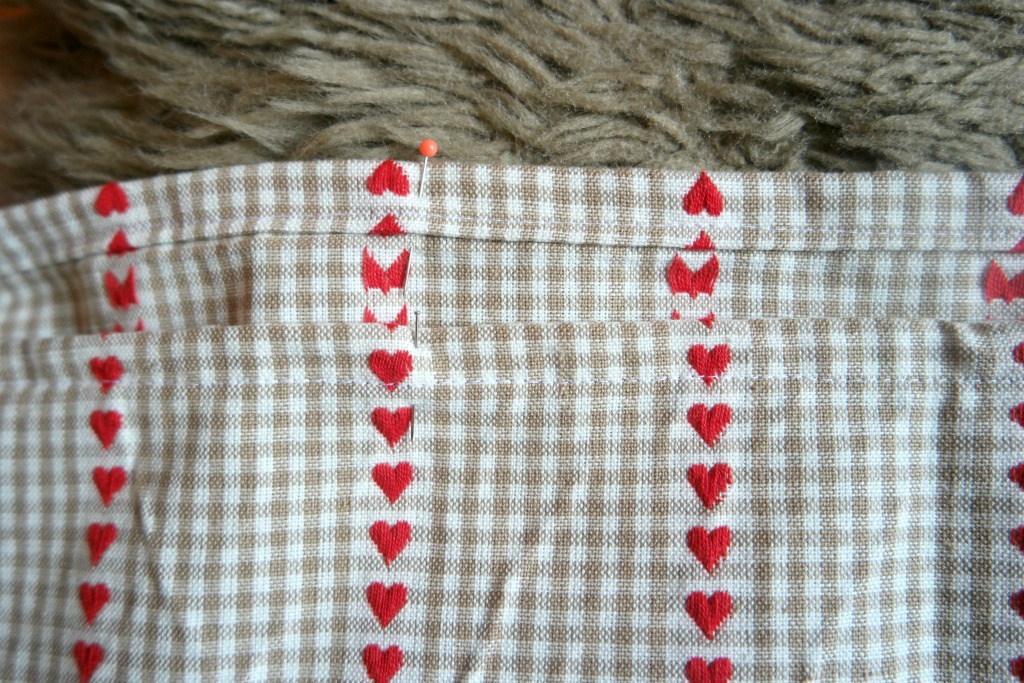
Find the centre of the short edge of the shelf and match it up on the fabric with the midway point at the side between the corners. Using pins, mark the corners. Repeat for the other side.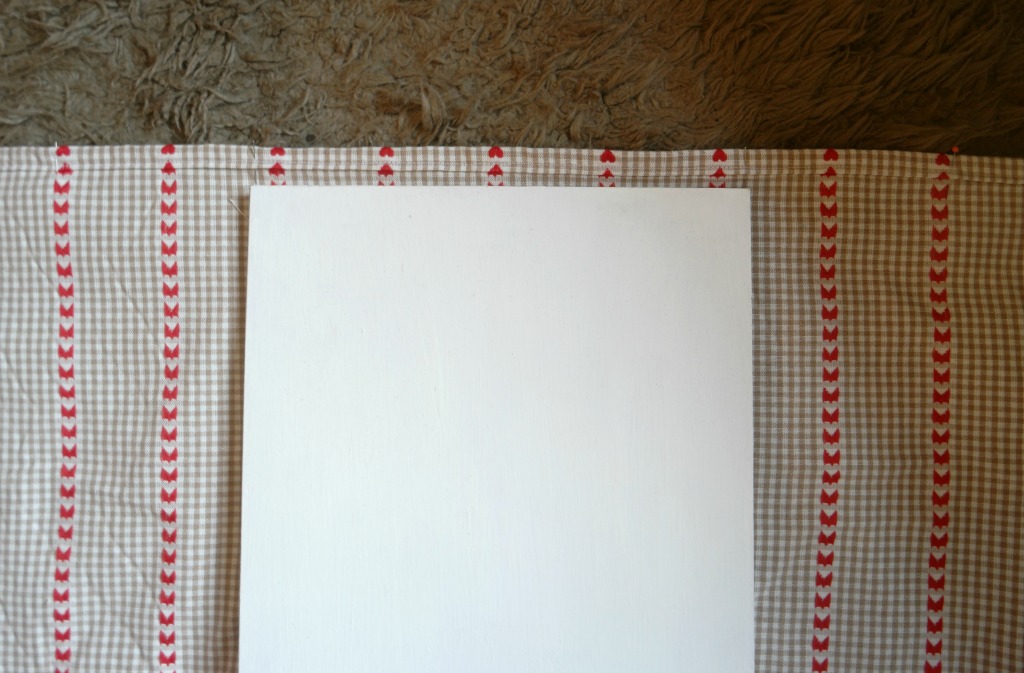
This fabric between where you marked the corners is the extra you have to make the pleats.
Fold the fabric so that the corner pins are together and the right sides of the fabric are together. 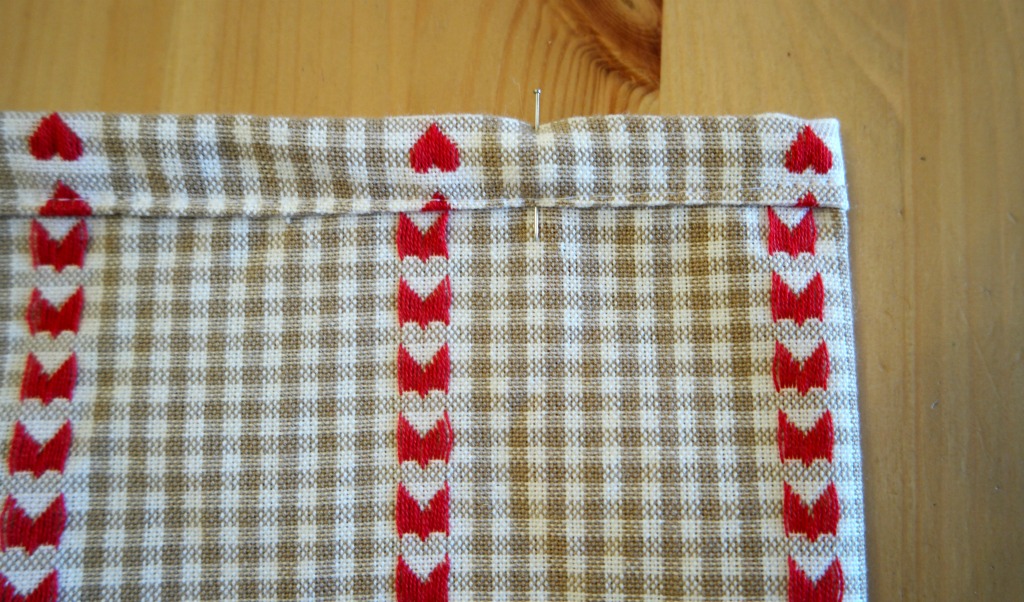 Squish the extra fabric flat. Sew the pleat in place. Repeat for the other pleats.
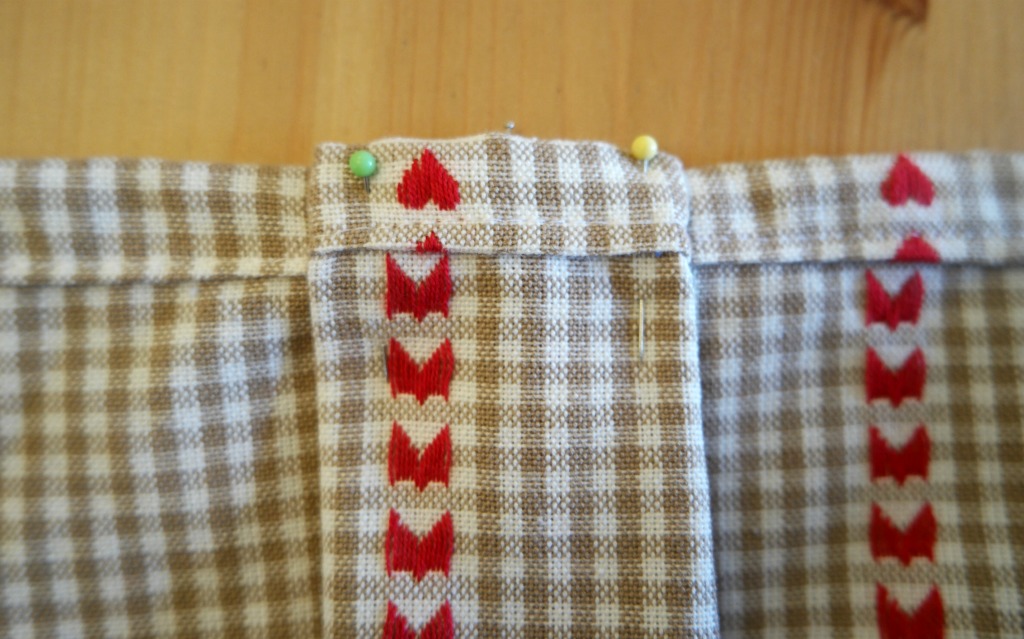
5. Take one piece of the velcro and stick it to the top edge of the curtain. It probably won’t stay stuck down, especially if you wash it, so sew the velcro to the fabric.
6. Stick the other half of the velcro to the edge of the shelf.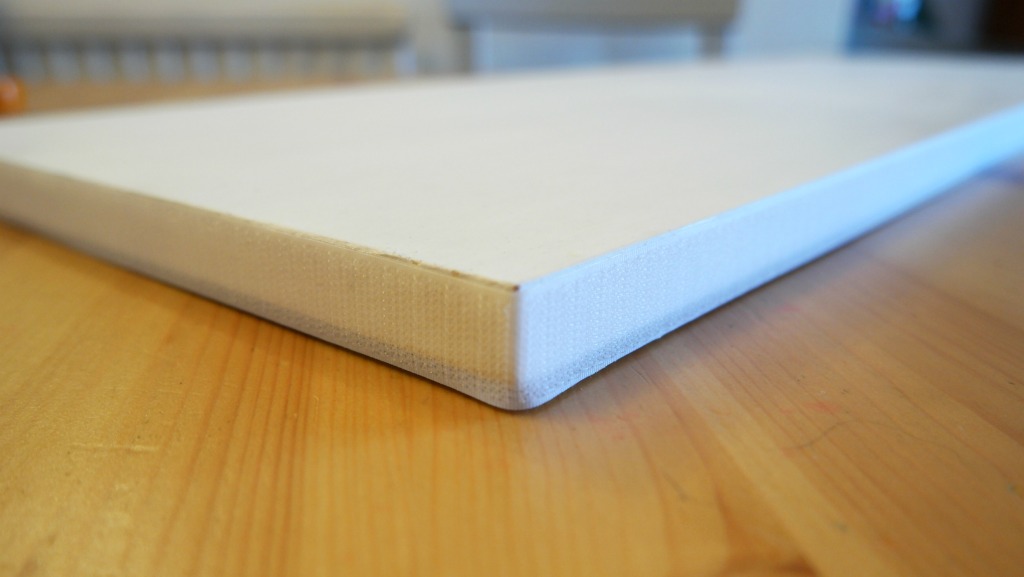
7. You’ll need to think about how you’re going to use your shelf. I thought about getting blocks of wood or square brackets and attaching them to the top of the shoe rack, but in the end I didn’t so the shelf is balanced on my trainers!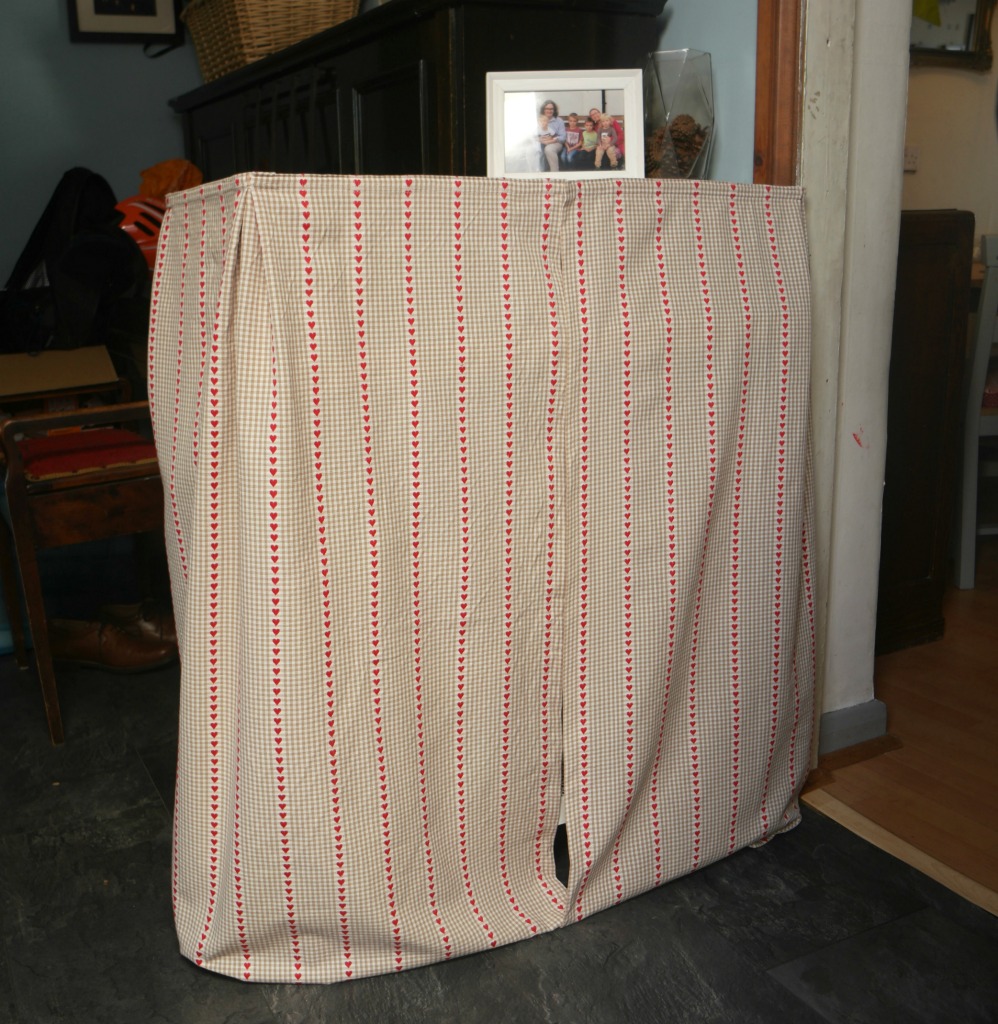
You might also like these posts.
Quick and Easy Fabric Basket Tutorial



I’m taking a sewing class, so this is going to help me be prepared for this.
Thanks Erin 🙂
love that fabric Anna. I do similar things . I finished my Norwegian cardi last night and it will be up on my blog later today or tomorrow. we are off out cycling so not sure when I will get it photographed. Very very pleased with myself as it was all in Norwegian and I managed with a little help on the language to get it done.
I’ll pop over to your blog later and have a look :). The only Norwegian I know is do you speak English, so not much help with a knitting pattern!