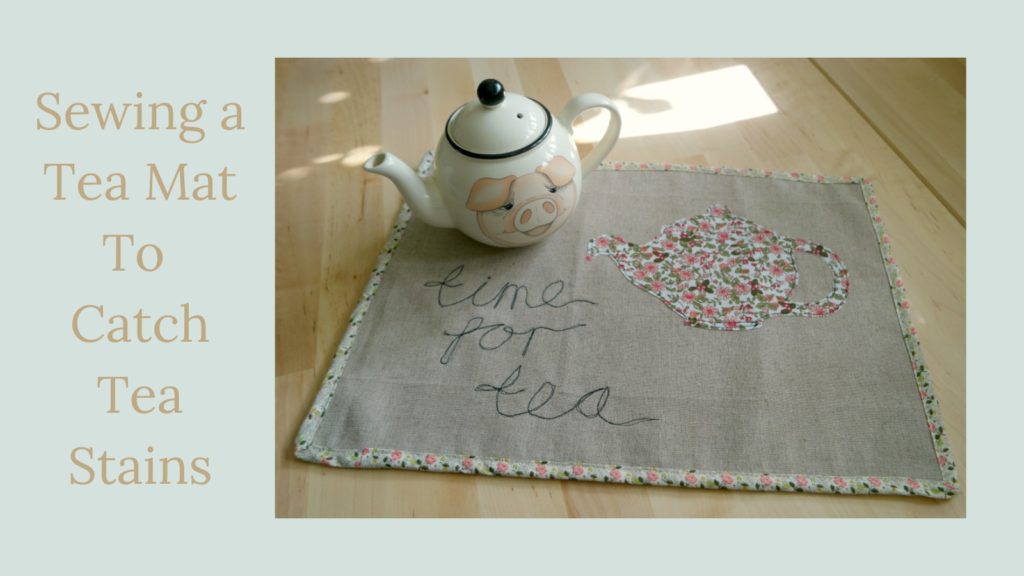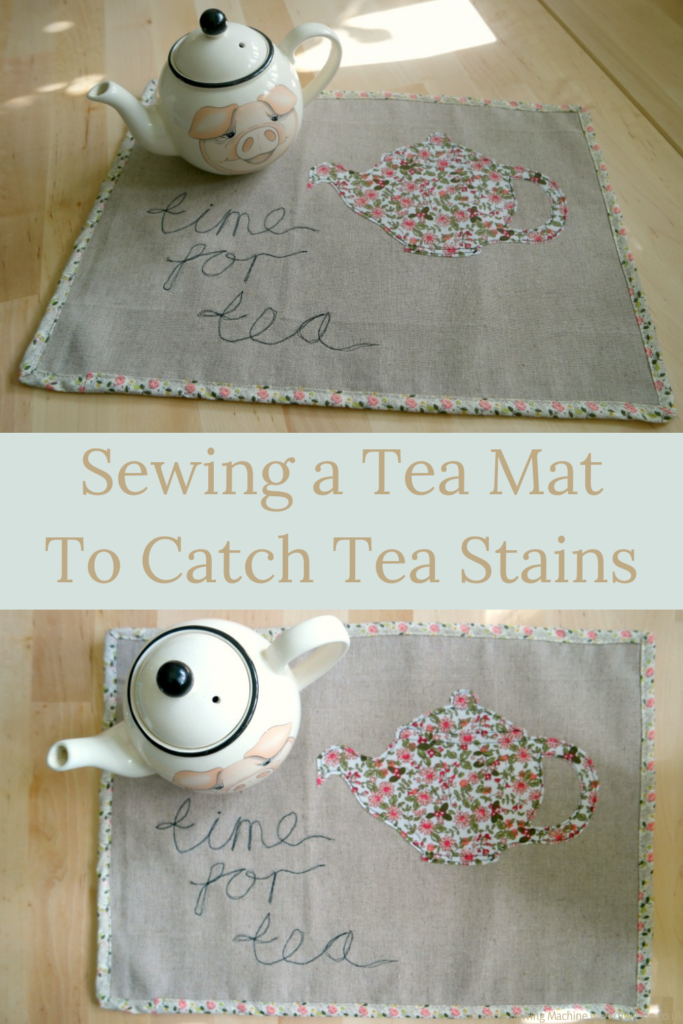
This tea mat project originally appeared on the Minerva Crafts Bloggers’ Network. Since their site relaunched, some of the older stuff has gone, including this. As I’ve had several people ask about it, I’ve rewritten the post with the pattern here.
When we moved into our funny old house 18 years ago, one of the things we wanted to do was replace the kitchen. It took us 14 years to get round to it, and it was such an improvement!
One of the things we did was swap the horrible laminated chipboard worktops for pretty wooden ones. The only slight problem is that they need a little bit more looking after.
I am a human teapot. I’m also a spiller. So when I needed to zap the tea stains on the laminate worktop, I used bicarb and vinegar and it worked a treat. However I wouldn’t want to use anything that harsh on my wooden ones, so the obvious answer was to try to avoid the tea stains in the first place.
So I made a tea mat that could live on the worktop next to the kettle, and when I spilt tea on it I could pop it in the washing machine and the worktops would be fine. Also the linen blend I used was already tea coloured, so if the tea didn’t wash out it wouldn’t show very much!
Another option would be to use the tea mat to line a tray. This was what I’d planned to do originally but all the trays in my house had partially finished Lego models in them!
As well as the linen, I used a cotton spotty print for the underside. The fabric for the bias binding and the teapot came from a fat quarter pack. I also used some sew in interfacing to give the tea mat some weight.
If you need to buy fabric for this project, Fabric Godmother is an independent fabric shop on the south coast. This isn’t an affiliate link. I want to help small businesses at a time when lots of people are finding things tough.
I used machine embroidery to applique the teapot and embroider the letters. It was the first time I’d tried machine embroidering letters, and I’m happy with how it’s turned out! I went over the letters twice as they looked spidery after the first time.
Having an embroidery foot really helped as it allowed me to see what I was sewing! If you read the post I wrote about sewing machine feet, you’ll know that I don’t believe that having lots of feet is necessary. However it can be useful to have particular feet for certain tasks, and using an embroidery foot definitely made it easier.

Instructions For Making a Tea Mat
You Will Need
Fabric for the top (I used a linen cotton blend)
Fabric for the underside (cotton is a good choice)
Sew in interfacing
A small piece of cotton print for the teapot
Fusible interfacing (optional, but useful especially if the teapot fabric frays easily)
Fabric to make the bias binding, or you could use some pre made.
If you are making your own bias binding, a bias binding maker is handy.
The template for the teapot and the lettering can be downloaded by filling in the form at the the end of the post.
Cutting Out
You will need to cut an A3 sized piece from the linen (42 cm x 30 cm, or 16 1/2″ x 12″), the spots and the sew in interfacing.
For the teapot, you will need a piece of the floral fabric roughly A5 sized (21 cm x 15 cm, or 8 1/2″ x 6″).
You might like to iron on a piece of fusible interfacing to the wrong side of the fabric before you cut out the teapot.
Making the Bias Strips
If you’re using ready made bias binding, you can skip this bit!
1. Take the floral fabric with the roses and fold one edge over to make a triangle.
2. From the folded edge, measure 2.5 cm all the way along. Draw a line.
3. From that line, measure 5 cm and draw another line.
4. Cut along the lines. This is easiest with a rotary cutter. If you’re using scissors, make sure you use plenty of pins!
5. You should now have 3 bias strips, all 5 cm wide. Cut the ends off so that they are square.
6. Take 2 of the strips and put the ends together at right angles. Check that the print is running the same way! Sew across the square from top left to bottom right. Add the third strip in the same way.
7. Cut the corners off and press the seams open.
8. Fold the bias strip in half lengthways and press. If you have a bias binding maker, you can use that to finish making your bias binding. There’s a tutorial showing how to use one here.
If you don’t have a bias binding maker, fold the raw edges into the middle and press. Fold the strip in half and press again.
Now put your bias binding to one side while you make the rest of the tea mat!
Appliqueing the Teapot
1. Take the linen and the piece of sew in interfacing. Position the the teapot on the linen and pin it on, through the linen and the interfacing.
3. Applique the teapot using a straight stitch.
4. Add the extra details like the lid and the base using machine embroidery. If you’ve never done this before, use a short stitch and an embroidery foot if you have one. The embroidery foot is not essential, but it will allow you to see more of your sewing.
Embroidering the Letters
1. To transfer the letters to the fabric, I traced them onto the interfacing, then used a plastic box and a torch as a homemade light box to trace the letters from the interfacing to the linen.
2. Starting at the end of the cross bar of the tea, embroider the letters. Each word will need to be worked separately, but all the letters of each word are joined up so you can do each word all in one go.
This is a bit fiddly! Use a short stitch and go slowly. Be ready to move the fabric and pay attention to where there are curves and where there are points.
3. Once you have embroidered the letters, go over them again.
Finishing Off the Tea Mat
1. Pin the piece of spotty fabric to the back of the linen and the interfacing.
2. Fold over one end of the bias binding by about 1 cm. Starting at the bottom, pin the bias binding to the wrong side of the tea mat so that the raw edges are together.
3. Sew the bias binding to the wrong side, keeping close to the fold. When you get back to where you started, overlap the ends and sew them in place.
4. Fold the bias binding over the raw edge. Sew it in place on the right side, taking care to fold the corners when you sew them.
Run the iron on it, trim away any threads ands your tea mat is ready to keep your worktops stain free!
To download the teapot template and the lettering, please enter your email address in the form below.
[chimpy_form forms=”53″]
Please note that in doing this, you will be added to the Tea and a Sewing Machine email list. This will usually arrive in your inbox weekly, and usually at the weekend. I don’t send spam. The newsletter is updates, links, things I think you might find interesting and the occasional free thing. You can unsubscribe from the newsletter at any time. If you’d like more information about why I do this, please click here.


Thank you for sharing the instructions for this mat. Please send me the teapot template. KR
Hi Irene, it’s here:https://www.awilson.co.uk/wp-content/uploads/2021/02/teapot-and-lettering-for-tea-mat.pdf