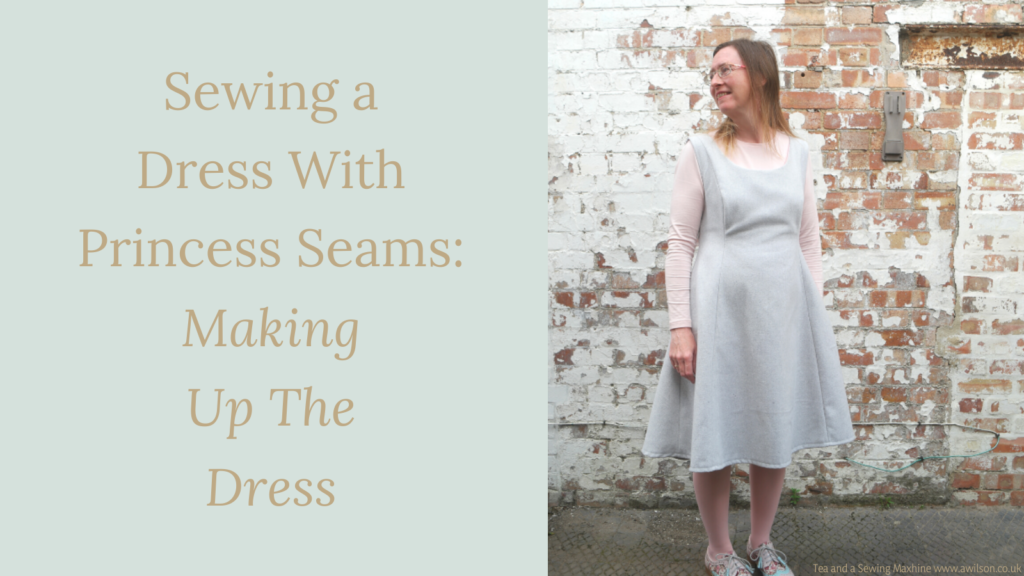
I often make dresses with circle skirts, but this time I wanted to make something different.
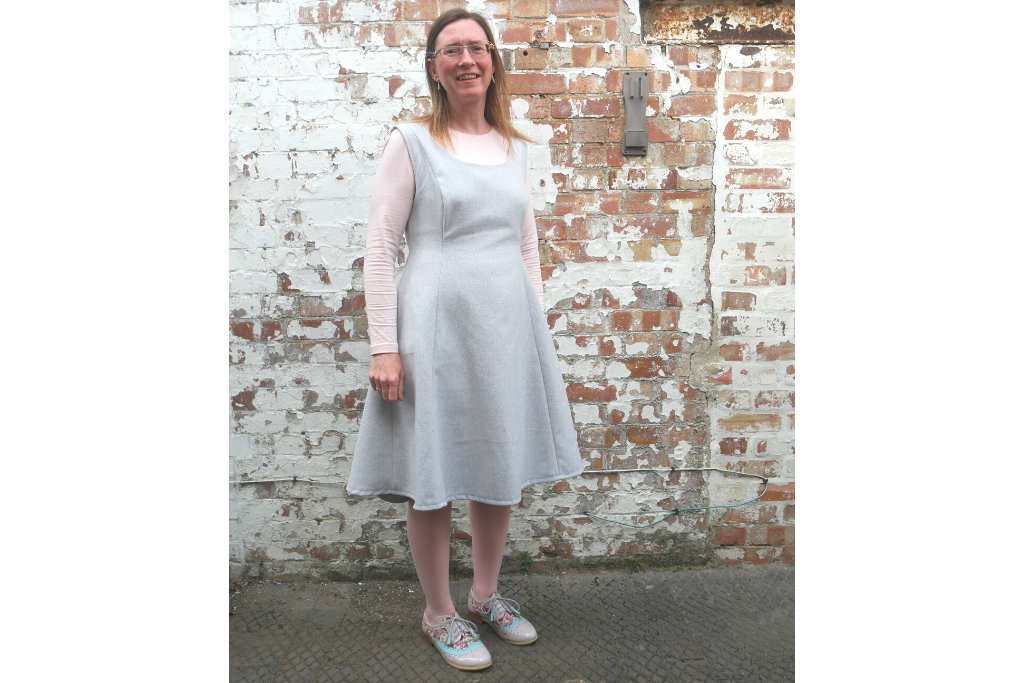
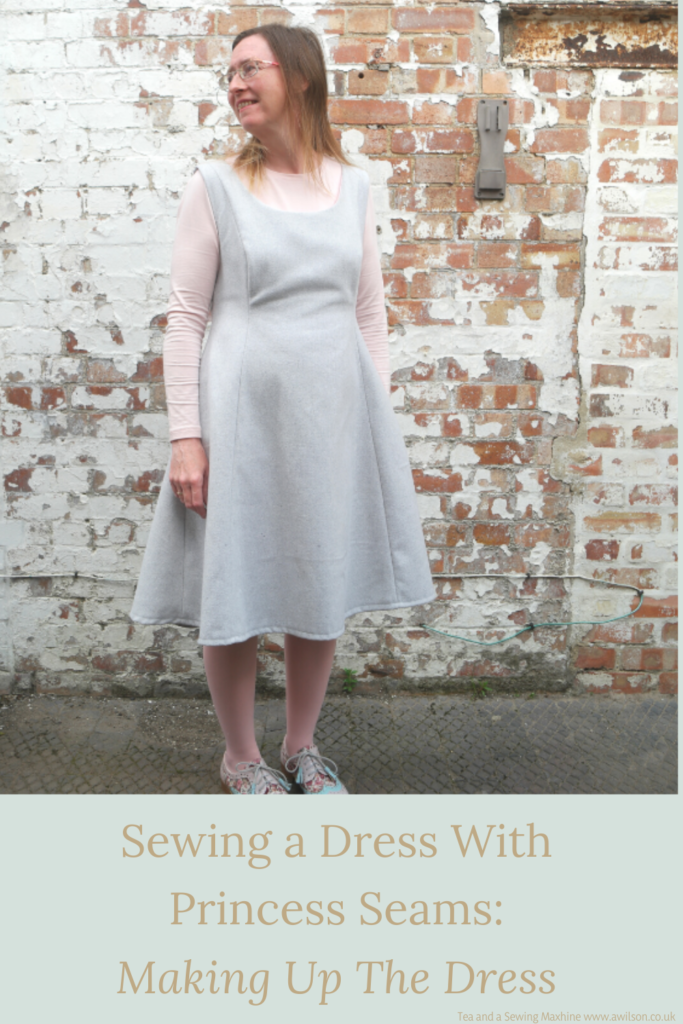
Sewing a dress with princess seams means that you don’t have a separate bodice and skirt, and no darts. The princess seams mean that you can make a dress that’s perfectly fitted and looks clean and elegant, or something a bit looser that will look nice and also be comfy (my main priorities!).
If you haven’t made your pattern yet, you’ll need to do that first. Don’t panic, it’s easier than you’d think! The instructions for drafting the pattern are in a previous post here.
I made a lining for my dress, which is made in the same way as the dress itself, it’s just a bit shorter.
Adding a lining means that you already have a neat way of finishing the armholes and the neckline without faffing about with facings, although you could do this if you prefer.
You Will Need
Fabric for the dress. I used a wool suiting. How much you need will depend on your dimensions. I’m a UK size 14 ish and 2 metres was enough.
Lining fabric. The same amount of fabric as for the dress.
A zip. 40 cm zip (16 inches) will do, longer would also be fine.
Usual sewing supplies
Cutting Out
From your dress fabric, cut out:
2 back pieces on folded fabric
1 centre front on the fold
2 side front pieces on folded fabric
Cut the lining out in the same way, but just make the bottom hem 10 cm (4 inches) shorter.
Sewing the Dress
Take the 2 back pieces. Pin them with the right sides together and sew down the back seam from neckline to hem.
This might seem crazy and you might be asking yourself how on earth you’re supposed to get into it if you’ve sewn up the back, but we’ll come to that in a minute!
Trim the seam and press it open.
Take the front centre piece and one of the side pieces. Starting at the waist, pin the seam upwards towards the shoulder. As you’re pinning a curved edge to a straight edge, this might prove to be a bit tricky. Using plenty of pins will make it easier.
Now pin the rest of the seam from the waist to the hem.
Sew the seam. I’d do this in the same way, so start at the waist and sew upwards towards the shoulder, then go back to where you started and sew downwards towards the hem.
Do the same with the other front side section.
Trim the seams and clip them at the curves. Press the seams.

Sew the Zip
You might have your own way of sewing in a zip, and if you’d rather do that then please do!
This is the way I do them !
On the wrong side, place the zip face down over the seam. The end of the teeth needs to be at the edge of the seam allowance.
Pin the zip to the seam. One way to check that the teeth are lined up correctly is to open the zip.
Tack the zip in place.
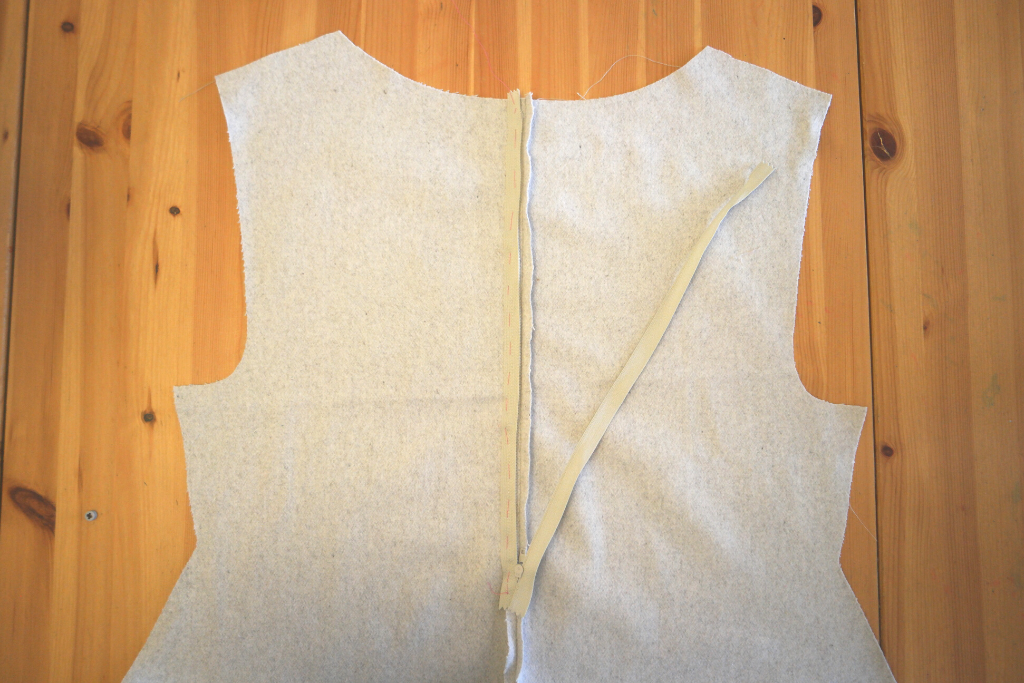
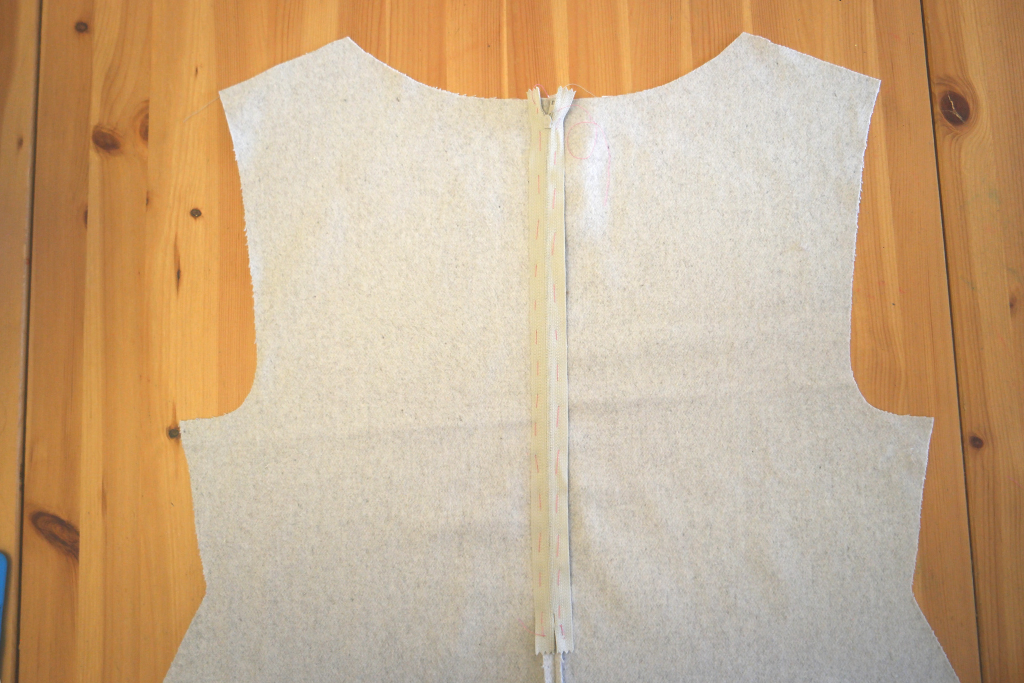
Sew the zip to the dress. You’ll need to start a little way down from the top as the zip pull will get in the way!
Sew one side and then the other.

Using an unpicker, unpick the seam where it’s covering the zip. If you can leave the bit at the top where you haven’t sewn yet, it will make things easier in a minute.
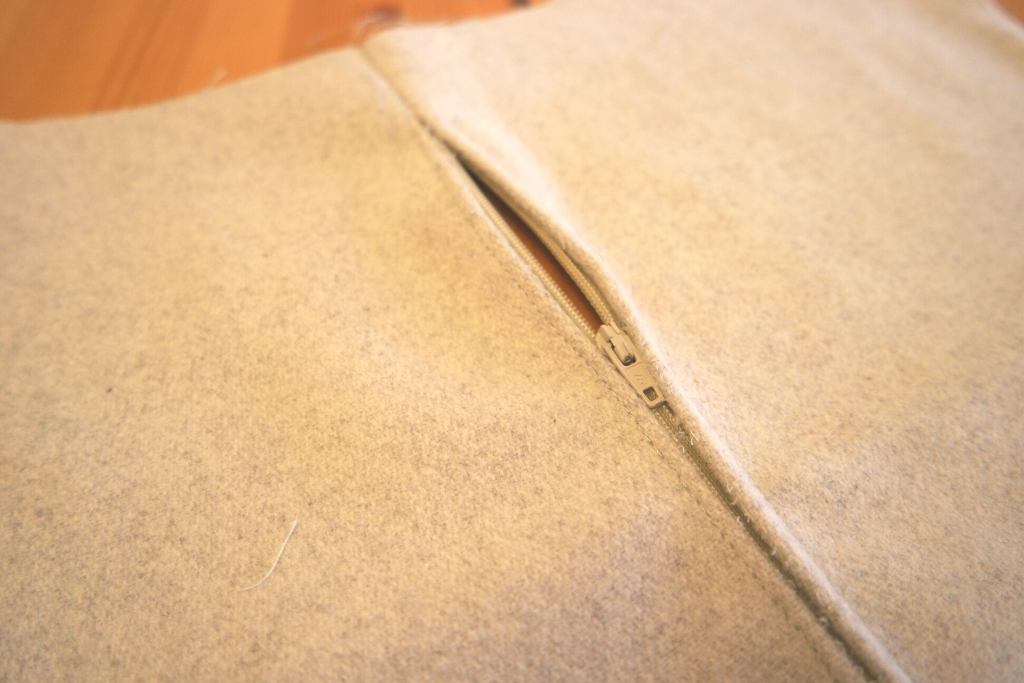
Pull the zip pull down to move it out of the way. Sew the rest of the zip.
Unpick the rest of the seam.
Check That it Fits
Pin the shoulders and the side seams.
If you’re concerned about getting jabbed with the pins, you could use safety pins instead. I wish I could claim this as my idea, but it’s not, it’s Julie’s from Sum of Their Stories’!
Pop the dress on and adjust the side seams and the shoulder seams as needed.
Sewing Up the Rest of the Dress
Sew the shoulder seams and press them open.
Sew the side seams. Start at the waist and sew upwards towards the armhole, then go back to the waist and sew downwards to the hem.
Trim the seams and press.
Pin and sew the hem.
Sewing the Lining
The lining for the princess seams dress is made in exactly the same way as the dress. If you needed to make adjustments to the dress, then make sure you make the same changes to the lining.
Sewing the Lining to the Dress
Neckline
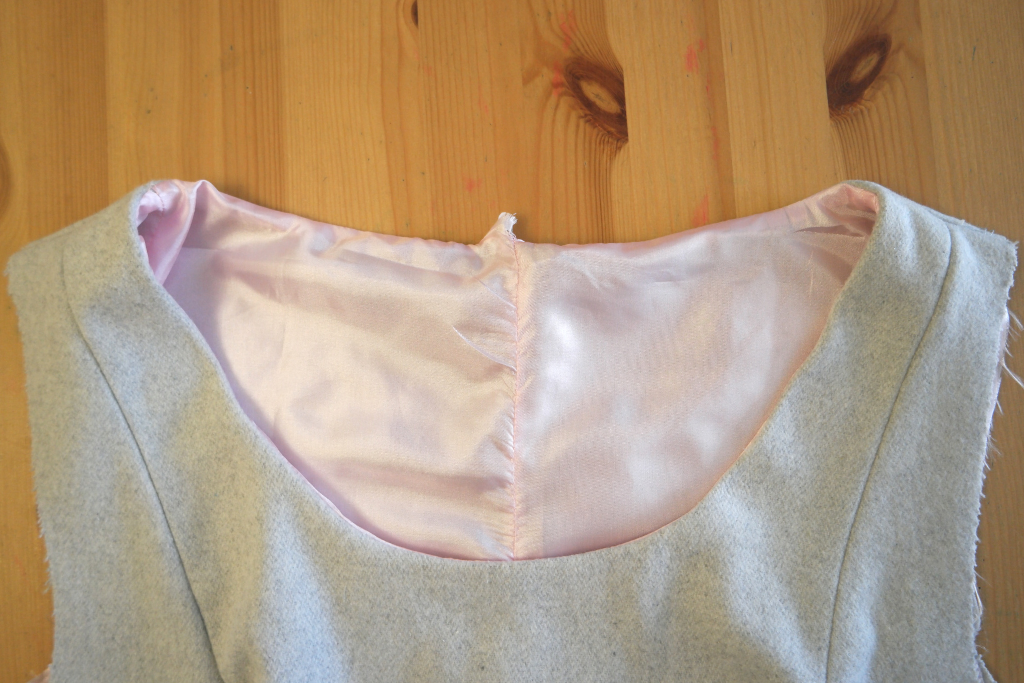
With the right sides together, pin the lining to the dress at the neckline. Be careful to match the seams at the shoulders and check that the tails of the zip are doing what you want them to!
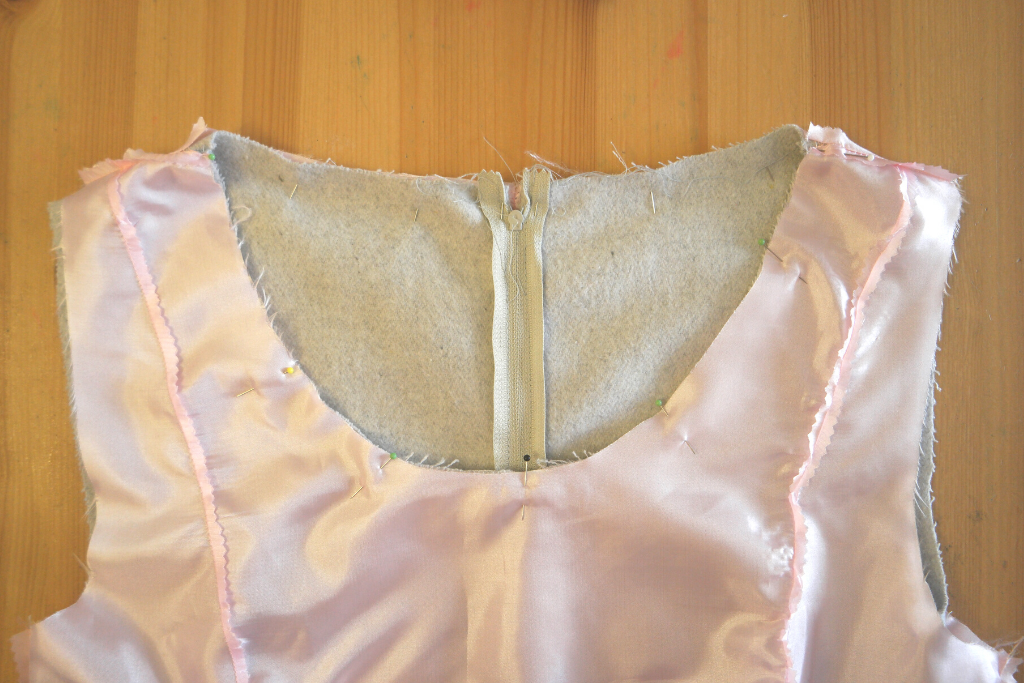
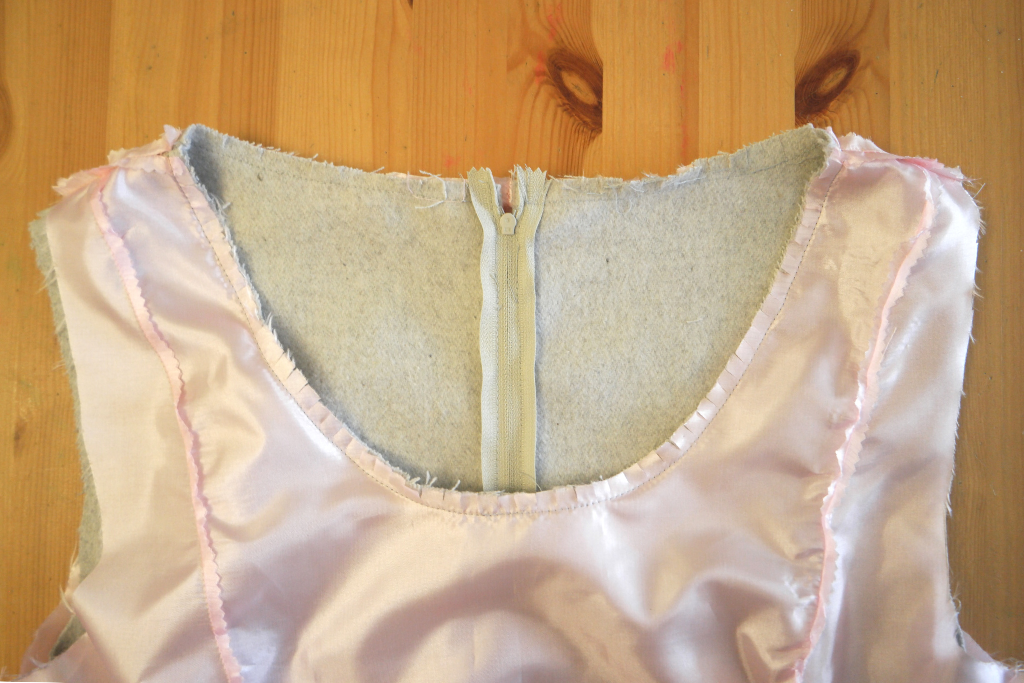
Sew around the neckline. To avoid the fabric pulling and it all ending up being a lumpy mess, I would sew from the centre of the front round to the zip, then back to the centre and round the zip on the other side.
Trim the seams and clip them. Press the seam so that the lining sits neatly inside the dress.
Armholes
Armholes can be fiddly. They would be much easier if they could be sewn the same way as the neckline, but that would result in the lining being permanently on the outside!
Thankfully there is a way, and there’s a video on Tilly and the Buttons which I used myself.
With the lining on the inside, fold the seam allowance of the dress and the lining inwards.
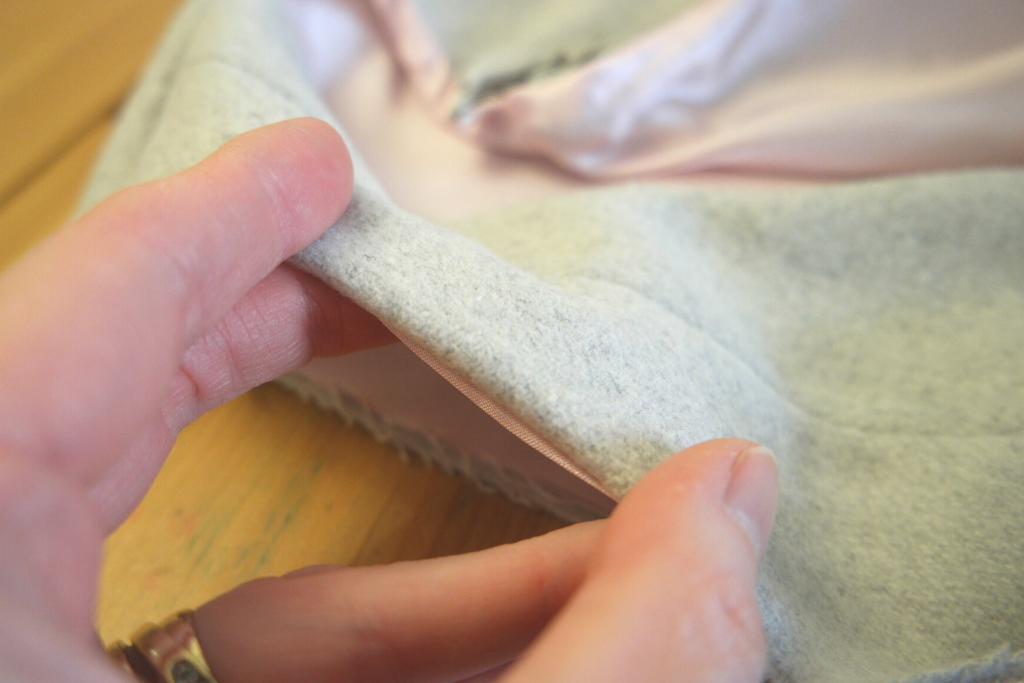
Hold it with one hand, then slip your other hand between the dress and the lining and grab the seam allowance. Pull it through and pin the shoulder to the armpit on one side.

Sew, just on that one side.
Do the same for the other half of the armhole.
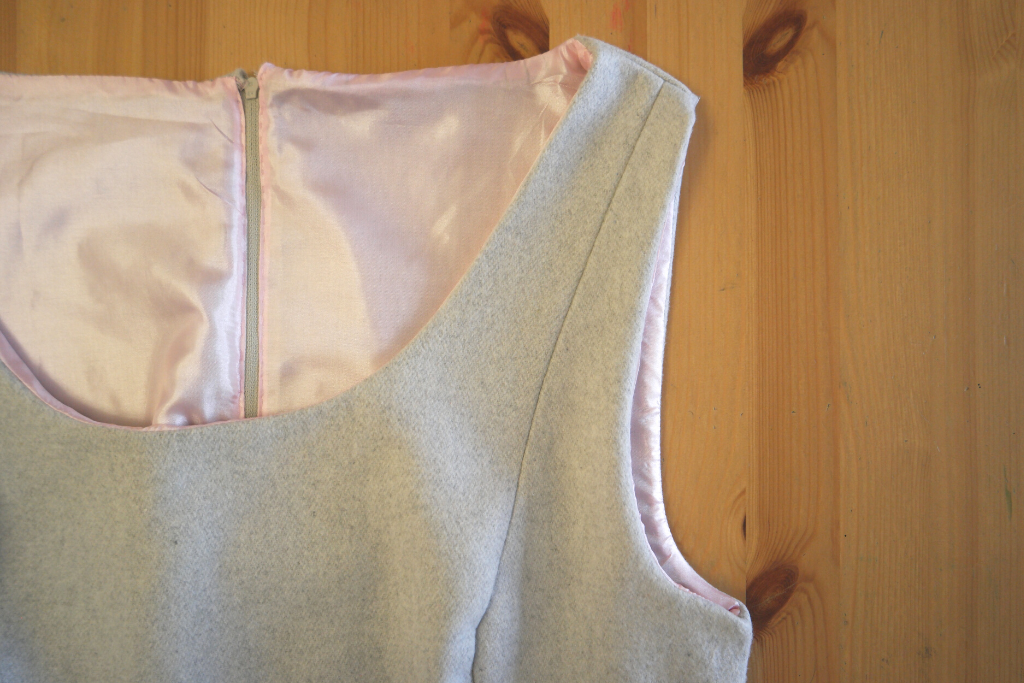
Trim and clip the seams and turn it the correct way out.
Now repeat the whole thing with the second armhole.
Press the armhole
Zip
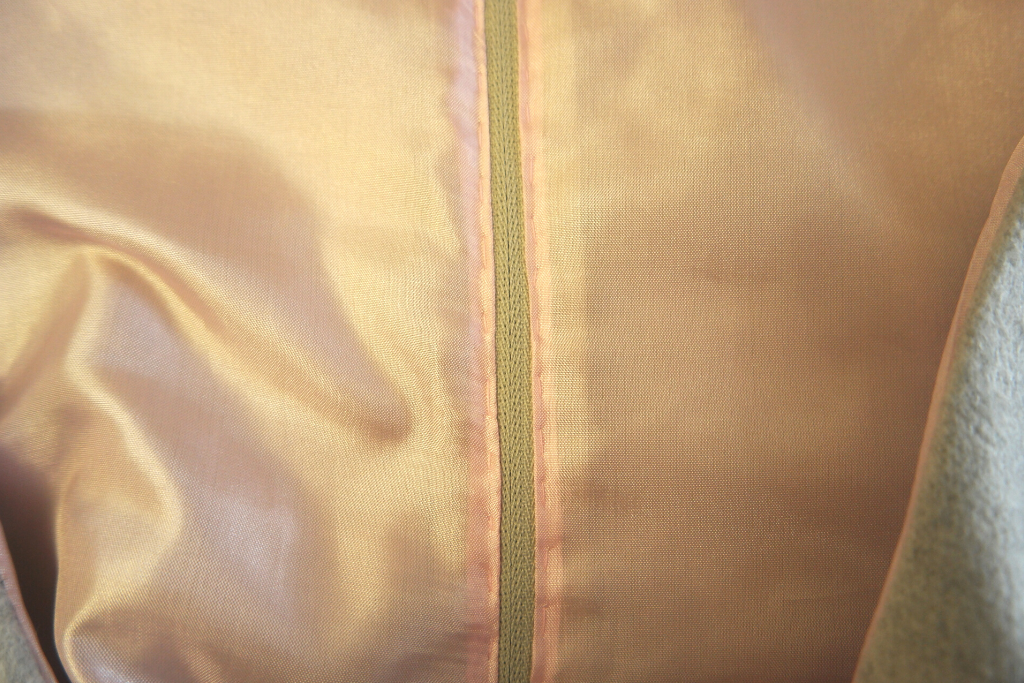
The tricky bit with the zip is all done. All you need to do is hand sew the lining so that it covers the sides of the zip and won’t get caught in the zipper. Sewing it this way rather than putting the zip in after the lining means that you won’t have the sides of the zip annoying you if you wear your princess seams dress without a top underneath.
Unpick the back seam of the lining. Pin the edges of the seam so they are clear of the zip’s teeth. You might need to fold the edges under a bit more.
Once you’ve done this, check the bit of the neckline near the zip as this might need some attention too.
Hand sew the lining to the sides of the zip. You could sew through to the dress if you wanted to. If you do this, try to keep the stitches tiny so that they don’t show too much.
Run the iron over it one last time and your dress with princess seams is ready to wear!
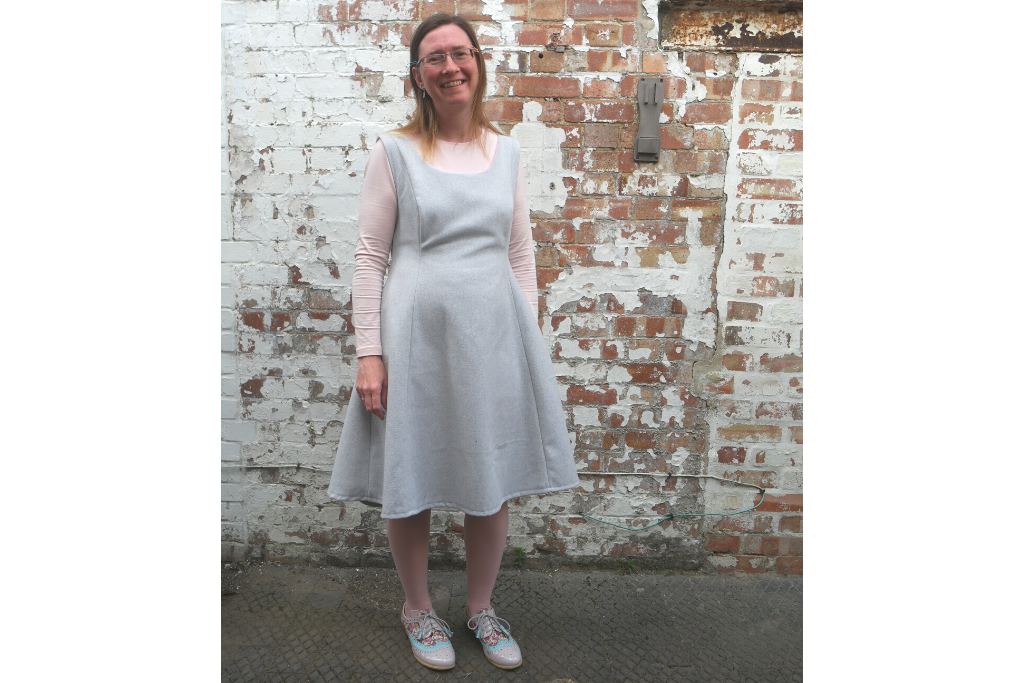
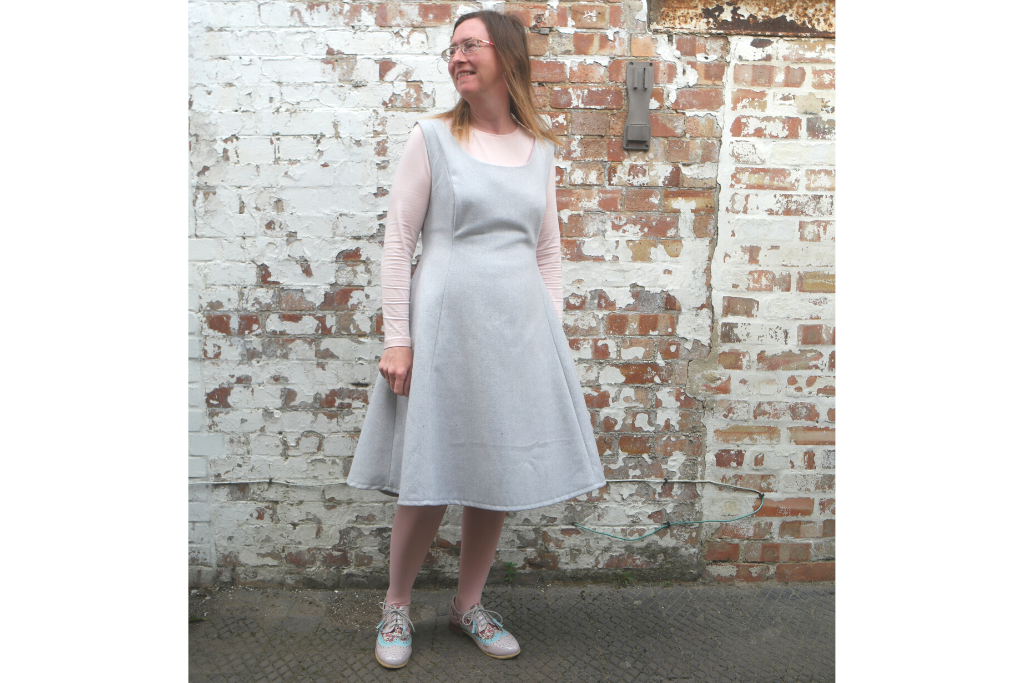

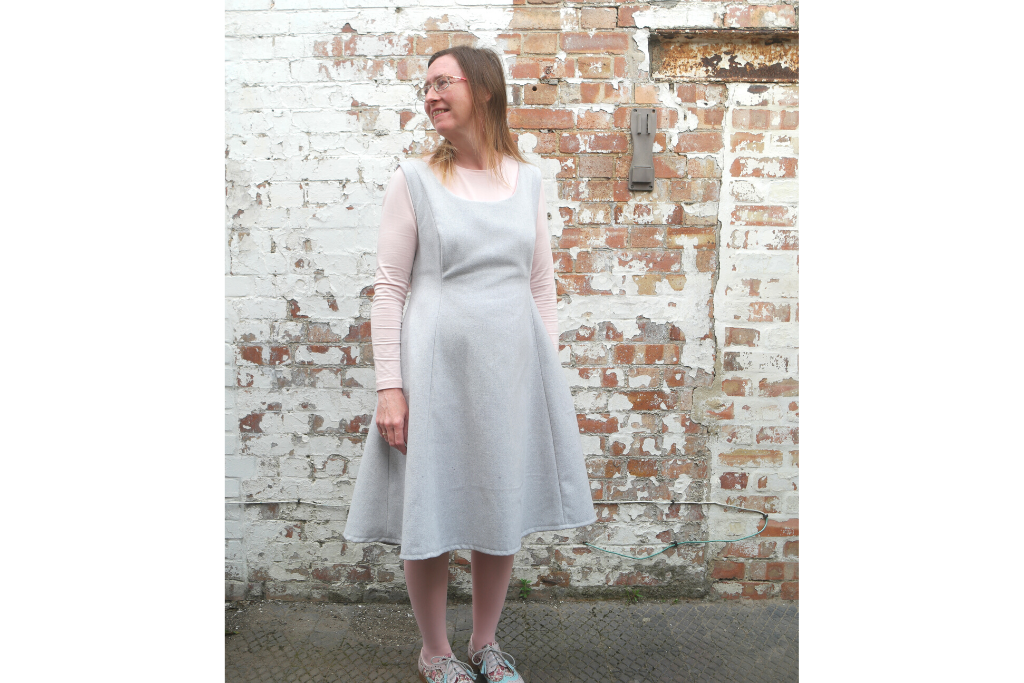


different Viewpoint
Sewing a Dress With Princess Seams: Making Up the Dress –