Quilted Sewing Machine Cover Tutorial
The best thing about having my own little sewing corner is that I can leave my sewing machine out. One of the drawbacks with doing this though is that it gets dusty. Too much dust and fluff in a sewing machine can cause it to stop working. If you leave it out it needs to have a cover.
My sewing machine actually came with a cover, which I have used when I’ve remembered!
Unfortunately it is not very nice. It’s made of some weird grey stuff and I don’t like it.
The answer to being both fussy and forgetful is to make my own! My theory is that if I have a pretty sewing machine cover, I will be more likely to remember to use it.
So far, my theory has proved correct 🙂
The cover is quilted, with an appliqued Scandi style flower on the front and the back. I used a print for the inside, because I like to know that the inside is pretty if even nobody sees it! The bottom edge is finished with bias binding, that I made myself so that it would match the stems of the flowers.
The construction is very simple. It’s basically a rectangle with the sides sewn up and boxed corners.
As I had no intention of carrying the sewing machine around, I didn’t need access to the handle, so there’s no opening for it. You could probably make one if you needed to but this tutorial doesn’t show how to do this. I put a pretty green bow on the top instead.
Here is my quilted sewing machine cover tutorial.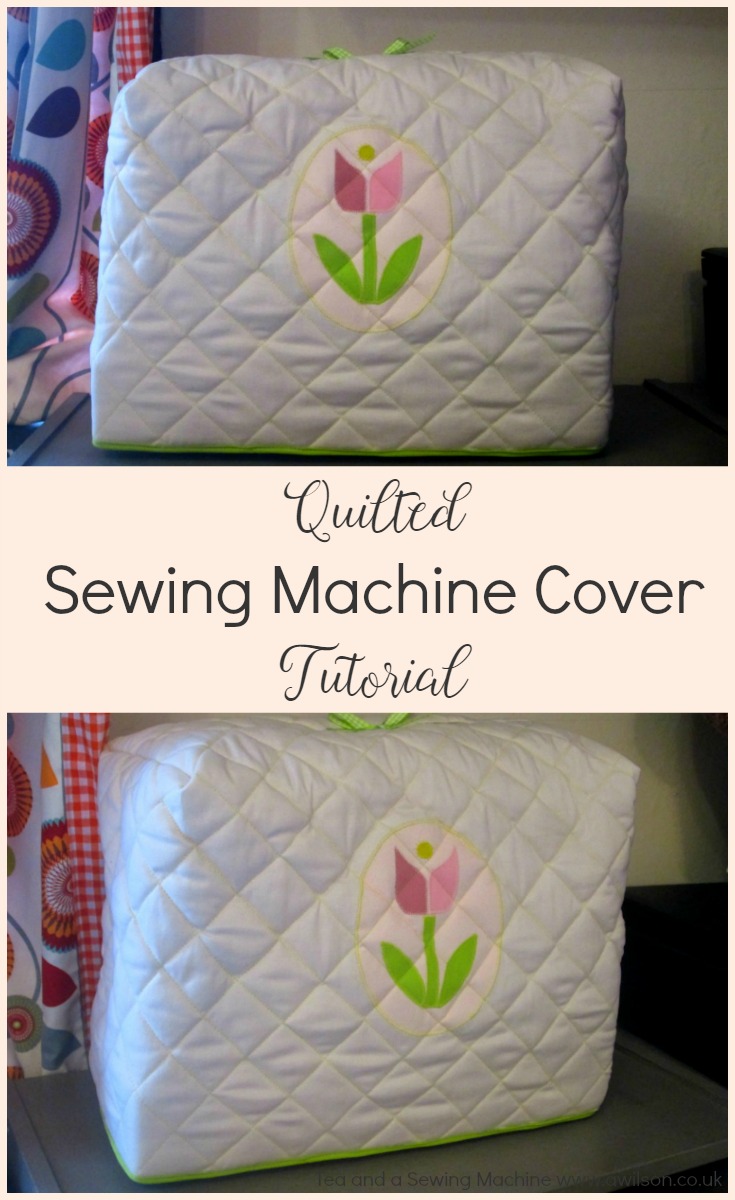
How to Make a Quilted Sewing Machine Cover
You Will Need
1 metre of cotton fabric for the outer,1 metre of cotton fabric for the lining, 1 metre of wadding, scraps of contrasting cotton for the applique, bias binding (or a bias binding tool plus fabric if you want to make your own), a scrap of ribbon for the top.
There might be a fair bit of fabric left over, but half a metre will not quite be enough.
You will also need templates for the appliqued flower. You could either make your own (I have a Pinterest board of inspiration here) or you can download the ones I used for free here.
Cutting Out
You will need to cut out out 2 lots of the flower pieces. If you are using my template, you will need to cut:
4 leaves
2 stems
4 halves of the flower (2 in each colour)
2 circles
2 ovals
For the cover itself, you will need to measure your sewing machine. Measure up the front of the machine, over the top and down the back. This will give you the length. For the width, measure around the bottom and divide it by 2. Don’t forget to add a seam allowance and a few cm extra cm. Some will be lost in the quilting and you also need it to be fairly loose over the sewing machine. I would add probably about 8-10 cm extra in total.
Using these measurements, you will need to cut a rectangle from the outer fabric, lining and wadding.
Sewing Up
1. Arrange the flower pieces onto the ovals and then pin them on. If you don’t want to pin them, you could hold each piece in place with a dab of a glue stick. It might not hold all the pieces in place while you sew, so, you’ll need to stick each piece down and then sew, rather than stick them all down and sew them all at once.
Applique the flowers to the ovals.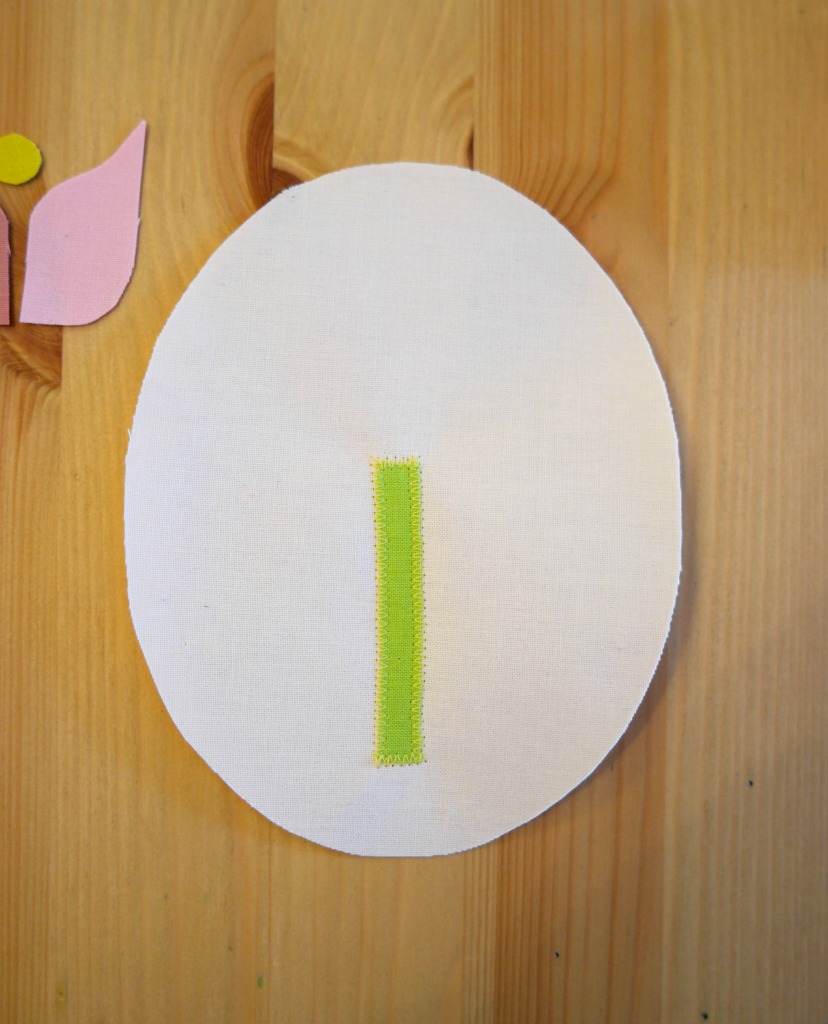
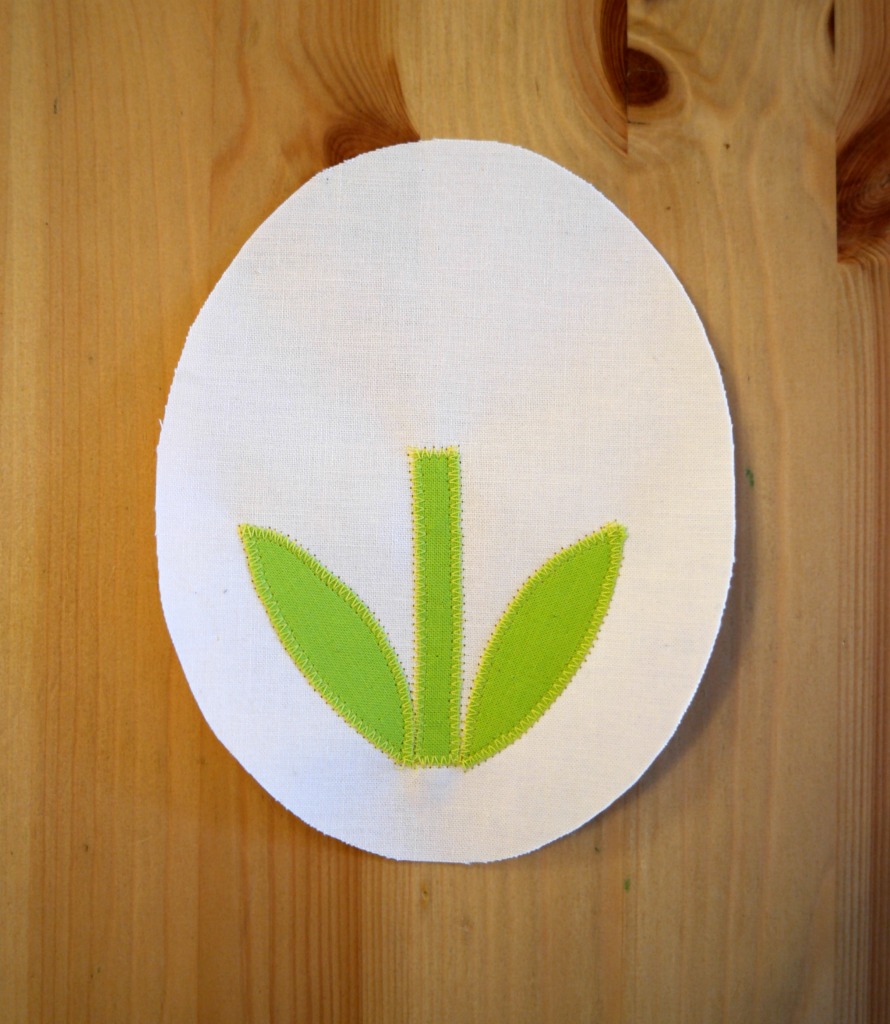
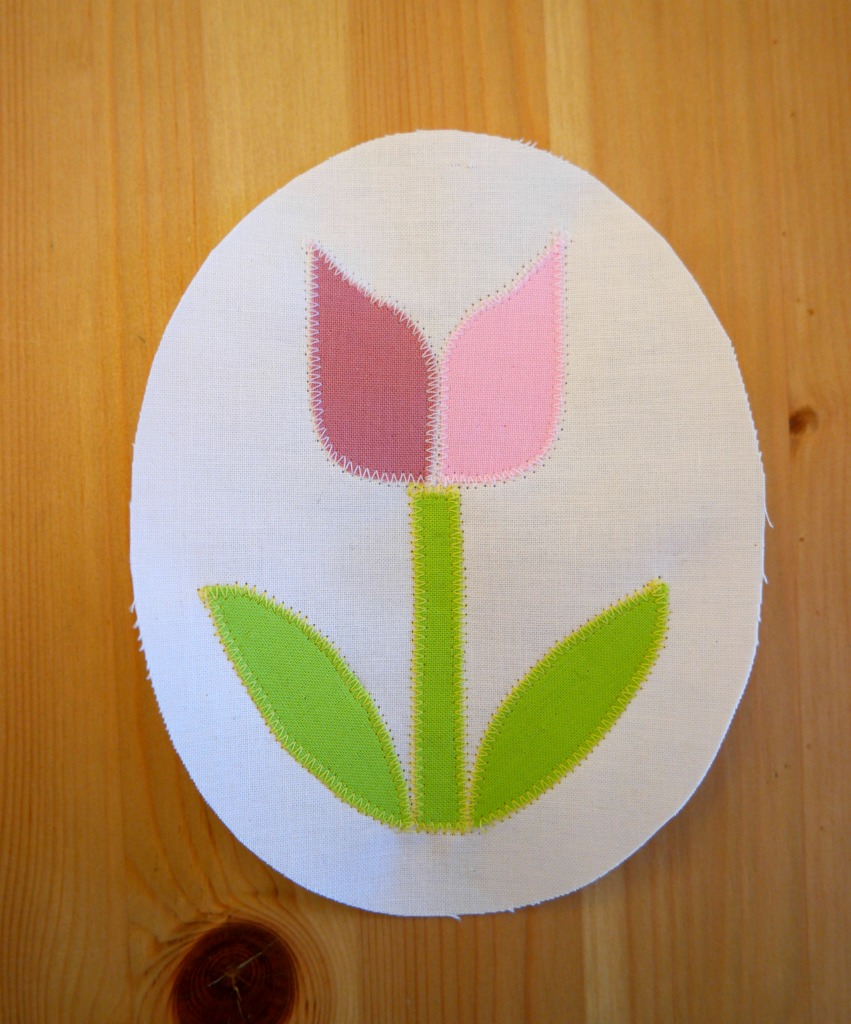
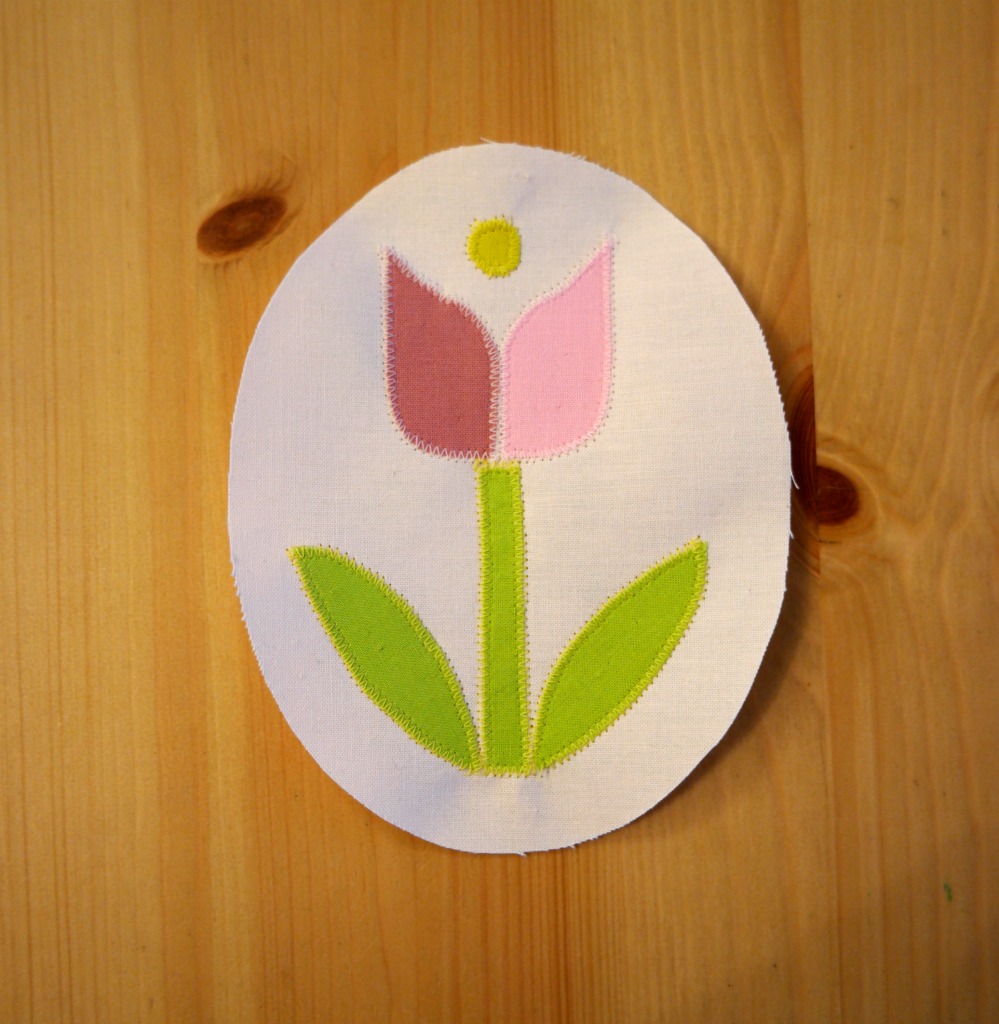
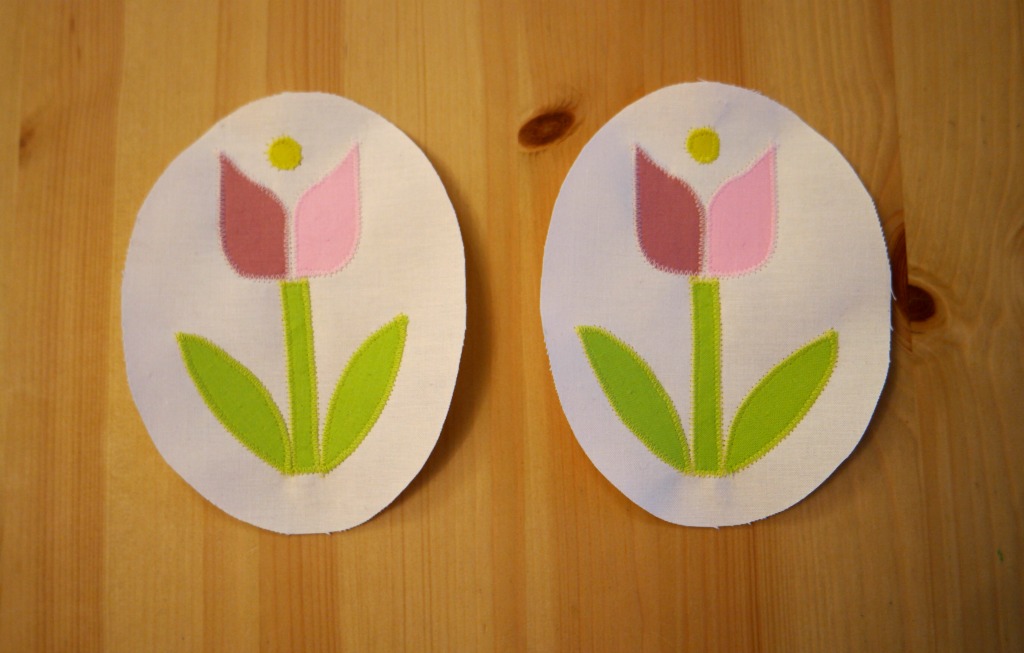
2. Position one of the ovals onto the outer so that it is in the centre and 10 cm up from the bottom. Pin it in place, then applique it to the outer.
Do the same with the other oval on the other side of the outer.
3. Pin the outer to the wadding and the interlining (if you’re using it). Using a long ruler or a tape measure and pins, mark the first line of diagonal quilting stitches.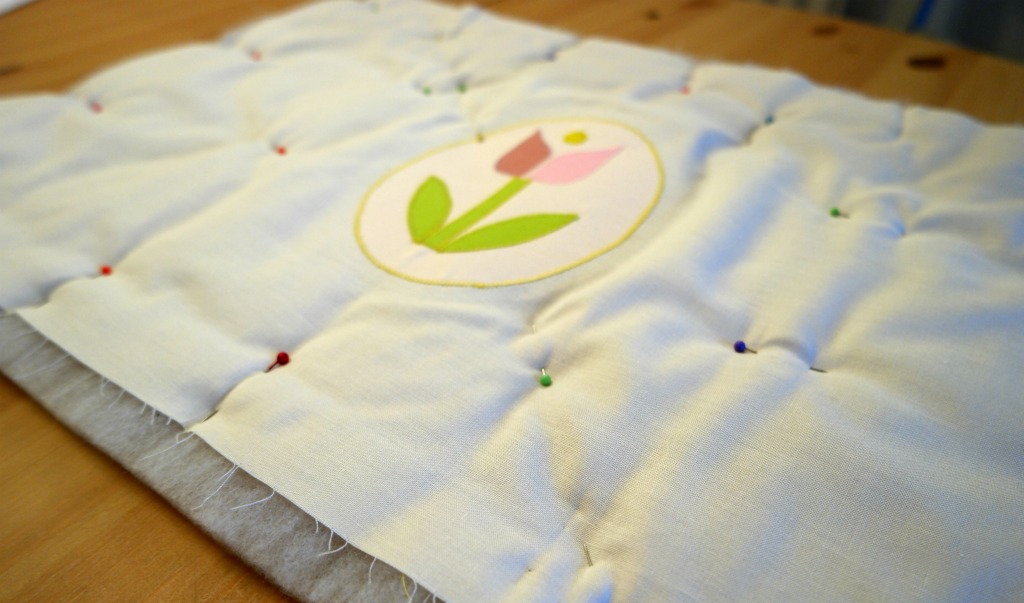
If you’re worried about getting the angle right, take a square of paper and fold it in half diagonally. Line the edge of the square up with the bottom of the fabric. Where the folded diagonal edge is, you will need to pin your line for sewing.
4. Sew the first line of quilting stitches using a long, straight stitch.
5. To work out where the rest of the lines of quilting will need to go, use the first line as a guide. Measure 4 cm away from it, and 4 cm on the other side. Sew them, then measure the next line.
Keep going like this until you have completed the quilting in this direction. Don’t forget to turn your fabric each time!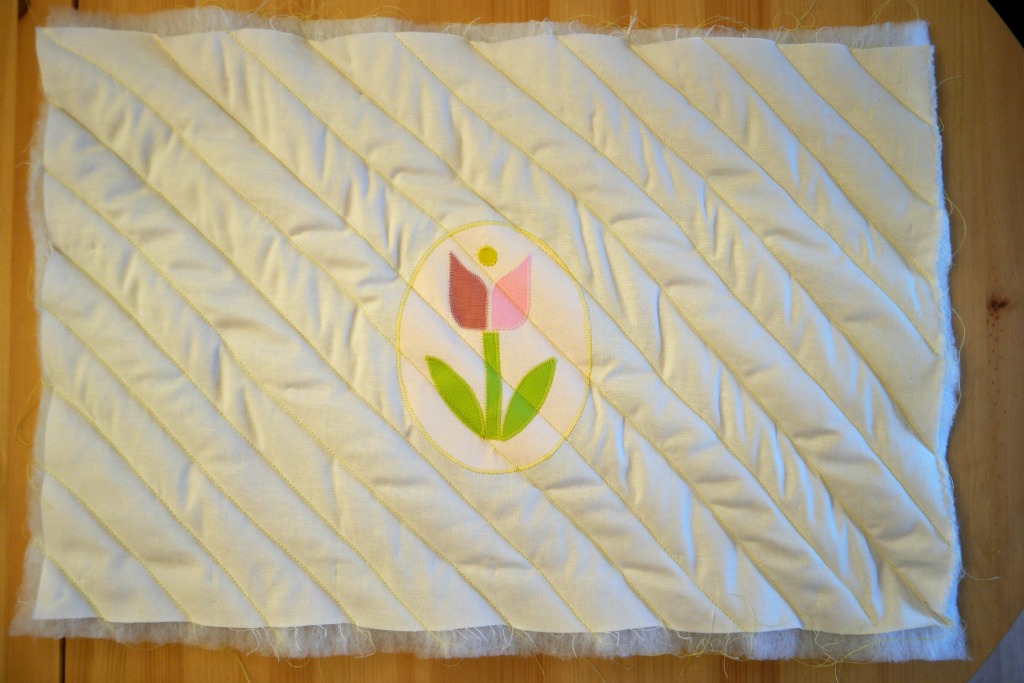
6. Make the lines of quilting in the other direction in the same way.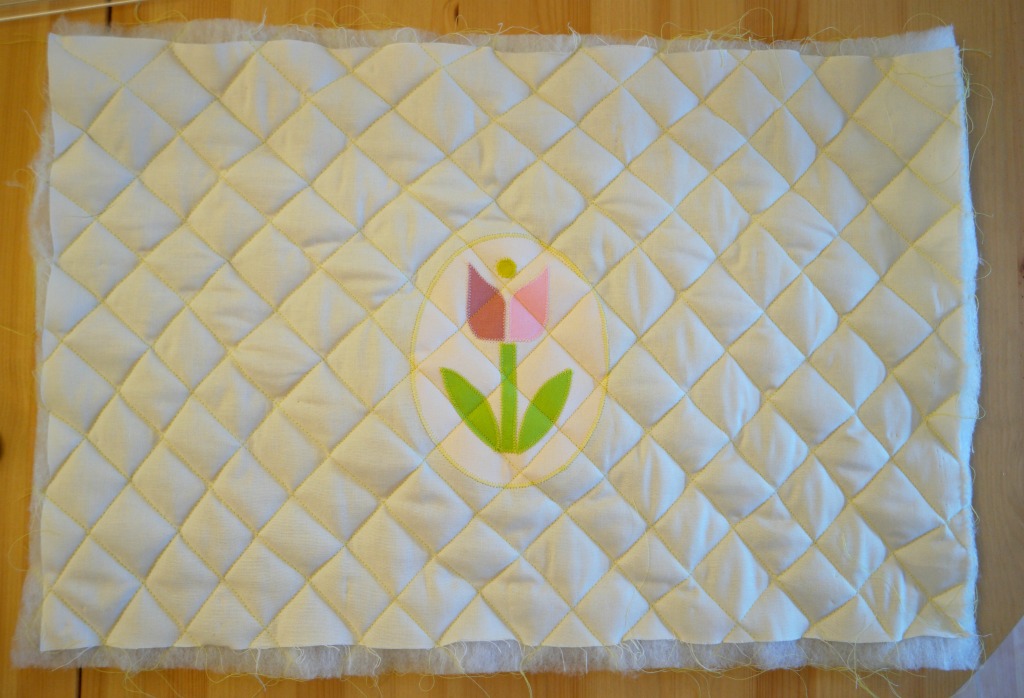
7. When you have completed the quilting, trim your outer so that the fabric and the wadding are the same size and the whole thing is a neat rectangle.
Check it against your lining piece. You might need to trim the lining down so that it is the same size.
8. Take your outer piece and with the wrong sides together, fold it in half widthways. Pin, then sew up the sides.
9. Squash the corners flat so that the side seams are next to the fold at the top. Measure 8 cm up from the corner and pin. 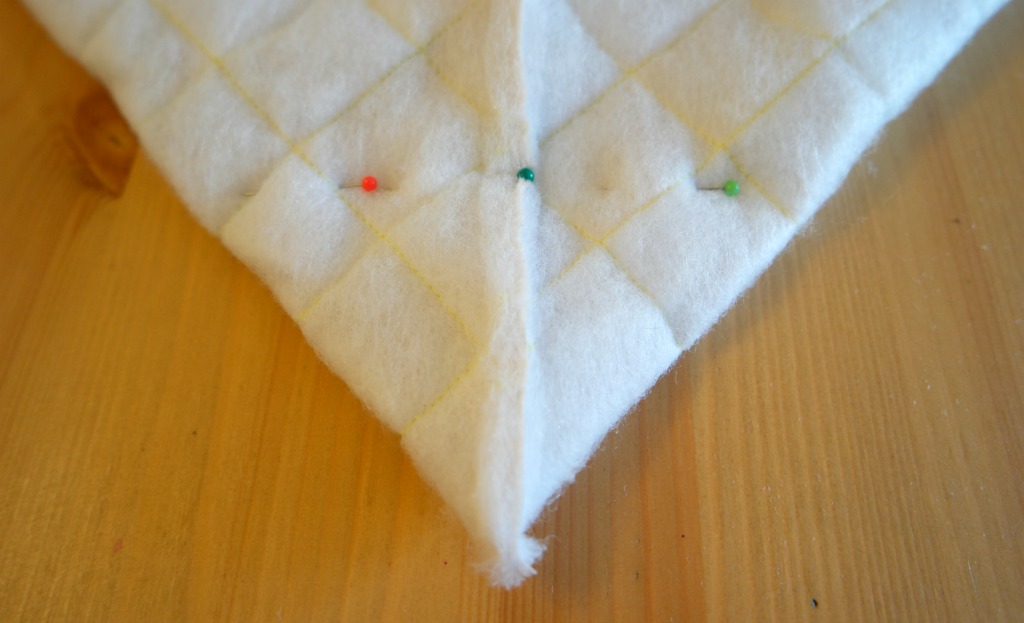 Sew across the corner, then cut the corner off.
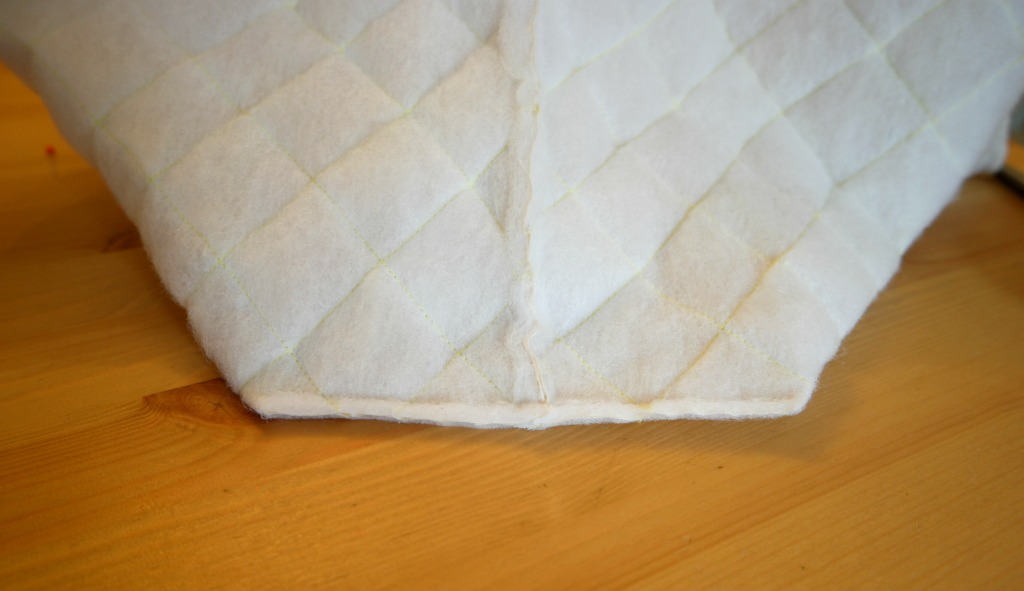
10. Repeat steps 8 and 9 with the lining.
11. Pop the lining inside the outer so that the wrong sides are together. Pin.
12. If you’re making your own bias binding you will need to do that now. There’s a tutorial here if you need one. Sew the bias binding to the bottom edge, taking care to enclose the raw edges on both sides. More detailed instructions for doing this can be found here.
Make a bow and sew it to the top. Now you have a sewing machine cover your machine can stay dust free!

Linking up here.


This is a great tutorial. Thank you for sharing your versatile pattern. I have 2 sewing machines plus a serger (overlock machine) that need covers, and now I can get on with the job of making them.
Thanks Margaret 🙂
It’s really a wonderful design to cover the sewing machine. However, there is no hole for the carrying handle to pass through, but this is not useful if the sewing machine is not being transported 🙂

Machine a Coudre Enfant recently posted…Bien Choisir une Machine a Coudre pour Enfant
I did consider a hole for the handle, but I wasn’t planning on moving it so I thought it would make it unneccesarily complicated. It’s really just to keep the dust off 🙂
All pis very good and tricks also good. i am very happy
keep posting and sharing
Hi Anna I am from Frostproof FL. USA and I enjoy reading your blog. I am going to make your sewing machine cover. It looks so easy and so cute. Although I could close up my machine in it’s cabinet I prefer (maybe lazy 🙂 to leave it out. Have a nice day.
Hi Lorena, O love leaving my sewing machine out as it means I use it a lot more! I’d love to see how you get on 🙂
Just the project I need to start today… today being no leaves out yet… pouring rain… little long-haired dachshunds out in the mud. No tulips, so I will make my own. Thank-you and have a day filled with love and sunshine.
Z
Thank you Zuzannah