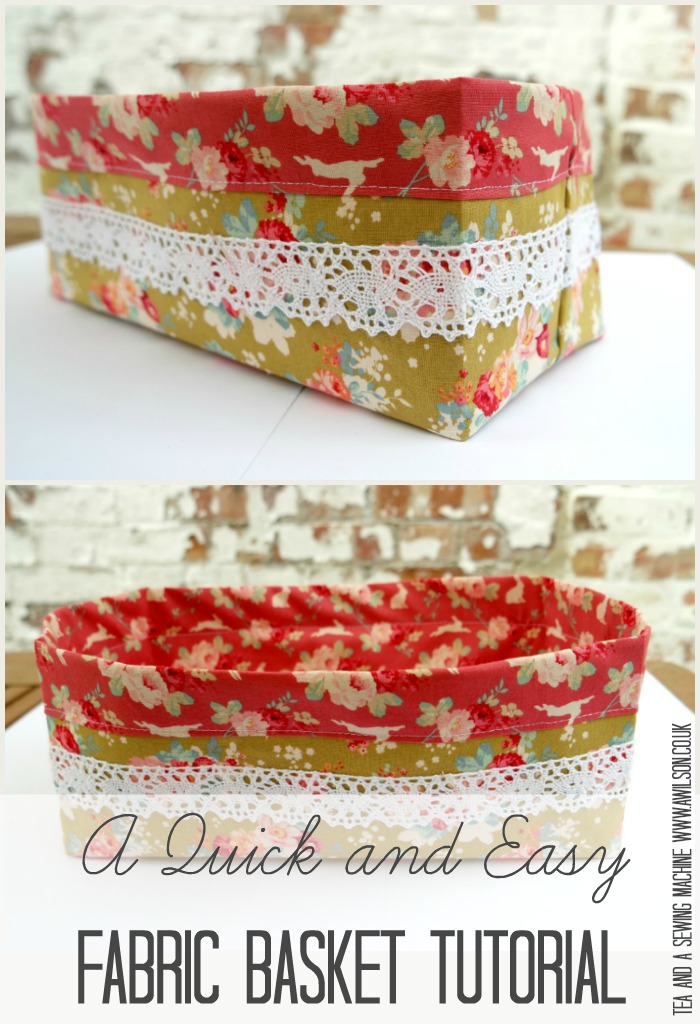
A Quick and Easy Fabric Basket Tutorial
I was recently sent some fabric by the people at Stitch Craft Create. It was 8 fat quarters from the new Tilda ranges, Cabbage Rose and Memory Lane, so that I could join in the Tilda Bloghop next month.
Like all the Tilda collections, it’s beautiful! When I got it all out, although I could see several sewing projects and I couldn’t wait to get started, it was so lovely I didn’t want to cut into it!
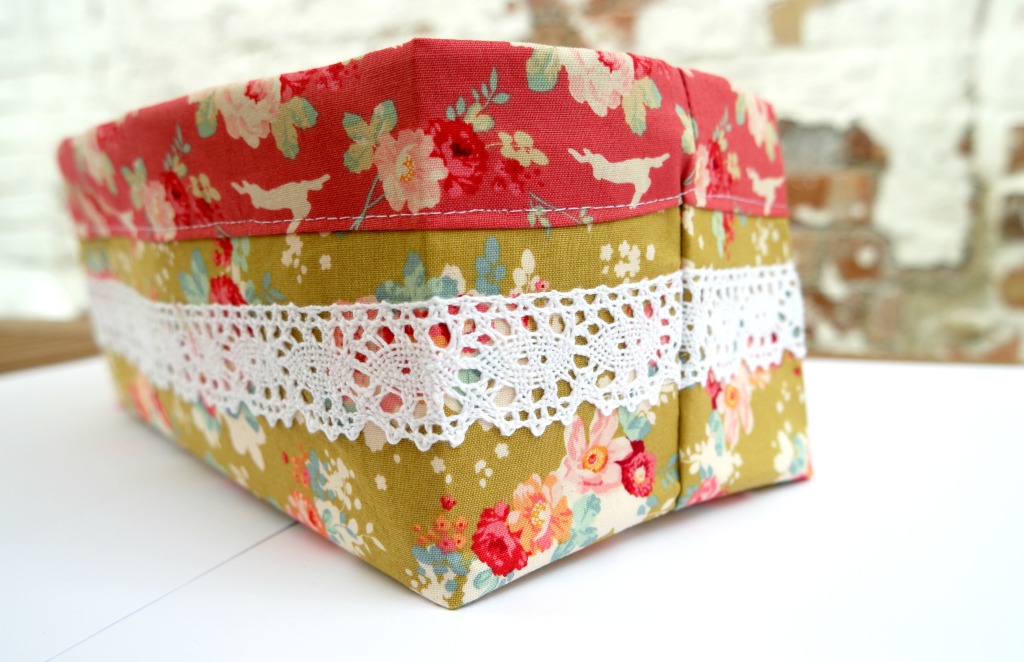
The first thing I have made with some of the fabric is a fabric basket. I have made these before, but I this time I wanted to go about it in a slightly different way. The fabric baskets I made previously involved a lot of measuring. To make things easier to anybody who might want to make them, I gave the option of buying a pattern.
This time I wanted to keep things a simple as possible. The fabric is so beautiful it doesn’t need anything complicated. And you never know when you might need a fabric basket in a hurry!
So here is the quickest, easiest way to make a fabric basket that I could come up with!
How to Make a Fabric Basket
You Will Need
2 fat quarters, interfacing (I used heavyweight fusible interfacing, but the sew in kind will work fine), trim (optional), usual sewing supplies.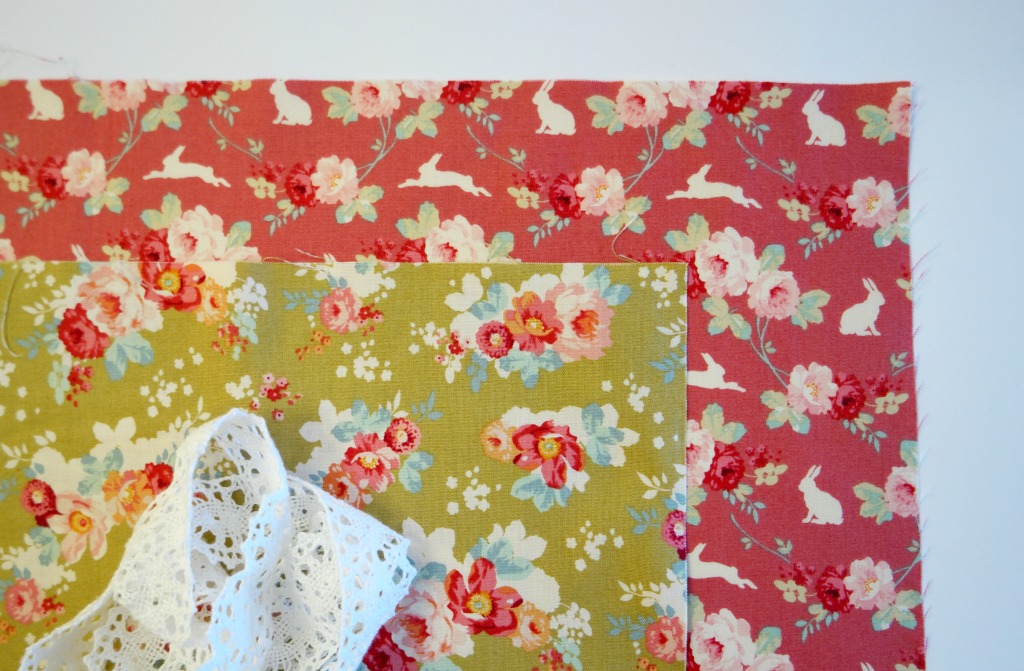
Cutting Out
From the outer fabric, cut a rectangle 43 cm x 37 cm (17″ x 14 1/2 “)
From the interfacing, also cut a rectangle 43 cm x 37 cm (17″ x 14 1/2 “)
From the lining, cut a rectangle 43 cm x 49 cm (17″ x 19″)
If you are in a real hurry, providing that your fat quarters are the same size, you could just cut 12 cm (4 3/4″) of the long edge of the outer.
If your lining fabric does not have a directional print, cut 10 cm (4″) off the long edge.
Be warned though, your finished basket will be a longer rectangle!
Sewing Up
Outer
1. If you are using fusible interfacing, fuse it to the wrong side of the outer.
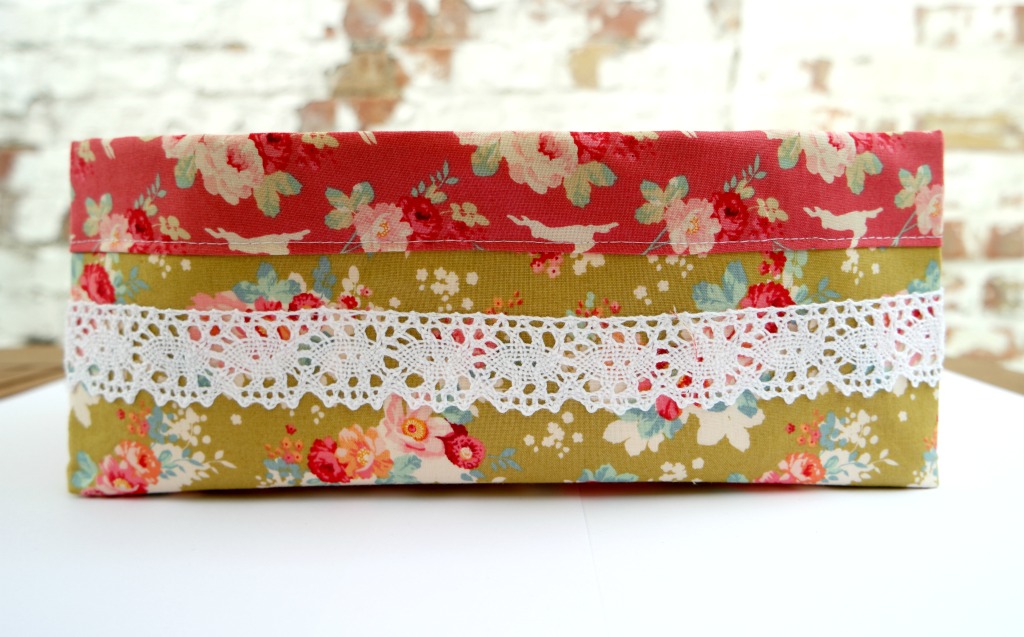
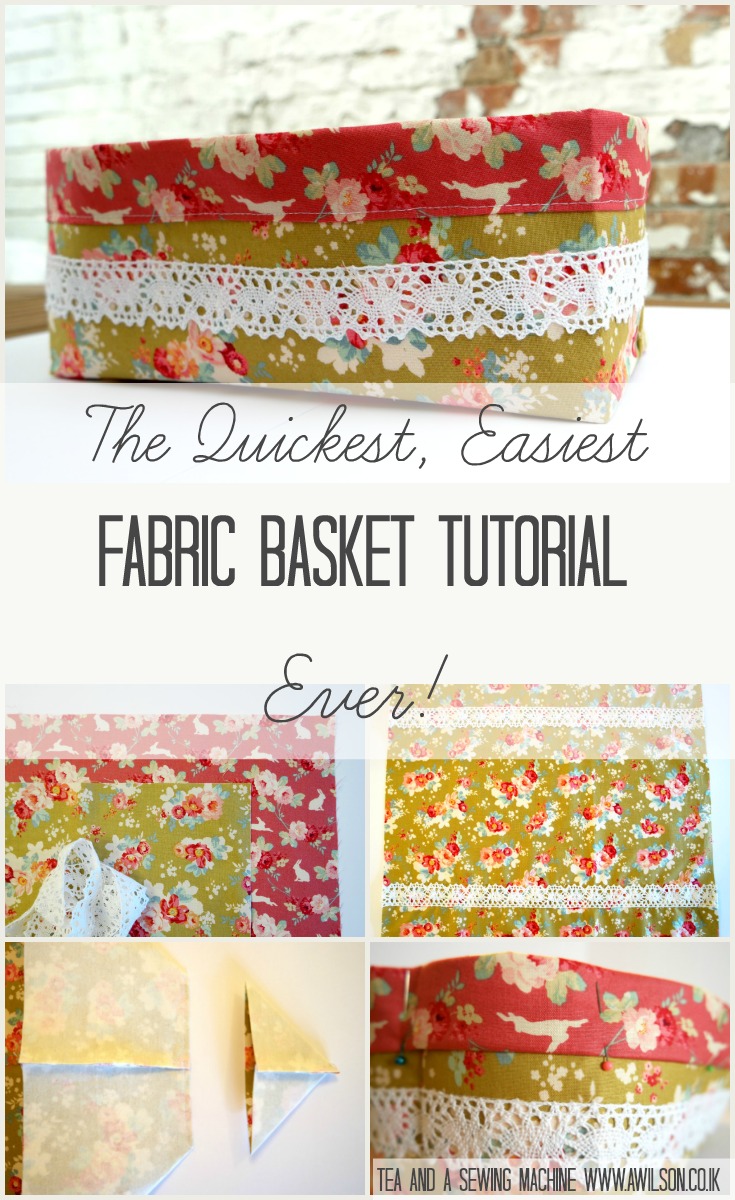
2. Cut 2 pieces of trim the same width as the outer. Measure down 5 cm (2″) from one of the long edges and pin the trim in place. Repeat for the other side of the fabric. Sew the trim in place.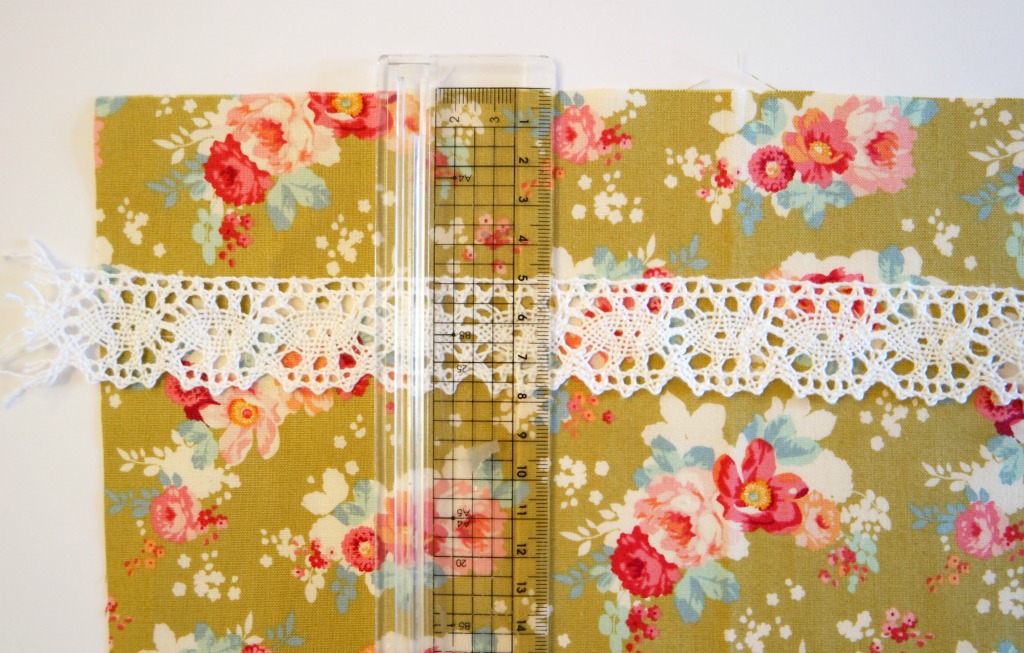
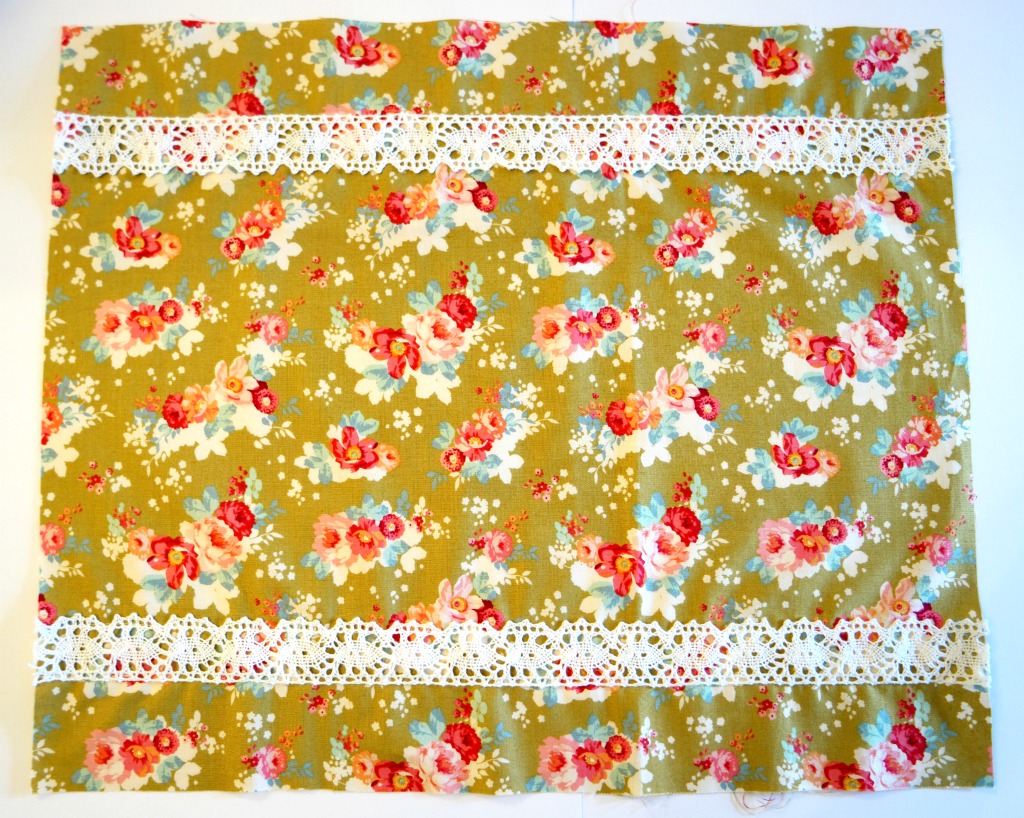
3. Fold the outer in half length ways. Check that the trim is lined up on both sides. Pin the sides, then sew. Trim the seams.
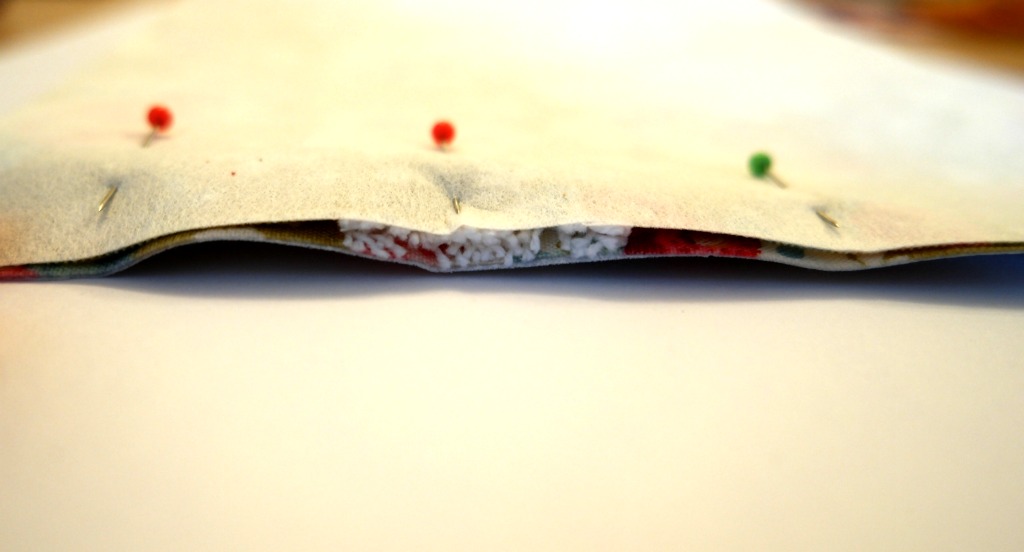
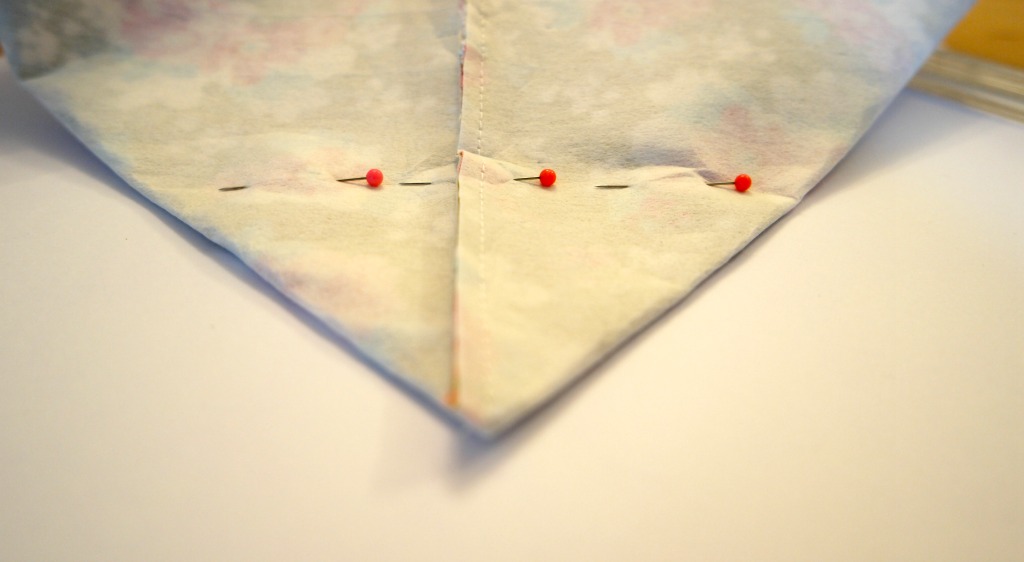
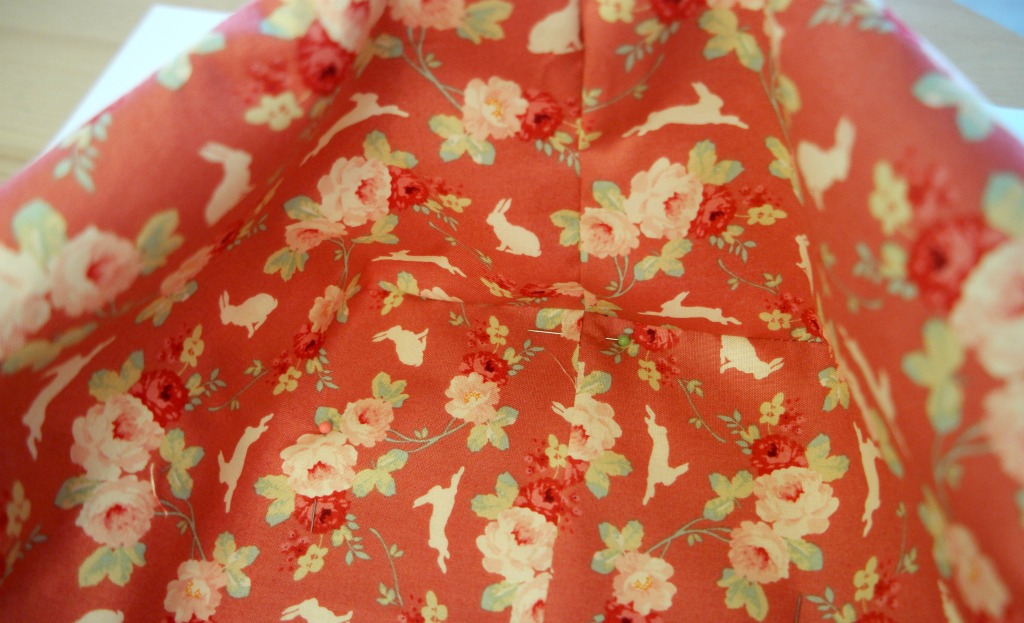
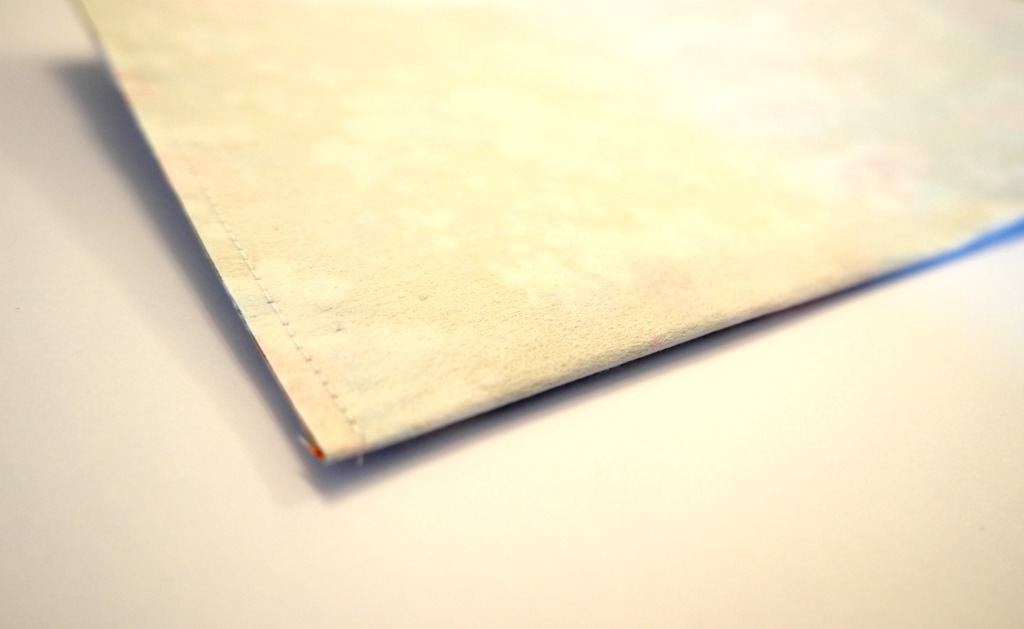 4. To make the boxed corners, crease the fold at the bottom with your finger. Open it out and squash the corner flat so that the seam is next to creased line.
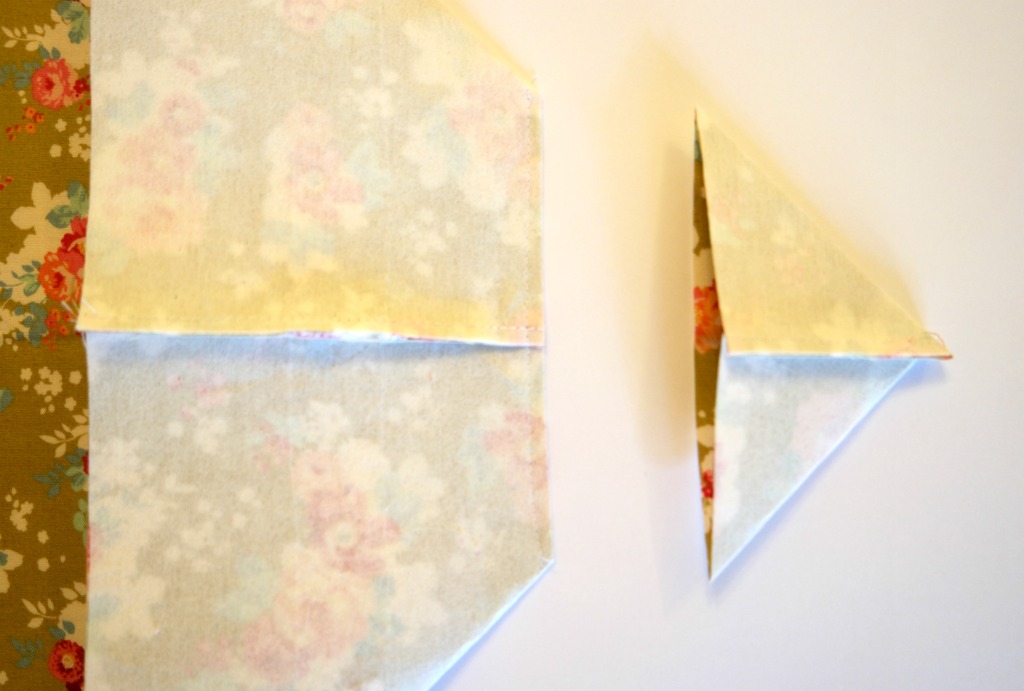
5. Measure up 7 cm (2 3/4″) from the corner and pin at right angles to the seam. Sew where you have pinned. Cut the corners off.


Lining
If you are using different fabric and it does not have a directional print, you don’t need to cut it in half. Just fold it length ways and sew the side seams, then make the boxed corners.
1. Fold the lining in half length ways. Cut where you have folded.
2. Take one of the halves and turn it round so that the bunnies go the opposite way. 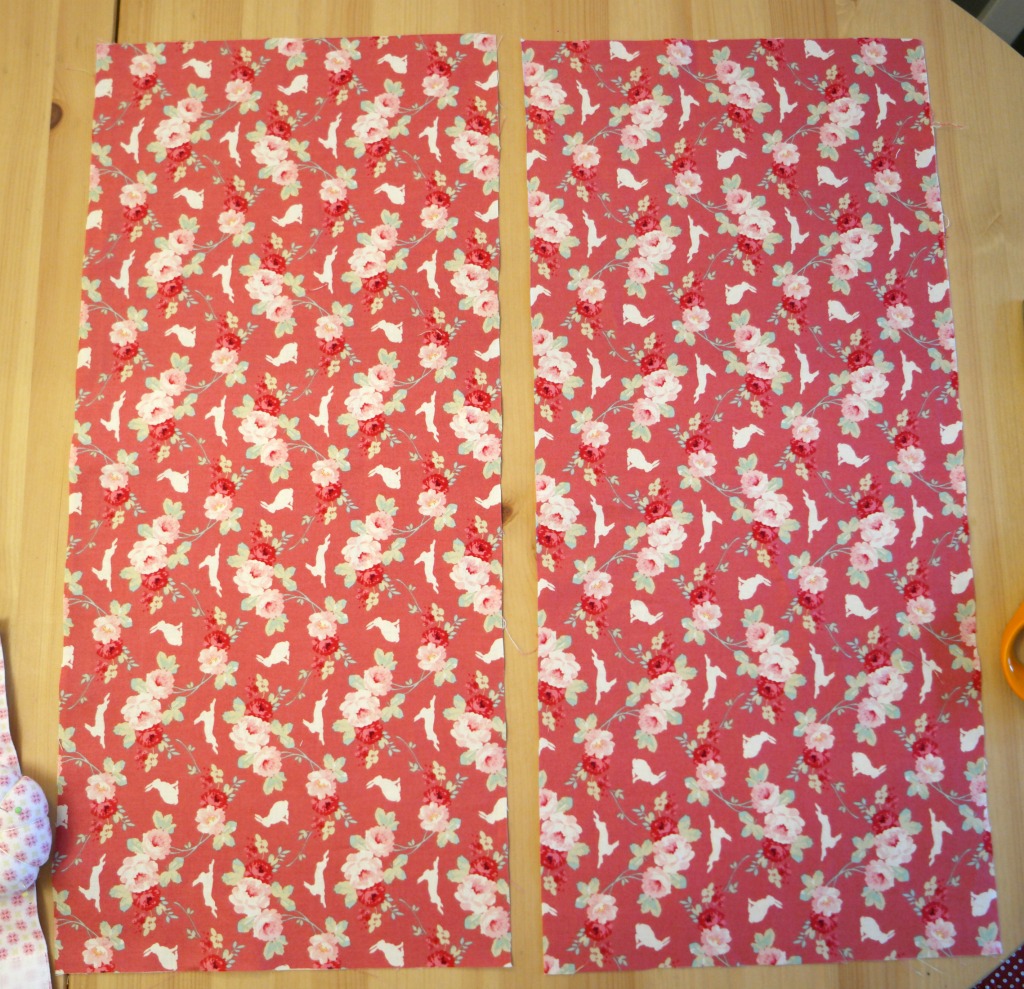 Pin the 2 halves together and sew along the sides and the bottom. Trim the seams.
3. Make the boxed corners in the same way as for the outer.
Finishing the Fabric Basket
1. Pop the lining inside the outer so that the wrong sides are together. Push the corners of the lining right into the outer. You might want to pin the lining to the outer at the sides to make things easier.
2. Fold the lining over the top of the outer and press with your fingers as you go. Tuck the raw edge underneath and pin in place.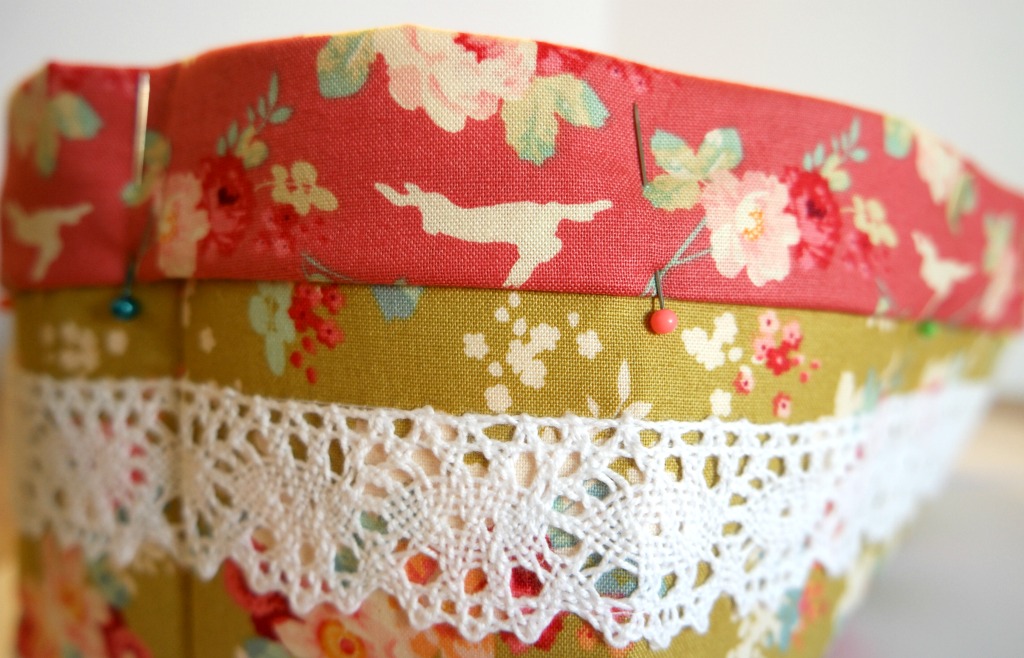
3. Top stitch all the way round.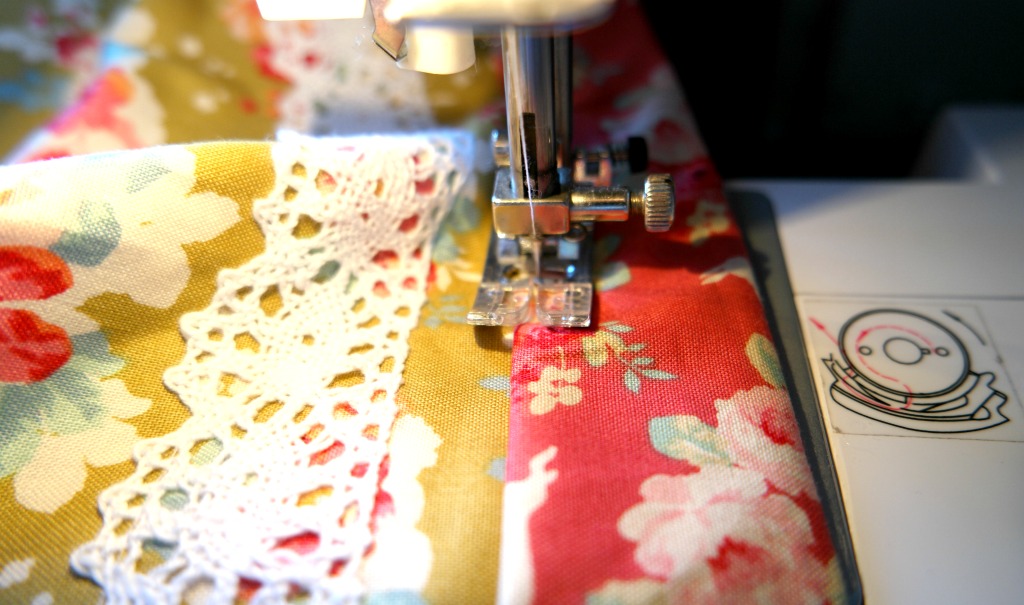
Tips
Leaving the trim off would make the process quicker.
If you use fabric that does not have a directional print, you could just fold both the lining and the outer in half and sew up the sides.
If you are using fabric left over from another project and you are worried about the size of the finished fabric baskets, you could just cut less off the outer. All you need is enough extra of the lining to fold over the top of the outer and tuck the raw edge underneath.
The off cuts don’t need to be wasted! You could save them for a scrap project, like a wrist pin cushion or pattern weights!
Linking up here.



There should be a warning on this project. They are so fun to make it is addictive. Before you know it you have a bunch of these. Thank you for the Very easy to follow instructions.
I have a load of them as well! They’re useful 🙂
Your baskets are adorable! They are the prettiest and easiest I’ve seen. I can’t wait a bunch!
Thank you! 🙂
Can you tell me what seam allowance you used? I did not see it stated but of course I may have missed it. Thank you.
Hi Nita, I don’t think I did mention the seam allowance! It’s 1 cm (1/4 inch).
Ok thank you very much.
Hi – I have all my pieces cut and am about to sew and assemble. After I have the lining sewn and corners boxed, you say to put the liner inside the outer with the right sides together. Shouldn’t it be wrong sides together? Can’t wait to finish and will try to post a photo of the finished pieces. Thanks somuch for the great tutorial!!
Yep, it should be wrong sides together! I’ll change it 🙂
I need clarification with Just a couple of things with instructions. When I fold and sew lining piece it is 2″ longer than outer piece. Should you fold and sew the 17″ sides instead of lengthwise the 19″?
Also at the end when putting it together, should the pieces be wrong sides together?
Thanks for the help, love the basket
Sorry Penny, I hope you figured this out. I’m trying to remember as it’s a while ago that I made this. The lining needs to be taller so that there’s enough to fold it over the outer to get the contrast bit round the top. And yes, the wrong sides need to be together. Hope that helps xx
hi love your site~ can you tell me the finished dimensions?
Hi, it’s approximately 28 cm x 13 cm and 12 cm high. In inches that’s about 11 x 5 and 4 1/2 high
Thanks for the tutorial, just need to figure out the measurements in inches. Lol But going to try
I’ve added the measurements for this in inches. I have this issue myself with converting inches to cm as I never use them. The easiest thing i’ve found is to use a tape measure with inches on one side and cm on the other.
Gorgeous! thanks so much for sharing on craft schooling Sunday. I am back now after a month unplugged, and the party will be resuming this sunday as well, hope to see you there!

creativejewishmom/sara recently posted…How To Create Gorgeous Planters With Mixed Succulents
for those of us that dont know centimeters and the like, can you give the sizes in inches?? thanks
I’ve put the measurements in inches. I have the same problem converting inches to cm!
Nice and simple tutorial. These fabric baskets are so popular right now. Thanks a million for sharing on DIY-Crush.

Marsha recently posted…DIY-Crush Link Party, Week 43
Thanks 🙂
Looks so cute. I don’t have a sewing machine and won’t be able to do this, but it is a great idea.
Thank you 🙂
Thought you might be interested. My 8yr old granddaughter has wanted to start sewing for a while so we decided to start in the summer holidays. Yesterday was the first attempt. She made 6 of your pattern weights and a heat bag for her dad. I bought a small, lightweight sewing machine as my over locker/sewing machine is built like a tank and unfortunately I can no longer lift it but this small machine is ideal for her. We have now started on a wrap around skirt. The pattern came from the Hobbycraft blog and is made with 6 fat quarters. She wanted to make the skirt straight away but I said she had to get used to the machine first so it was straight seams and zigzagging the edges. Finished with top stitching. So learned a lot. Thank you for your inspiration.
How lovely, it sounds like she’s doing really well! She’ll be as pleased as anything when she wears a little skirt that she’s made herself 🙂
Very nice! I’ll be pinning this to my list of crafts to sell at the farmers market!
They’re quick to make so you could probably whip up a few 🙂