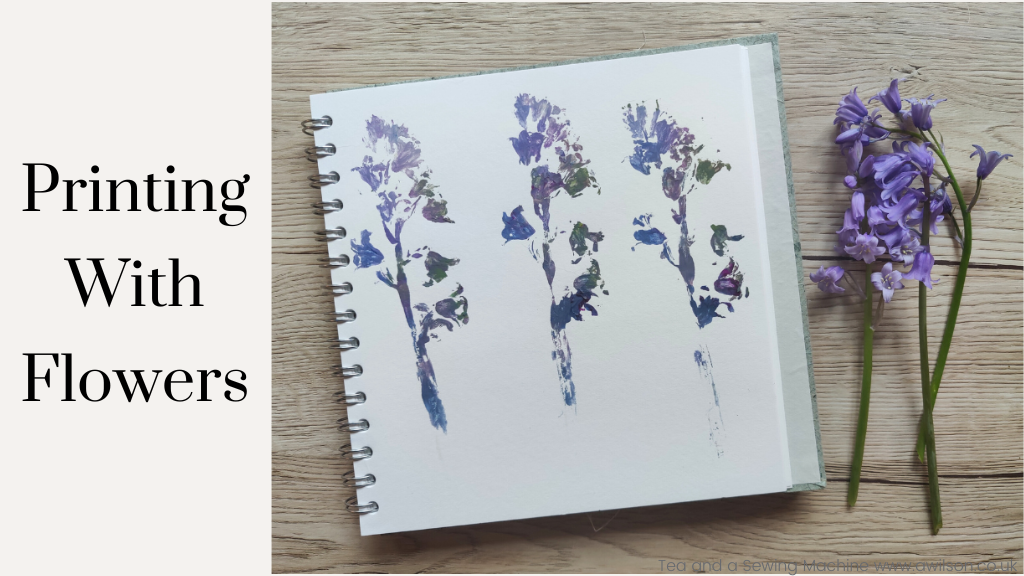
Before I get going, I have to confess that I have shamelessly stolen this idea from somebody else in internetland.
She’s a lady called Michelle Tasker, and she makes the most beautiful designs for fabric and wallpaper that are inspired by nature. A little while ago, on Instagram, I saw her doing the same kind of thing that I’m about to write about. She used leaves instead, and when she had printed them, she scanned them into her computer and turned them into a repeating design. Her website is here, and her Instagram is here.
Printing with found objects is an activity we tend to associate with small children. But it’s a nice thing to do even when you are an adult! Having a different perspective to a toddler means that it’s possible to create something that’s more grown up. We might think more about the colours we choose and the placement of the prints. And it’s a fun thing to do if you are looking for a different way to be creative.
As with lots of other things, perfectionism can creep in. The lovely thing about printing with flowers is that it is unpredictable, and the results will be different every time. Not being able to control the outcomes means that we can’t expect it to be perfect!
Another way to deal with perfectionism is to treat it like an experiment. I’d never tried printing with flowers before. I didn’t know what kind of paint to use, so I tried gouache, watercolours and acrylics, because that’s what I had. Having tried all three, I don’t think there’s a right kind. Each set of prints was different, and there were things I liked about all of them.
I had no plans to do anything with the printed flowers once I’d tried it with different kinds of paint. What I have found is that there are certain colour combinations that I like, and I like some of the shapes that have come out in the prints. So these are ideas I can store away for another time! You might find that ideas occur to you while you are making the prints, or afterwards. It’s something to try!
Here are some instructions if you want to try printing with flowers yourself.
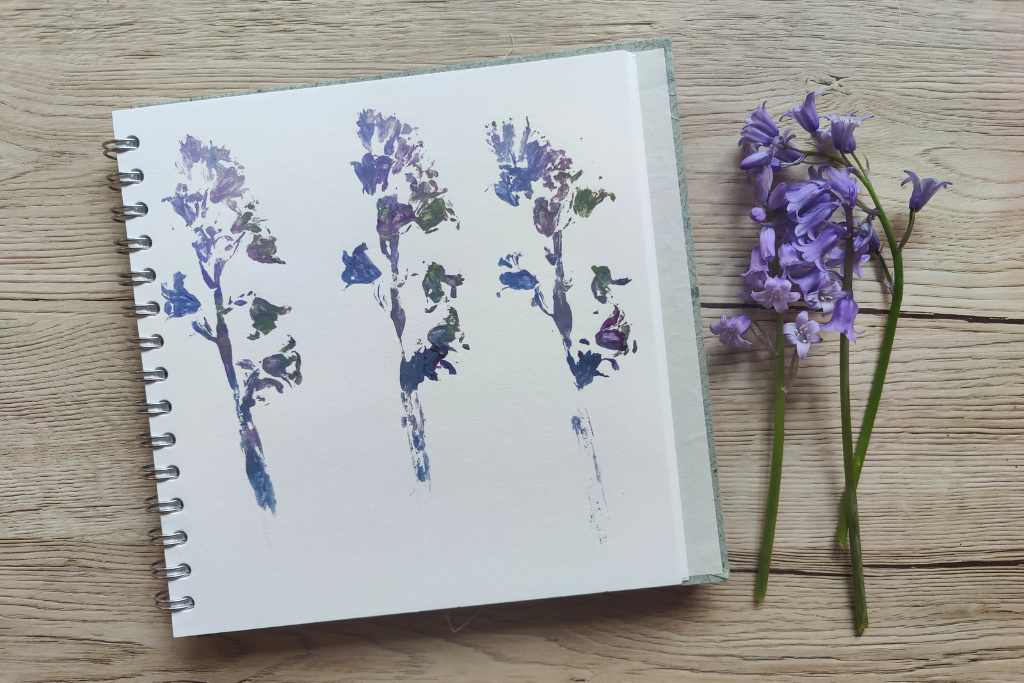
You Will Need
Flowers. I used bluebells from my garden because there were lots of them. If you can’t bear the idea of squishing flowers, you could try leaves instead.
Paint. I wanted to try out different kinds of paint, so I used gouache, watercolours and acrylics because that is what I had.
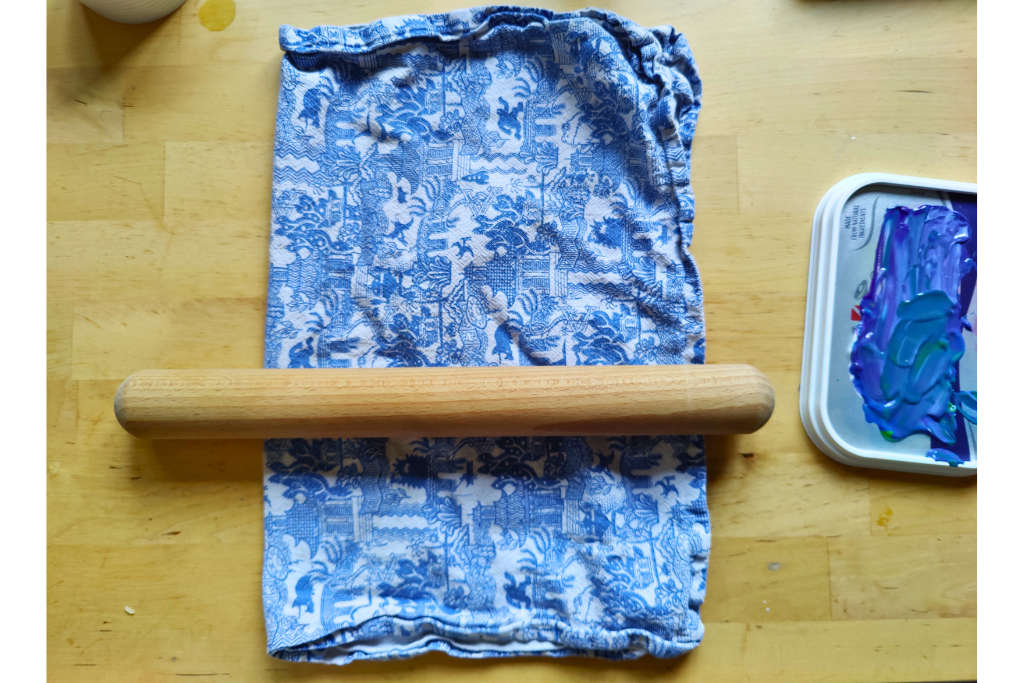
Something to flatten the flowers a bit. A brayer or a roller would do. I used a tea towel and a rolling pin!
Decent paper. Printer paper won’t take paint well. Cartridge paper or watercolour paper is best.
A paintbrush and a jar of water.
Something to put the paint in which will also accommodate the flower. I used the lid from a large tub of butter. It was yet another time when hoarding plastic tubs paid off!
Getting Started
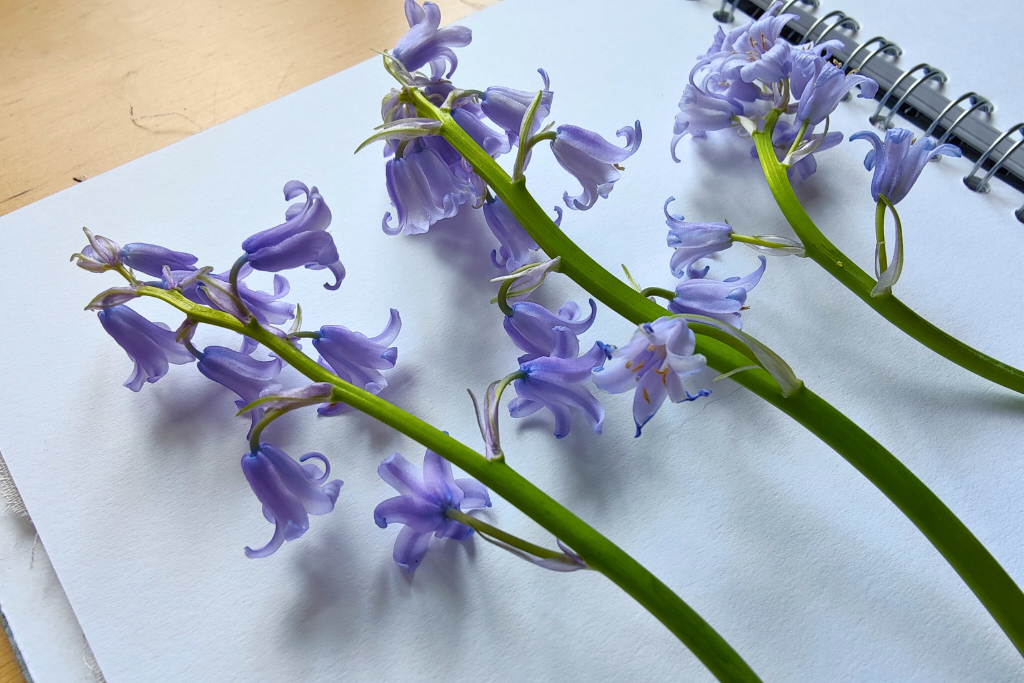
Pick your flowers or leaves. You’ll need a few. I used a different flower for each medium. It is possible to get more than one print from each flower.
Decide on your paint colours. I started off with two, but I found that three, plus white, worked better. You might decide to go for monochrome, especially if you get interesting prints from your flowers or leaves. It’s something else to experiment with!
Printing with the Flowers
Take one of the flowers and lay it down on a flat surface. Run the roller, brayer or rolling pin over it a few times. I put mine in a tea towel first, because quite a lot of moisture came out of the flower.
Put some paint into lid. If it’s gouache it will probably need a little bit of water. Mix it up a bit. Make sure you spread the paint out enough to get all the flower covered in paint.
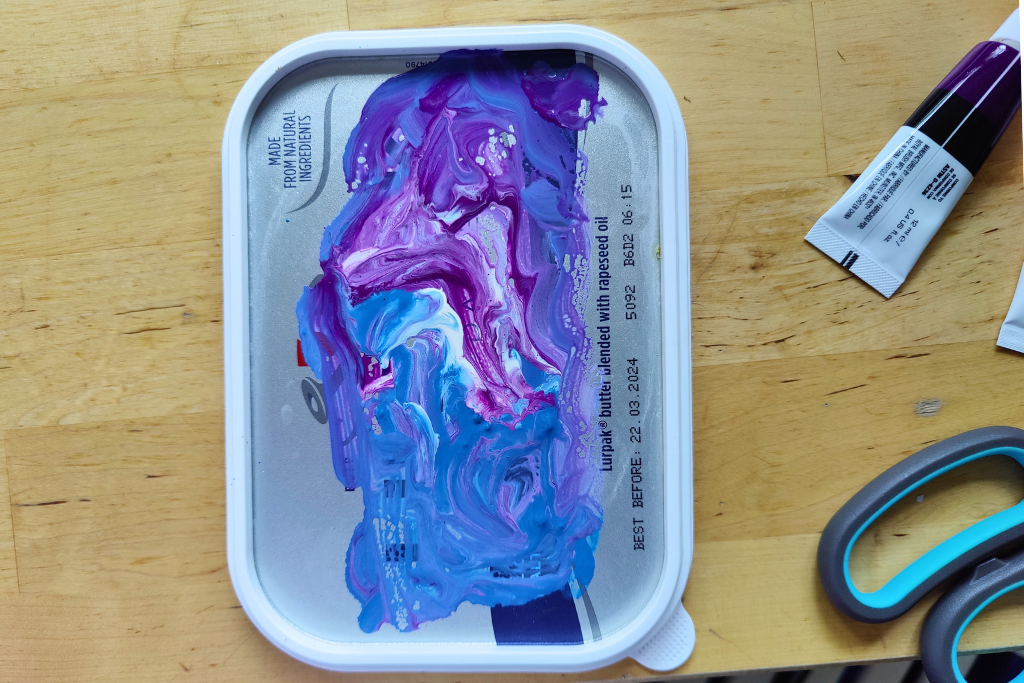
Pop the flower into the paint. Press it down with your fingers so that it is all covered on one side. You might want to pull it through the paint to make sure you’ve got all of it.
Gently place the painty flower on the paper. Press it down with your fingers. You could use a roller. I didn’t, and I can it imagine it making a mess, but you could try it if you wanted to.
Lift the flower up and enjoy the print!
The Results…
Gouache
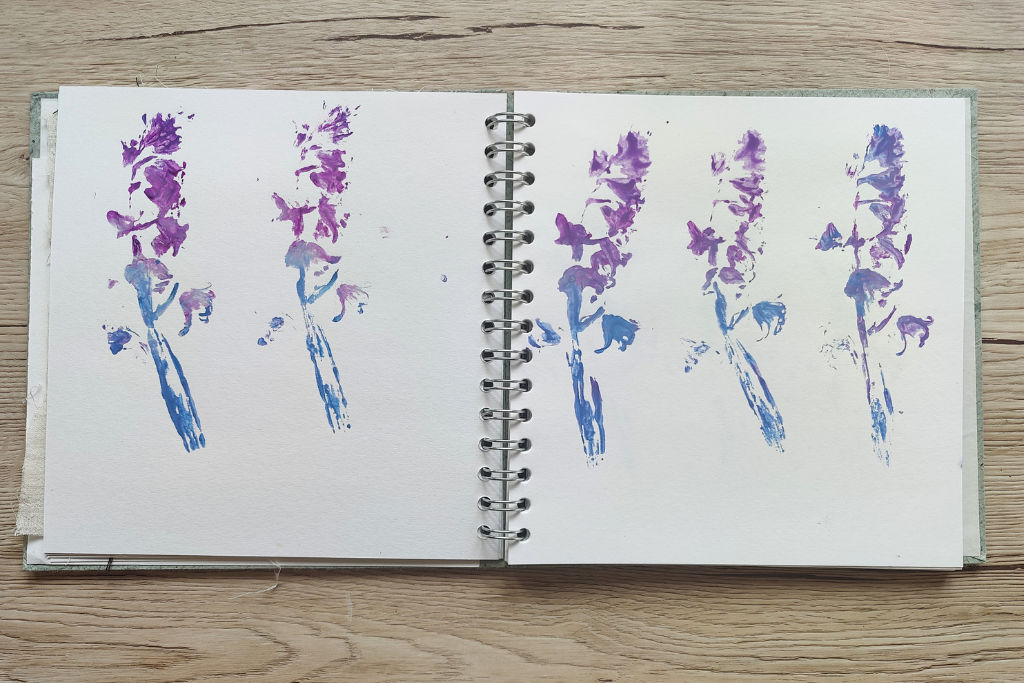
Watercolour
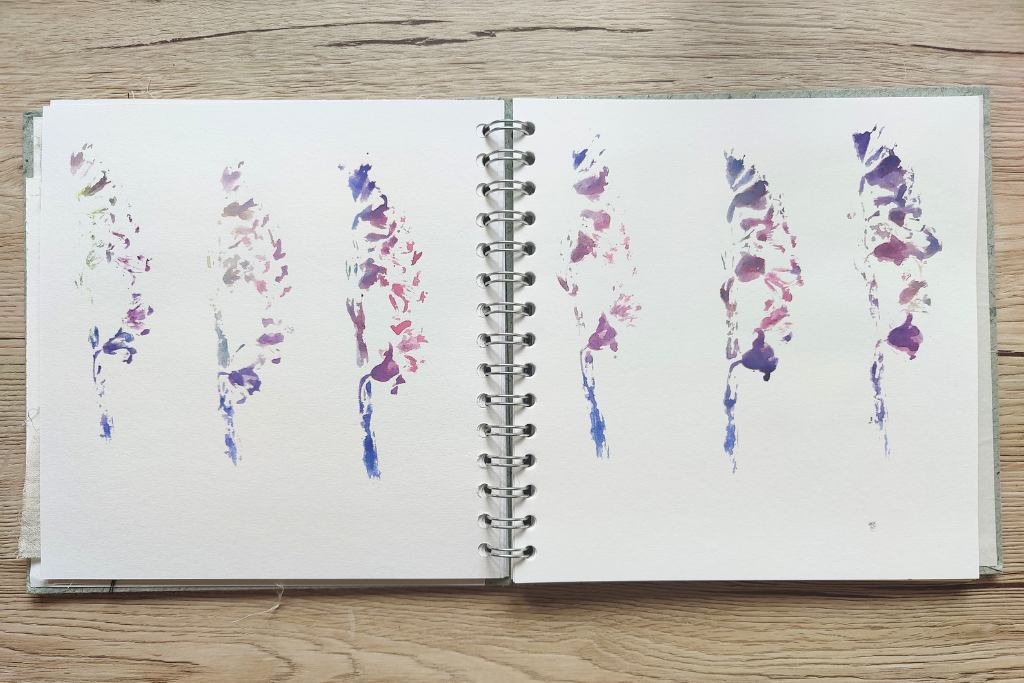
Acrylics
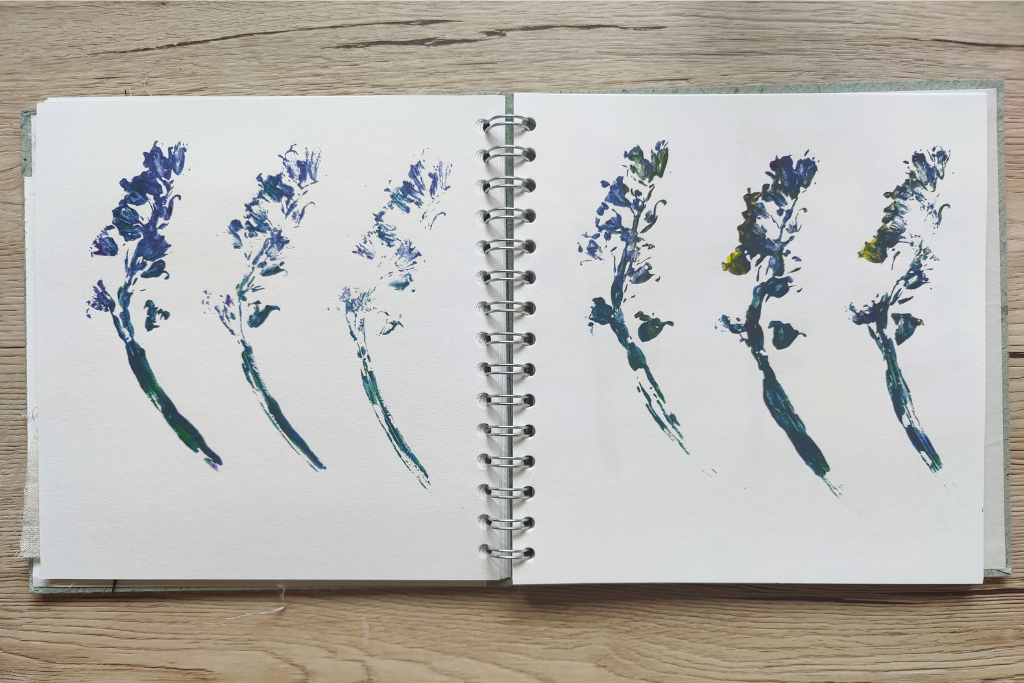
Another attempt with gouache
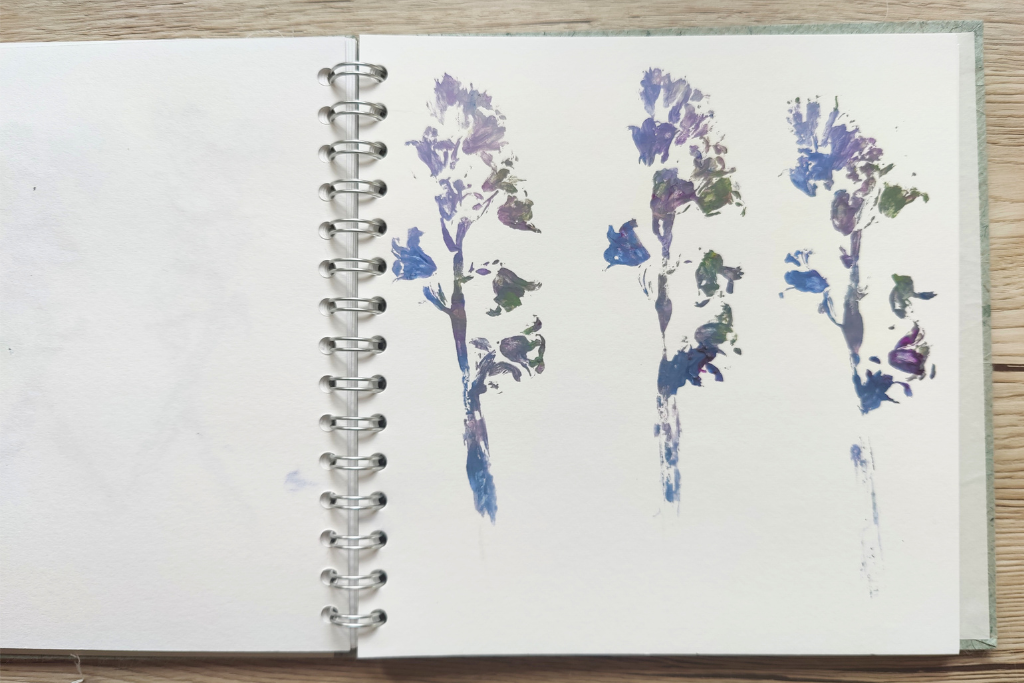
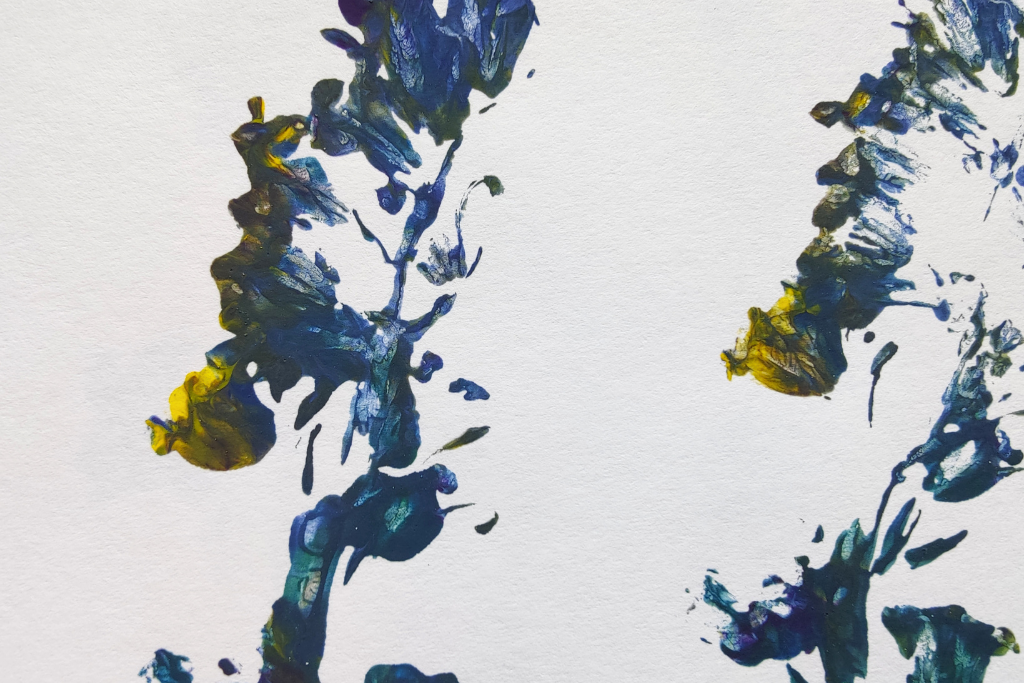
The results improved each time. With the first lot of prints, I realised I needed another colour. The watercolour prints were probably the most unpredictable, and they are the ones where the paint colours mixed the most. The acrylic paint gave stronger prints, but the colours were also darker. For the fourth set, I had another go with gouache, and the results were better that time.
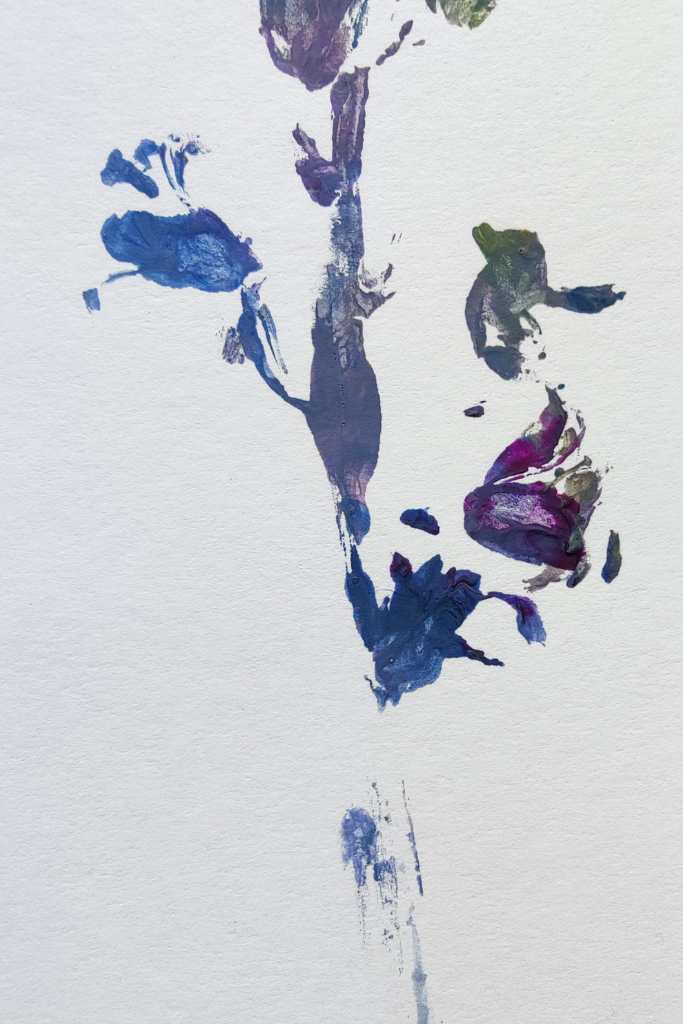
There are things I like about each of them. I especially like the purple flower on the right in this one.
In this one, I like how the yellow has mixed with the other colours.
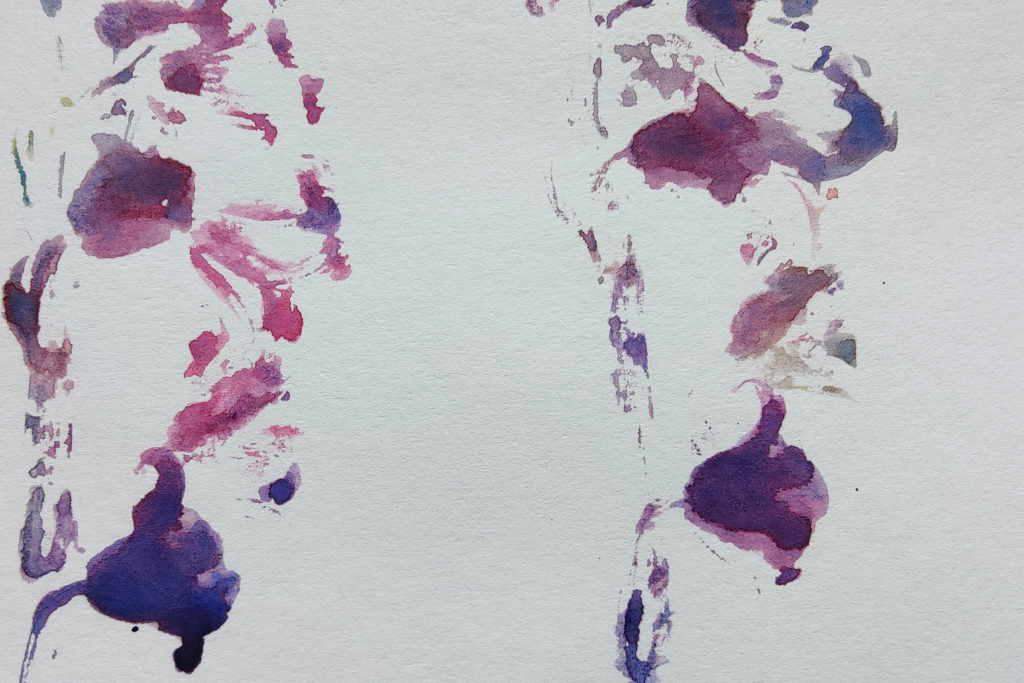
The flowers came out differently in the watercolour prints. The solid flowers are nice, but the ones where only part of it has come out are lovely. I especially like the pink flower on the left, in the middle.
Tips
Although printing with flowers is unpredictable, you can have some control over the colours. So you might like the stems to be darker, or for the edges of the flowers to have a hint of yellow. So think a little bit about where you are putting the paint on the lid, and don’t mix it too much!
I’d recommend having three colours, but you might like to experiment.
For the colours, you could take inspiration from the flowers themselves, choose complimentary colours, like blue and purple, or colours that are opposite each other on the colour wheel, like blue and orange.
The prints will be patchy, so don’t worry too much about them being perfect, or about the print picking up all the bits of the flower. If there are certain areas that you want to be sure come out in the print, then make a point of pressing that bit down in the paint and then on the paper.
Have fun!


Leave a Reply