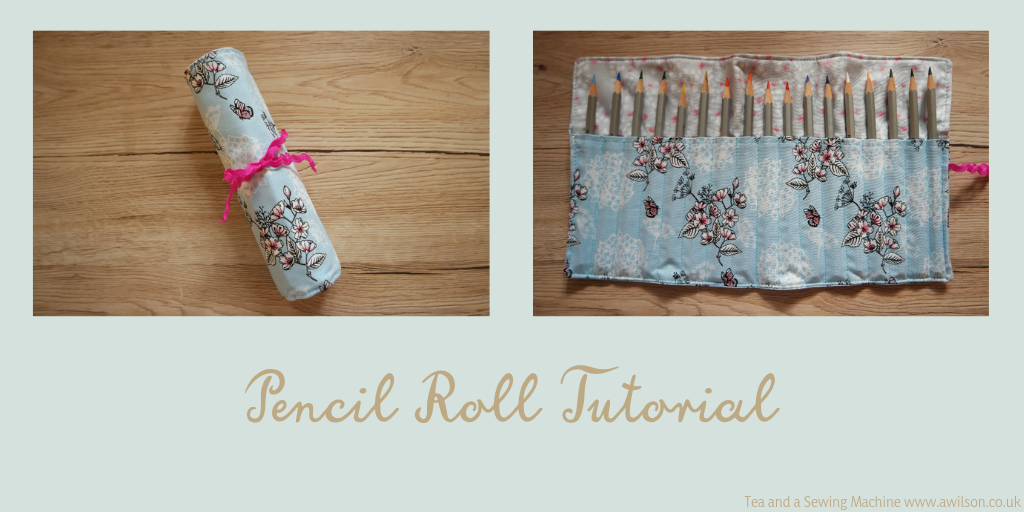
Pencil Roll Tutorial
I received the fabric for this project from Hunkydory Crafts. You can find it here. Any opinions expressed are my own.
Here’s the next instalment of my little art kit!
Before we went on holiday, I wanted to make a little bag to keep my notebook in with some drawing and painting things. This was partly because I was worried that there wouldn’t be space in my luggage and I’d have to leave them! A little bag with some bits in could be slung over my shoulder and hopefully nobody would notice!
As I am inclined to do, I overevestimated how much time I would have before we went on holiday and the bag didn’t get made.
It didn’t matter too much because we tend to travel light and there was room in my bag for my notebook and other bits.
Since we got back I’ve started making the things I’d planned for it. There will be other trips and it’s always nice to have something pretty to keep your stuff in.
Last week I made a little waterproof bag for my palette. If you missed it, the post is here.
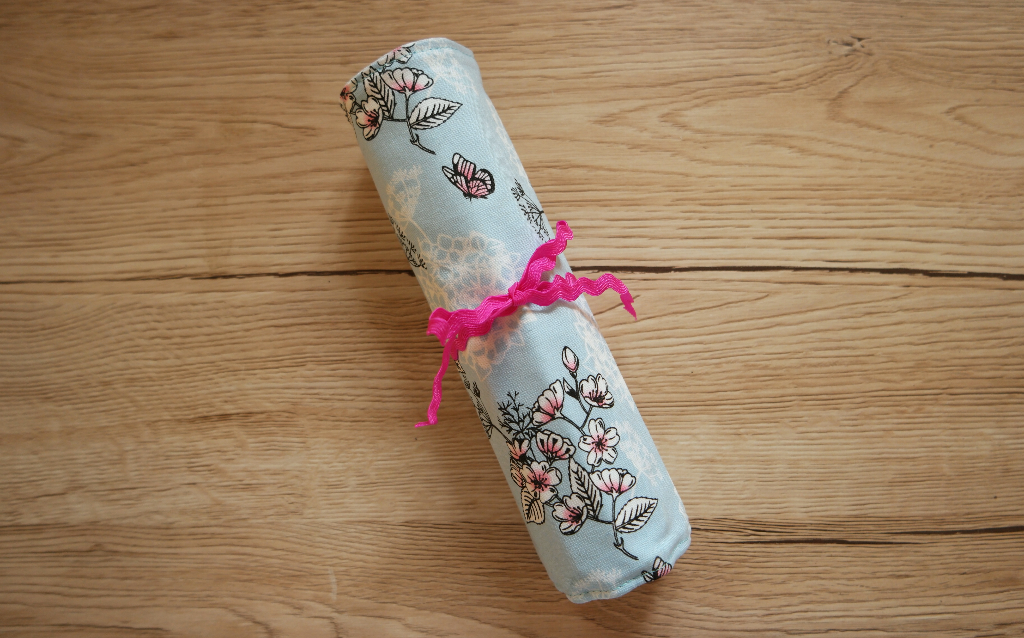
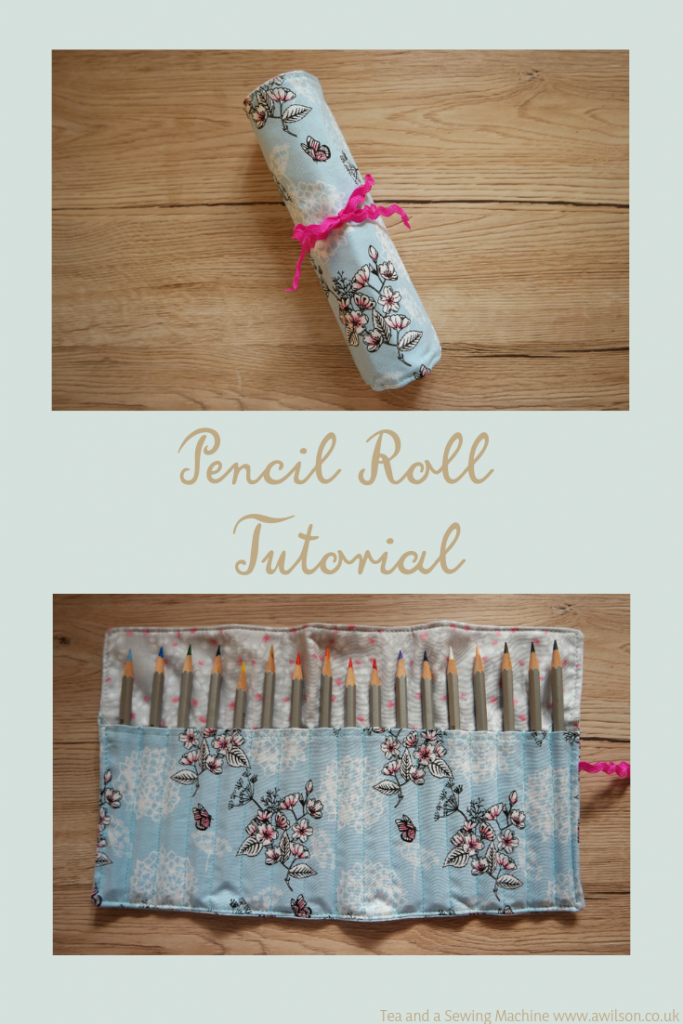
The next thing on my list was a pencil roll.
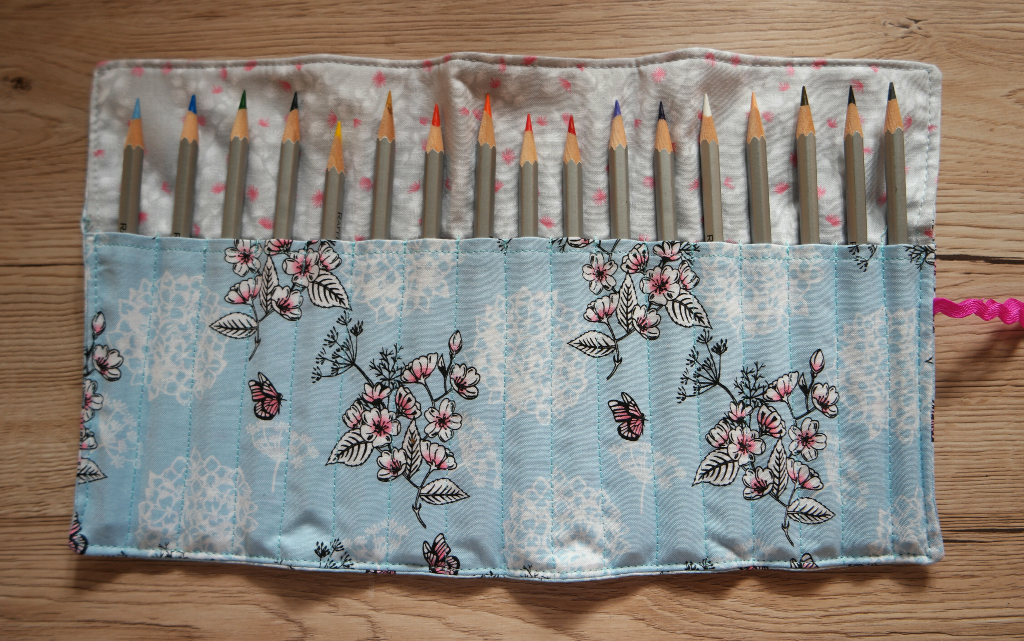
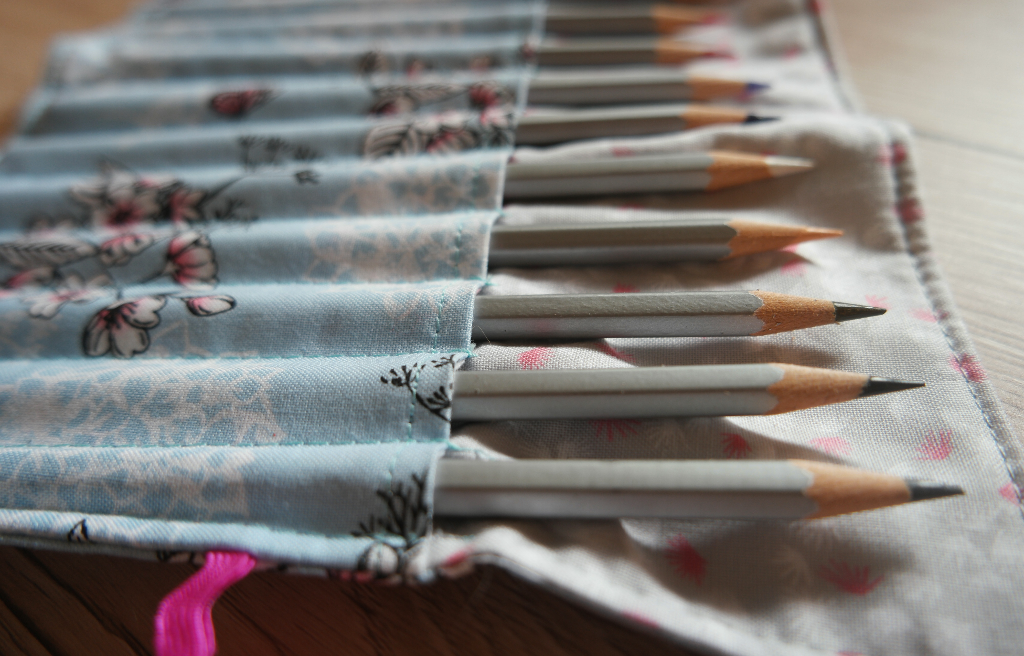
It has 17 pockets, so you wouldn’t be able to keep a huge collection of pencils in it, but it should be enough to use if you’re out and about.
If you have a lot of coloured pencils and you wouldn’t know which ones to choose, there are some tips at the end of the post.
You could also make it wider and add extra pockets for more pencils if you really can’t decide!
And if you’re not a coloured pencil user, there are some suggestions for what else you could use a pencil roll for, also at the end of the post.
Instructions For Making a Pencil Roll
You Will Need
Cotton fabric for the outer
Cotton fabric for the lining
Sew in interfacing
Ribbon, cord or something similar for the ties
Usual sewing supplies
Cutting Out
Cut a rectangle 36 cm x 22 cm (14 1/4 inches x 8 3/4 inches) from the outer fabric, the lining and the interfacing.
From just the outer and the lining this time, cut a rectangle 36 cm x 15 cm (14 1/4 inches x 6 inches).
I allowed 1 cm (1/4 inch) for the seams.
Sewing Up
Take the 2 smaller rectangles and, with the right sides together, sew along the long edge.
Trim the seam and press. Fold it along the seam with the wrong sides together and press it again.
Take the larger rectangle cut from the lining and the piece of interfacing. Lay down the lining with the right side up and pop the interfacing underneath.
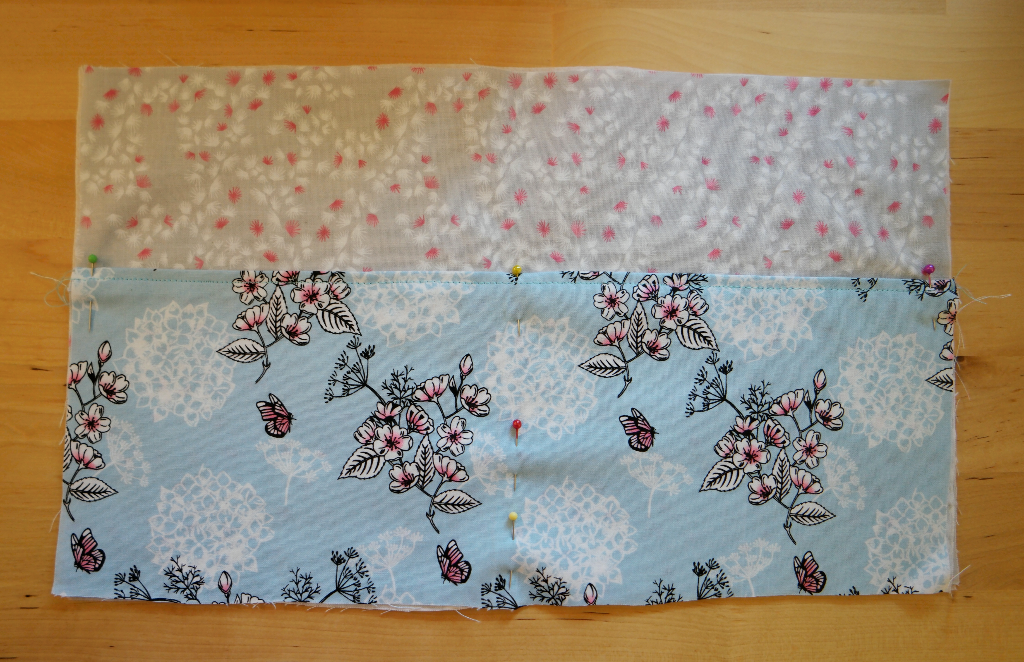
Place the smaller rectangle on top of the lining. The outer fabric needs to be faceing upwards and the bottom edges aligned.
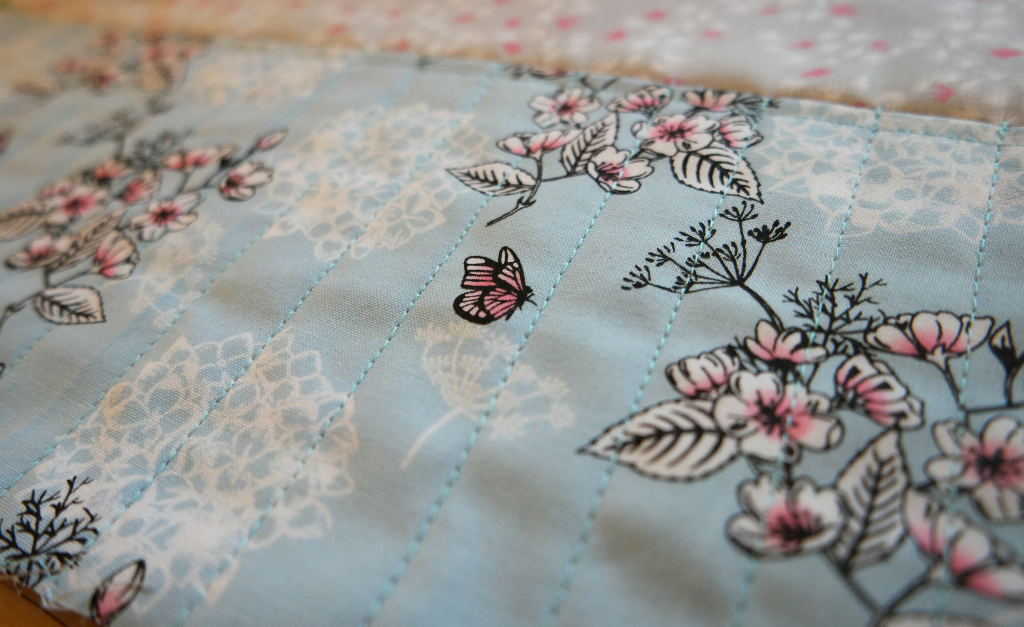
Using a tape measure, find the centre of the top edge of the smaller rectangle. Mark with pins and sew down the centre at right angles to the top edge, joining the smaller rectangle to the lining and the interfacing.

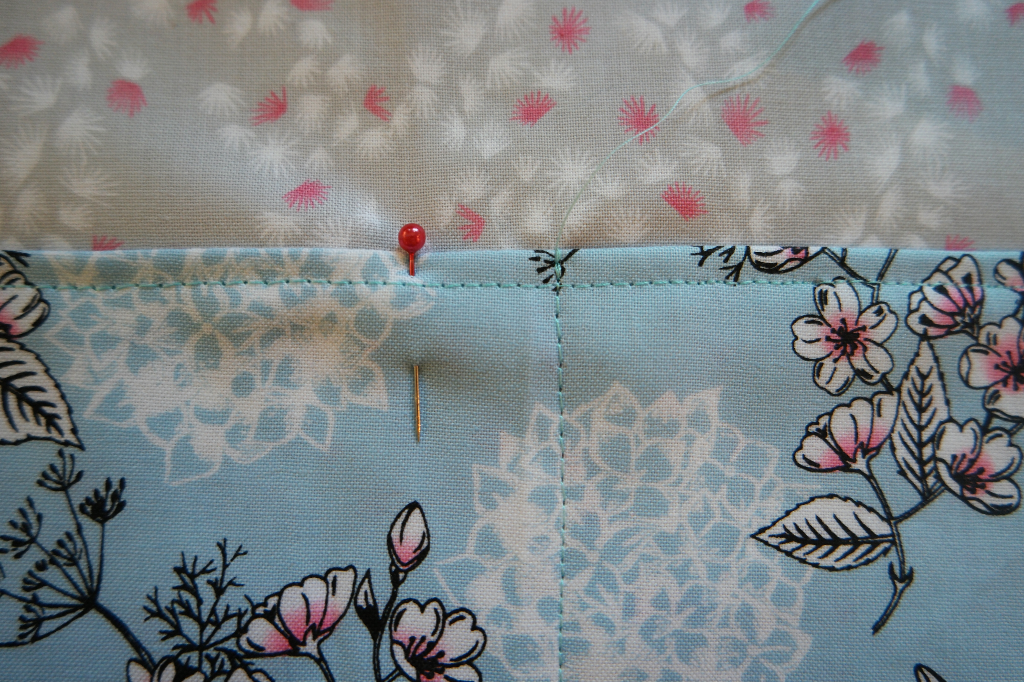
You might like to backstitch where the top of the snmaller rectangle meets the lining to prevent it from falling apart when you’re getting your pencils in and out!
From this centre line, measure 2 cm out from it and sew another in the same way.

Repeat until you are 3 cm away from the edge. Do the same on the other side of the centre until you have sewn all the pockets.

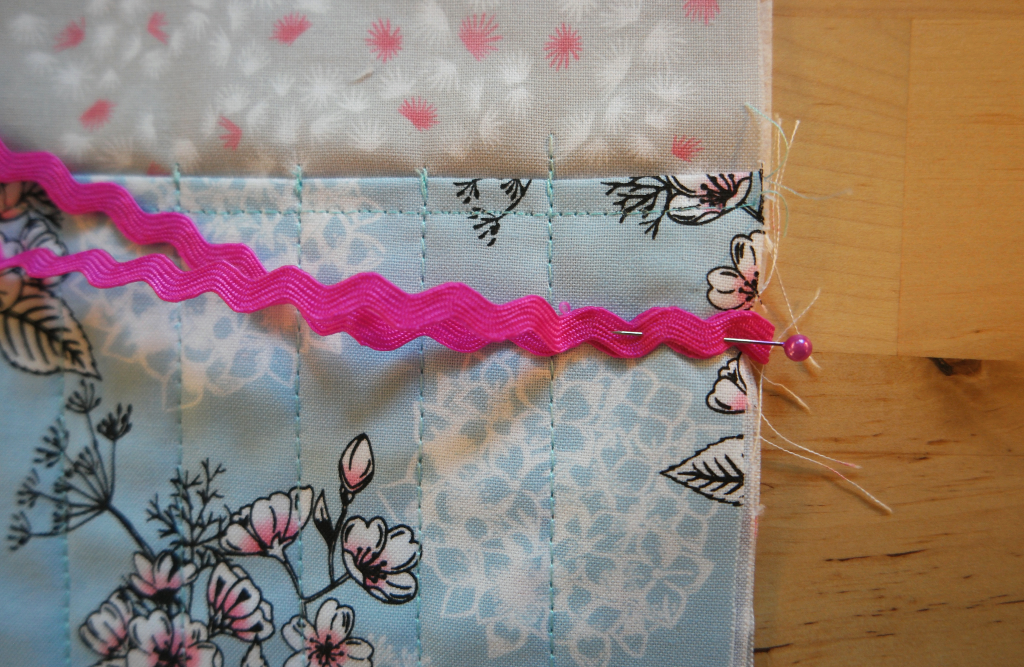
Take your ribbon or cord. Fold it in half and pin it half way down the right side edge with the loose ends inwards.

Pin the last remaining rectangle over the pieces you have already sewn, face down. Sew around the outside edge, leaving a small opening.
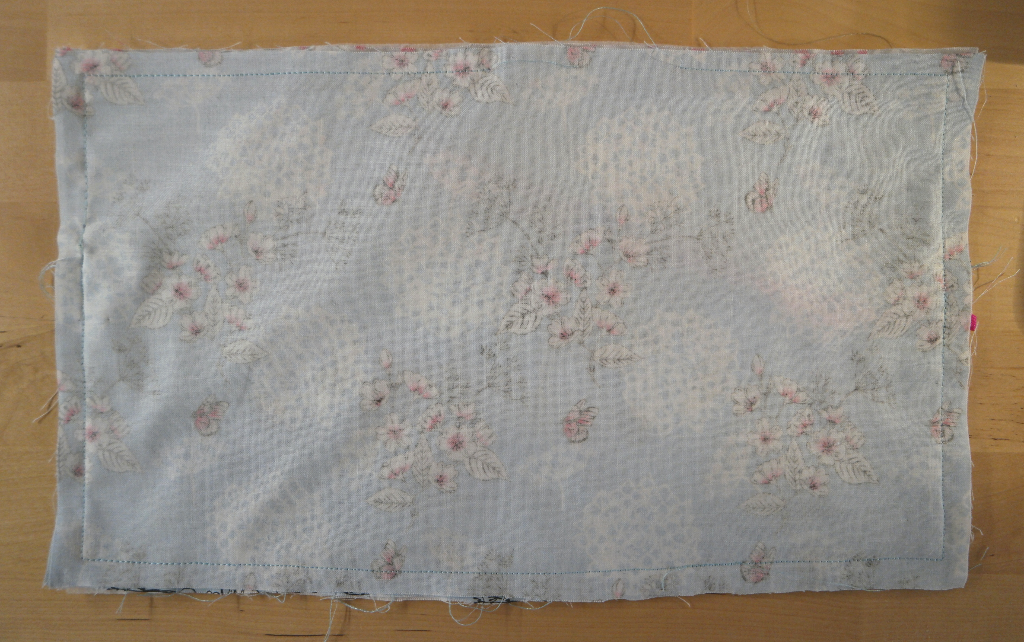

Trim the seams and cut across the corners. Turn it the right way out. Pin the opening and topstitch around the outside edge.
Give it one last press and fill it with pencils!




Tips and Suggestions
You can make your pencil roll longer by extending both the rectangles along the long edges. Each extra 2 cm will make one extra pocket, so work out how many more pockets you will need, multiply it by 2 and add it on.
The pencil roll can also be used for paint brushes or graded pencils for drawing.
For people who are not arty, it could be adapted for makeup brushes or crochet hooks.
If there’s somebody in your life who doesn’t like drawing, painting, makeup or crochet, you could make one for screw drivers instead. Just check how wide you’ll need the pockets to be.
When choosing which coloured pencils to put in your pencil roll, there are a several options. The most important thing is to consider what you are likely to be drawing and what kind of colours you’re most likely to need. I deliberately chose a green that was like sap green because I know I’ll need it.
Once you’ve decided on the kind of colours you’ll need, you could choose a dark and a light version of each colour, or a warm one and a cool one. I also included a flesh pink, white and dark grey.
Happy drawing!


Leave a Reply