Patchwork Star Christmas Decoration
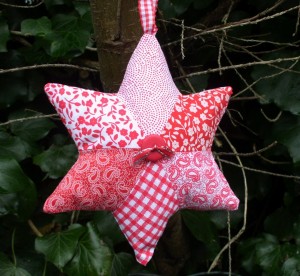
Ok, maybe it’s a little bit early, but Boy 4 is due to be born in a couple of weeks and I want to get the kits into my Etsy shop and it’s not going to go off, right?!! So here we are, a tutorial for making a patchwork star Christmas decoration.
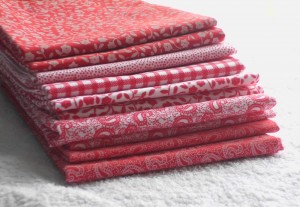
I love red and white stuff at Christmas, actually all the time 🙂 but especially at Christmas. After quite a long time trawling the internet, I found this fabric bundle on Ebay. It’s not actually Christmassy, but I didn’t like any of the Christmassy stuff and I also liked the idea of turning something non-Christmassy into something Christmassy.
The star is made using 12 rhombuses (rhombii?? Who knows?!!)), 6 for the front and 6 for the back. It would probably work just as well with 2 or 3 different fabrics as with 6.
First of all make a template. If you have access to plastic shapes (I’m thinking patchwork enthusiasts, their relatives, and primary school teachers 😉 ) then that’s easy. If you can’t find a rhombus, 2 equilateral triangles will do. Otherwise there might be some on the interweb somewhere or you can make your own.
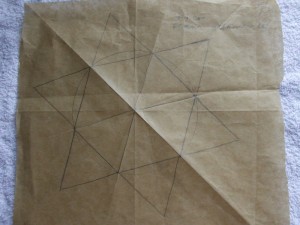 If you want to make your own, here is a quick(ish) explanation of how I did mine. I drew around the lid of a takeaway coffee cup then folded the circle in half. With it folded, I then folded the semi circle into three triangles.
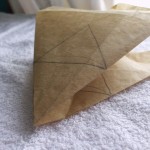
- DIY Pattern
Cut one out and there you go!!
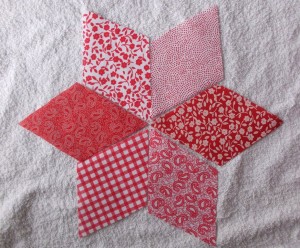
Using the template, cut out 12. I cut 2 from each different fabric. Then arrange into 2 star shapes. If you have trouble remembering stuff, taking a photo is a good idea.
Then sew together. Take 2 pieces, put the right sides together and sew along one edge.
Open out and press seam. Add another piece in the same way and press seam. Put it to one side and repeat for the other three pieces. Then join the two halves together.
For the benefit of anyone considering to join the 6 pieces all one after the other, don’t do it!! It will go pear shaped, believe
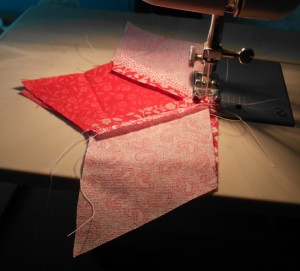
me! Join three, then the other three, then join the 2 halves together. This will result in a neat finish. Joining the 6 bits separately will result in you hunting for a huge button to hide where it has gone wrong!
Repeat for the other 6 rhombuses and you will have 2 stars. Decorate with a button sewn in the middle, or in any other way you like.
Take a piece of ribbon and fold in half. Match the raw edges with where you want the top of the star to be and place on top of the RS of the star. Put the other star on top, RS down, making a weird kind of sandwich. Pin together, making sure that the ribbon is well out of the way of where you are going to sew.
Sew around the edges, leaving an opening along one edge. Turn RS out. Stuff with polyester filling and sew up the opening.
So how will you do yours? Big? Small? As bunting? Or a dangly thing? What colours? Which fabrics? I’d love to see, so please post on here or on the Peacock in a Pear Tree Facebook page!
For anyone who would prefer one in kit form, I’ll hopefully have the kits in my Etsy shop in the next week or so 🙂


hahaha, i made one this eve, and looked once more at your side, and yes i need a button, and yes tomorrow i will make a new one, and yes wont sew them one after each other…lol, anyway it is fun, and the colours is a play.
It sounds like you’re having fun Christina.
Surfing websites for xmas ideas, saw this, and love the star. Clicking on it, for the star (i couldn’t draw a proper pattern), and read your description. Your a lucky soul, with 6 messy people! Bless! Will ‘steal’ your star, but will use different colours. Merry Xmas. Regards, Christina, Skiathos Greece
Hi Christina,
Glad you like it! I am indeed a lucky soul 🙂 I’d love to see your star when you’ve finished it!