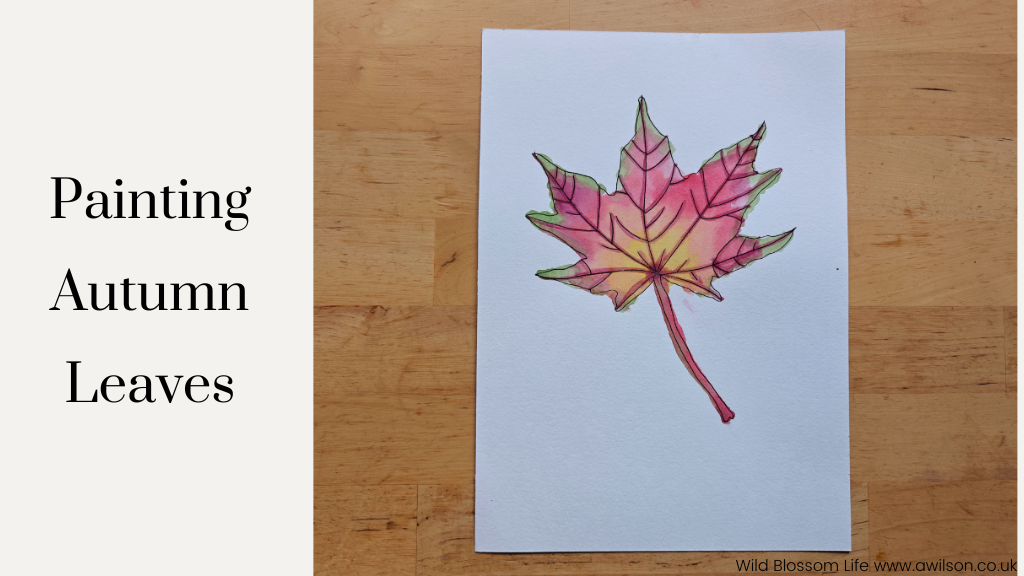
I like to think of leaves as autumn’s equivalent of springtime blossom. Like the blossom, it’s only for a few short weeks. And if the weather is bad and it’s very windy, it can be even less.
There’s often a real desire to hold onto the leaves and the pretty colours. But like all the seasons, autumn doesn’t last, and it can be hard to let go when one season ends and another starts, especially when the one coming along is dark and cold!
You’ll know yourself that if you collect autumn leaves that they don’t stay fresh for very long. A couple of days in a warm house will send them brown and crispy.
In the past, I’ve tried to preserve autumn leaves. I’ve tried sticking them to jam jars with mod podge, but mine didn’t look nearly as good as the ones I saw on Pinterest! I’ve also tried soaking leaves in glycerine, which worked better. But preserving leaves in this way requires a lot of glycerine and it was starting to become expensive. It also involved leaving trays of leaves soaking for several days, which meant I couldn’t use my baking sheets or quite a lot of my kitchen! And in the end, I didn’t even like the results very much. The leaves had lost some of the qualities that made them beautiful. The colours were less bright, and they had an odd feel to them that made them seem almost artificial.
I think perhaps it’s partly their impermanence that makes autumn leaves so beautiful. We appreciate them more because we know they don’t last. It is the idea of wabi sabi, that there is beauty in imperfect and transient things. Like the blossom, we can enjoy it for a short time, then it is gone.
Instead of trying to preserve autumn leaves, there are other things we can do instead to enjoy autumn and to respond in a creative way to what is all around us.
One way is to make paintings of autumn leaves. If the idea of making realistic paintings of leaves fills you with feelings of panic, don’t worry! There is a way to go about it that makes it all easier and reduces any feelings of fear of getting it wrong or messing it up. Of course, if you want to make beautiful paintings of leaves that might be mistaken for photographs, then please do! But if that is not your thing, you could try the way I’m about to describe instead.
Before You Start
Find some leaves. Choose ones you like, but don’t overthink it! You will probably notice that none of the leaves you pick up are perfect. But they will be interesting, which is always better!
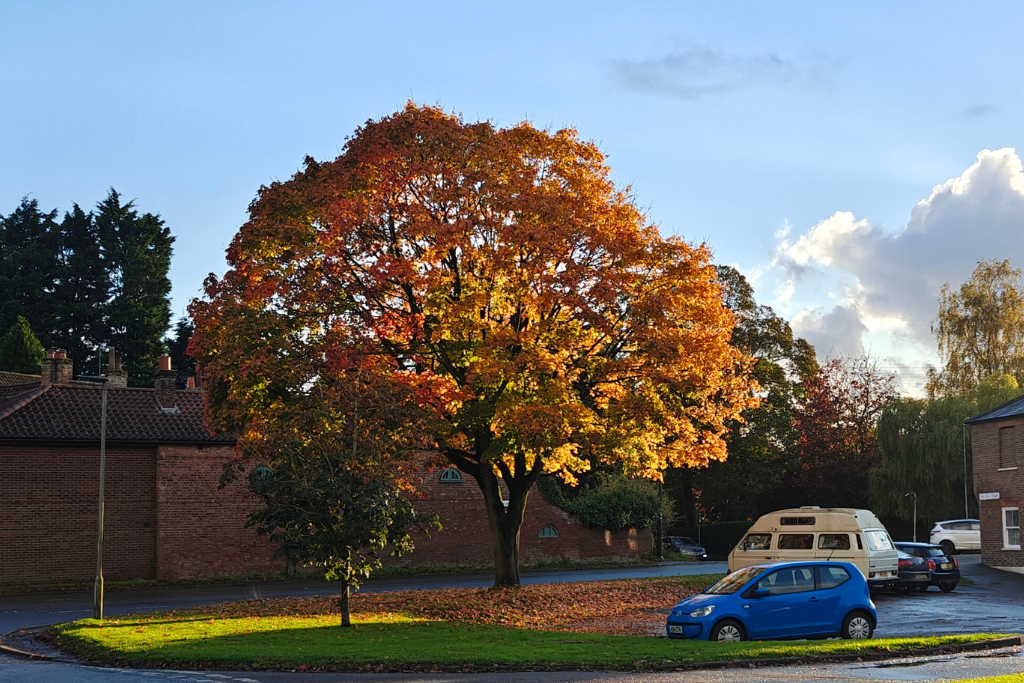
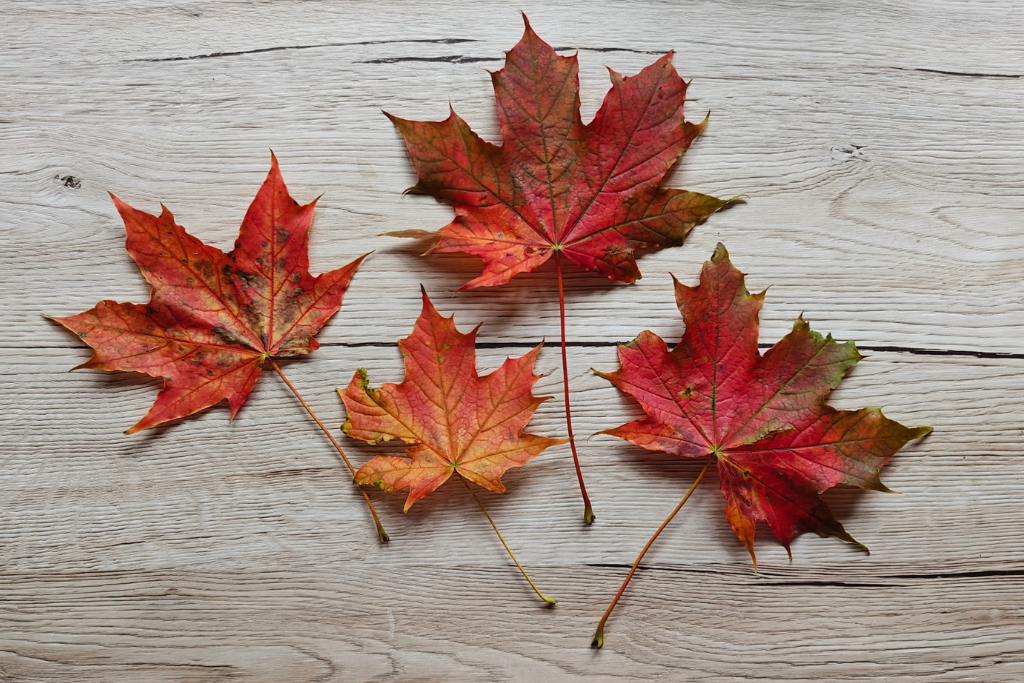
If you like the shape of the leaves I used, or it you are looking specifically for leaves that are pretty colours but you don’t know the first thing about trees, just take a moment now and think. We don’t really have beautiful maple trees like in the USA or Japan, but the sycamore belongs to the maple family and has lovely red leaves. So just think about where you might have noticed those helicopter seed things on the ground. Cherry trees also have pretty leaves, so you might be able to remember where you noticed blossom in the spring, and that could be worth a look.
Get out some paper. Watercolour paper is best, because it is nice and thick and the water will sit on it for a bit before drying. If you don’t have any, you could try some other heavy paper. Printer paper probably won’t work very well though.
Find your paints. I used watercolour because they will mix with the water on the paper, and spread out and blend with the other colours.
Fill 2 jam jars or similar containers with water. One is to clean your brush and the other is to dunk your brush in before putting it in the paints. If you use dirty water on your paints, you’ll end up with your yellow turning orange or green. Guess how I know!
A piece of kitchen towel or a tissue is useful for drying your brush.
You might also like to make a cup of tea and put on some music or a podcast so that you feel relaxed!
Drawing the Leaf
Drawing things really helps us to actually see and to notice. So I’d encourage you first of all to have a good look at your leaf. Drawing can be almost like mindfulness, or like knitting! You have to pay attention, which then means that other things that might be weighing heavy on your mind have to be set aside for a little bit. But unlike some other forms of mindfulness, your hands have something to do!
However, if the idea of drawing the leaf makes you feel small and anxious, then don’t worry. You can always draw round it instead, which is what I did.
Make sure you use a waterproof pen! And try not to worry too much about it being perfect. You’ll probably notice that your leaf has all kinds of bumps and little bits missing, so if your lines are a bit wiggly, it will be fine.
Once you’ve drawn round the outside, add some of veins. Don’t feel obliged to put them all in. Just a few will do.
I realise that having a picture to show you at this point would be useful, but I forgot to take any at this stage! I do have a video that I posted on Instagram though.
Painting the Leaf
You did remember to use a waterproof pen, didn’t you?!
The first thing to do before you start painting is to decide on which colours to use. You could use colours straight from your box of paints, but the results will probably be better if you mix them yourself. You don’t need very many. 3-5 colours will do, and they’ll blend together on the leaf anyway.
The best way to get cohesion with your colours is to use the same primary colours for mixing as much as possible. So if you plan to use both orange and green, use the same yellow for each colour.
Once you have your colours ready in your palette, dip your brush in some clean water and quickly paint the water all over the leaf. If you miss a bit, it doesn’t matter. You’ll get an interesting effect because the paint will spread on the wet bits and stop spreading at the edge of the wet where the paper is dry. You will need most of the leaf to be wet though.
Take another good look at your leaf. Identify where the different colours are. Then start painting! You will need to work quickly, especially if you are painting in a warm room because it will all dry out. Try not to overthink it. Just splosh the paint on. It will move about on the wet areas and merge with the other colours.
The results will probably not be exactly the same as the original leaf, but that’s fine! When people talk about an artist’s impression, or poetic, license, this is what they mean!
I’d encourage you to do more than one, as that will help to reduce any negative feelings about having one perfect painting. Do a few and see which ones you like best!
These are the ones I did.
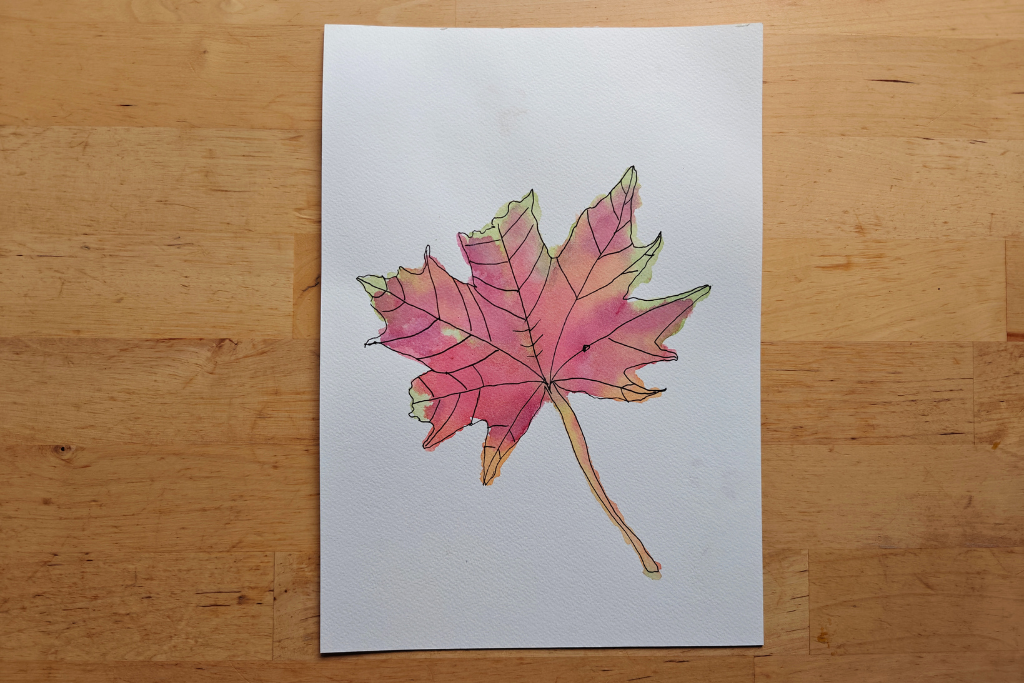
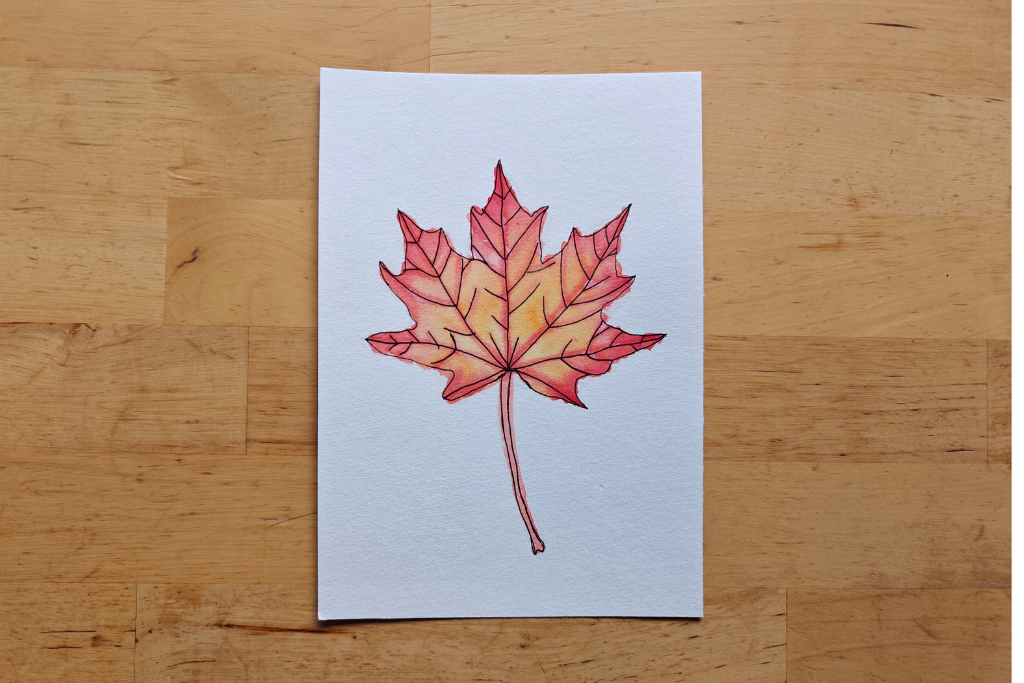
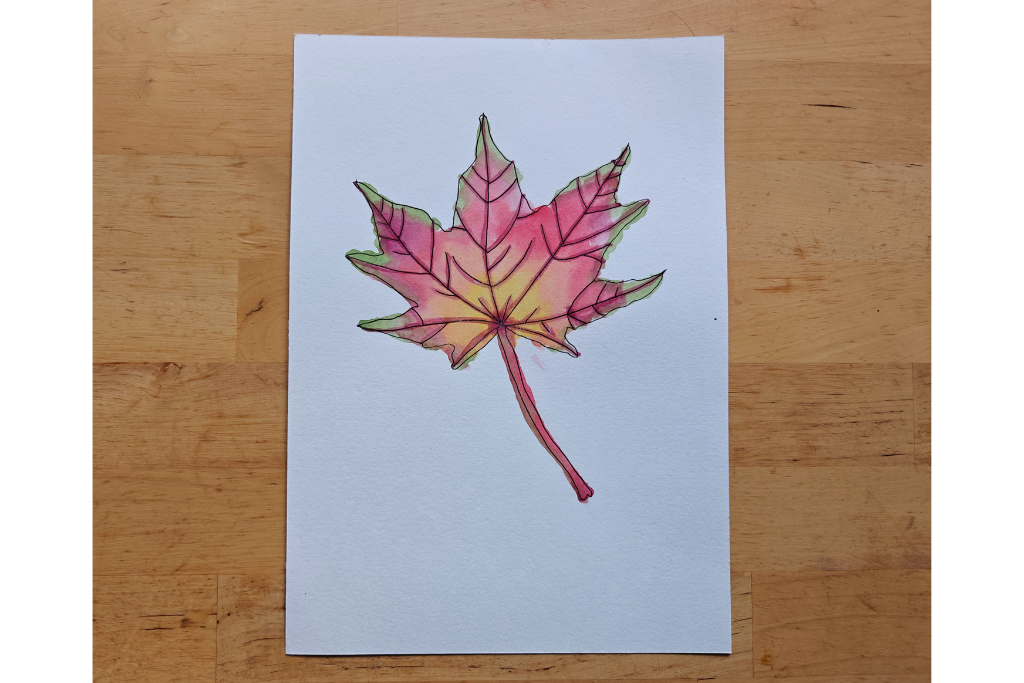
If you get bored of using realistic colours, you might want to experiment with some different colour schemes. I did two more leaves in unrealistic colours. The first was inspired by one of the colour schemes of Lake Skadar, and the other was from a photo of spring blossom. These two are actually my my favourites!
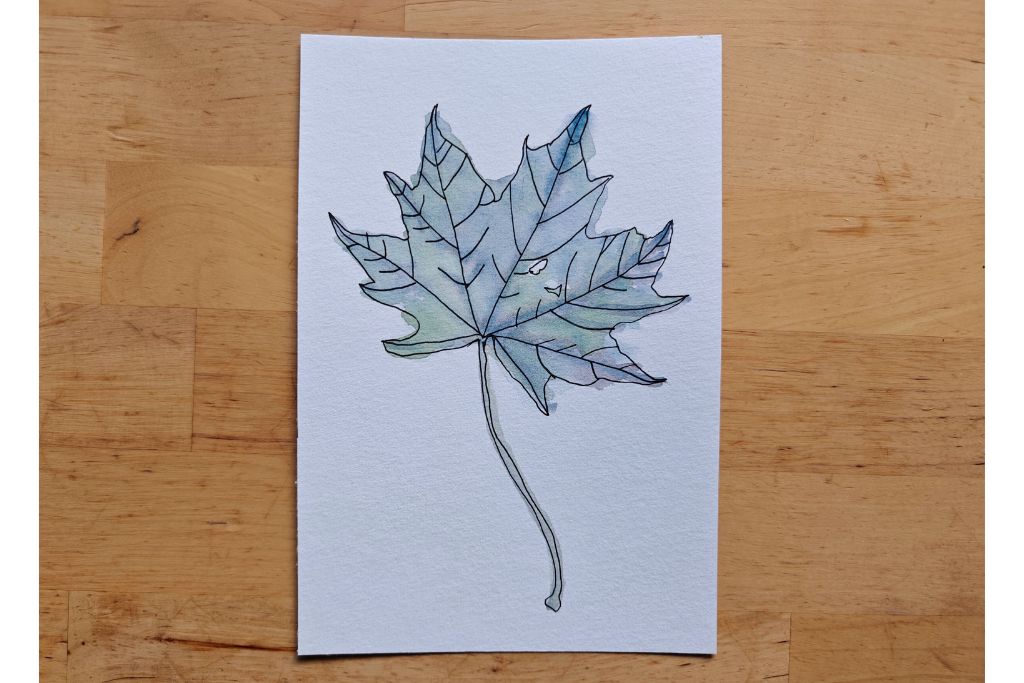
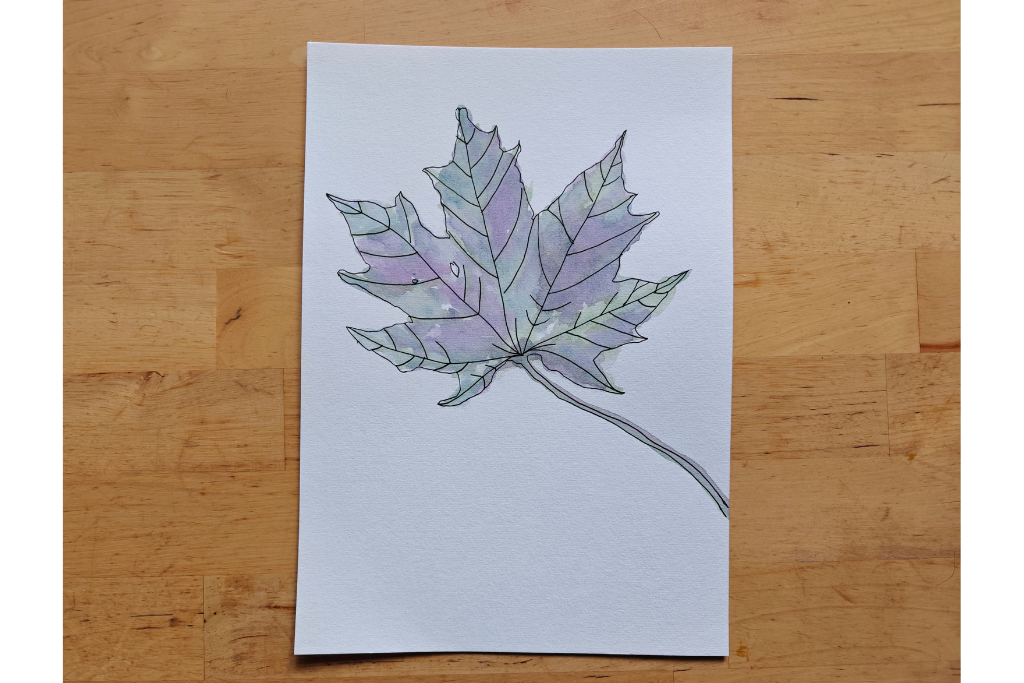
If you try it, I’d love to know how you get on! If you do social media, you could tag me on Instagram, or there is a Wild Blossom Life Facebook page, or you could email me at [email protected].


[…] leaf rubbings, like the paintings of leaves that I wrote about in the last post, is another easy, low risk way to respond in a creative way to the beautiful colours of […]