
Messenger Bag Tutorial
Ever since Boy 1 permanently lost his book bag on the way home from gymnastics, I had planned to make him a new messenger bag.
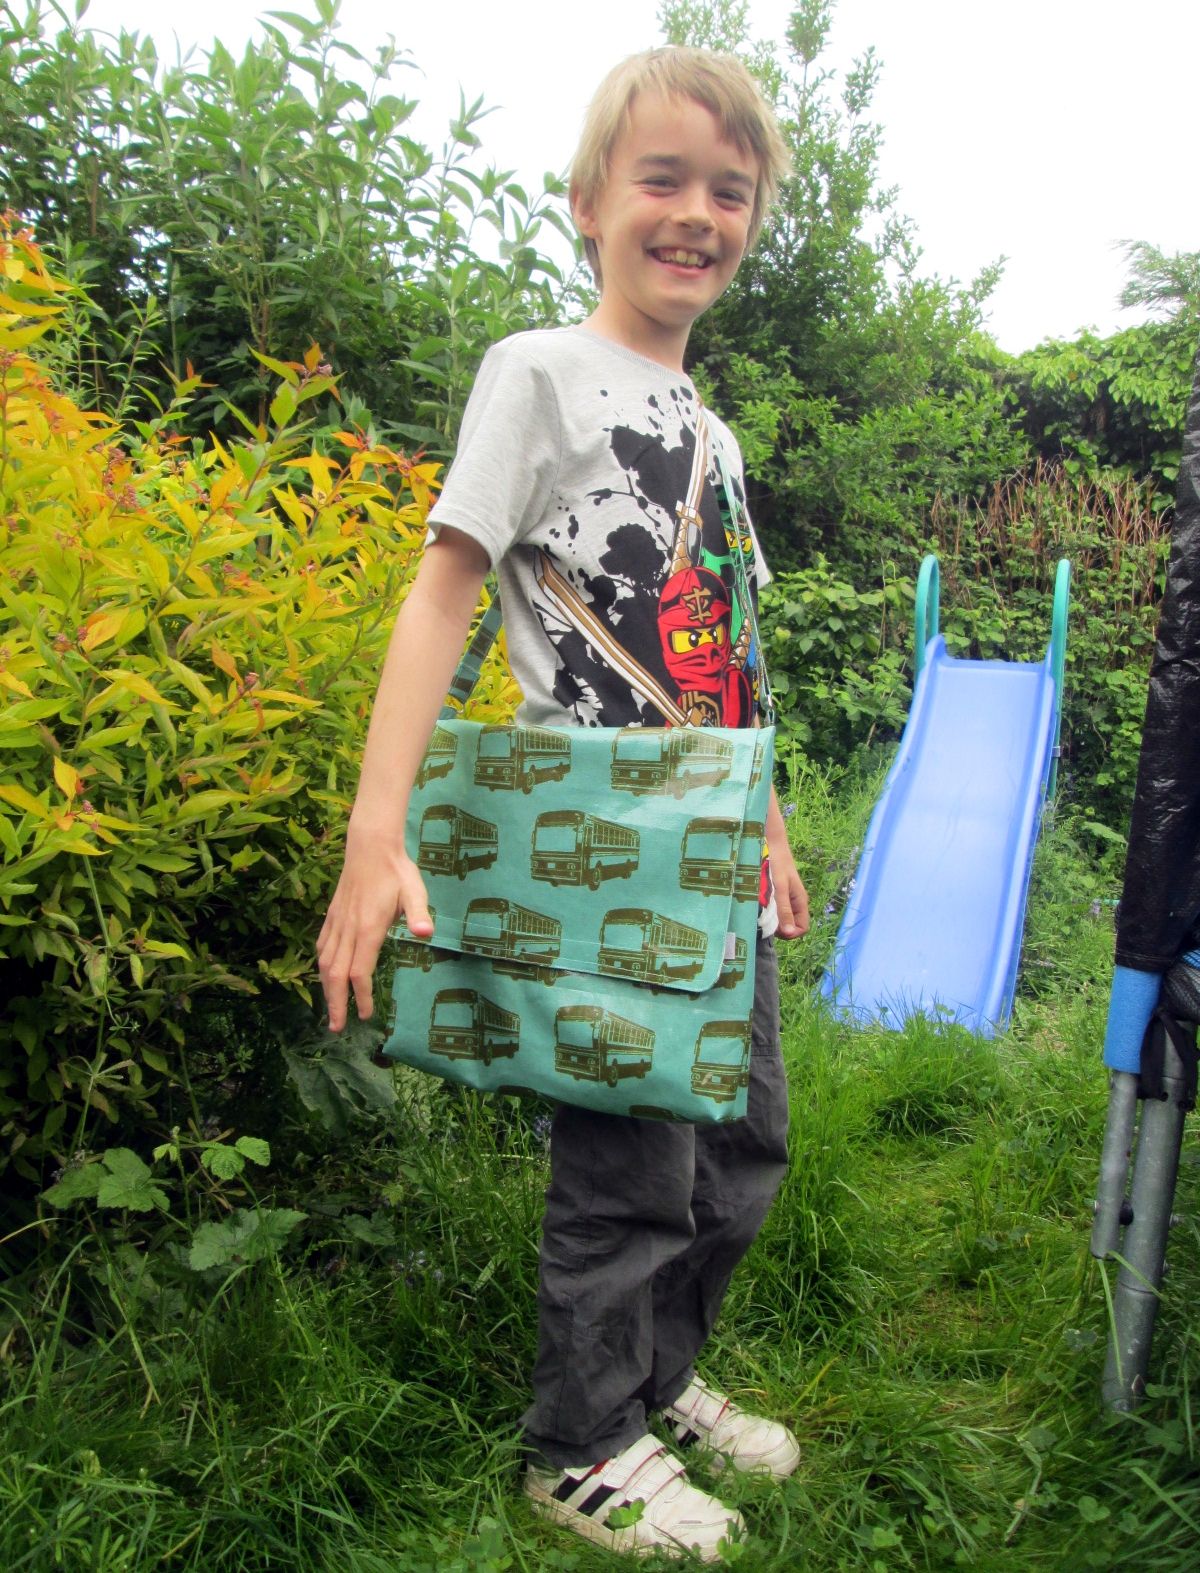
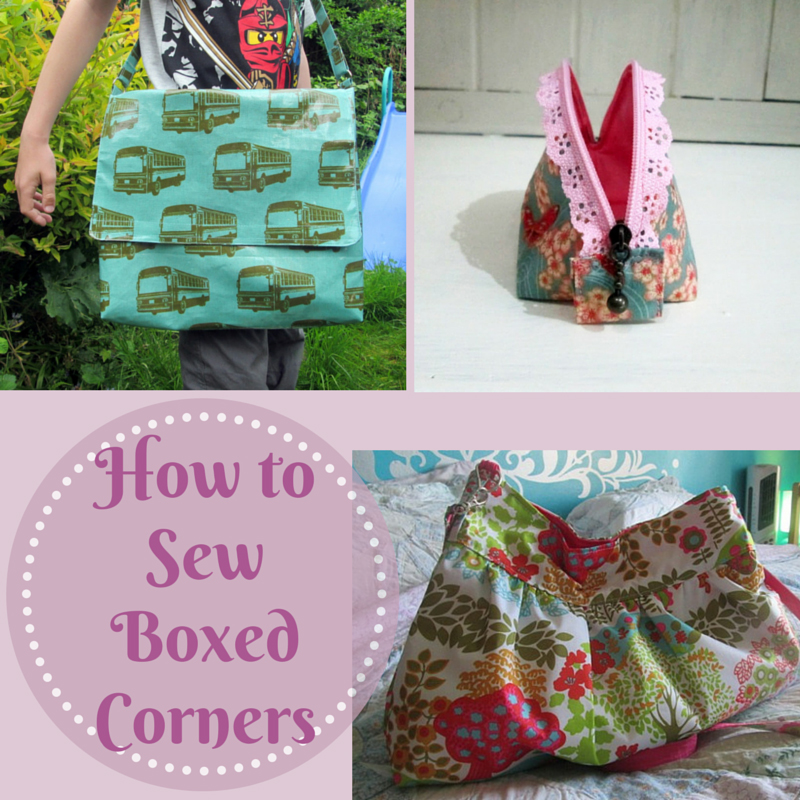
I was on the lookout for the perfect fabric and, during the Easter holidays, I found it! He loves everything to do with transportation generally and buses in particular, and as it is laminated cotton and therefore waterproof, it was ideal.
The bag is large enough to carry a slim A4 folder and a couple of books.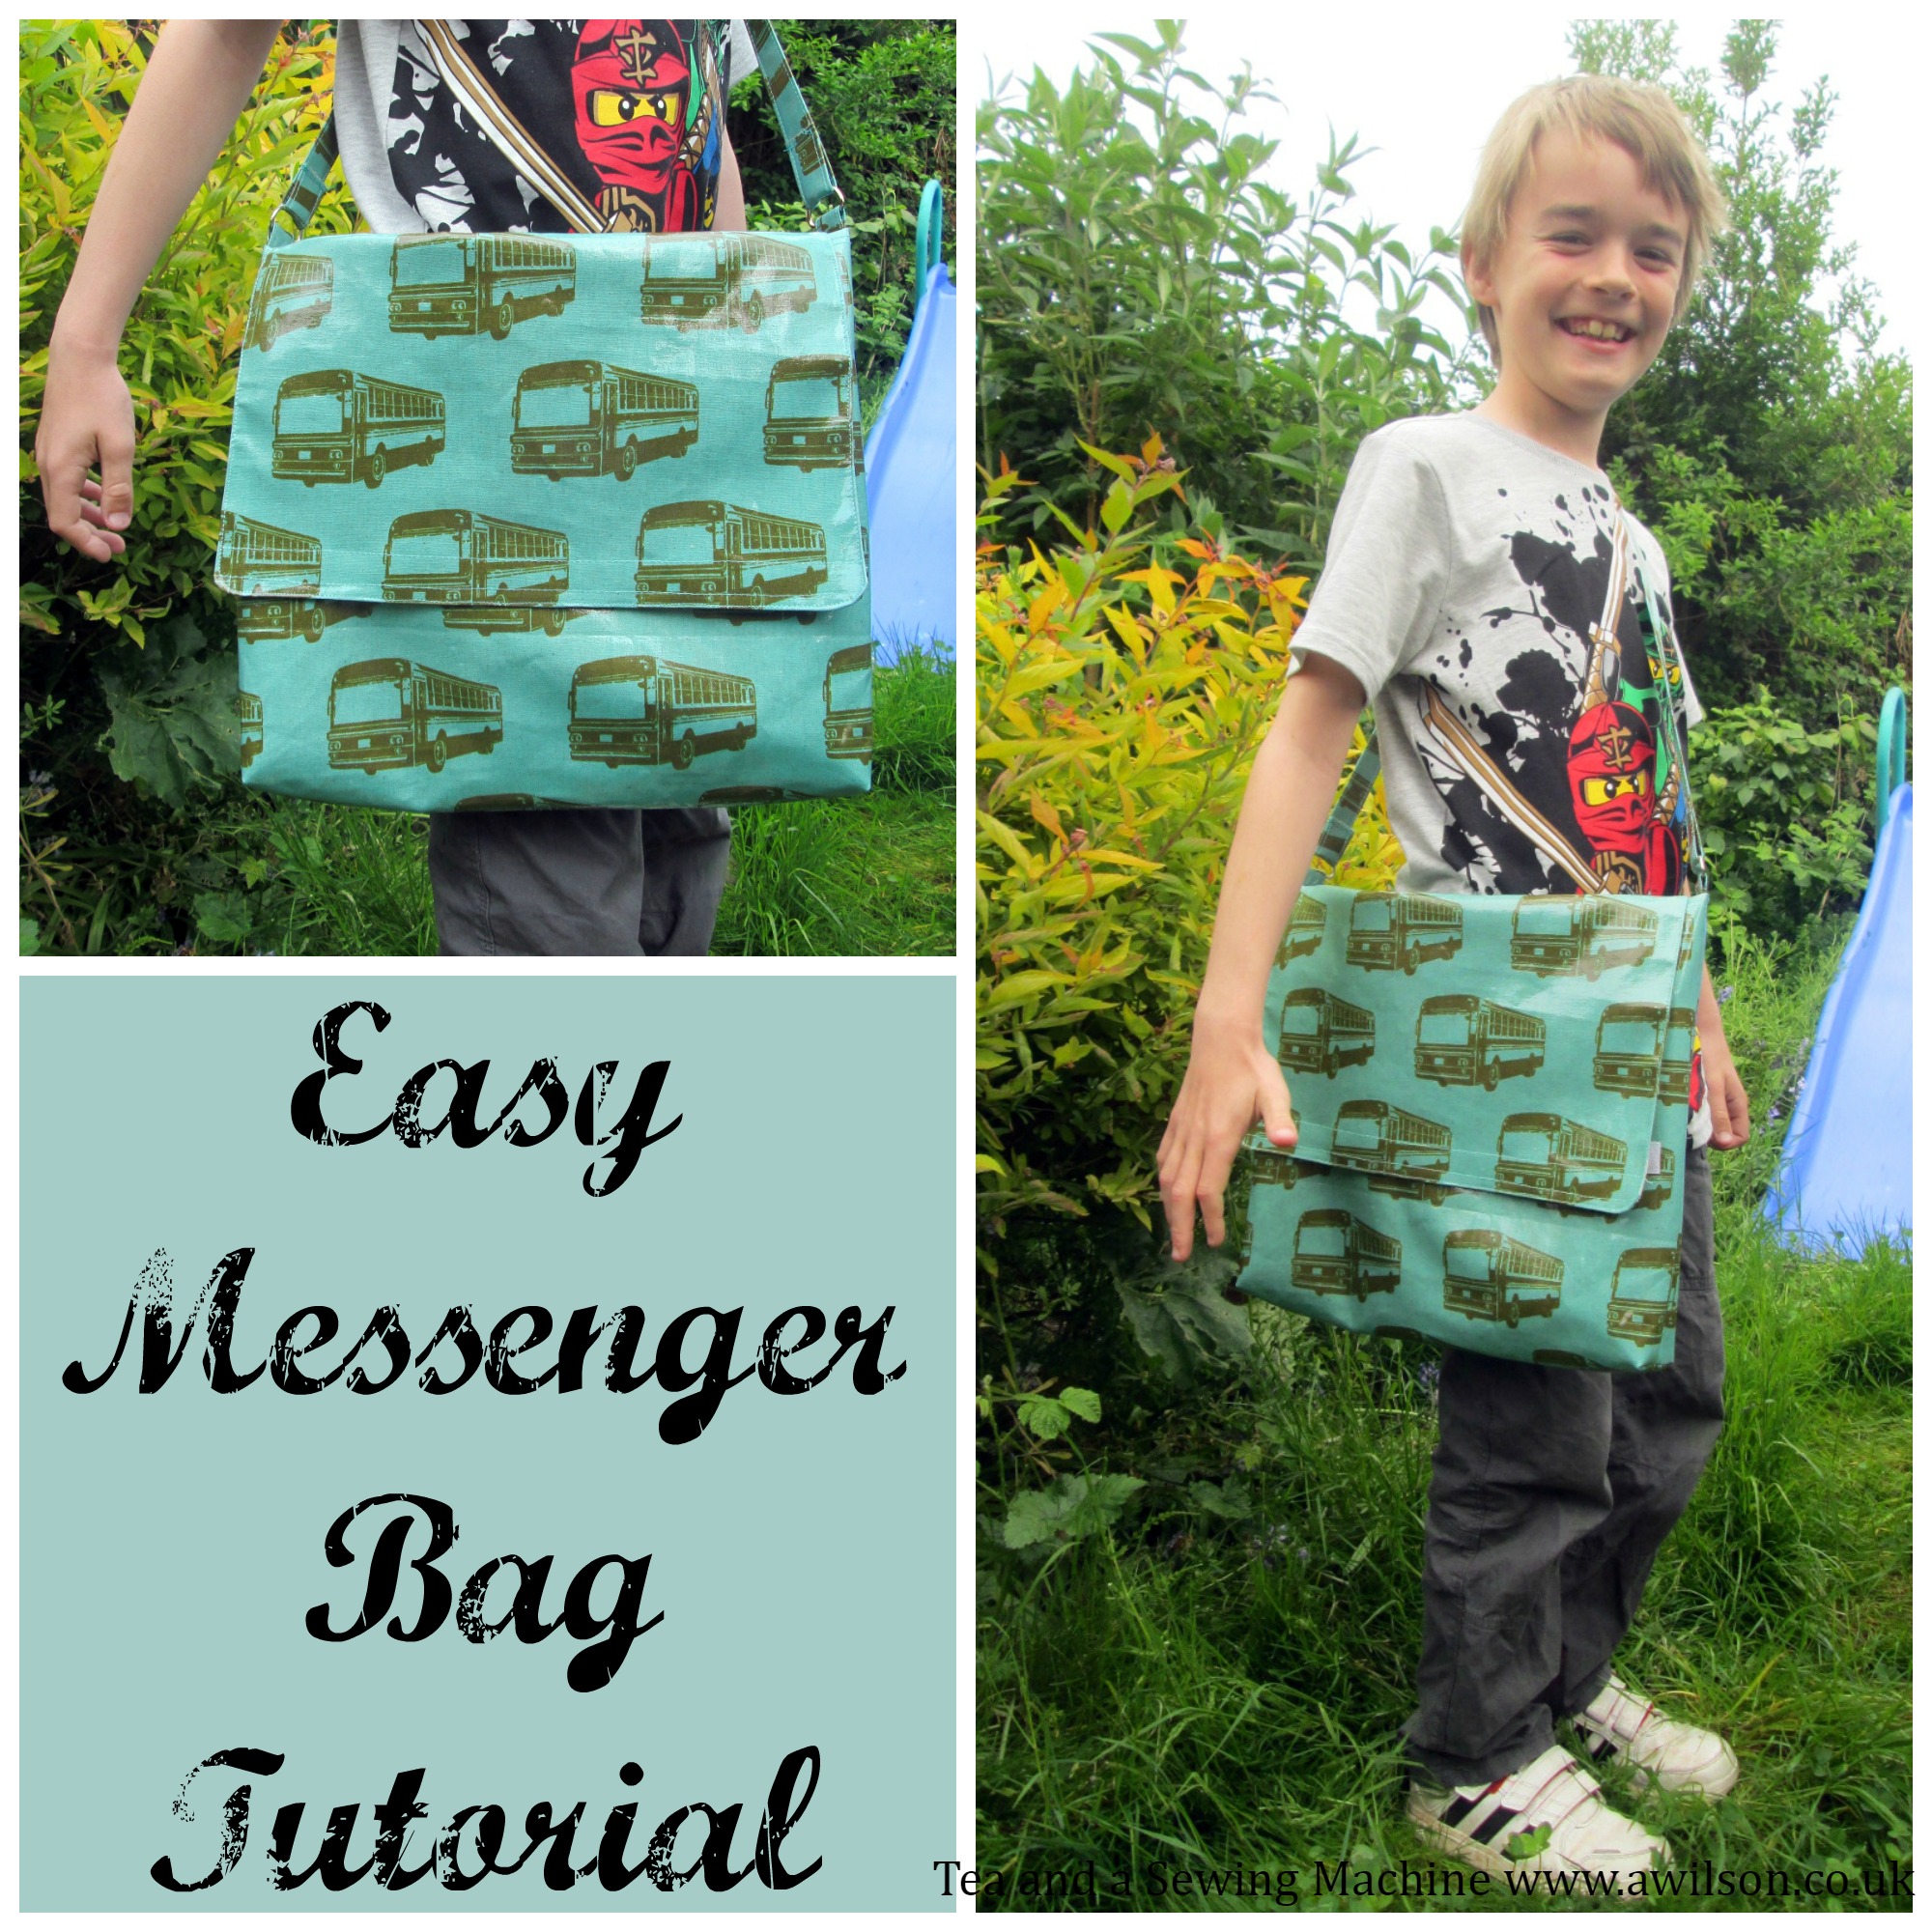
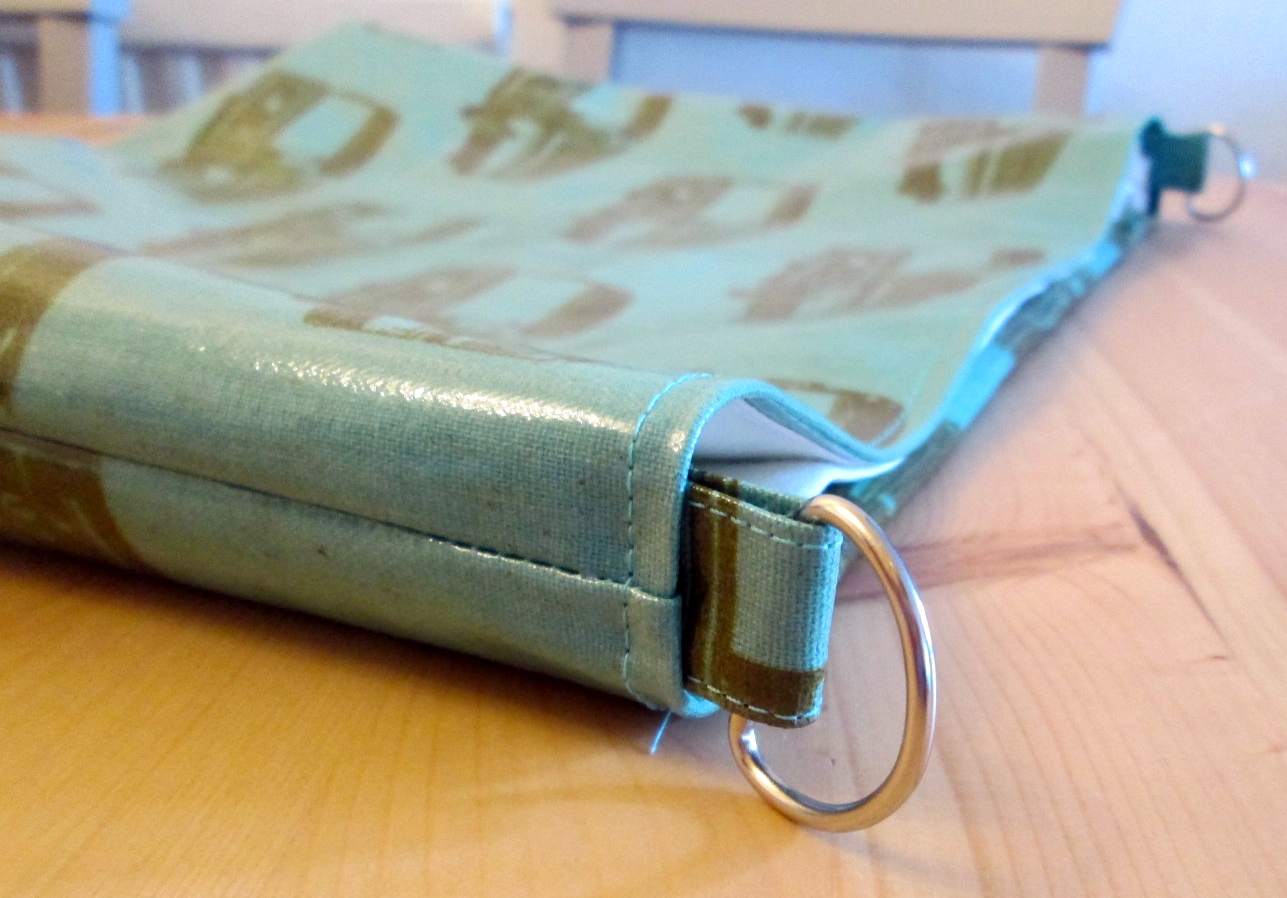
It’s very easy to make. The main part of the bag is a simple rectangle with squared off corners. The flap is tucked in between the bag main and the lining and stitched all the way round. The strap is attached to the bag using D rings.
I allowed 1 cm for the seams.
How to Make a Messenger Bag
You will need: Fabric for the outer and the lining (half a metre of each will be enough, however if you are using a directional print you will need might need more), 2 D rings, usual sewing supplies.
1. From both the outer and lining fabrics, cut 1 rectangle 40 cm x 72 cm and another rectangle 36 cm x 25 cm.
2. Take the larger rectangle in the outer fabric. With the wrong sides together, sew up the side seams. Trim seams.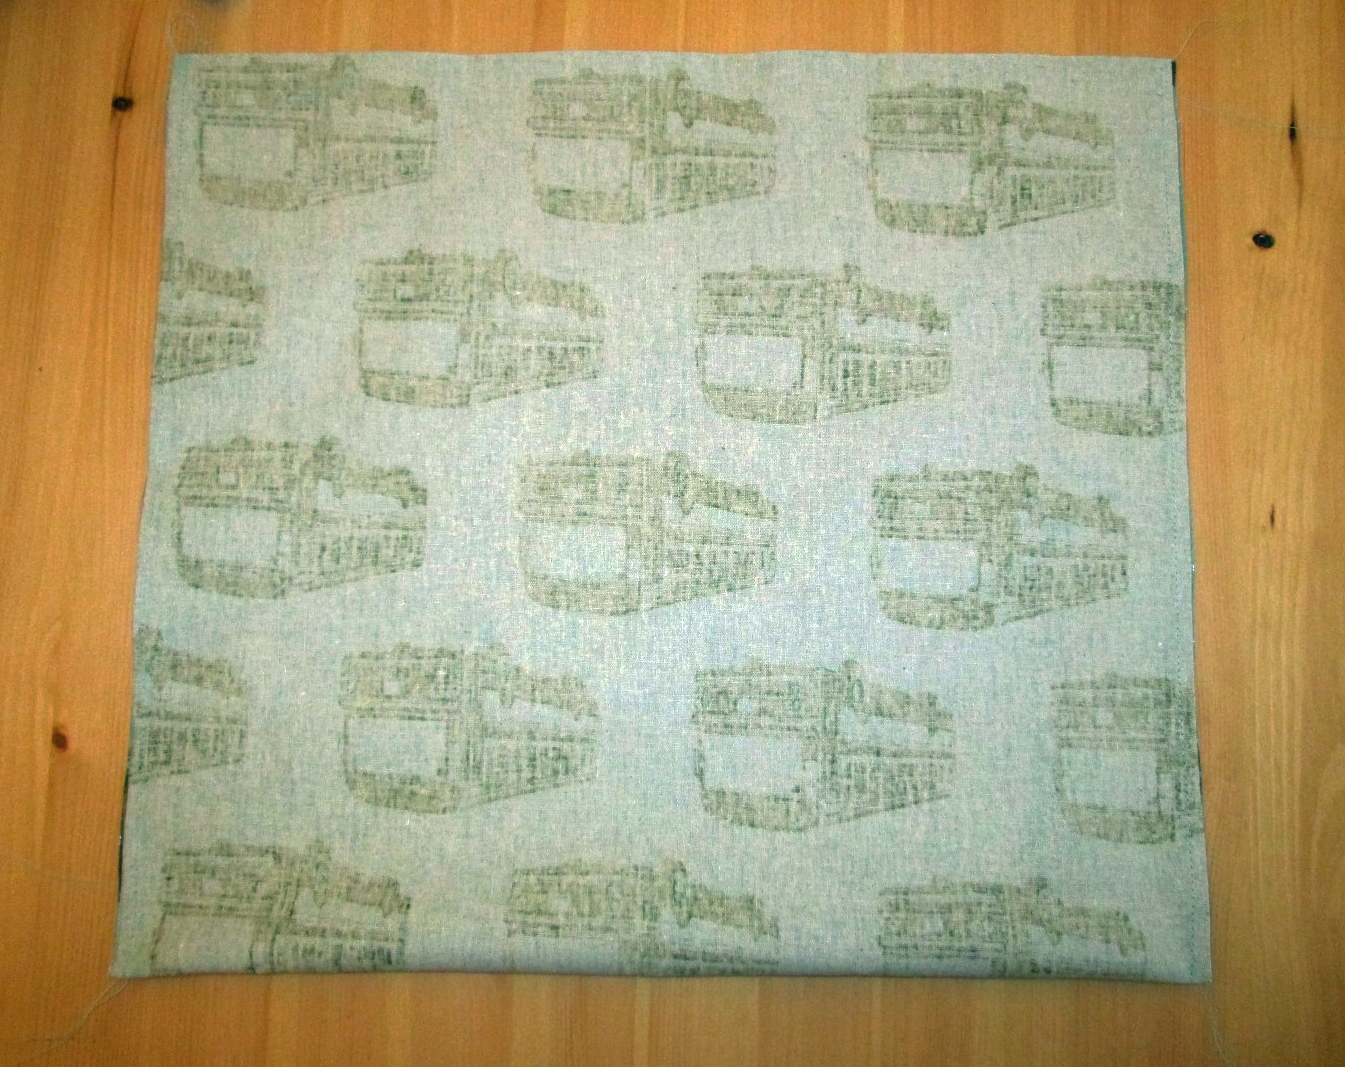
3. Squash one of the corners flat so that the side seam is over the bottom of the bag. Measure 2.5 cm up the seam and mark with a fabric pen or a pin. 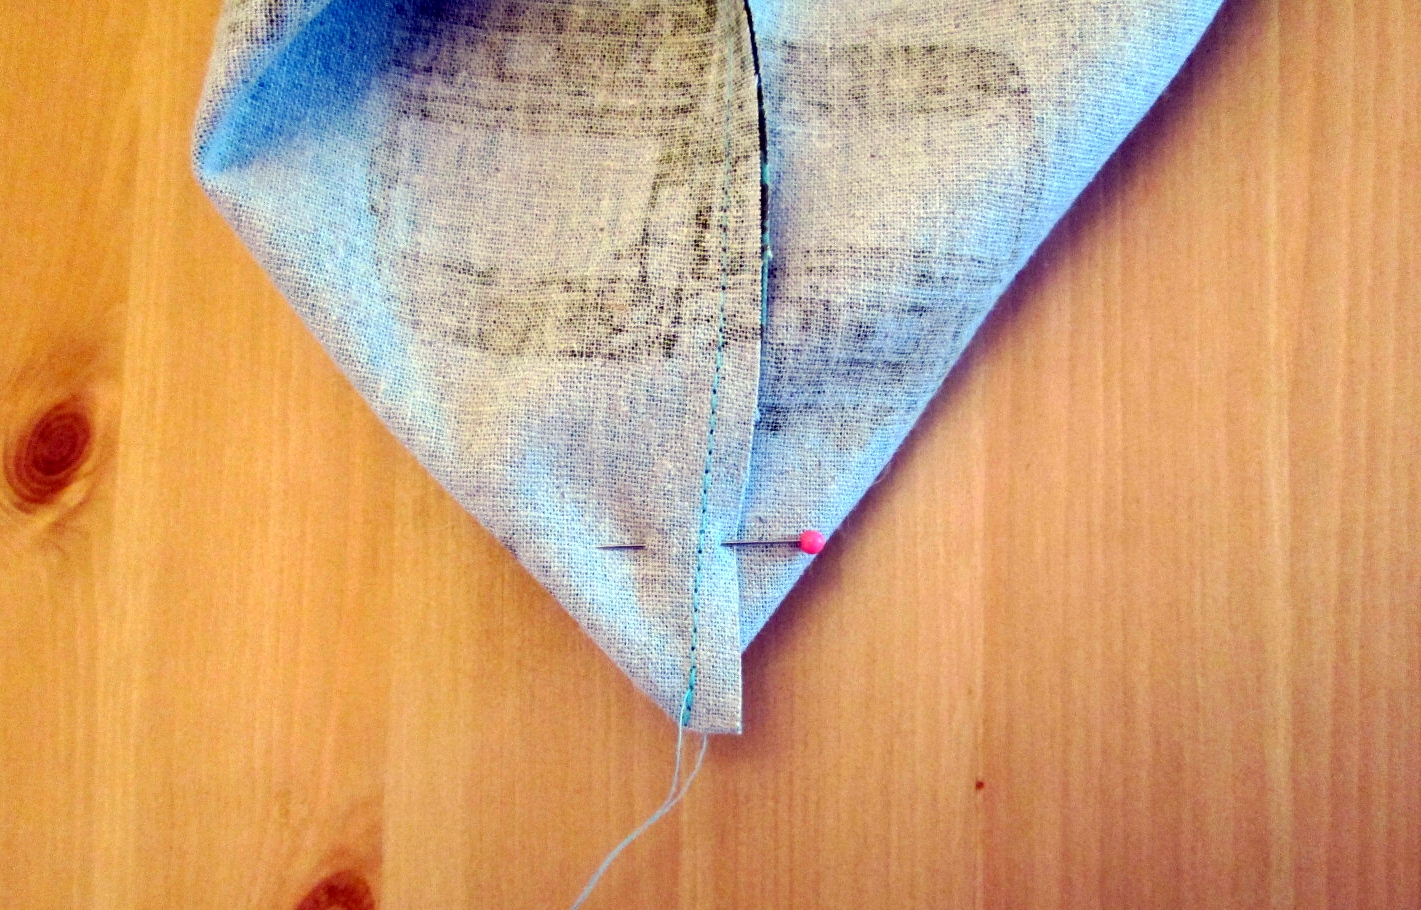 Sew across the corner at right angles to the seam. Cut the corner off.
 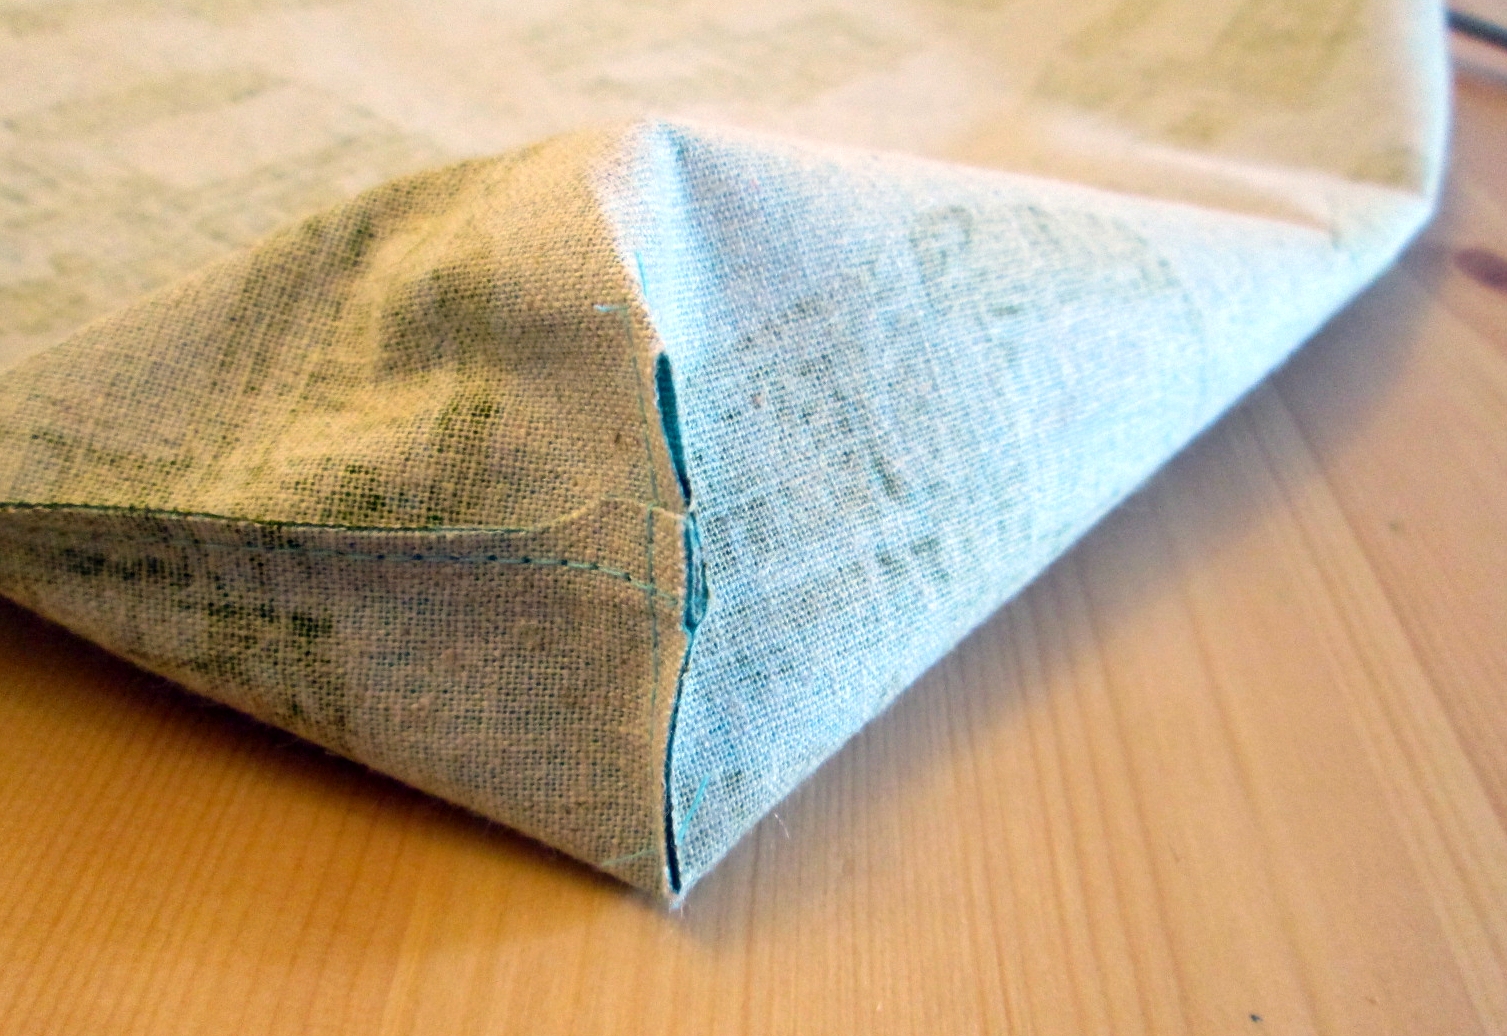 Repeat for the other corner. Turn out.
4. Repeat Steps 2 and 3 with the lining.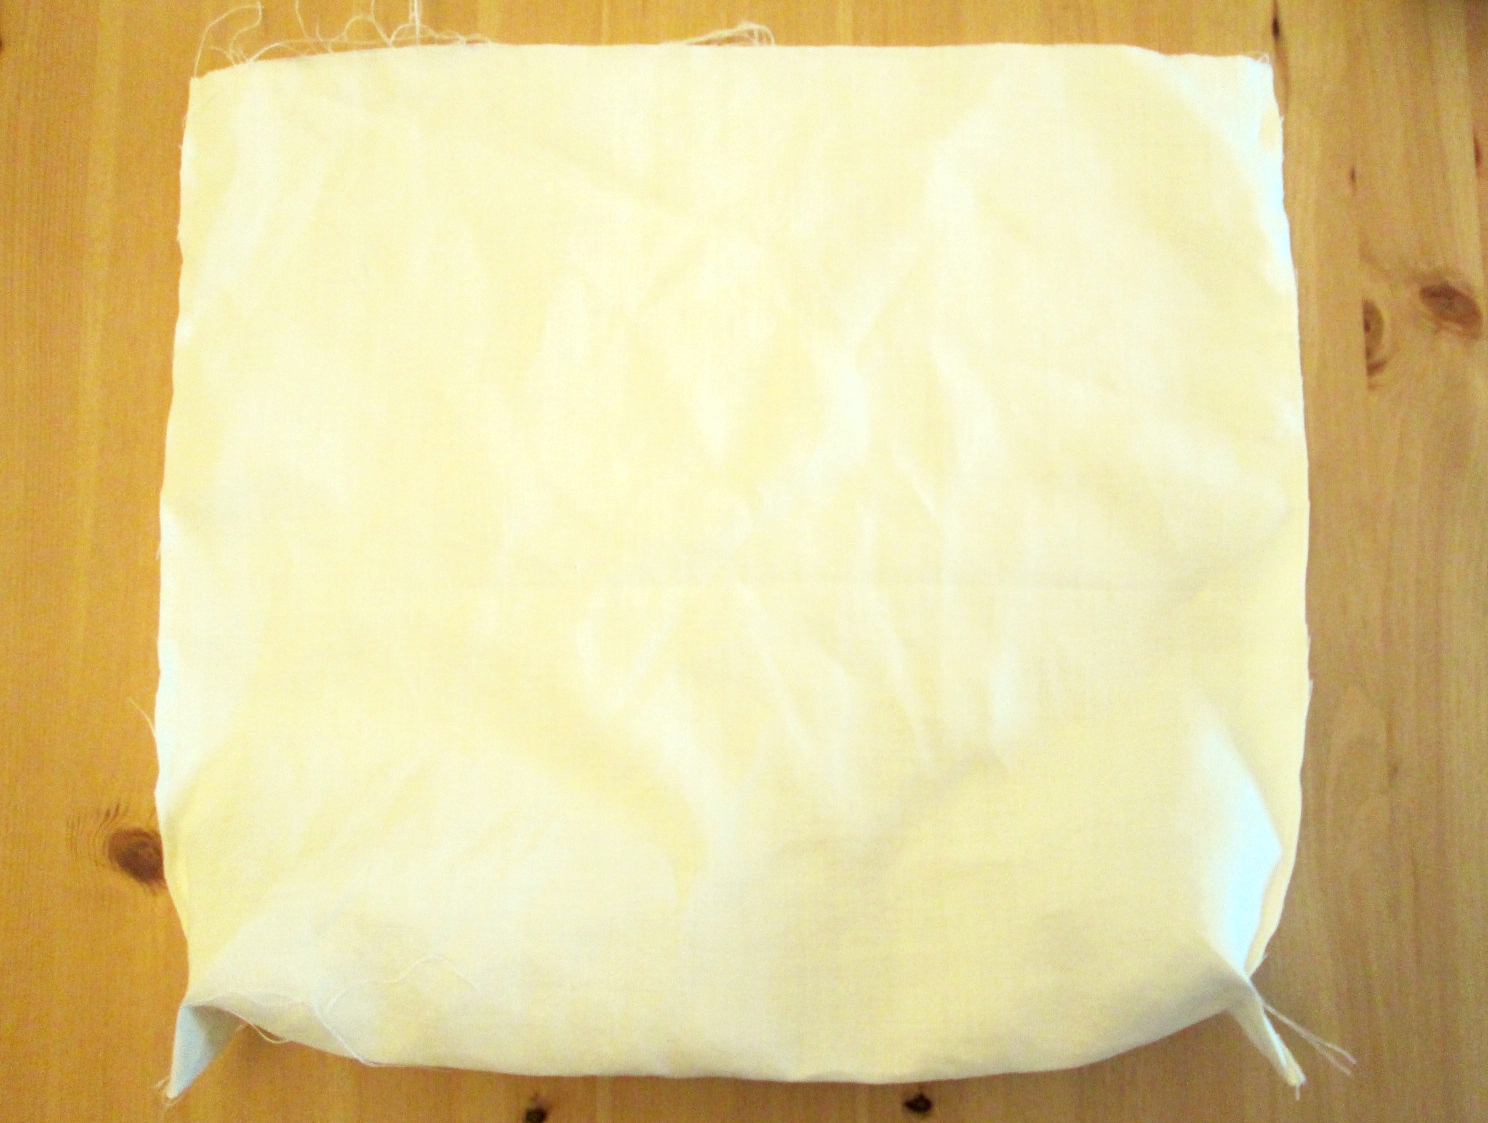
5. Take the flap pieces and with the right sides together, sew round the sides and the bottom edge. Rounding the corners will make it easier to achieve a neater finish. To do this, I drew round a dish. 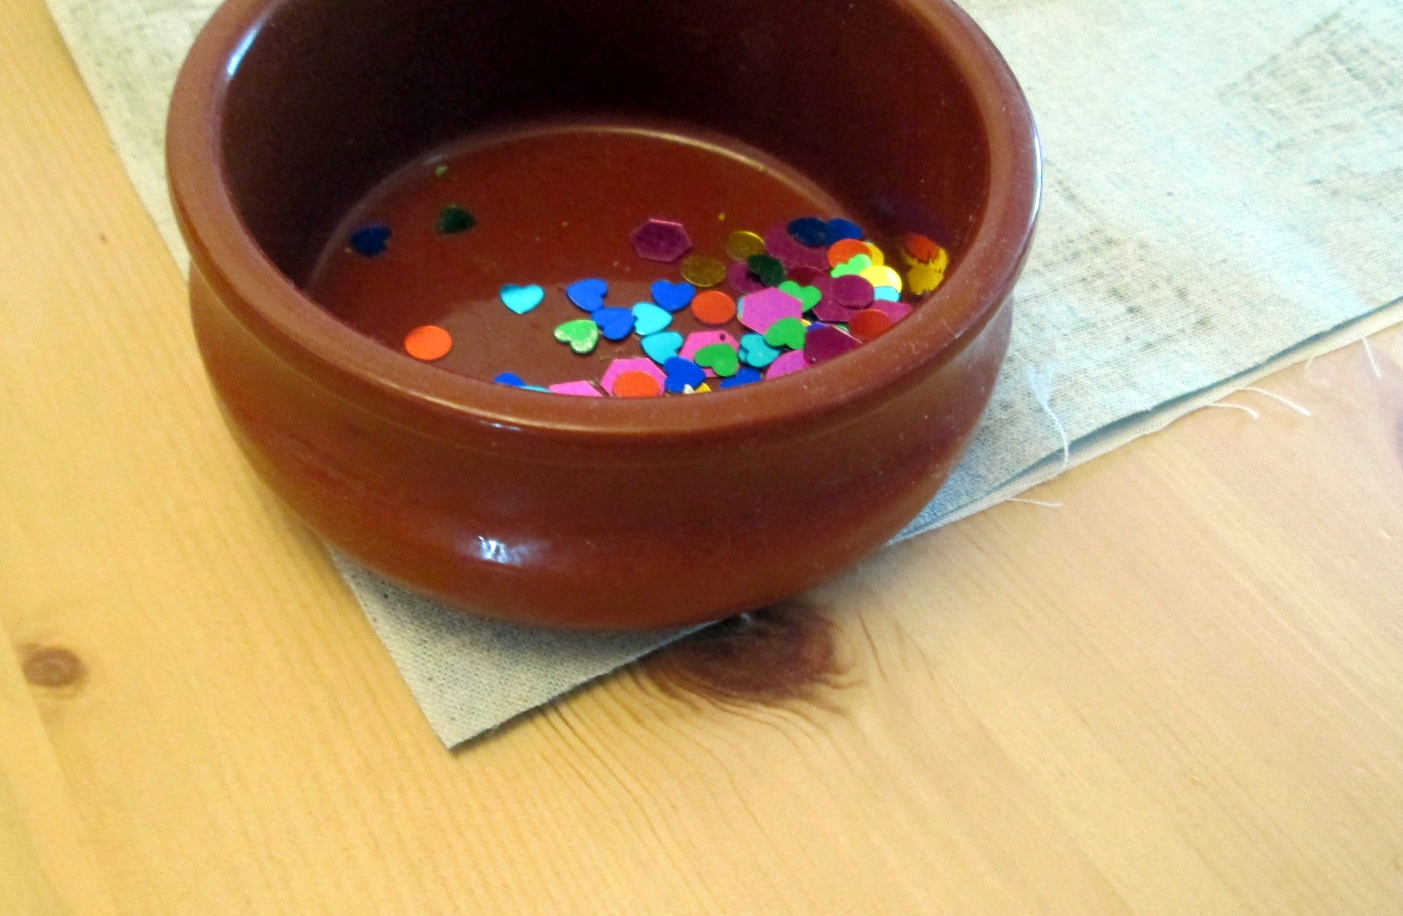
 Trim the seams and turn out. I top stitched around the edge to make it look nice.
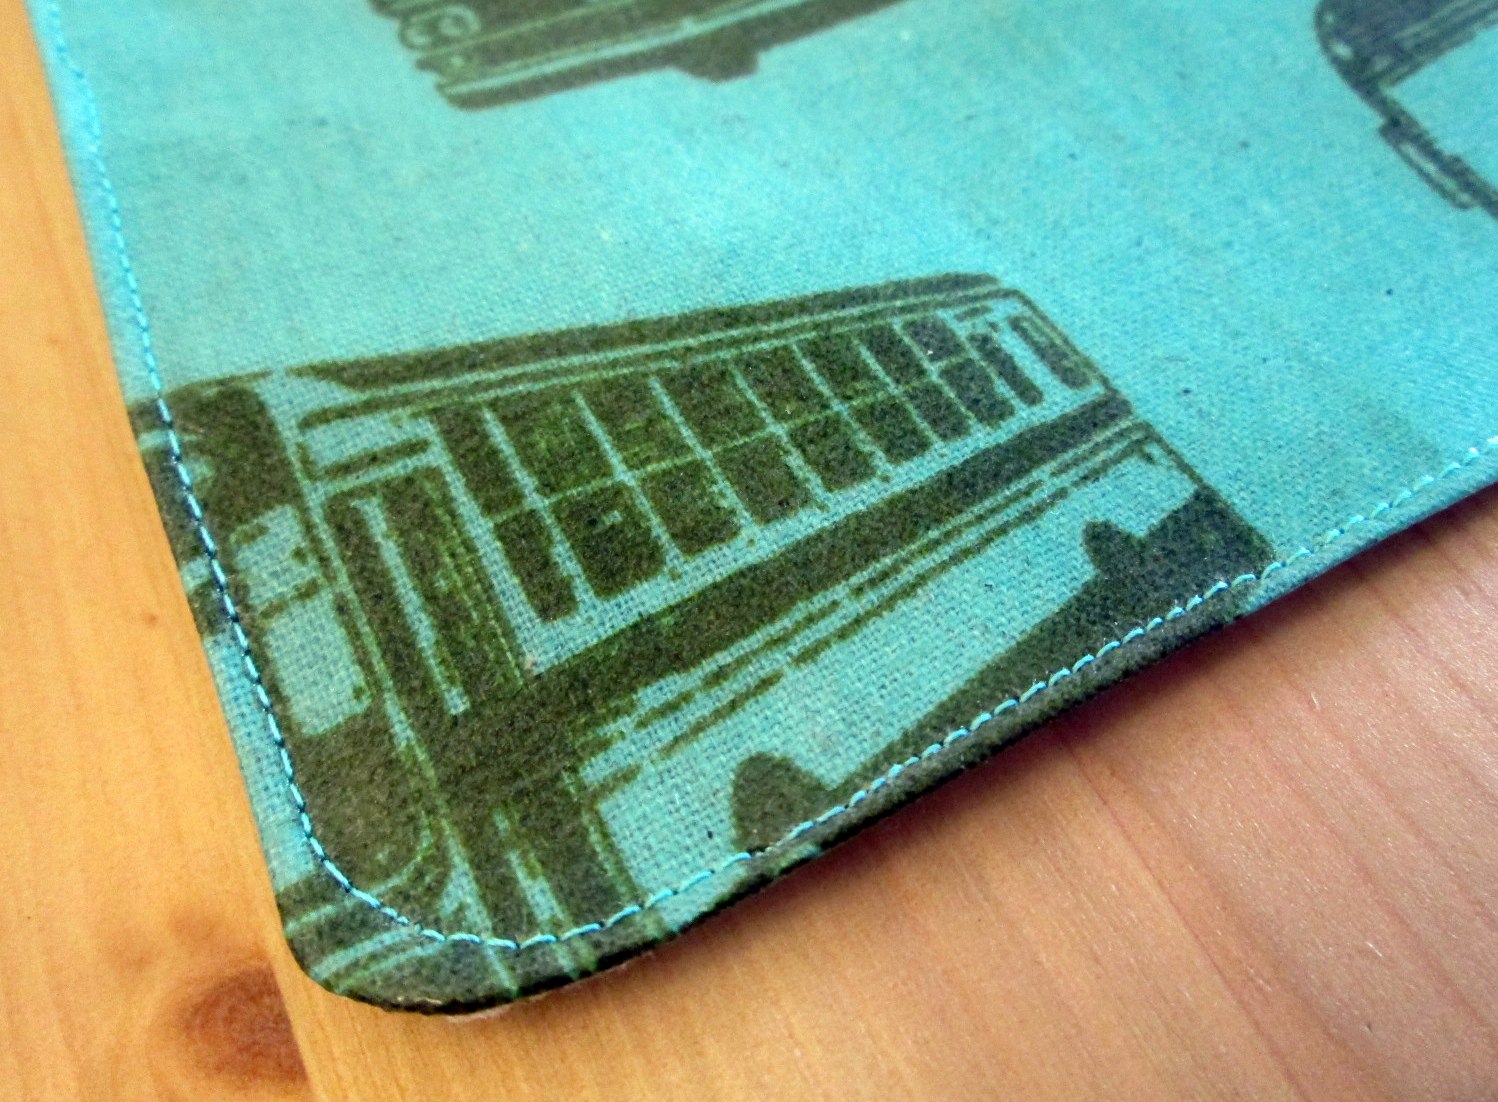
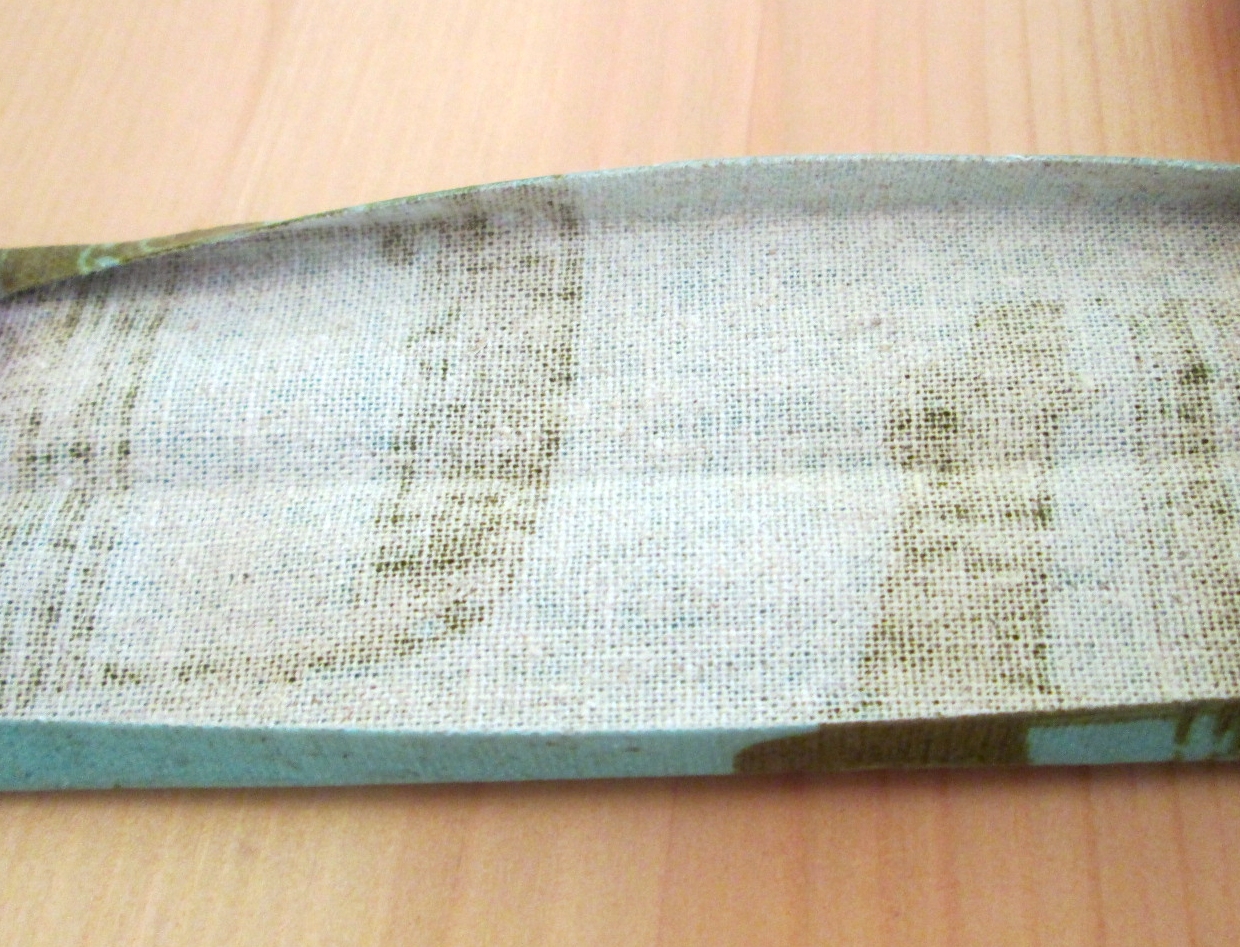
6. To make the tabs for the D rings, cut 2 rectangles 7 cm x 5 cm from the outer fabric. Fold the raw edges on the longer sides inwards, then fold the rectangle in half lengthways. 
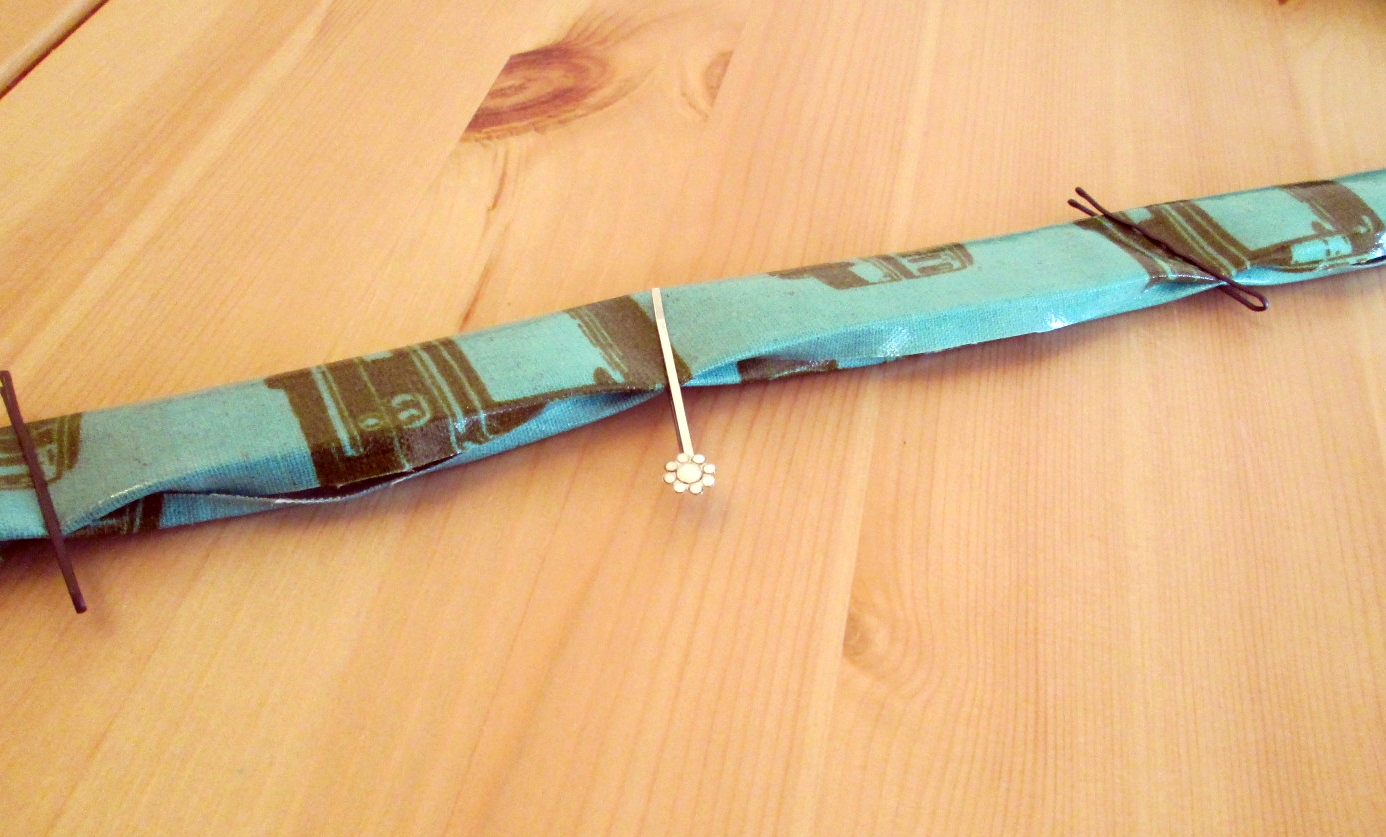
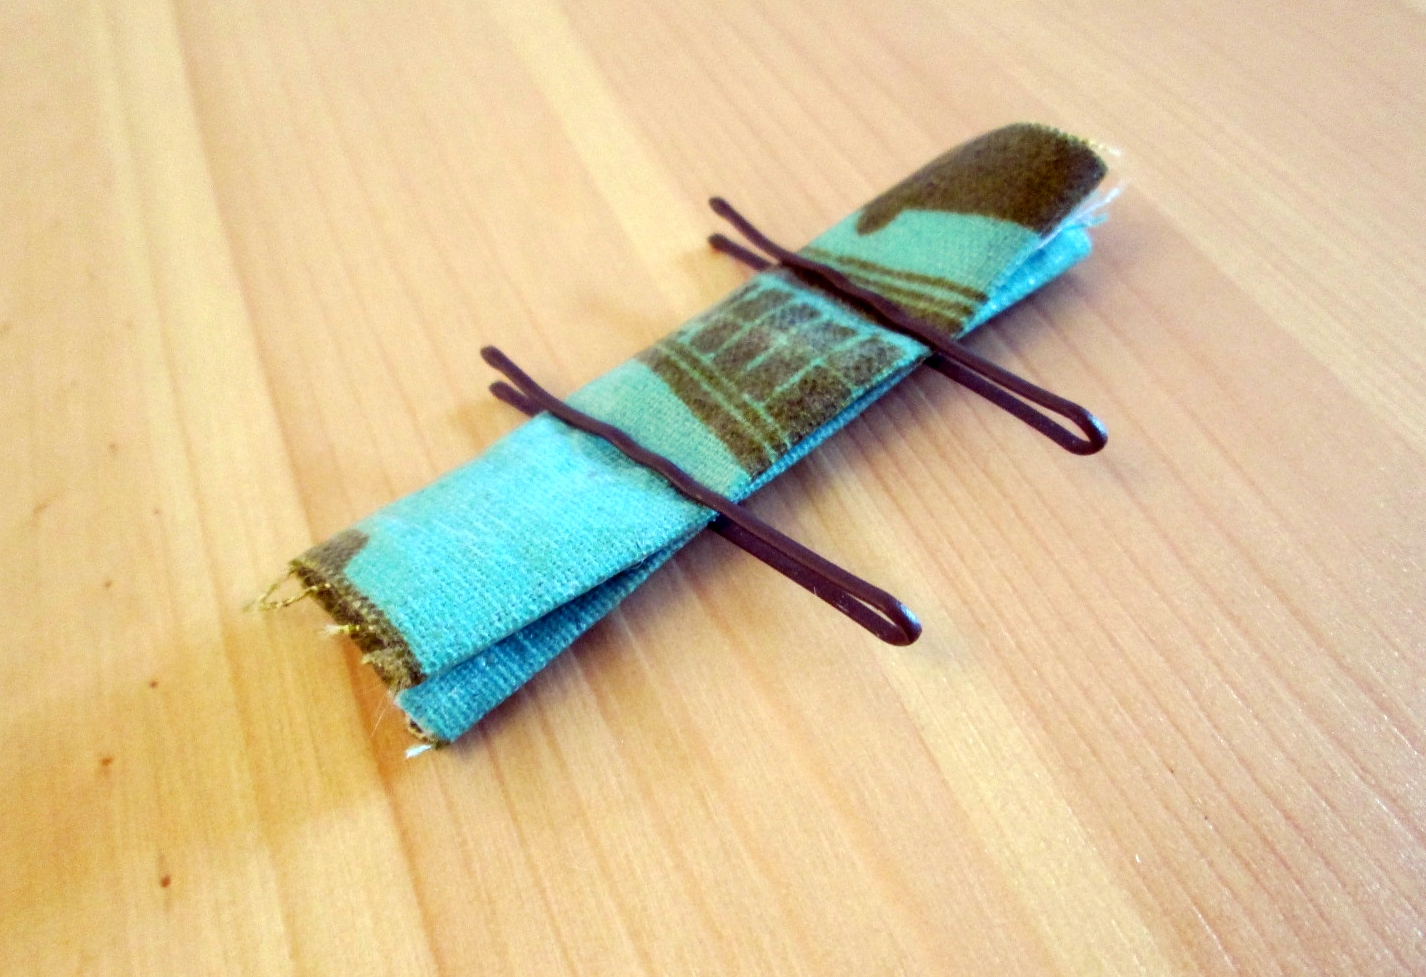 I used hair grips because pins would have left marks on the fabric. Top stitch along the longer open edge. I top stitched the other side too because I like things to be symmetrical!
 Repeat for the other rectangle.
7. Take the main bag outer and fold down 2 cm. Press with your finger to crease it. 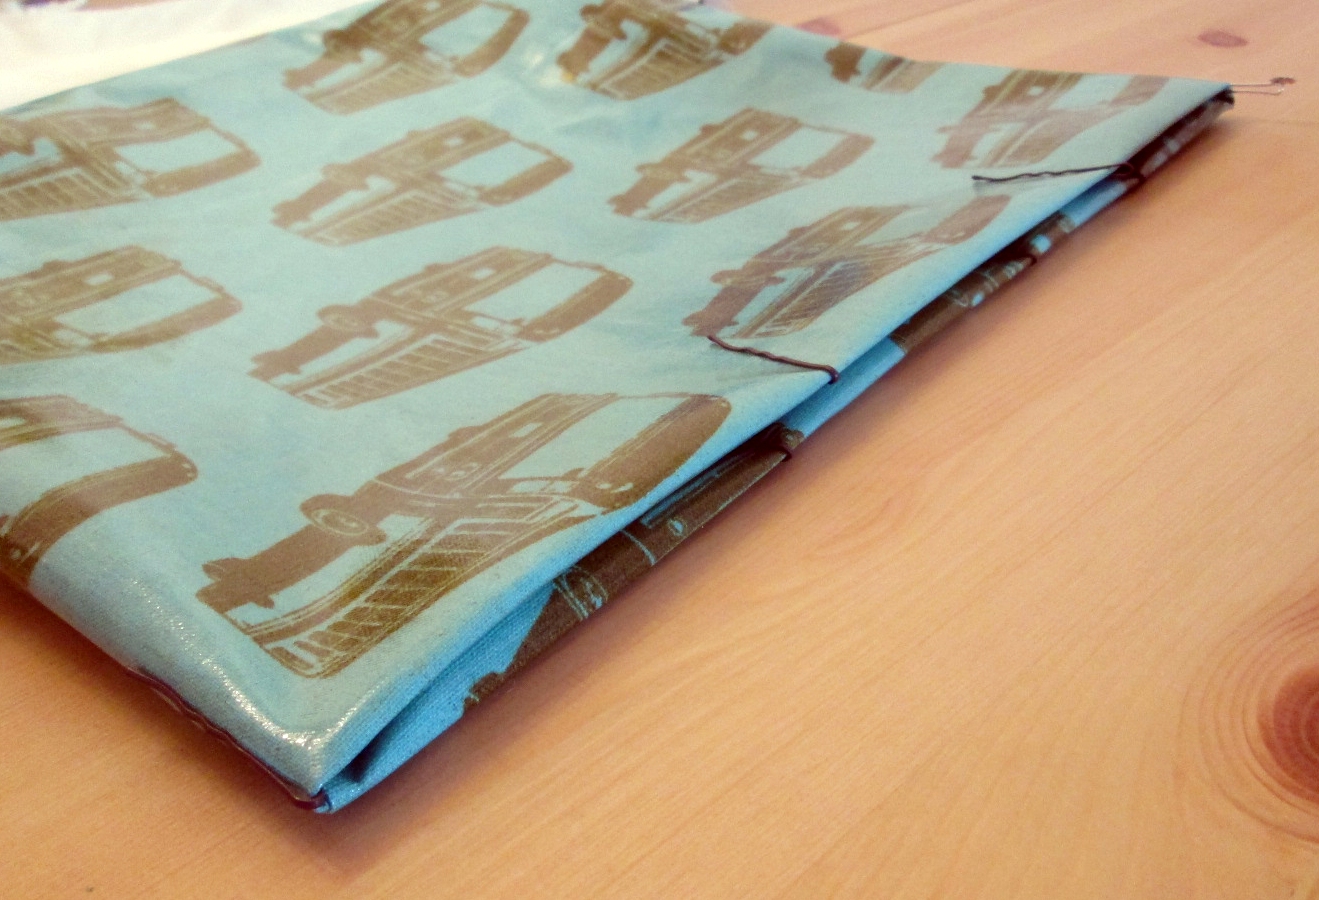 Repeat for the lining. You could pin the lining if you wanted to.
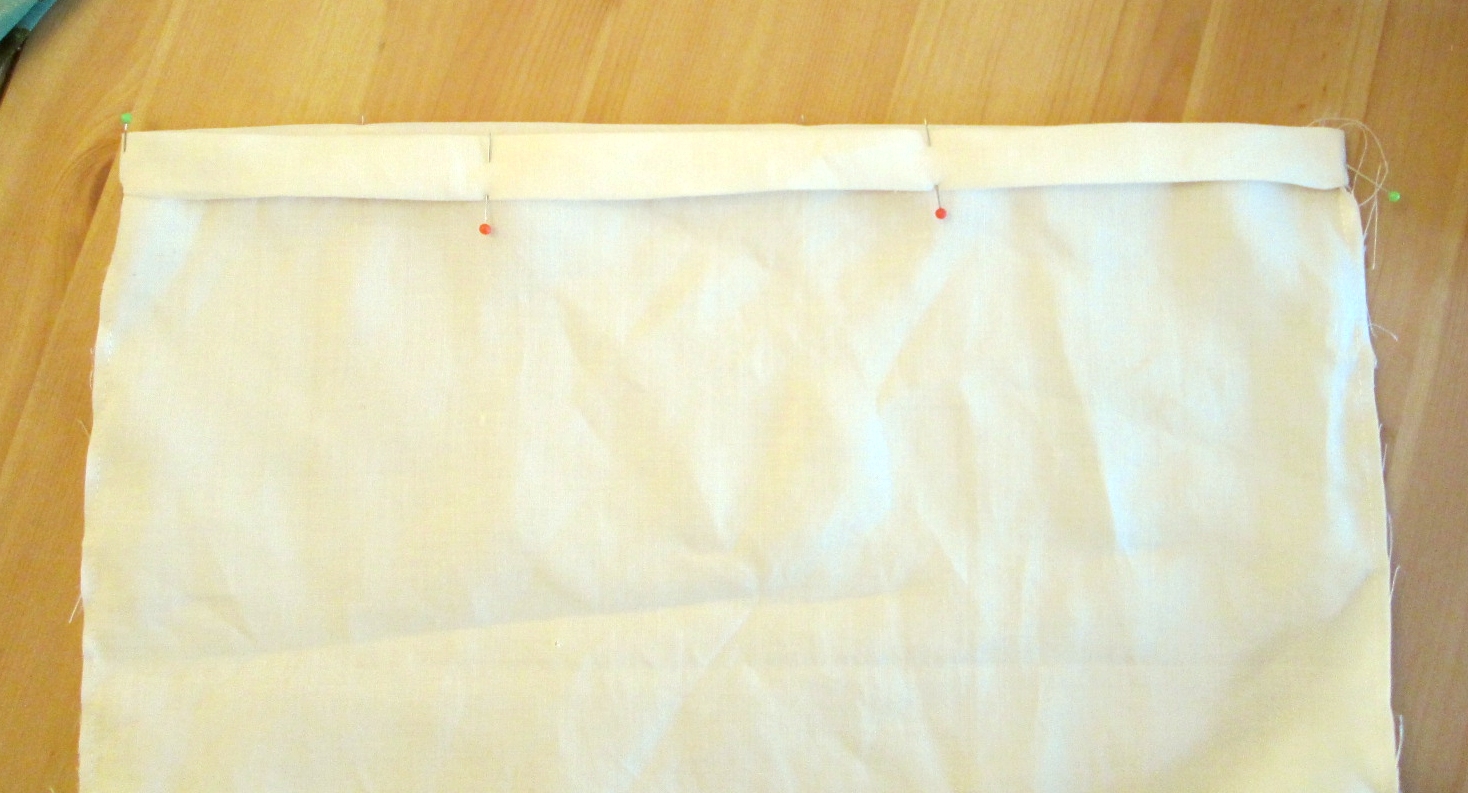
8. Put the bag lining inside the outer so that the wrong sides are together. Check that the lining is not visible from the outside and hold in place using pegs or hair clips. 
9. To attach the outer, lining, flap and D rings, I did this in two stages. I started by slipping the tabs in between the lining and the outer and top stitching from one tab, then round the front to the other tab. 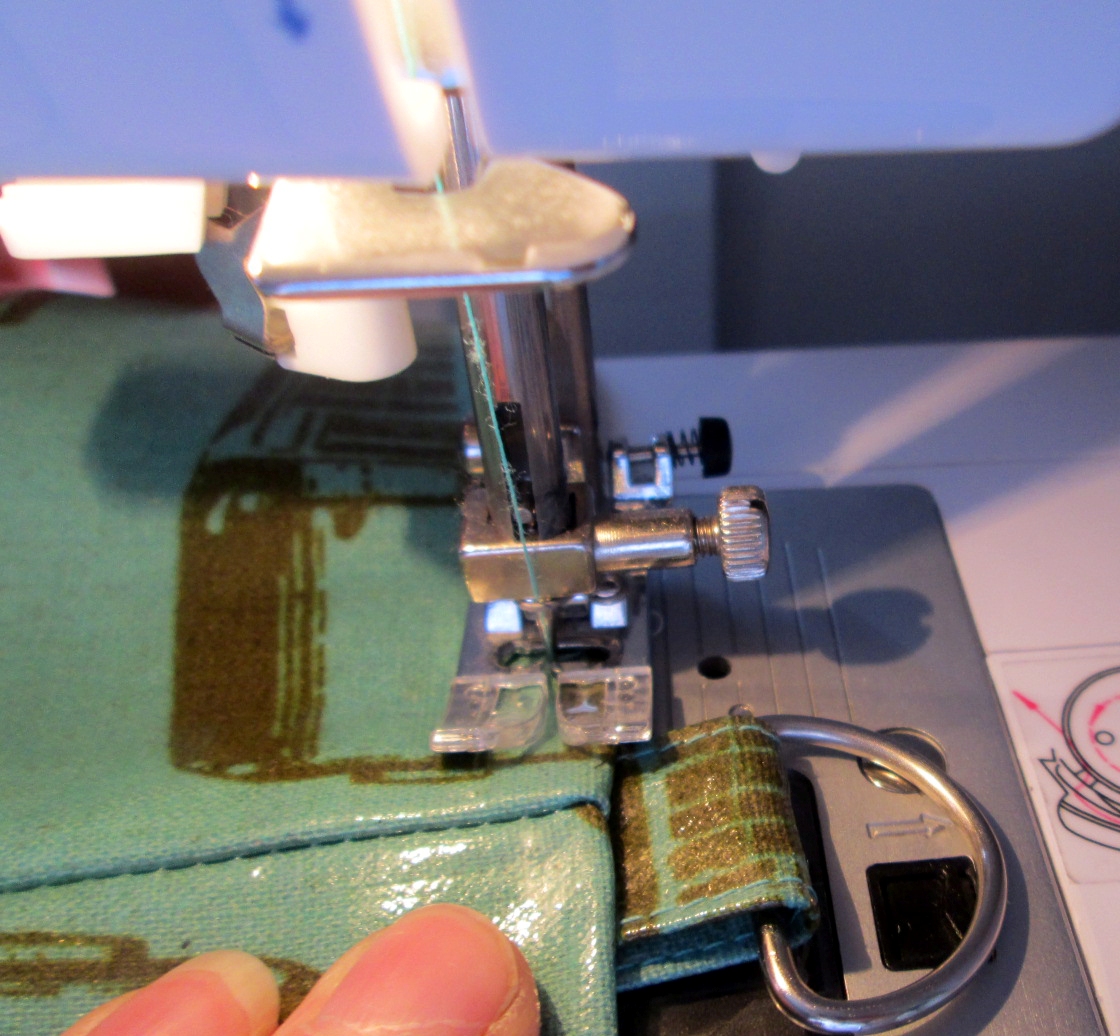
 Then I tucked the flap in at the back and sewed it in place.
 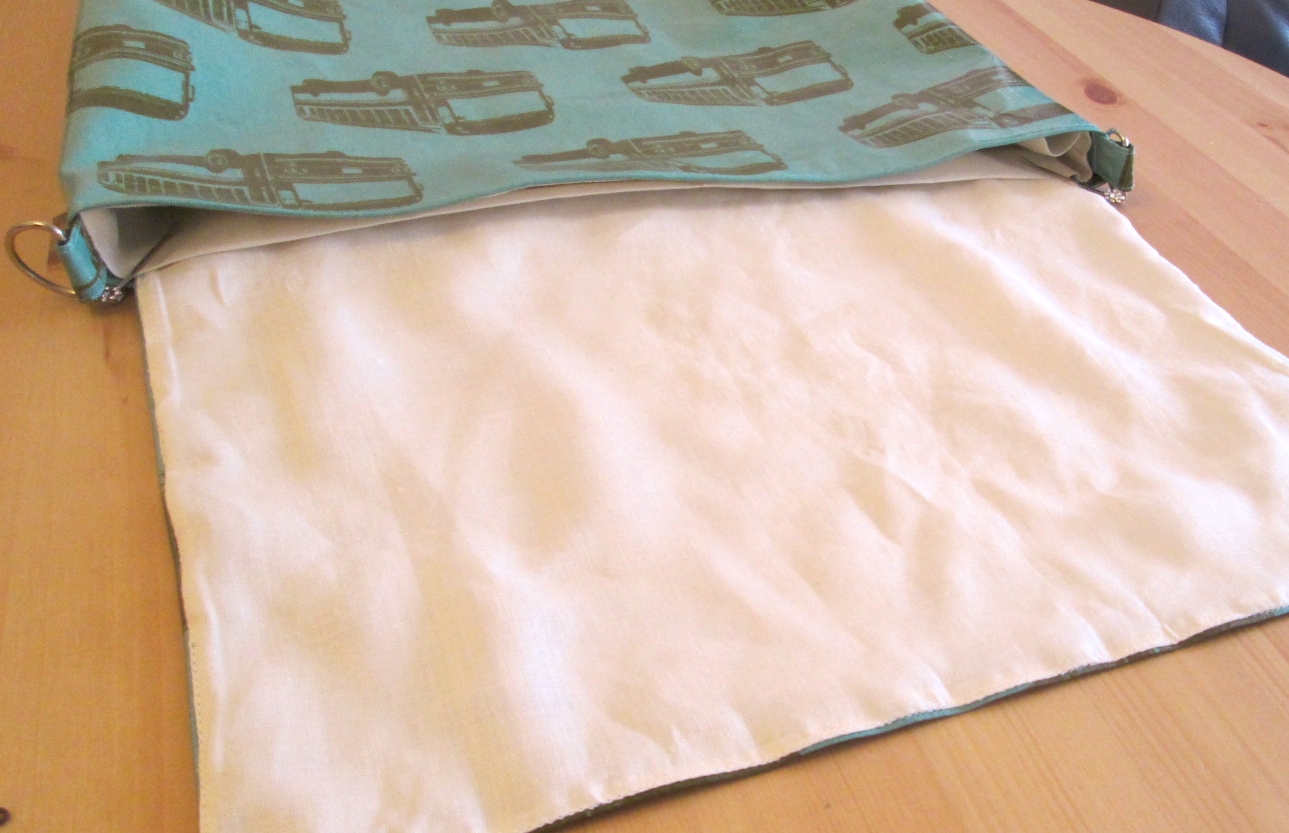 Then I went right the way round once more.
10. Sew the bristly half of the velcro to the wrong side of the flap, near the bottom.
11. Work out where the other half of the velcro will need to go on the main part of the bag. I put some books in it first! Either pin it or use double sided tape to hold it. Sew in place.
12. To make the strap, check how long you need it to be, then cut a strip from the outer fabric your desired length plus an extra 10 cm, and 7 cm wide. Fold the raw edges inwards and top stitch along the long open edge. I did the other side too.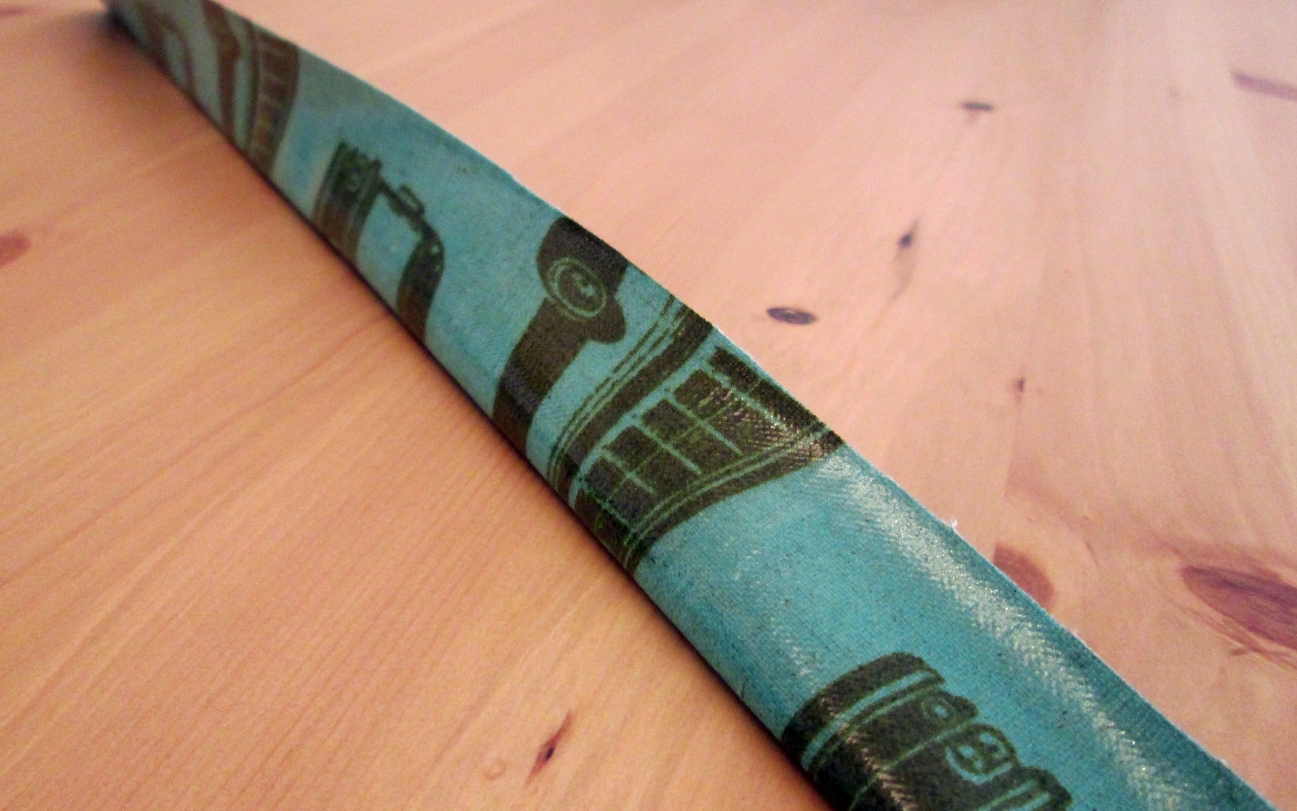
13. Loop one of the ends of the strap through the D ring and sew in place. Repeat for the other end.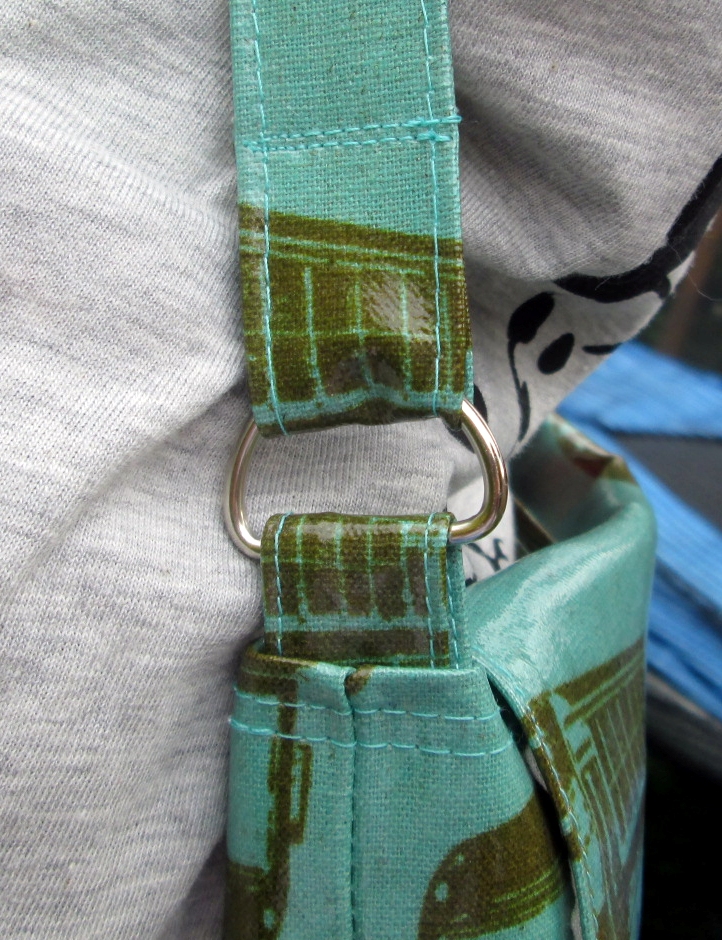 Here’s the finished bag!
Tips!
- Pinning oil cloth will leave marks in the fabric, so to hold it in place, use pegs or hair grips.
- Sometimes the presser foot sticks to the oil cloth and then it won’t move! Cheryl from Sew Can Do suggests using lip balm. I couldn’t find any lip balm, but while I was looking I found some hand cream! I tried that instead and it worked fine. Just smear a little bit on the fabric, then wipe it off afterwards.
Linking up at these parties:


That bag looks great. I think I am also going to make one for my kids, but I am confused about the bag size. By the way, this one of the best tutorials that I ever read. Thanks
Kids Bag recently posted…Look No Further! Here Are The Best Backpack for Traveling Moms
Thank you 🙂 The finished bag is about 35 cm x 42 cm, so approximately 14 inches by 16 inches.
That bag looks great and relatively simple to make. I have been looking for a project to try, maybe I will give it a try. #MMWBH
Thank you! It is quite an easy project and doesn’t take too long to make 🙂
I’ve always fancied trying to make a messenger bag, not yet managed to find the time to learn to sew yet though (it is on my to do list, but just being a dad keeps me busy enough).
It’s a fairly easy project so would be alright for a beginner 🙂 If you make the corners bigger by sewing further up the seam it would make a good change bag
Love the bus fabric. What a great bag.
Thank you. He loves buses!
I am very intrigued how your son lost his book bag on the way home, but if his new one is anything to go by, it was definitely a good move! He looks chuffed with it and rightly so!
It possibly fell out of the buggy while we were sprinting to the bus stop. He’s very happy with his new bag!
What a lovely bag and a great tutorial too, thanks for sharing
Thank you!
Love the bag! Thanks for the tip on using lip balm or hand cream on sticky fabrics!
Thanks Cher! I love discovering things by accident!