Maternity Clothes
I haven’t posted anything for a long time because I have had awful morning sickness and I’ve not felt up to making anything. People who smugly declare that “pregnancy is not an illness!!” need a poke in the eye. Okay, it’s not an illness, but it can make you feel pretty ill. Three months of sitting on the sofa trying not to vom is not fun.
Anyway, I haven’t thrown up for a few weeks now. I’m just tired and, as people keep telling me, I’m huge and my clothes do not fit any more, so I’ve made some! I know I have said this before, but I have no formal training in this area and a few years ago I would never have believed that I could make my own clothes, but you know what? It’s perfectly possible, all it takes is patience, planning and some trial and error. The end result is clothes you like that fit properly, and you also have fun making them 🙂
Table Cloth Skirts
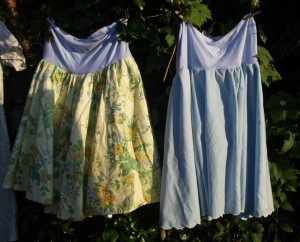
I love these, not least because they me feel like me feel like Maria Von Trapp or that girl from Enchanted. They were actual table cloths that I bought off Ebay, and although they were barginous bacause the cost of posting anything is so high now, I would have been better off raiding charity shops instead.
They were very easy and quick to make. I folded each table cloth into quarters and decided how long I wanted them to be by measuring from my hip to just below my knee. Then I measured from the edge of the table cloth and marked it off at the correct length. The next part was a little tricky. Using a plate as a guide, I cut a circular hole in the middle. So now I had a circular piece of fabric the right length from under my bump.
Next I took a piece of jersey fabric, wrapped it around my middle and pinned it, then sewed up the seam, making a stretchy waistband.
Returning to the table cloth with a hole in the middle, I put in two rows of stitches around the hole and gathered it until it was the same diameter as the waistband.
Then I folded the waistband in half to make it narrower, joined the raw edges and voila!! One skirt with a lovely stretchy waistband.
With the yellow one, I added a net underskirt to make it foofy.
Evening Dress
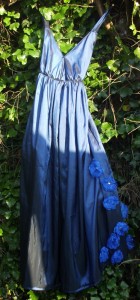 I needed a dress for Husband’s black tie work thing and I was reluctant to buy one as maternity frocks are expensive, so I decided to make one. Husband was not keen on this idea to start with: “You can’t turn up in something you’ve made!!!” but he soon quietened down. When I quizzed him, he said, “Well, you won’t look as stupid as X with his candy striped waistcoats.”
I was inspired by a picture of Angelina Jolie in a beautiful green dress. It was very simple (and probably cost a fortune!), but I believed the shapes would lend themselves well to somebody bulbous. I bought some navy blue tafetta and, after much thought, I had a plan.
The key thing was the gathering, easy enough to do and comfy for the wearer. The front is two triangles, gathered underneath to accomodate boobs, then joined together, with a rectanglar panel at the back at simple shoulder straps. The skirt is two large rectangles, the back one gathered a little and the front one gathered a lot.
I made nine organza flowers and attached them to the side. The dress is lined and so comfortable. I didn’t need zips or anything. Unfortunately it was so cold I also had to wear leggings, a cardi and a pashmina or I would have frozen. 🙂
Cotton Dress
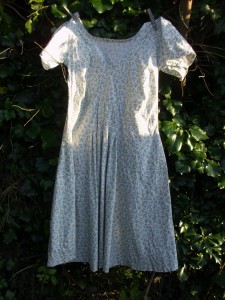 I know, it looks like a nightie, but I can assure you it doesn’t on!
I was trawling the internet looking at maternity clothes when I came across a pretty dress that I really liked. Unfortunately I did not like the price, or the fact that it was made of linen (I do not iron), so I decided to have a crack at making my own.
I decided to cut it on the bias. It appeared complicated but was actually very easy. All it means is that when you line up the up and down of your pattern, instead of the warp and weft threads going up and down and side to side, they are on the wonk like a saltaire cross. It uses up a more fabric but it drapes better.
I also decided that I did not want to use facings or a lining, so I made some bias binding, which aslo sounded scary but was very easy and finished off the neckline nicely without anything needing ironing.
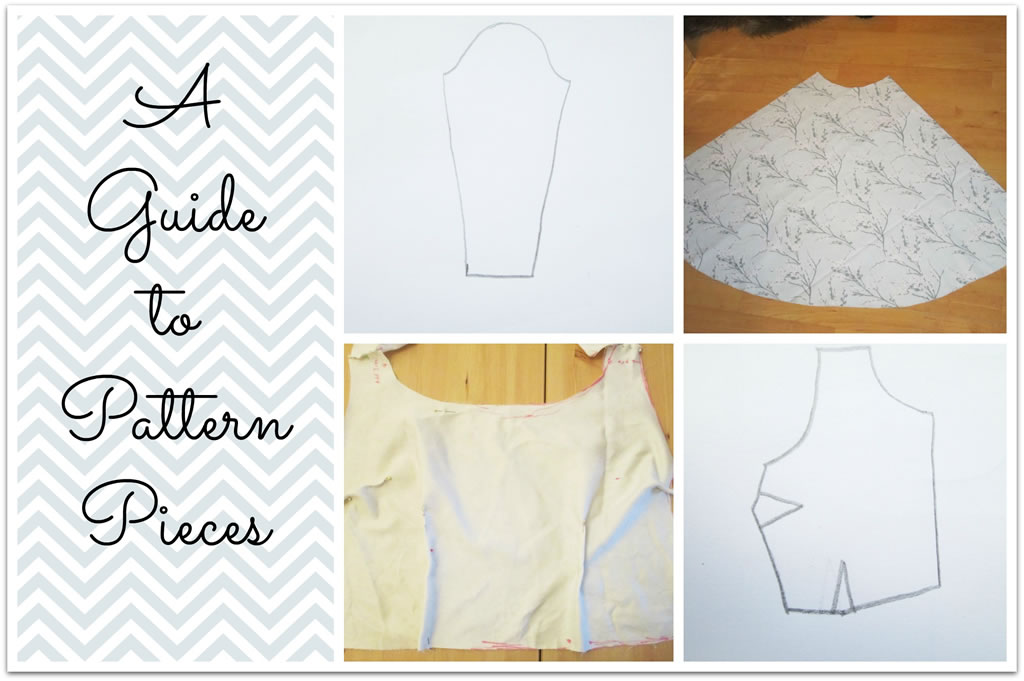
The front is two pieces plus sleeves. To get it the correct size I pinned some bits of tatty old fabric to myself and drew on it with a felt pen. I then cut it out and drew round it onto greaseproof paper, allowing 2cm for seams, to make a pattern.
The bump allowance in the skirt is formed of nine pleats, so I put some pleats into a scrap piece of fabric, then worked out the sizing by once again pinning it to myself.
The back is made from a single piece of fabric. The shaping of the top was difficult. I took some approximate measurements and used the shape of the front as a guide for the armholes. I pinned more fabric to myself just to check that it would fit and made some minor adjustments.
Cutting it on the bias meant that the skirt was not long enough, so I added some extra panels at the side.
I am very happy with the results 🙂 The dress is very comfortable, cool in the heat but fine with a cardi when its colder. And better still, I don’t have to iron it 🙂

