Making Friends With Your Sewing Machine: Sewing Machine Feet
The other posts in this mini series can be found here.
In the previous posts, we’ve been through what all the bits of the sewing machine are, how to set your machine up ready for sewing and how to actually sew with it.
In this post, we’re going to have a look at the different sewing machine feet and when you might use them.
When you unpacked your sewing machine, there’s a good chance that there was more than one presser foot in the box.
The job of the presser foot is to hold the fabric down while you are sewing, and to enable the feed dogs (the little teeth that poke up from the bottom) to move the fabric along.
Although you’ll use the standard foot for most things, it is useful to know what the other feet are for, and you may want to use them at some point.
The feet that came with your sewing machine might vary, but I’ve started off with the ones that came with mine. Even though I was doubtful to start with (my first machine only had one foot!), I have actually used most of the feet that my sewing machine came with at one point or another.
The feet lower down the list are ones that I haven’t used and probably wouldn’t, unless I was doing a lot of a particular kind of sewing.
Another thing worth mentioning is that if your sewing machine didn’t come with a baffling array of feet, and there are any on the list that you think might be useful, it is possible to buy sewing machine feet individually. Just check when you are buying them that they are compatible with your machine.
Regular Foot
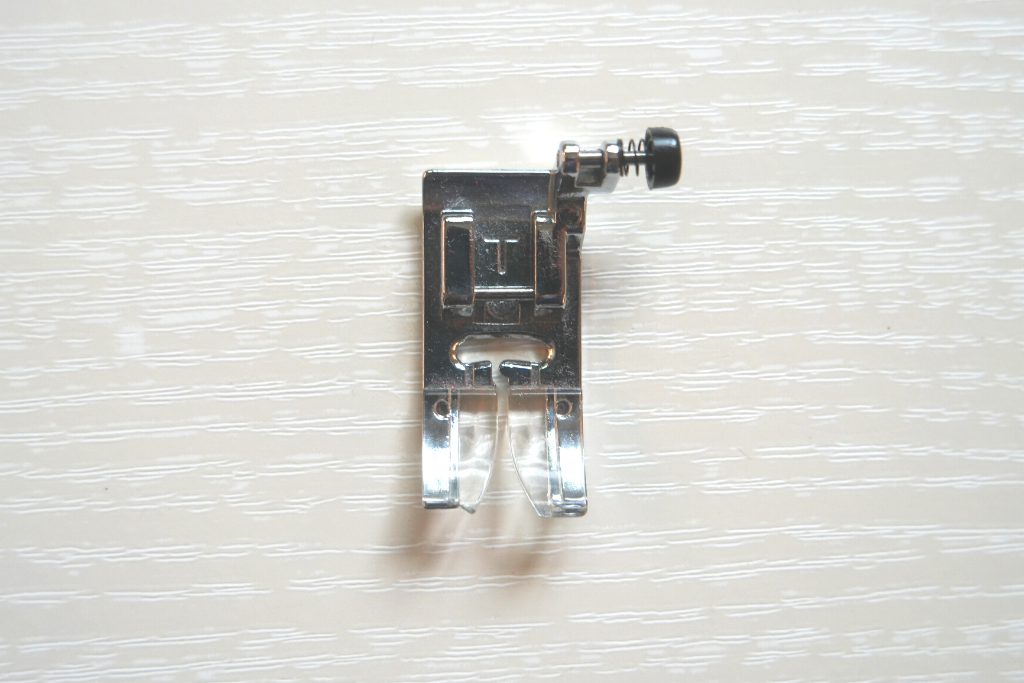
This is the foot you’ll use most of the time. Some of them are adjustable, which means you can adjust how much pressure is applied by the foot. If you are sewing something that’s either very light or very bulky, you might need to adjust it. But I can honestly say in the 5 years or so that I’ve had my current sewing machine, I have never adjusted the presser foot!
it’s good for most kinds of sewing, and it is the one you will use most often.
Zip Foot
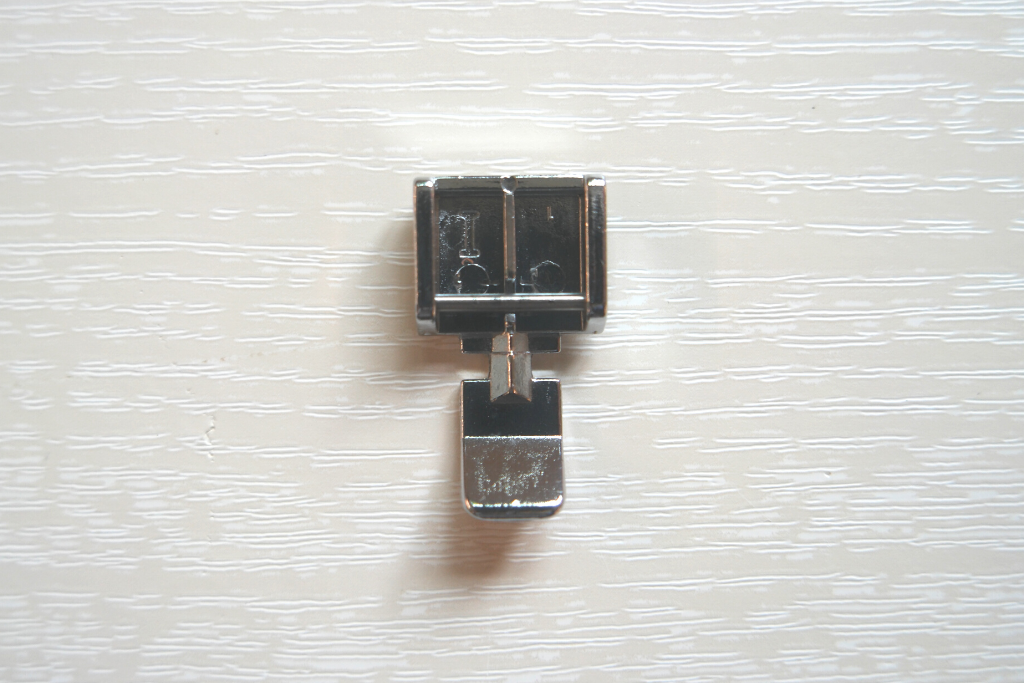
If I could have only one other foot in addition to the regular one, this would be it!
The zip foot enables you to sew zips in neatly. There’s a little gap underneath it that sits on the teeth of the zip while you sew. This means that you can keep your stitching straight and close to the teeth of the zip.
The one I use is double sided, so depending on which side the zip is on when I start sewing, I will either clip the zip on the right hand side or the left.
It’s possible to buy separate left handed and right handed zip feet. They tend to be cheaper than the double sided ones, but you may well find that you’ll want one of each anyway, so there’s not much of a saving.
I’ve also used my zip foot for sewing piping.
Buttonhole Foot
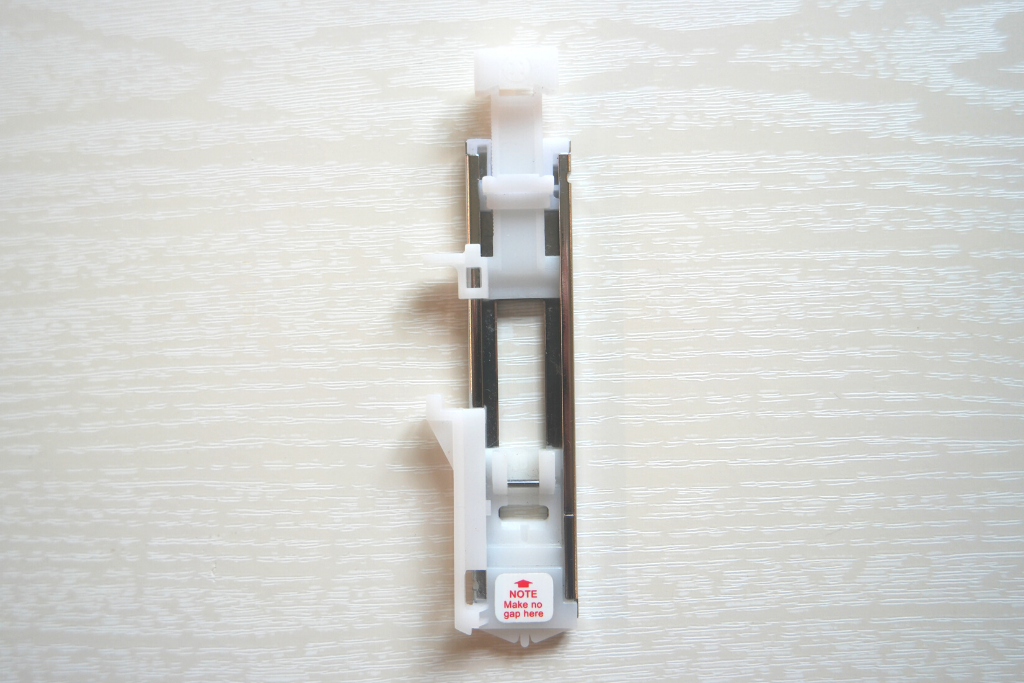
After the zip foot, this is the next one I’d recommend getting and learning how to use!
A buttonhole foot is the easiest and neatest way to make buttonholes. If you don’t have one, you can improvise with a zigzag stitch instead, but using a buttonhole foot makes things much easier.
Overcasting Foot
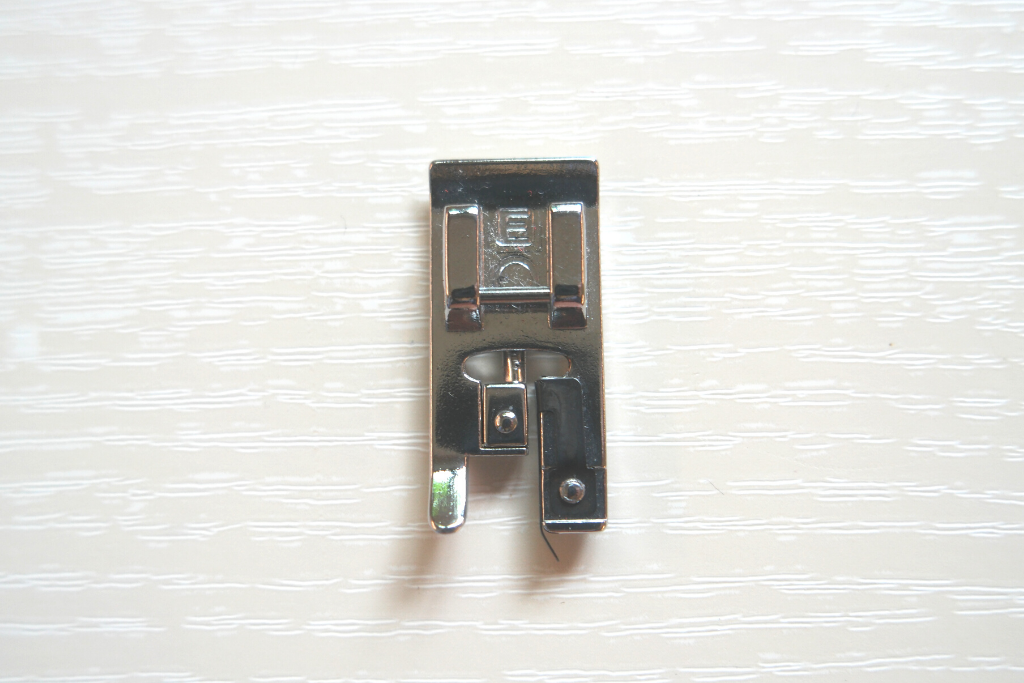
The overcasting foot offers you an option if you don’t have an overlocker. The little bit that sticks out is aligned with the raw edge of the seam. Then when the overcasting stitch is selected, the needle jumps from side to side over the little metal bit and finishes the raw edge neatly. I don’t use mine very often, but it is useful for fabric that frays badly.
Button Foot
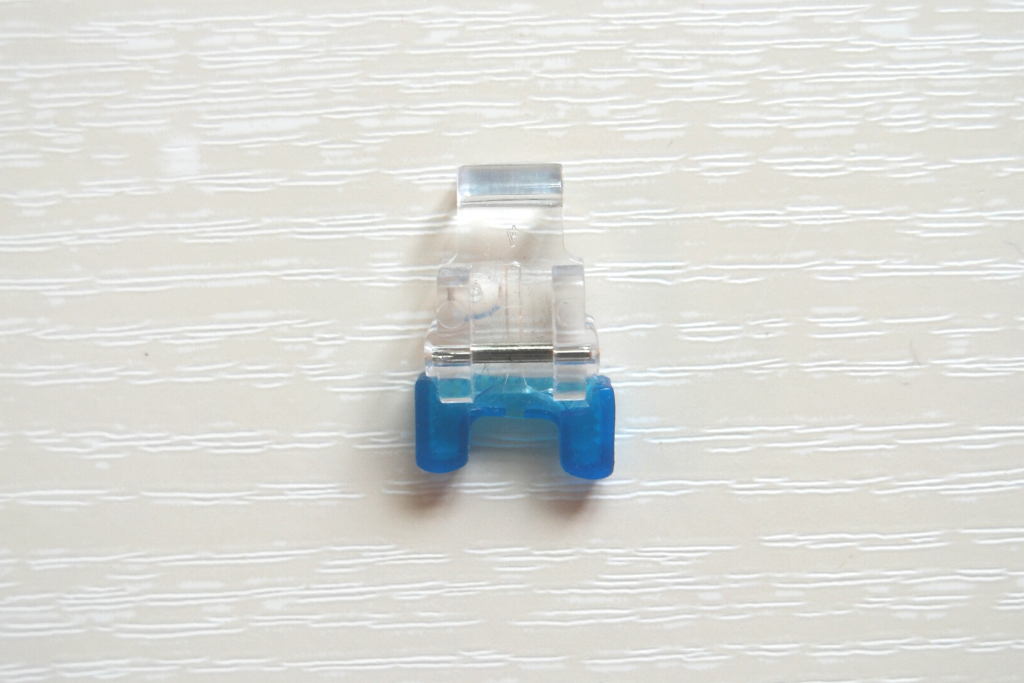
I thought I would never use the button foot, but actually, but if you’ve got a few to sew on, it’s quite useful. I wouldn’t say it was essential though.
Blind Hem Foot
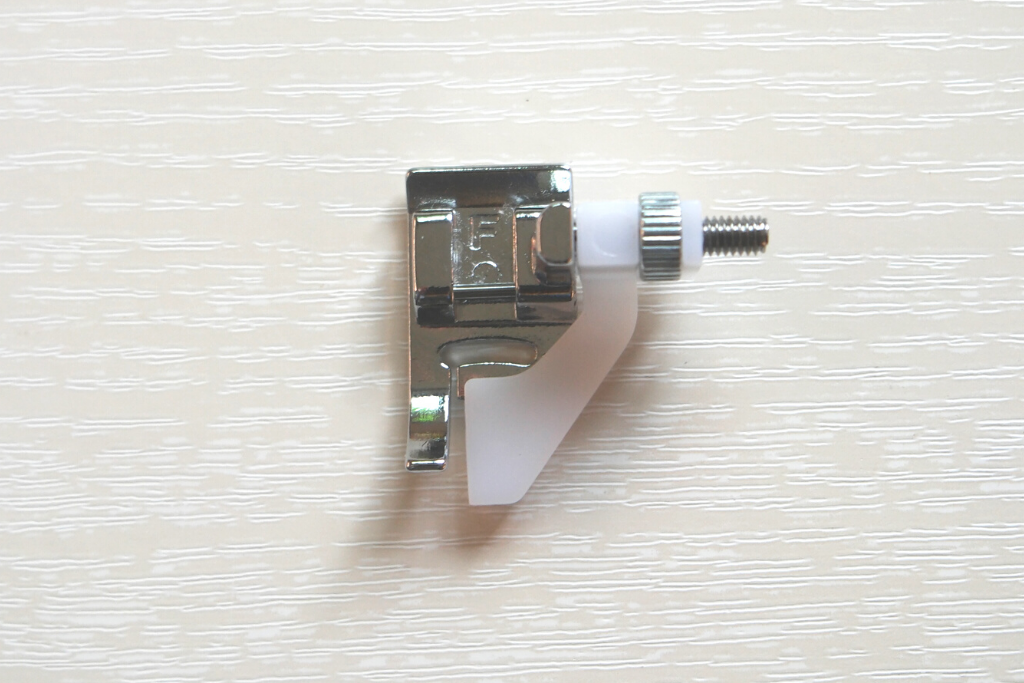
This is the only foot I have that I’ve never used!
A blind hem is a hem where you can’t really see the stitches. You might use it on curtains or on an outfit where you want a clean finish.
It’s on my list of things to try!
The following feet are ones that I don’t have, but might be useful depending on what kind of sewing you are doing.
Rolled Hem Foot
A rolled hem foot enables you to sew tiny hems. It’s useful for delicate fabrics and curved hems. If you’re likely to be making dancing outfits for little girls, it’s probably worth having one.
Free Motion Embroidery Foot
A free motion foot is used for freehand machine embroidery. The foot is a little circle so that you can see what you’re sewing, and it doesn’t press the fabric down onto the machine. To use this foot, you would also lower the feed dogs and move the fabric around yourself.
Braiding Foot
The cord passes through the middle of the foot, which enables you to sew it on nice and neatly. It’s might be useful if you sew a lot of braiding.
Pintuck Foot
I have never sewn pintucks, but from watching the Great British Sewing Bee, I know that they are very fiddly! Using a pin tuck foot makes it easier, otherwise getting them neat would be bordering on impossible.
Walking Foot
This is a monster of a foot that is normally used by quilters. It enables you to sew though several layers without them drifting off all over the place! If you’re not a quilter, you probably don’t need one.
That’s a Lot of Feet!
If you are just starting out, my advice would be to stick the regular foot.
Once you start to feel more confident, perhaps try the zip foot, then the buttonhole foot as these are the most useful after the regular foot.
The other feet might prove to be useful as you become more experienced in sewing.
If you liked this post, you might be interested in my Pinterest board of tips and techniques.

I am planning to buy new sewing machine and this post is meant for me.
Glad you found it useful!
The array of sewing machine feet can be overwhelming! This post explains the most common feet and which ones you re most likely to need,sewing machine
A very useful lesson. But I’m curious as to why you’ve never used he blind hemming foot. Is it because you do a simpler hem or because you prefer to hem by hand. I’m a very new sewer aged over 70 and, inspired by the Great British sewing bee decided to dig out the sewing machine my mother bought just a few years before she died aged 98. She never got round to using it properly before going into care, but did give me one lesson, saying I might as well keep it for doing repairs like sides to middling sheets. Well I’ve no intention of doing that to sheets of which I have enough to last me, but earlier this year I needed some new pot holders for the kitchen and couldn’t find any in the shops, so in desperation got the machine out.. and have made a couple. Now making a draught excluder from an old cushion cover. When I feel a bit more at home with the machine I intend to have a go at a summer dressing gown. Keep on with the blog. It’s very good for us beginners.
Usually I’ll just use the normal settings and foot, but if it’s something where I want I blind hem, I’ll sew it by hand. I’ll probably try it sometime in the next few years and wonder why I never did before!
The information in this post was very enlightening. I need to allow myself time to try the different feet so that I get a feel for them.
Thank you so much this is very useful. You explain the feet wonderful!