Hopefully by now you have a good understanding of how your sewing machine works and how to use it.
Now we’re going to move on to using some of the different feet that your sewing machine might have come with.
If your sewing machine only has one foot, don’t worry. It’s possible to buy sewing machine feet separately if you decide you need them.
I mentioned in the post about sewing machine feet that there are some that I use and others that I don’t.
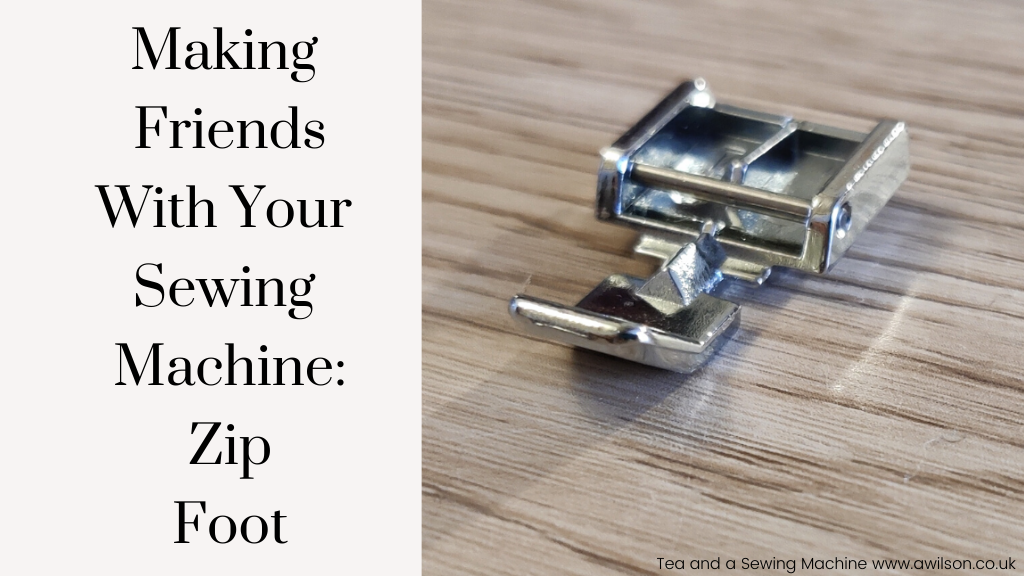
Over the years, one of the sewing machine feet that I’ve found to be the most useful is the zip foot.
If you’ve ever attempted to sew in a zip, you don’t need me to tell you that it can be tricky! Even with the trick I’ve learnt for sewing in zips, it can still go wrong sometimes.
One of the things that makes it difficult is that it is hard to get close to the teeth of the zip with a normal foot. This means that it can be a challenge to sew it neatly, and also that you might end up pushing the zip away from where you want to sew it.
This is where having a zip foot is really useful!
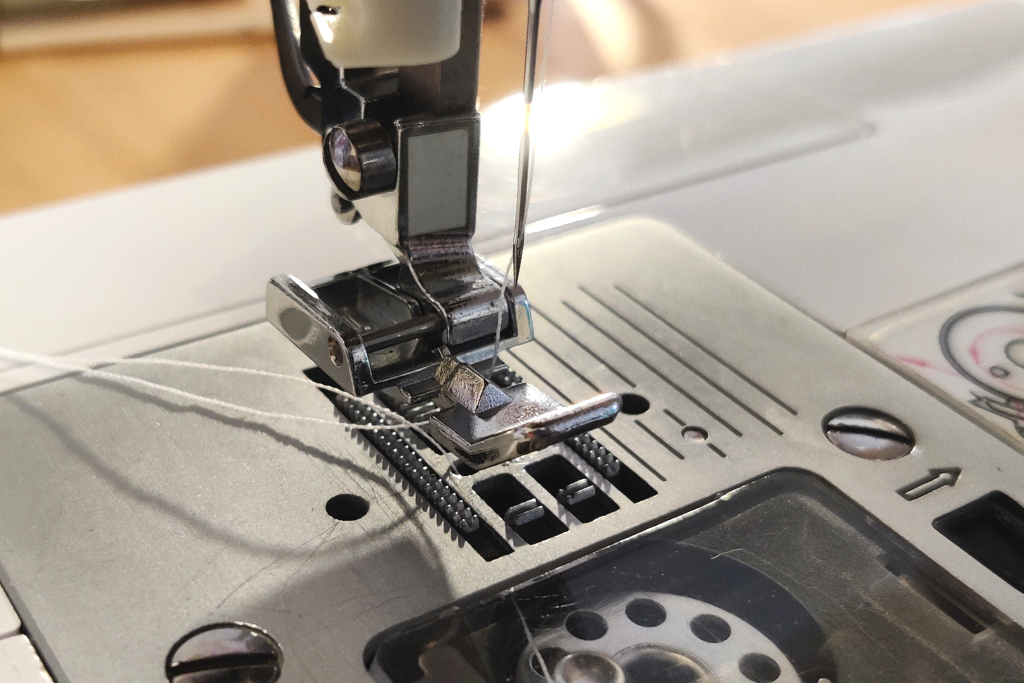
The thing that makes a zip foot different to a regular foot is that the design of it makes it possible to get close to the teeth.
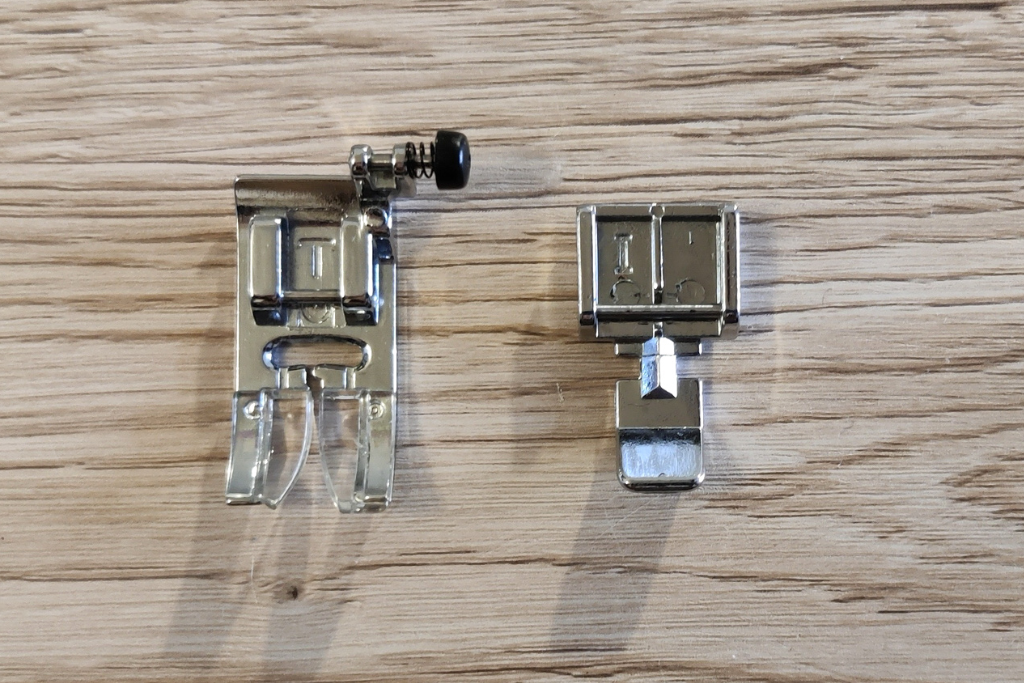
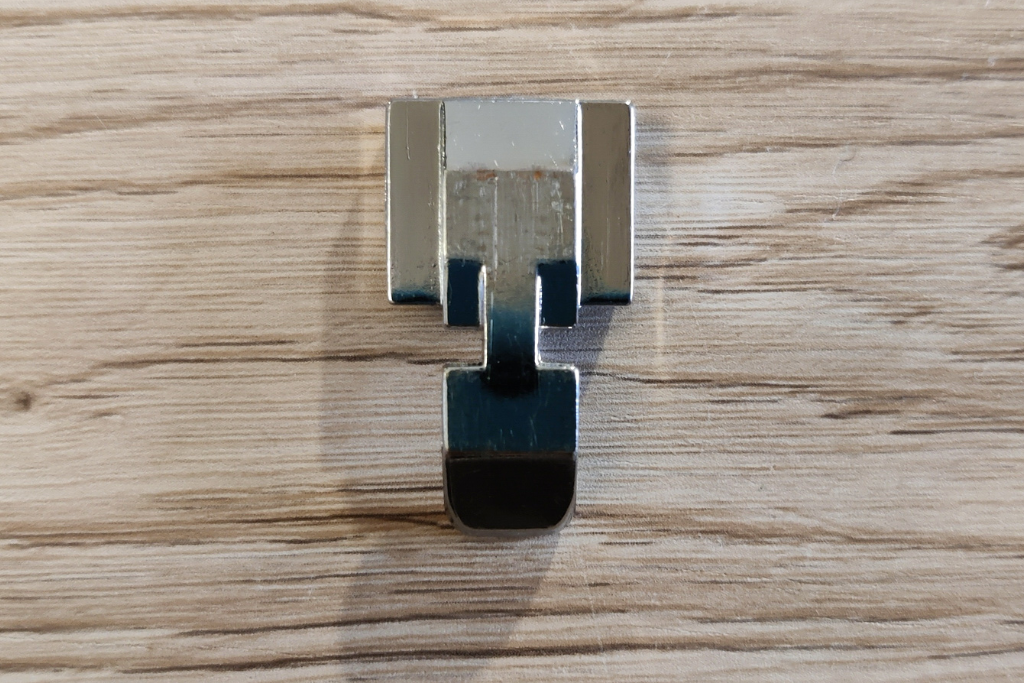
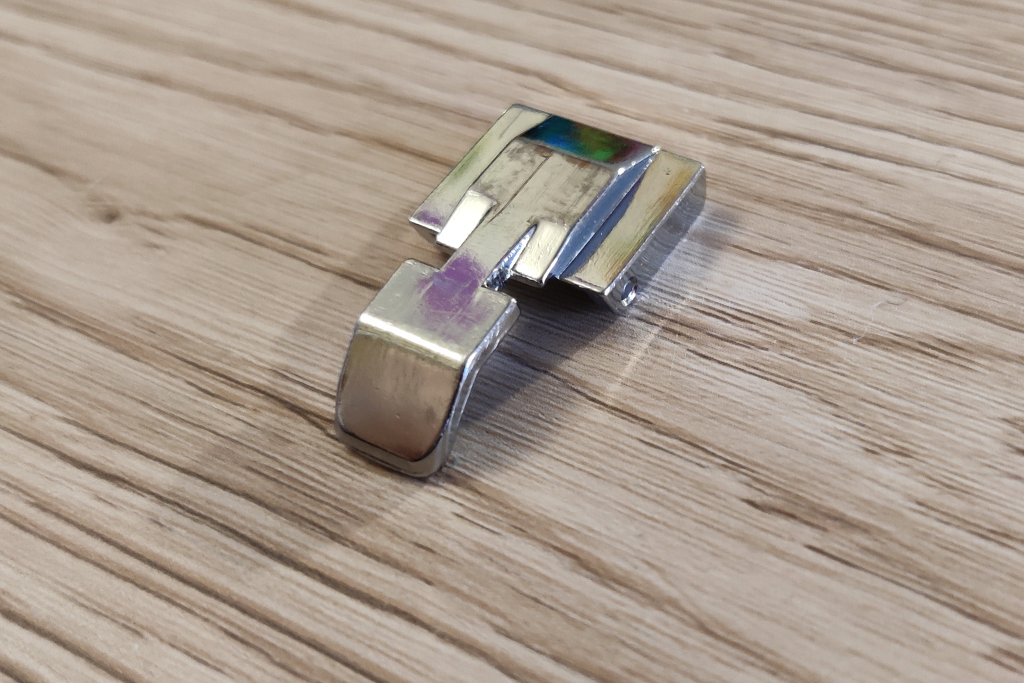
Not only is the foot narrower, the sides on the underside of the zip foot are higher so they can go over the teeth of the zip. So as long as you’ve pinned the zip correctly to the fabric, there’s a good chance you’ll end up with a neatly sewn zip!
Attaching the Zip Foot to the Sewing Machine
There are 2 types of zip foot: one that does either the right side or the left side, and one that does both.
I started out with one that only did one side, and found quite quickly that I needed one that did the other side as well.
When I got my new sewing machine about 5 years ago, it came with one zip foot that would do either side.
So before attaching your zip foot, you need to establish which side of the zip you are going to be sewing.
Once you’ve done that, you can determine either which foot you need to use, or which side of the foot if you’ve got one that does both sides.
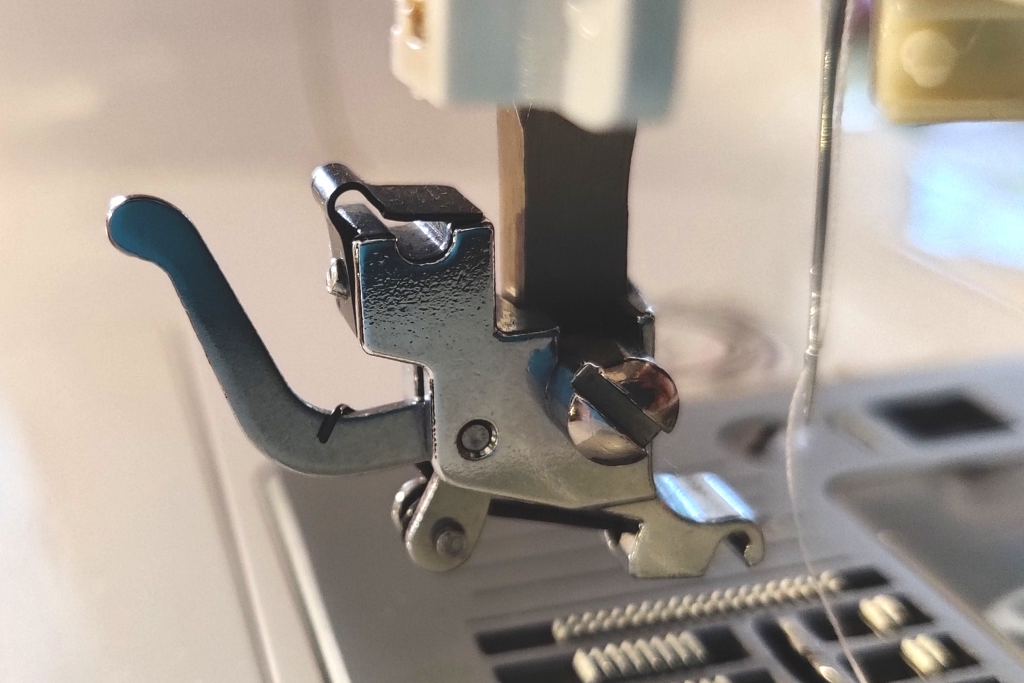
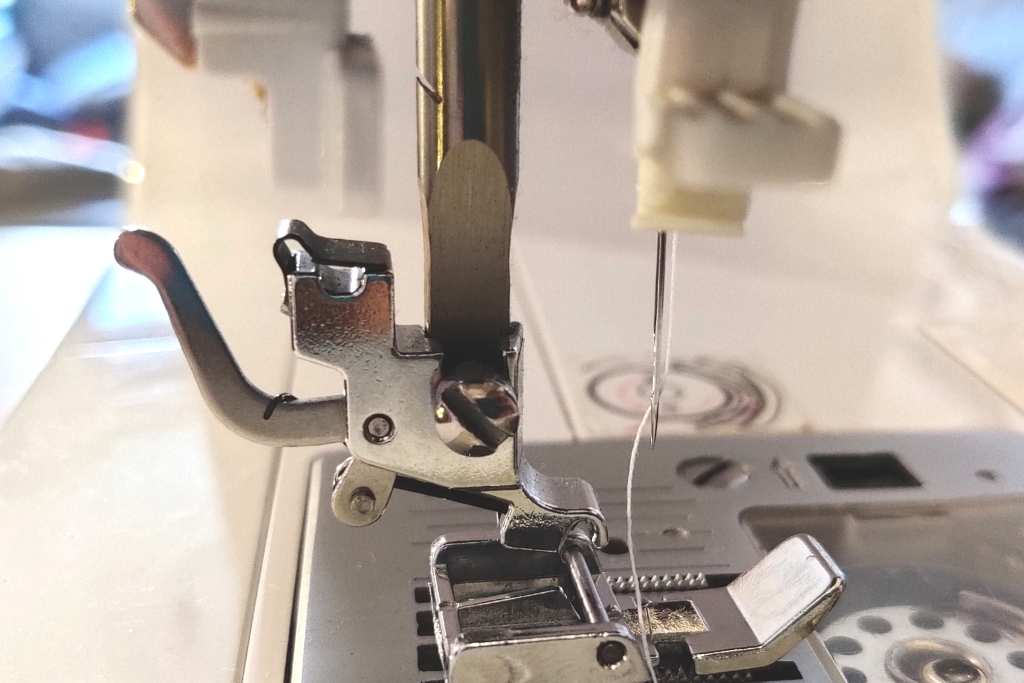
To attach it to the sewing machine, remove the regular foot. There’s probably a lever near it, or you might have to unscrew it. If you are not sure, check the manual.
On my sewing machine, there’s a little lever to release the foot. Lowering the leg thingy onto the foot will reattach it.
Sewing With the Zip Foot
In this bit now I’m just going to talk about using the zip foot rather than going into detail about how to sew in a zip. If you need a tutorial for doing that, there’s one here.
Once you’ve got your zip ready to sew, check that the zip is open and lower the presser foot so that the teeth are under the side and next to the middle. Even though the wrong side of the zip will be upwards, you’ll still be able to feel the teeth. You’ll know when the zip and the foot are in the right place because when you start sewing, it’ll run smoothly with the foot over the teeth.

I find it easiest to sew one side first, then remove the sewing from the sewing machine, swap the foot to the other side, turn my sewing and sew the other side of the zip.
Tips
For stitching that is going to be visible, bigger stitches usually look better, but it’s up to you!
Remember that making mistakes is part of the learning process. If it doesn’t go right first time, unpick it and try again.
If sewing a zip into a dress or a skirt feels to daunting, a little bag with a zip across the top is easier. There’s a tutorial for making one here.
You don’t just have to stick to zips! I’ve used a zip foot for sewing piping. You can do it in exactly the same way, just pop the piping underneath the side of the foot.


[…] covered using a zip foot (the post is here if you missed it!), so in this post, I’m going to talk about using a buttonhole […]