Now that you know what all the bits of your sewing machine are for, and you’ve got it all set up and ready to go, it’s time to learn how to sew with your sewing machine!
It’s always a good idea to have a practice first on a scrap piece of the fabric you will be using. That way you can check that everything’s alright before getting started on your project.
Before You Start
Double check that you have actually threaded the machine, including the needle, put the bobbin in the bobbin hole and brought the bobbin thread through to the top. If you can’t remember how to do this, it’s in this post here. You might be fine, but I’m so forgetful it’s safest that I check before I start sewing!
The thread that goes through the needle needs to be between the prongs of the presser foot and away from you.
The bobbin thread also needs to be away from you.
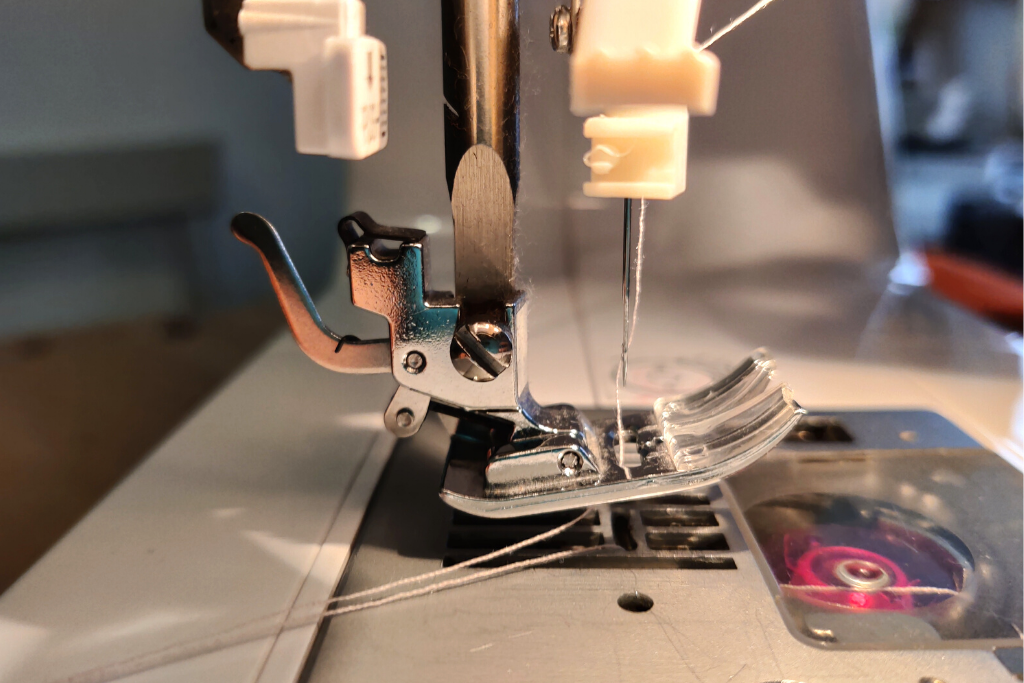
With both threads, make sure that there is enough to hold onto when you start sewing. This is to prevent the ends of the threads from getting pulled into the machine and everything ending up in a tangle.
Check that the foot pedal is plugged in.
Now you’re ready to find out how to sew with a sewing machine!
Sewing With Your Sewing Machine
Switch on the sewing machine
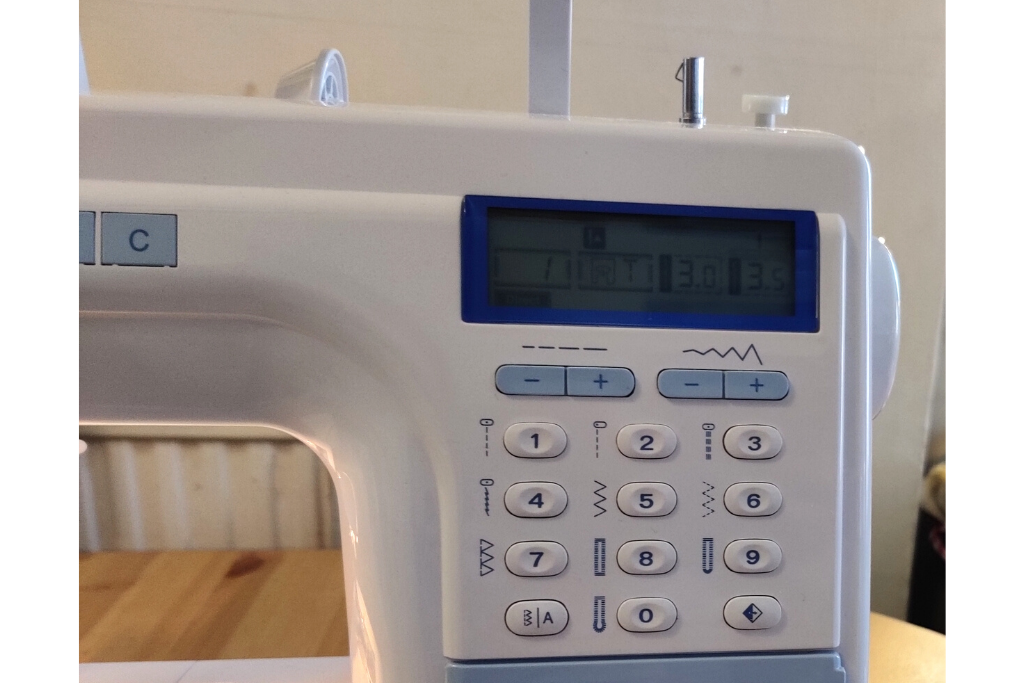
Select stitch type and length. To start with, you’ll probably want to use a straight stitch, and 3 mm is a good length. To select the stitch and the length, you might need to press some buttons or turn a dial depending on your sewing machine. If you are not sure, consult the manual. If you don’t have a manual, you might be able to download one.
Check your seam allowance. For dressmaking, it’s usually 2 cm (3/4 inch). Your sewing machine might have seam allowances marked on the foot plate. Otherwise you’ll need to whip your tape measure out and check.
Don’t be tempted to eyeball it! A few mm might not seem like a lot, but if you are out on every seam, these few mm will add up and you’ll end up with something that doesn’t fit.
Slip your fabric underneath the presser foot and lower the foot with the lever. When you are sewing, the feed dogs move the fabric from back to front. So you’ll need to have the bit that needs sewing in front of the needle.
If your sewing machine has this option, then lower the needle. This means that if you need to turn a corner, you can lift the presser foot and turn it neatly. It also means that if you accidently pull on the fabric, it won’t move.
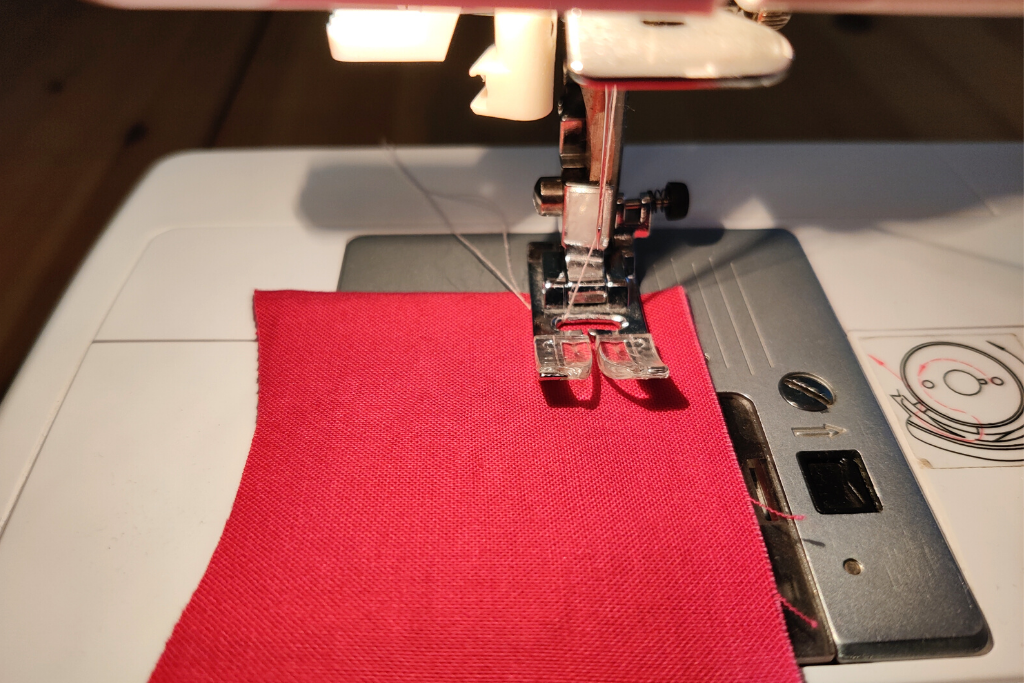
It’s a good idea when you start to sew on the spot a few times first. Your machine might have this option. Otherwise, sew forwards, then backstitch, then forwards again for a few stitches to prevent your sewing from coming undone. This also works quite well of you are sewing right at the edge. Just start a bit further in, backstitch, then start to sew. My machine has a habit of chewing things up if I start too close to the edge!
Press down gently on the pedal. The fabric will start to move and the needle will go up and down. You’re sewing with your sewing machine! Gently guide the fabric in the direction you want to sew. If you are sewing seams or a hem, check that the edge is lined up with the line on the footplate, or, if your sewing machine doesn’t have those, that the fabric remains the same distance away from the edge of the presser foot.
When You Have Finished Sewing
When you have finished the bit you are sewing, sew on the spot a few times or backstitch.
Raise the needle.
Lift the presser foot with the lever.
Gently pull your sewing away from you, then cut the threads. Leaving a bit of a tail will prevent you from having to rethread the machine when you next need to sew.
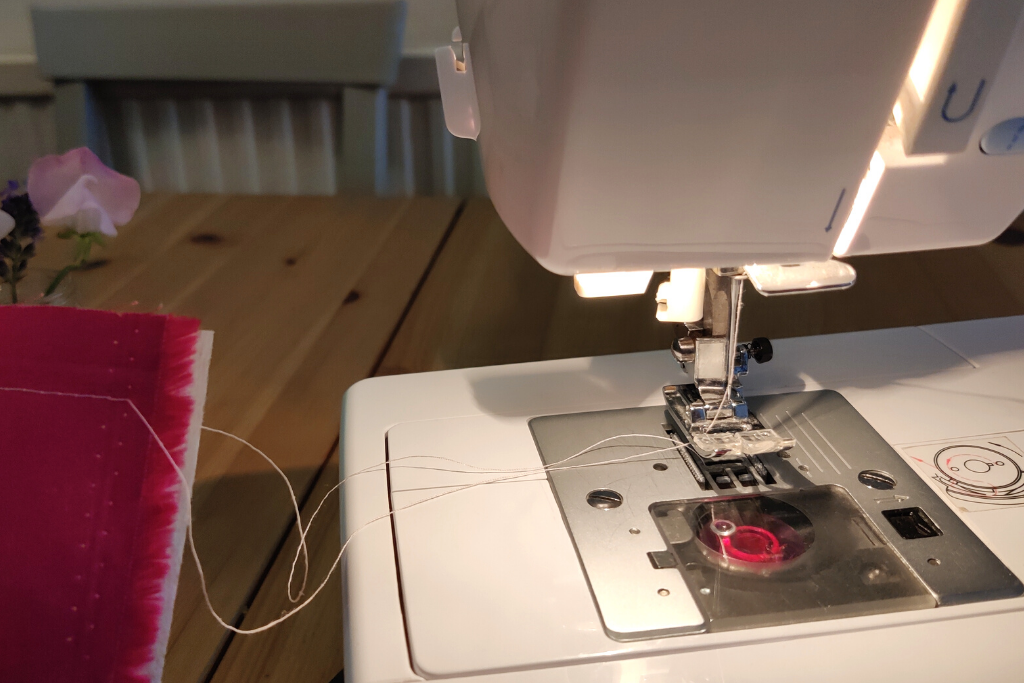
Some sewing machines have a thread cutter at the side of the machine, but using scissors is fine too.
When You’ve Finished Using Your Sewing Machine
Turn of the machine. It’s a good idea to unplug it too for fire safety.
Pop a cover over it to prevent dust and fluff and pet hair from ending up in it.
You might also want to get the foot pedal up off the floor if you have a habit of tripping over things or pets that chew stuff.
Tips
Now you know how to sew with a sewing machine, here are some tips to make it easier!
Have the bulk on the left. You’ll have noticed that there isn’t an awful lot of space to the right of the needle. So if you are sewing something large and there’s a lot of fabric on one side, then try to have it on the left where there is more room.
When using your sewing machine, try to put it somewhere there is plenty of space to the left. It will make things easier if there is some space behind the sewing machine too. Also, I’d recommend keeping your cup of tea on the right hand side of the machine, otherwise there’s a good chance that the thing you are sewing will end up with tea stains on it!
Don’t be tempted to pull the fabric through the machine. It’s fine to have one hand round the back to guide it, but if the temptation to pull proves to be too great, you can keep both hands round the front and guide the fabric that way instead. This is especially important when sewing with stretchy fabrics as you will end up with it looking messy if you pull it.
Washi tape seam marker. If your sewing machine doesn’t have those helpful little lines for lining up your seam allowance, you can make your own. Measure carefully from the little hole in the bobbin plate out to the left, and stick a piece of washi tape as a marker.
Other Posts You Might Like
A sewing machine cover tutorial. The cover my sewing machine came with was boring, so I made a pretty quilted one with an appliqued flower design.
Finding space to sew. This is a post about finding somewhere to leave your sewing machine out, even in a small house, so that you can sew whenever inspiration strikes!


Leave a Reply