
How to Make a Roman Blind When you Don’t Have the Right Supplies
How Do You Make a Roman Blind?
The joke answer is to poke him in the eye.
Please be assured that no Romans were harmed in the making of this Roman blind.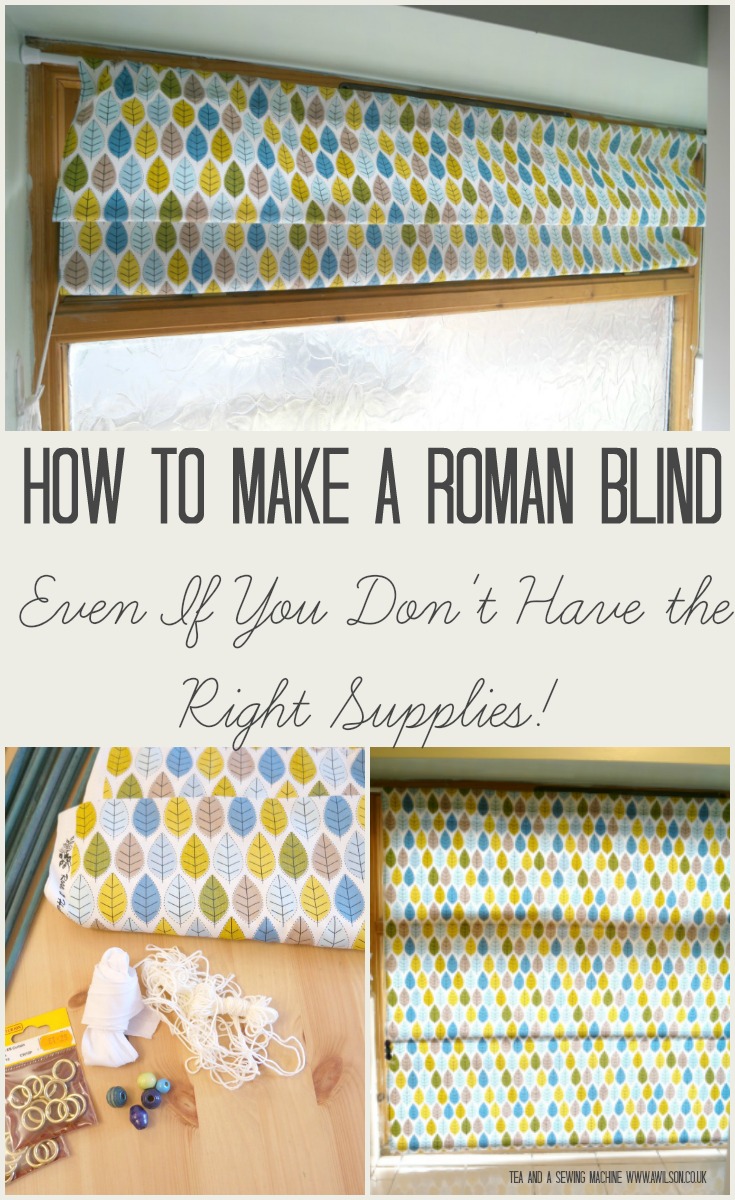
The bathroom was redecorated at Christmas and we’ve kitted the boys out with new wardrobes to replace the drawers they had before. Those drawers had seen better days. Apparently they don’t recover well from small children climbing up them and pretending that they are fire engines.
We had a sheer curtain over the window that turned itself into rags a few years ago, and the poor window has been bald ever since.
So it was time for something new.
I had some lovely fabric but I didn’t have the bits and pieces to make a Roman blind. I went online to have a look and I found these kits on Amazon, complete with a fancy thingy to fix them to the window frame, but I didn’t want to spend £40!
So then I had a look on Minerva Crafts. They did have the bits and bobs, rods, tape, cord etc, but the rods were out of stock and I didn’t want to wait.
(These are affiliate links.)
So, as being creative usefully extends beyond my sewing machine, I decided to pop over the road to my local hardware store to see what they had that I could use.
I came back with some pea sticks and some little brass rings. Instead of tape, I used bias binding that I had already (although they sell that in the hardware store too!) and for the cord, I found some string apparently for tying up meat. I am not much of a cook and the string had been there for a while. It had been nowhere near a meat as far as I am aware. Instead of an acorn I used some wooden beads. The curtain pole is this extendable one from Amazon (affiliate link).
Here is how to make a Roman blind without poking anyone in the eye.
How to Make a Roman Blind
You Will Need
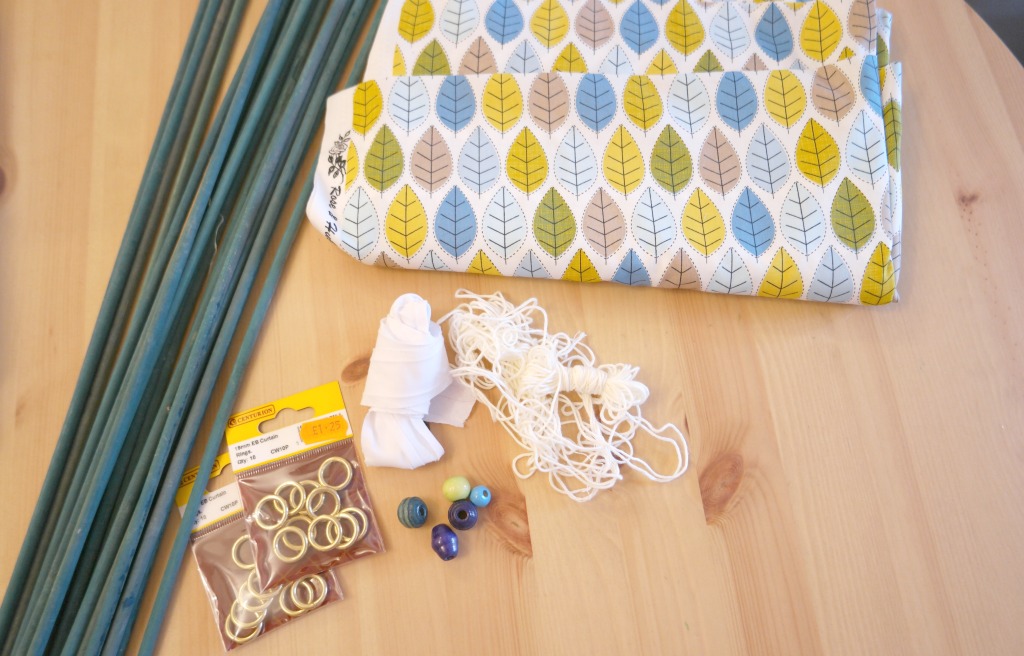
Fabric, ideally heavy, duck cotton or upholstery weight. If your fabric is lighter (mine was) you can use interfacing to give it some more weight.
Batons or rods. You can use the proper ones, or improvise with dowel or pea sticks. If your window is wider than the length of the sticks, you will need to stick some together. I used electrical tape.
Tape to hold the batons to the back of the blind. You can use the proper stuff or bias binding.
Rings, the proper ones, little curtain rings or even washers will do.
Cord. Either the real stuff, or you could use string.
An acorn or you could improvise with a bead.
A curtain pole if you don’t have one already. I got an extendable curtain pole from Amazon so that I wouldn’t have to do any drilling.
Making the Blind
1. Measure the window. It’s best to do this before you buy anything!
2. Cut your fabric so that it is the size of the window, plus a cm or so at each side and at the bottom for hemming. At the top, work out how much you will need to fold it over for the pole. Add as much as you will need to fold, plus an extra cm to for folding underneath when you sew the casing for the pole.
3. If you are using interfacing, cut it so that it is the size that you want the finished blind to be. I used fusible interfacing, but you could use the sew in kind.
4. Hem the sides and bottom.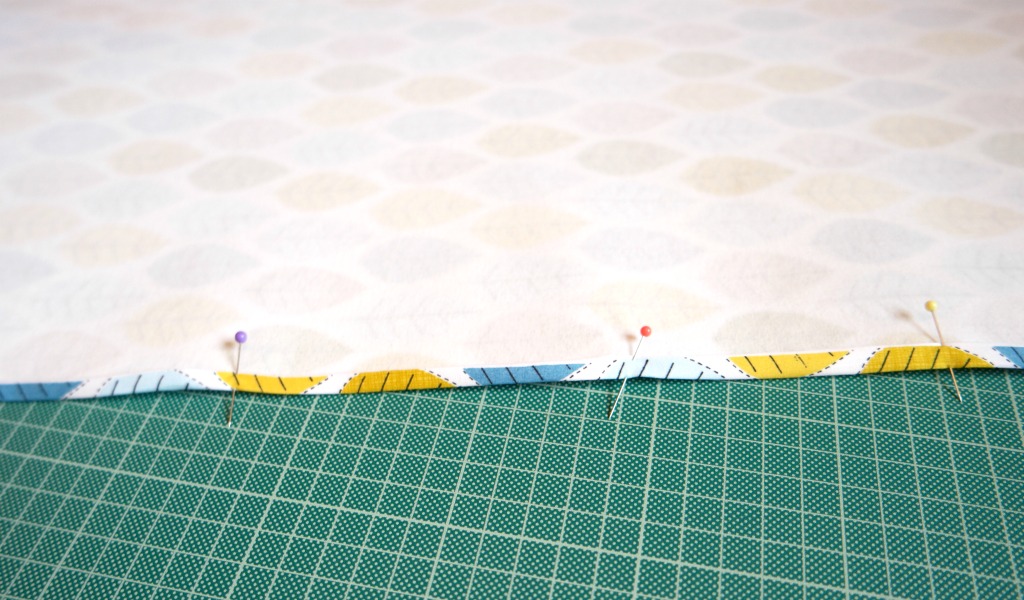
5. Measure where you will put the casing for the rods. Bear in mind that when the blind is up, the pleated section will be half the distance between each rod.
6. Pin the tape or bias binding, then sew in place. If you are using bias binding, check that the channel will be wide enough for the rods.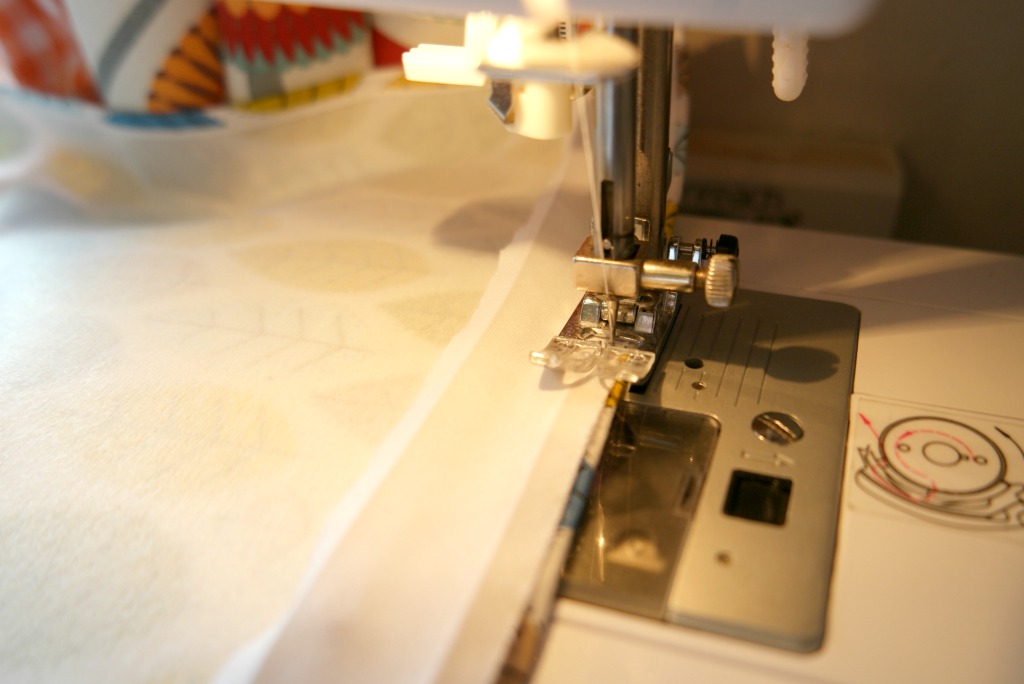
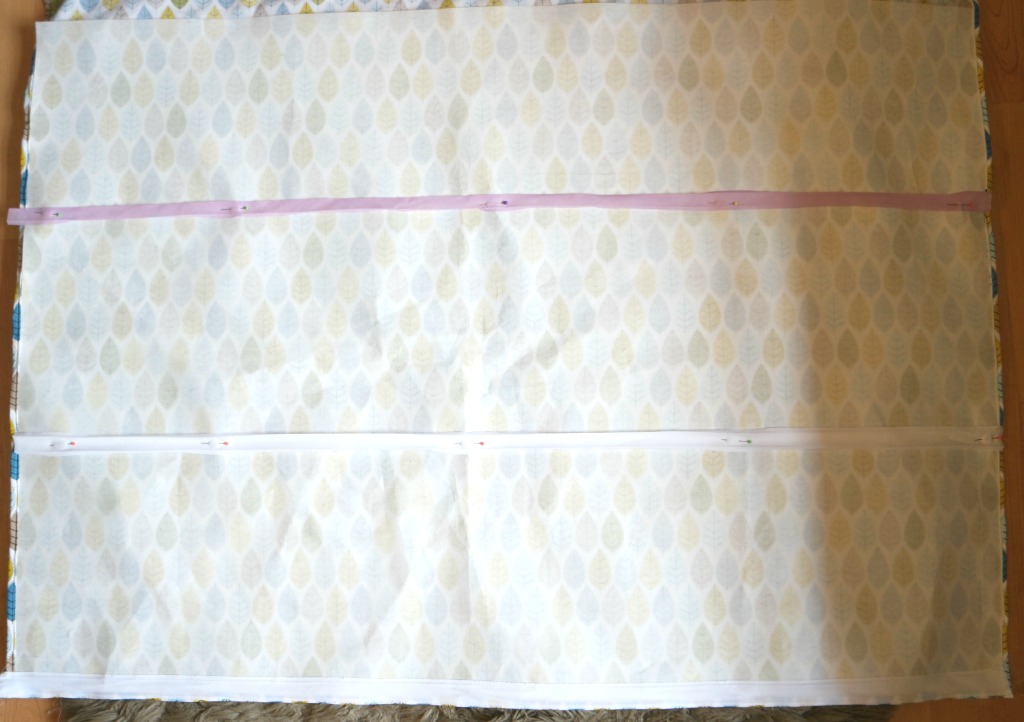
7. Check the measurements of your blinds again, then sew the casing for the curtain pole. Folding the raw edge underneath will give a neater finish.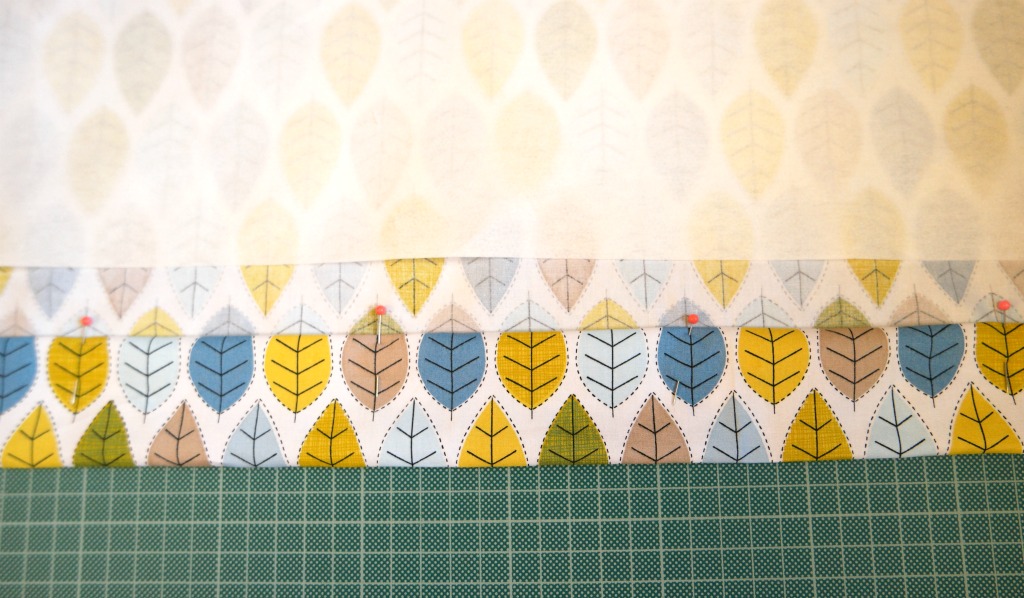
8. Mark on the tape where you need to sew the rings. They will need to be evenly spaced along the rod casings. Mine were 26 cm apart. Sew the rings on.
9. Pop the rods into the casings and sew a few stitches at the ends of the casings so that the rods don’t slip out.
If you are using pea sticks, you might need to trim them down or add a bit extra. I cut extra bits with a strong pair of scissors and then joined the sections with electrical tape.
10. Identify the side that you will be operating the blind from. Starting at this side, thread a piece of string through all of the rings along the top, then down the rings on the furthest side. Tie the string to the bottom ring. Cut the string so that there is about 2 thirds of the length of the blind spare.
11. Take another piece of string and, starting in the same place, thread the string through the rings along the top until you get to the column of rings next to the furthest ones. Thread the string down through those rings, then tie the string to the bottom rings. 
Repeat in this way until each column of rings has a piece of string attached to the bottom ring, then runs up the rings and along the top row of rings to the point where the blind will be operated from.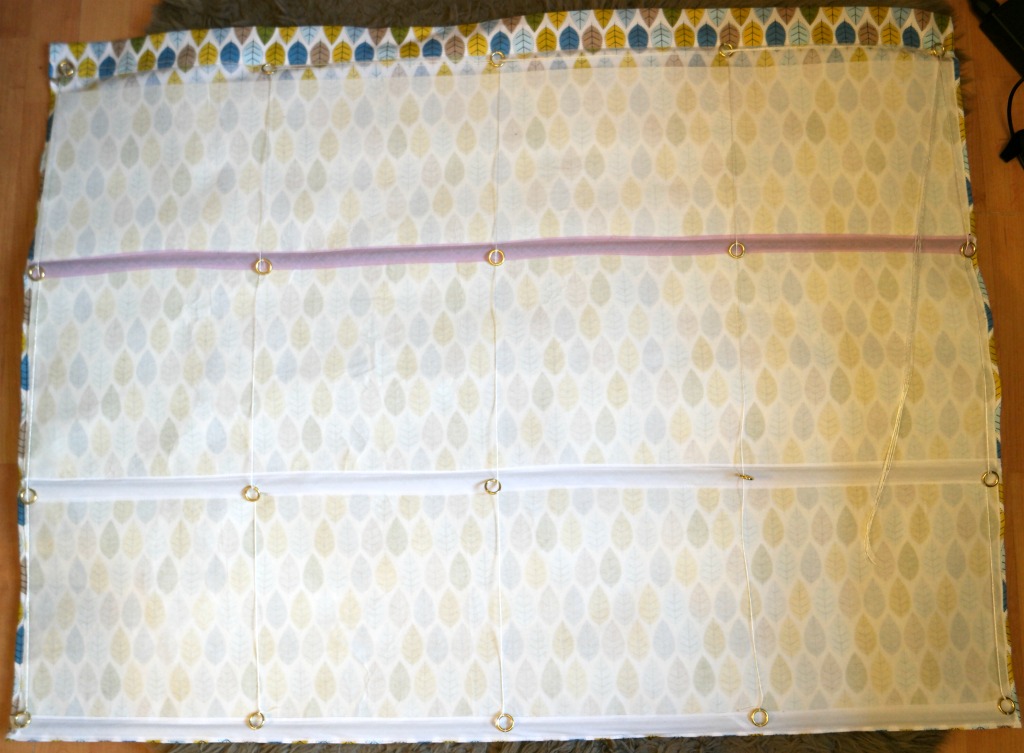
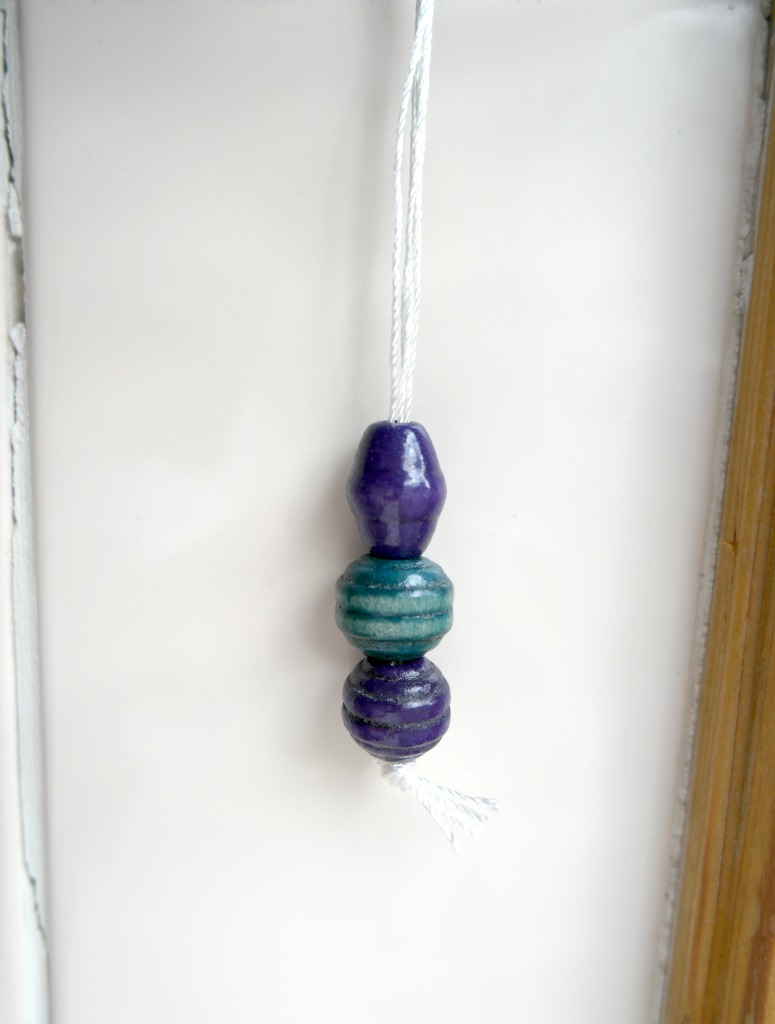
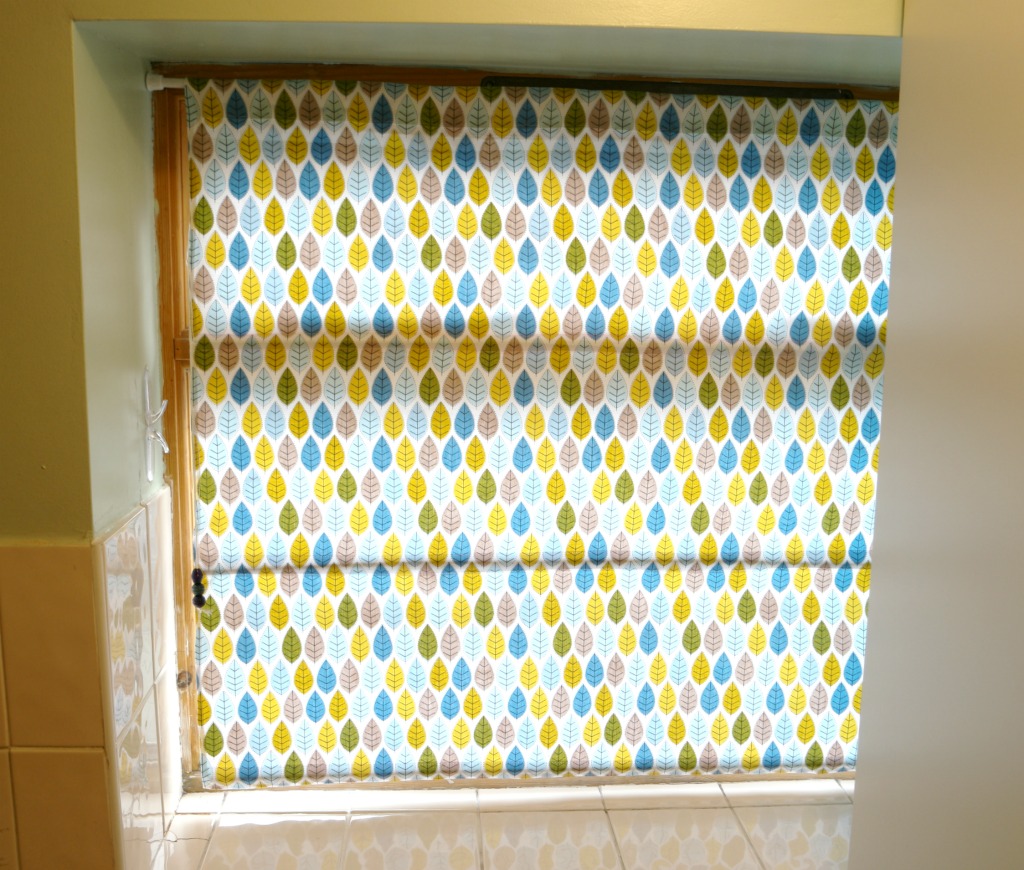
12. Hang the blind. Check the strings and trim if necessary. Thread onto an acorn or a bead and tie a knot.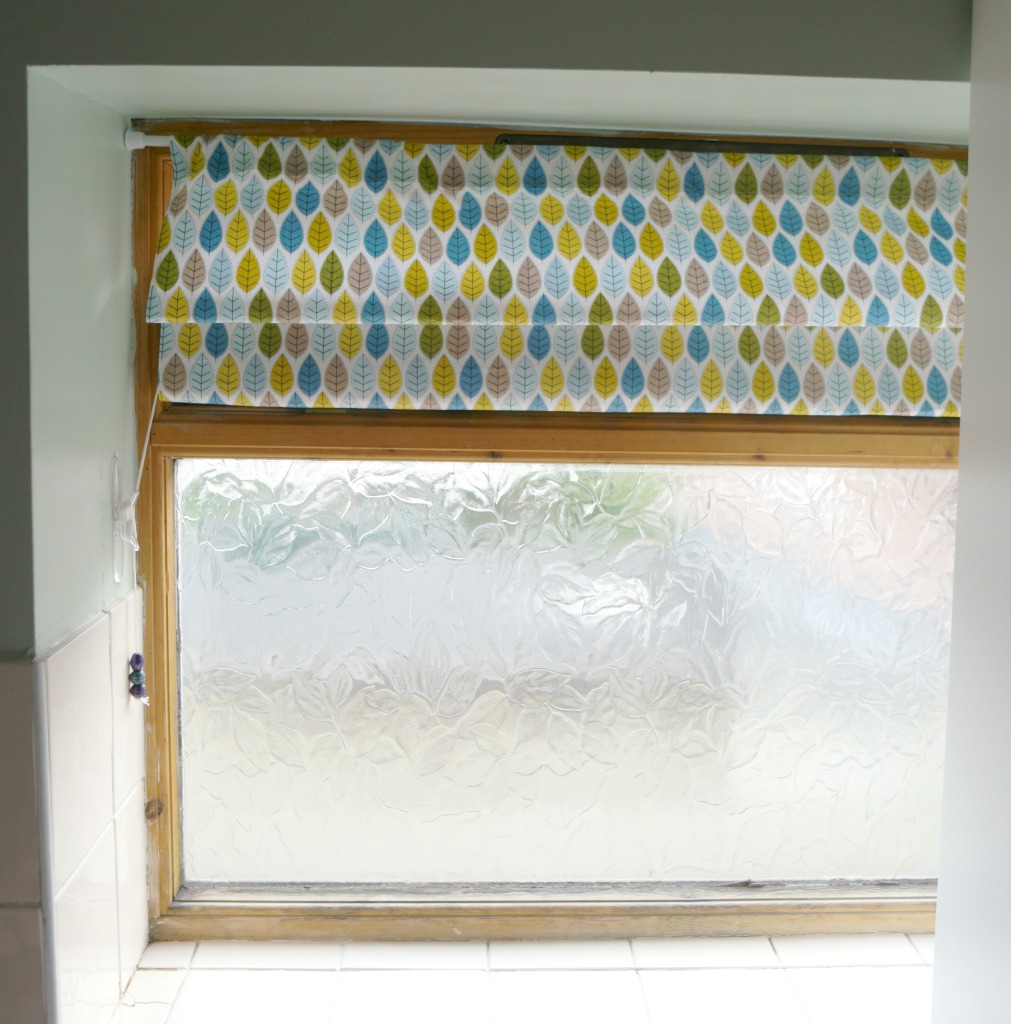

Tips
Heavy weight fabric works best, but if you have set your heart on some beautiful quilting cotton, you can make it heavier by adding interfacing.
You will probably need a rod along the top row of rings. I didn’t use one and when I tried to pull the blind up, although it worked, it did bunch up a bit. Adding an extra rod along the top would stop this from happening.
When threading the string through the rings, leave it on the roll, then cut it after you have tied the end to the bottom ring and measured the extra.
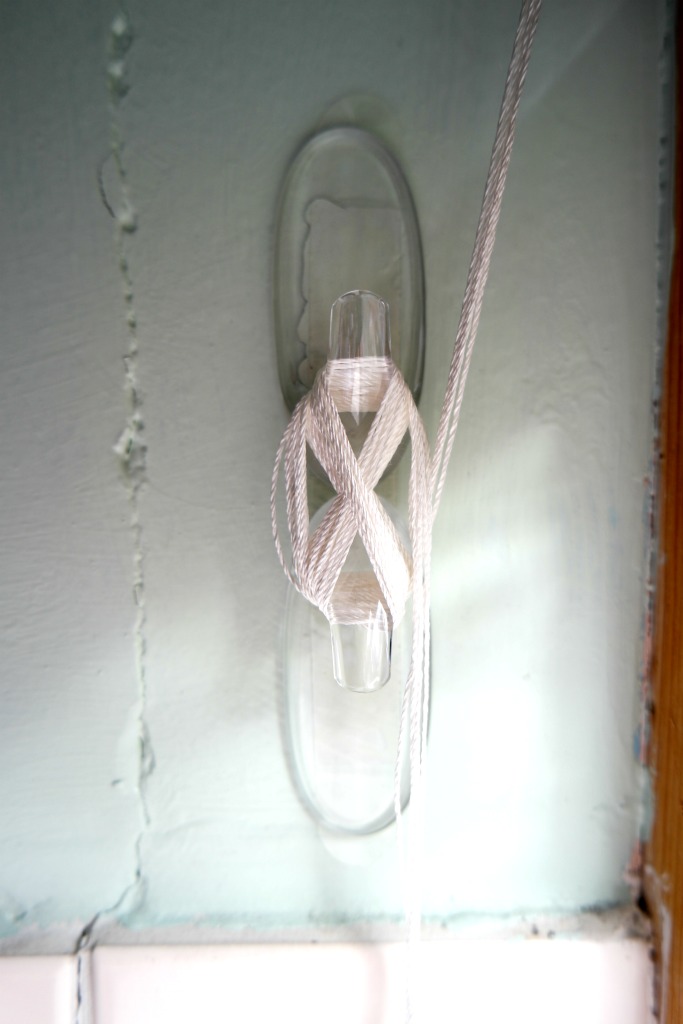
If you don’t want to drill a hole in your wall for a hook for the string when the blind is up, you could these Command hooks, which are what I used so that I could avoid drilling.
Linking up here.


LOL Revisiting your site and just noticed the joke/pun at the top. Too funny!
I’ve done Roman Shades before but now needed to mount inside without screwing into the window frame. This answered my question on how to do that. Thank you!
Thank you for such an easy to follow tutorial, will definitely brave having a go now!
Greetings from Suffolk ?xx
Thanks Debbie 🙂
Great tutorial Anna. This has inspired me to have another go at making a Roman blind. I bought the material several years ago (cream flocked curtain lining) but then never got further than the top hem. I had wondered about pea sticks at the time but thought the green tanilising /preservative would come through the material. Thinking about it now I can give then a scrub first.
If I manage it I’ll try and send a photo.
I hadn’t thought of the green coming off, but if it doesn’t come off when you handle the sticks and they don’t get wet, I’d imagine they’d be fine. My blind’s been up in the bathroom for a year now and I’ve not noticed any green leeching through xx
Hi Anna, Thanks for the oh so clear instructions. And it’s also lovely to find a Brit on a post. Everything has the English name for it! More power to you and thanks. Lin (I live in south Somerset where the cider apples grow).
You’re welcome! Somerset’s lovely, we’ve had some nice holidays there 🙂
You may have saved the day with this tutorial! I made a curtain for my kitchen window because this time of the year the sun is brutal as it sets right while I am cooking dinner. I didn’t use a pattern because I didn’t think I needed to. Tried to make a bottom tie curtain. I finished it. Hung it up and I hate it! I was thinking that I could quite possibly modify it to turn it into a roman shade and you have proven that I can. I also used an expandable rod and I was just not sure if that would be sturdy enough for a roman shade. Thank you! As time allows I will take it down and modify it!
It will probably work Sheila. Good luck! 🙂
Wow! Anna you are amazing, such an inspiration. I love your tutorial and can’t wait to try it out for myself. Thank you. X
Thank you 🙂
Thanks so much for sharing on craft schooling Sunday, this looks great! Maybe I can get my daughter to make one for her room!
creativejewishmom/sara recently posted…Welcome to Craft Schooling Sunday!
I can just imagine how it would turn out if my boys made one for their room, lol!
Thank you for this great tutorial!! Your instructions are so easy to understand!
Thank you 🙂
Even simpler. I learned from a professional that all I need to do is sew a tiny pleat at each fold. I tried it and the pleats fold nicely without adding weight to the blind. Love your idea of using commander hooks instead of cleats. The cleats are never big enough to hold all the cords.
I did think about using pleats but I didn’t know how that would make the trees look. Definitely easier with plain fabric though, good tip 🙂
Do you just sew the pleats into the lining fabric or does it have to be through the lining and main fabric
This is awesome, Anna. You really do make it look easy. I’ve sewn plenty of curtains over the years, but have never attempted blinds. I’d really love you to add this to our Home Decor link party. (Love you to add all your projects to the various linkies, time permitting, of course.) No worries at all if it’s not your thing.
Pam @Threading My Way recently posted…Skirting the Issue ~ Gathered Skirts
I will do Pam, thank you xx