How to Make Paper Bunting
Paper bunting is great if you need to make some bunting but you don’t have time to sew some. All you need is some pretty paper and some bakers’ twine.
The paper I used was actually a paper pack that came with a magazine back in the days when I was into card making. The bakers’ twine I bought from Amazon. This is an affiliate link, but it is the stuff I actually used!
Any paper will do, although slightly heavier paper is probably better as it will be easier to get neater results and it will be less likely to tear.
If you use card, you might experience issues with it not sticking, but a little bit of tape will easily solve that problem!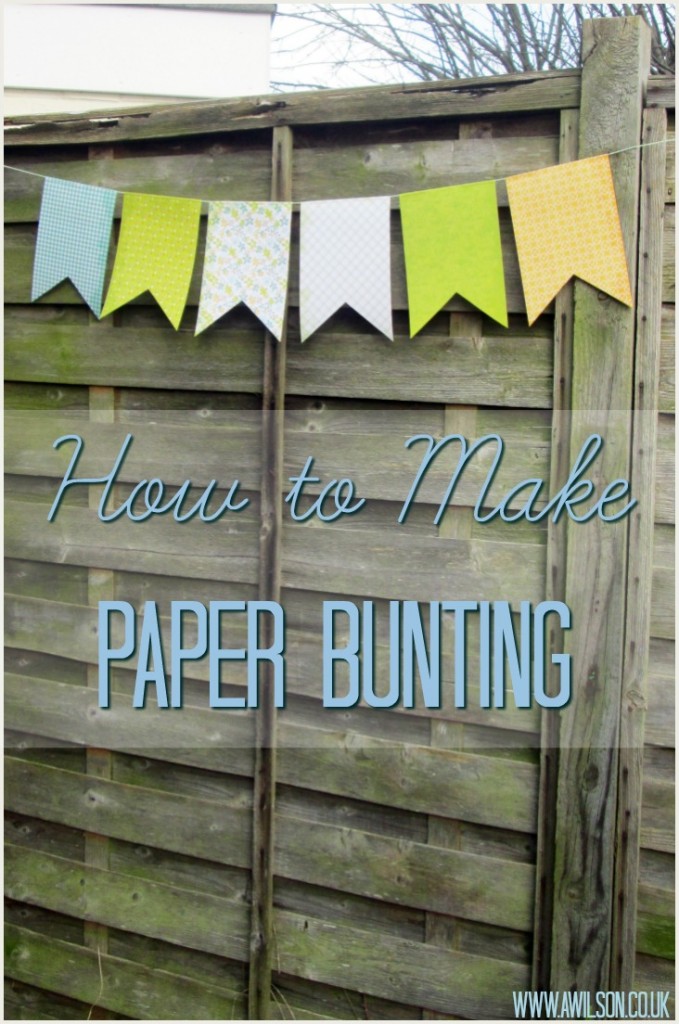
How to Make Paper Bunting
Making the Template
A word of warning first! Check that an A5 template will be the right size for the paper you are using!. I assumed that it was, then found that the paper was slightly smaller than A4 so I had to make another, smaller template.
1. Take a piece of A4 paper and fold it in half widthways. Cut where you have folded. Alternatively you could just start with a piece of A5 paper.
2. Fold the A5 paper in half lengthways.
3. Measure 7 cm up along the fold and mark with a pencil.
4. Draw lines from where you have measured to each of the corners.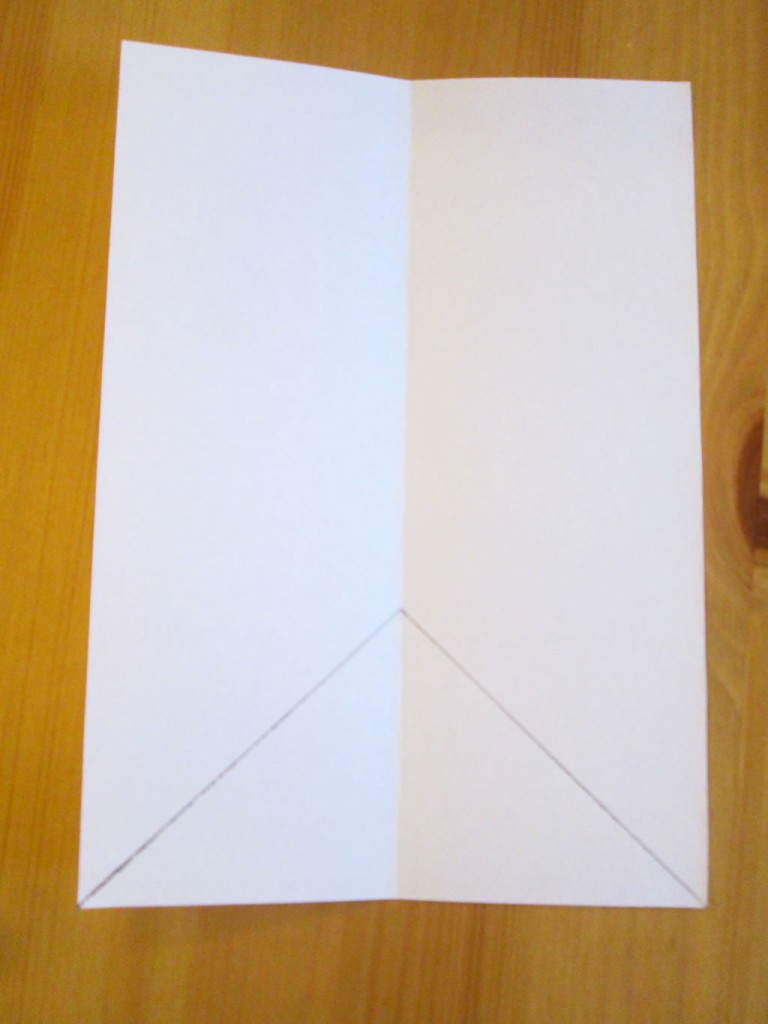
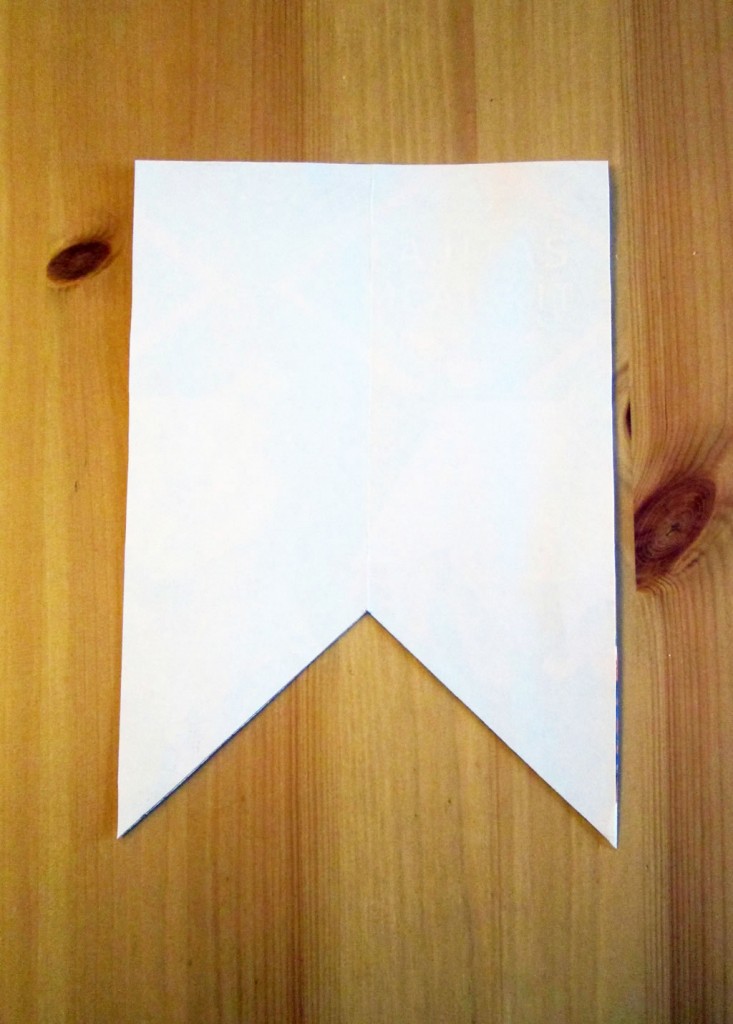
5. Cut along the lines you have drawn.
6. To make your template stronger and easier to use, glue it to a piece of card and cut it out.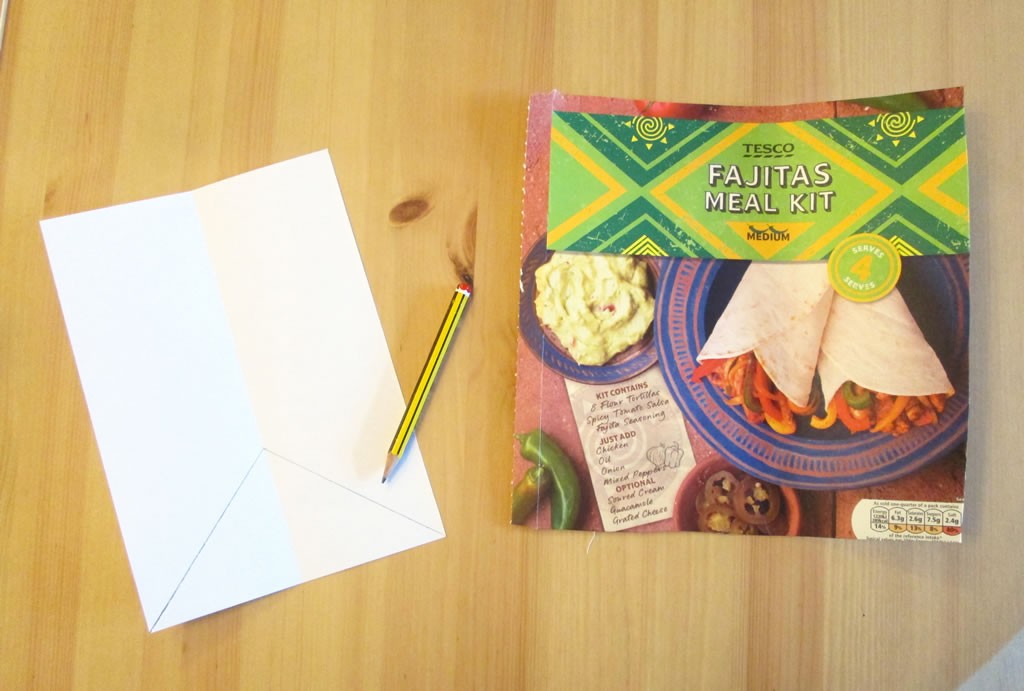
Making the Bunting
1. Choose the paper you are going to be using. Using a paper pack usually means just picking your favourites as somebody else has already done the job of making sure that everything goes!
2. Using your template, cut out as many flags as you need. I actually cut out 12, but once I started attaching them to the bakers’ twine I found that 6 was enough.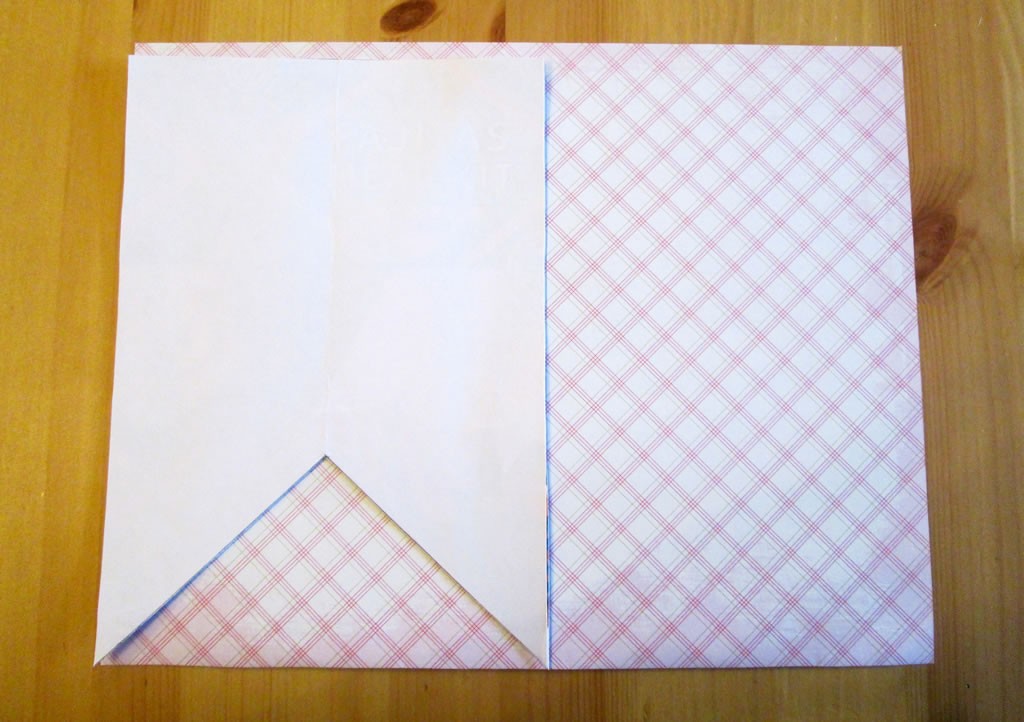
3. Decide on the order for the flags.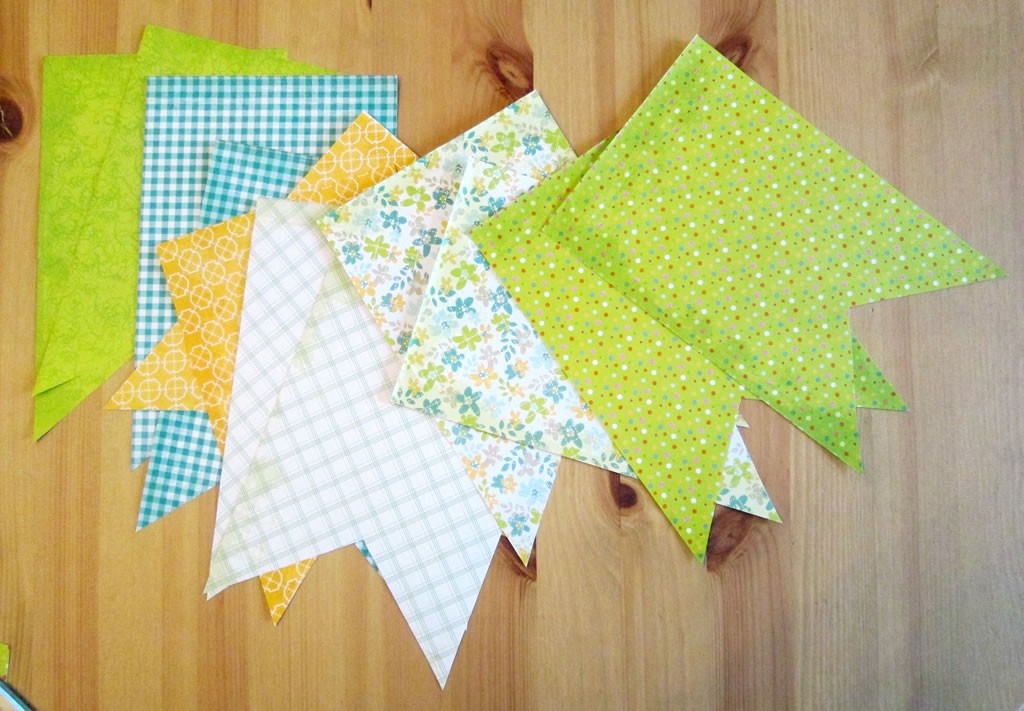
4. Fold the top of each flag over by about 1 cm.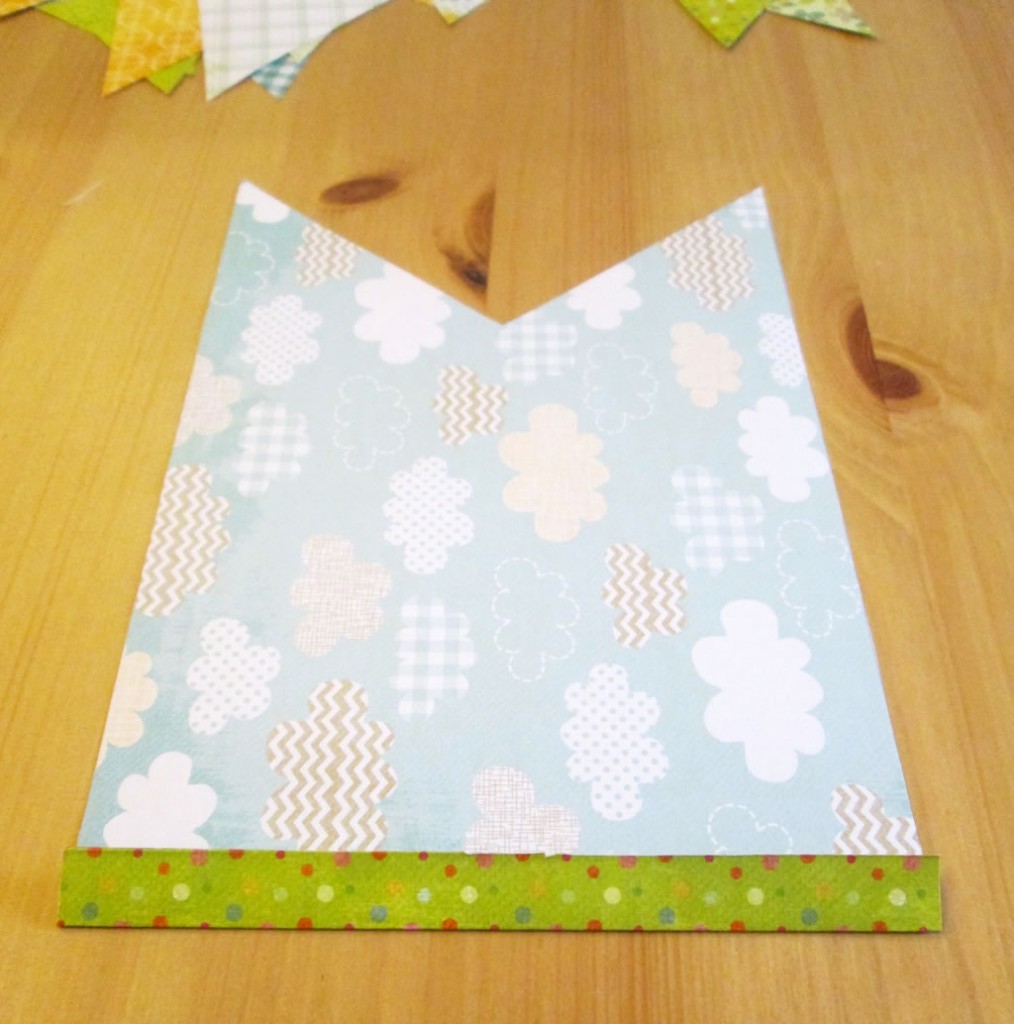
5. Take the 1st flag. Glue along where you folded. Making sure that you leave enough bakers’ twine for tying the bunting to something, lay the twine along the fold.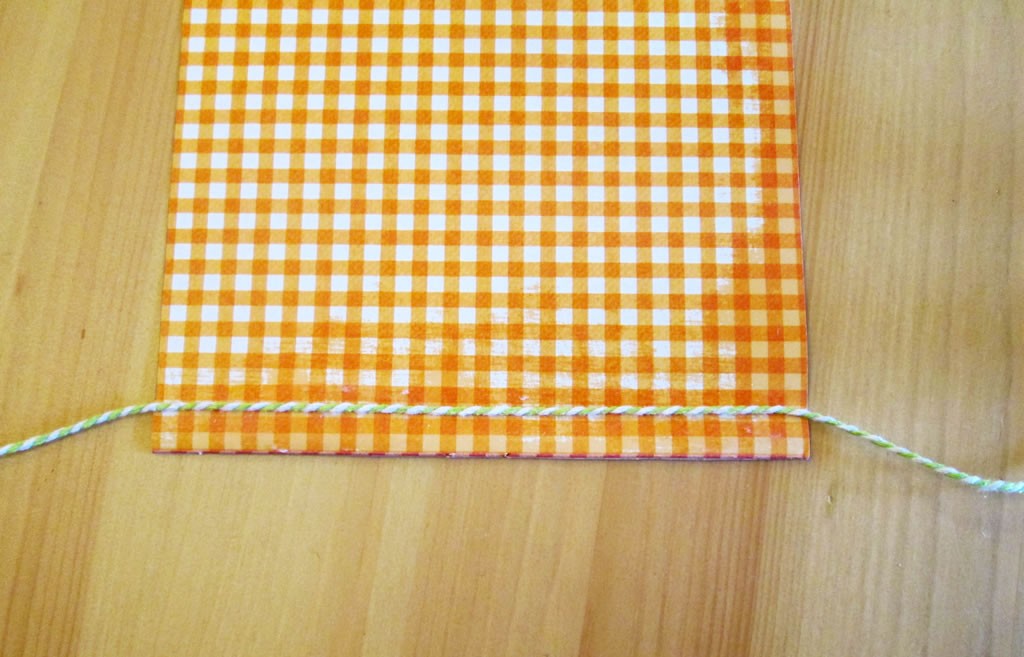
6. Fold the top of the flag back over and press down so that it sticks. I found that it stuck just fine. If you have problems with this, a piece of tape should hold it.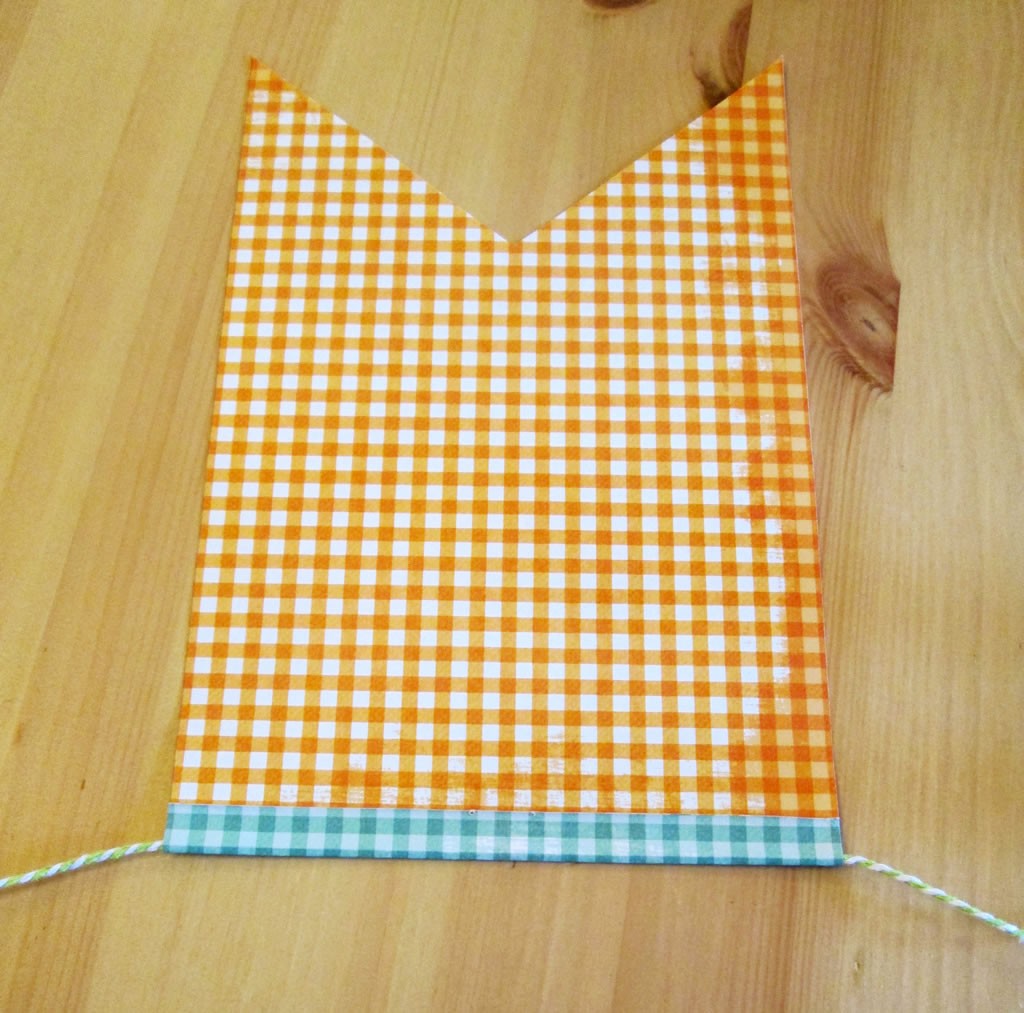
7. Take the 2nd flag and do the same, leaving about a cm of twine between the flags.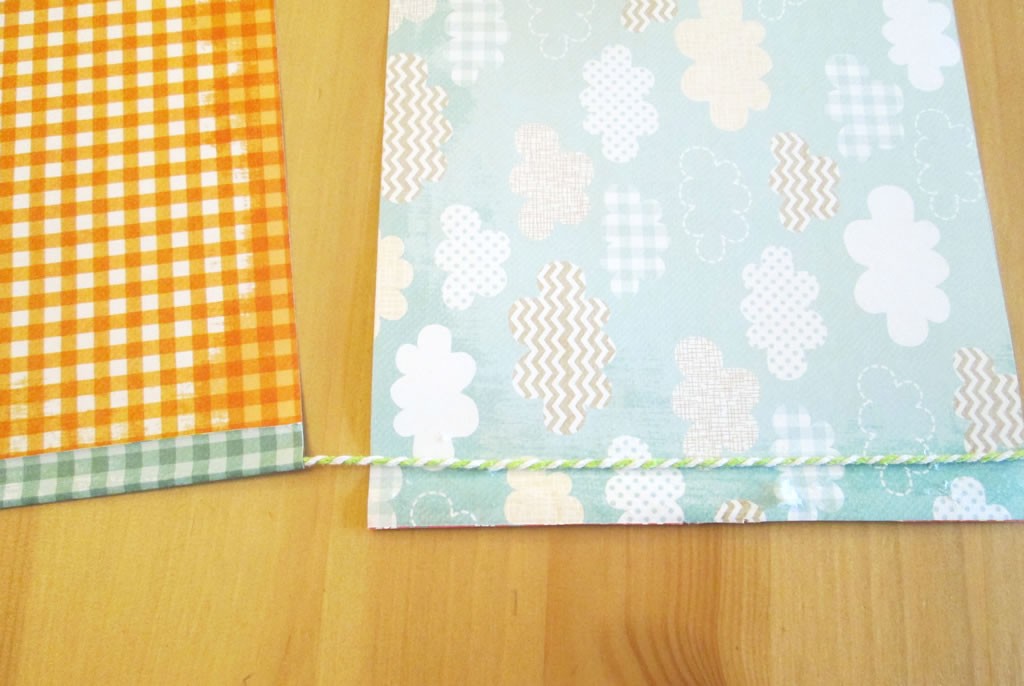
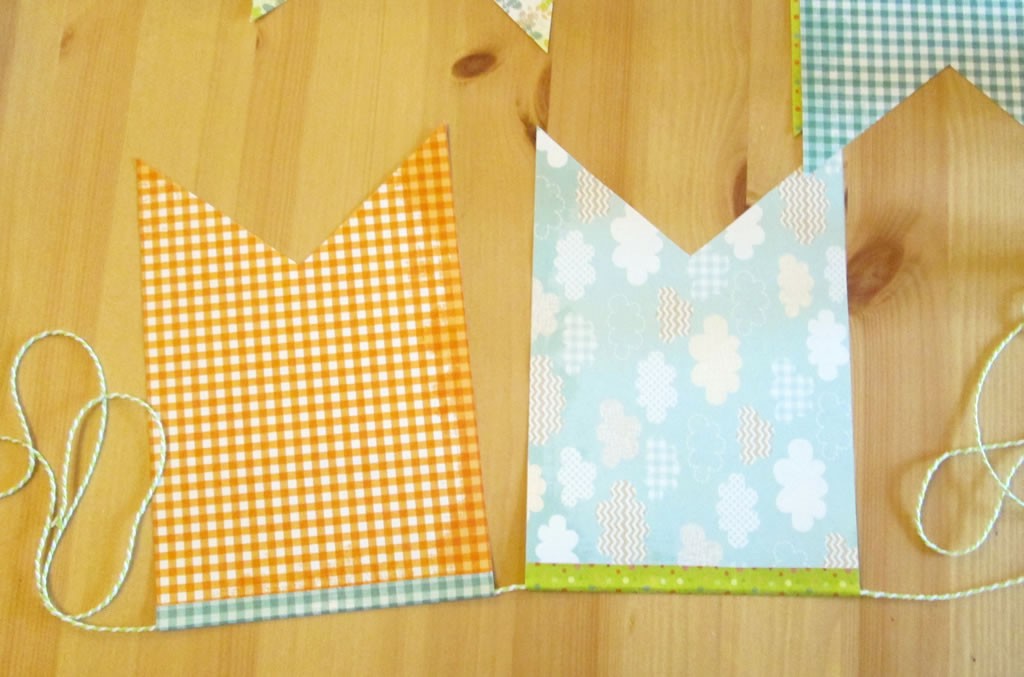
Keep going until you have stuck all the flags to the the twine.
Cut the twine, ensuring that you have enough to tie your bunting on.

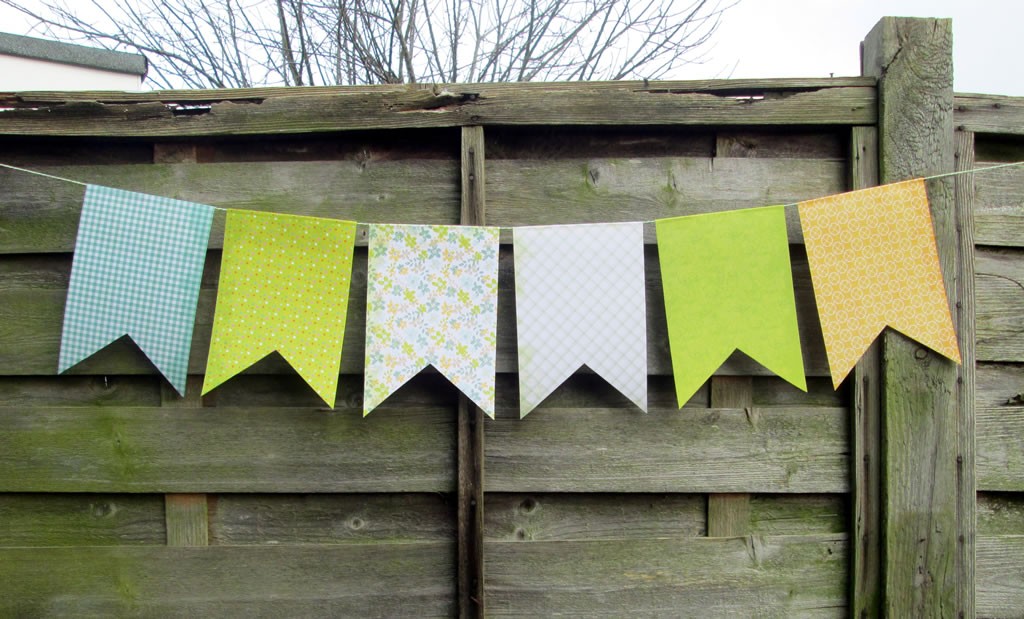
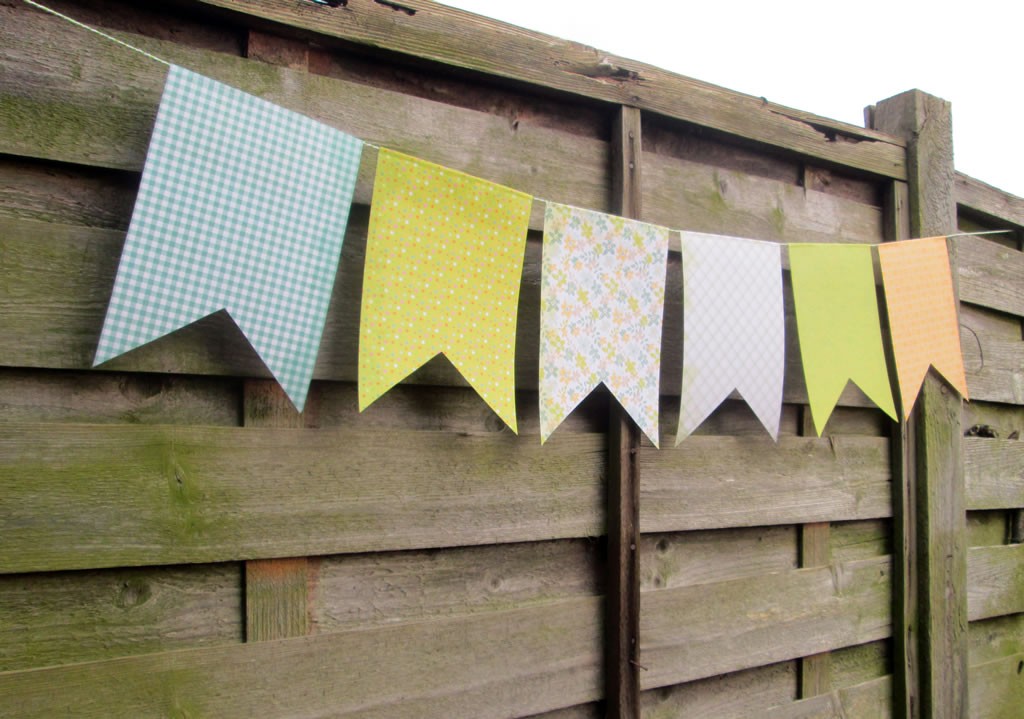
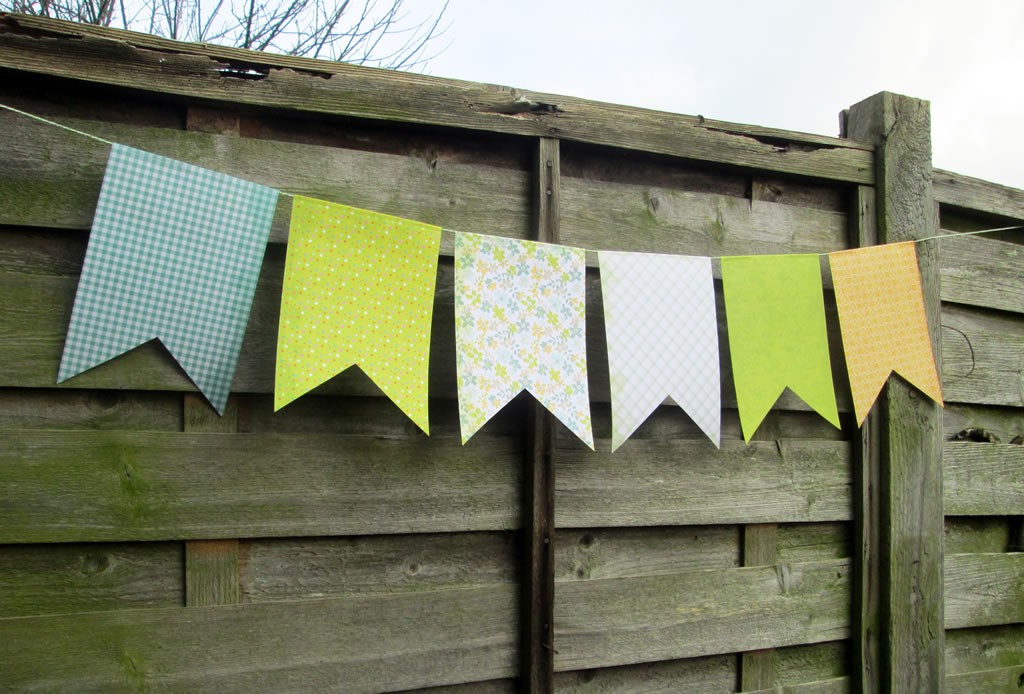

Very pretty patterns and designs, they add just the right touch for Spring decor!
Mary-the boondocks blog recently posted…A Nest for My Rustic Eggs – Μια Φωλιά για τα Χωριάτικα Αυγά
Thank you xx
That is so pretty – we have a play barn at our gite and I reckon some paper bunting in there would look lovely. #Trash2Treasure
Rosie Hill recently posted…Animal Tales – 60
I’d love to see it if you do 🙂
I love the papers you picked! Thank you for sharing at The Really Crafty Link Party!
Teresa recently posted…Welcome to The Really Crafty Link Party #9!
I thought they were pretty! Thanks 🙂
Anna this is fabulous! We’re redecorating our bedroom and I can just see this hung on the wall to add a bit of colour (it’s white and grey) AND I have some card! Thanks for a great idea.
#Trash2Treasure
Bless you! Email me a picture 🙂
This is such an easy, cute idea x
Thanks 🙂
Very pretty and so easy to do, it would be lovely for a garden party or carnival float. Thank you for sharing with me on #Trash2Treasure
Thank you 🙂
Great looking and so simple to make! Thanks for sharing on craft schooling Sunday!
Thank you xx
Leasowes View liked this on Facebook.
Marilyn Davis liked this on Facebook.
And they look really great!
#new How To Make Paper Bunting https://t.co/noIPIHW8hG https://t.co/sU0njLylJ8