How to Make a Drawstring Bag From a Pillowcase is the first in a series of posts I’m writing about storage ideas that are easy to make.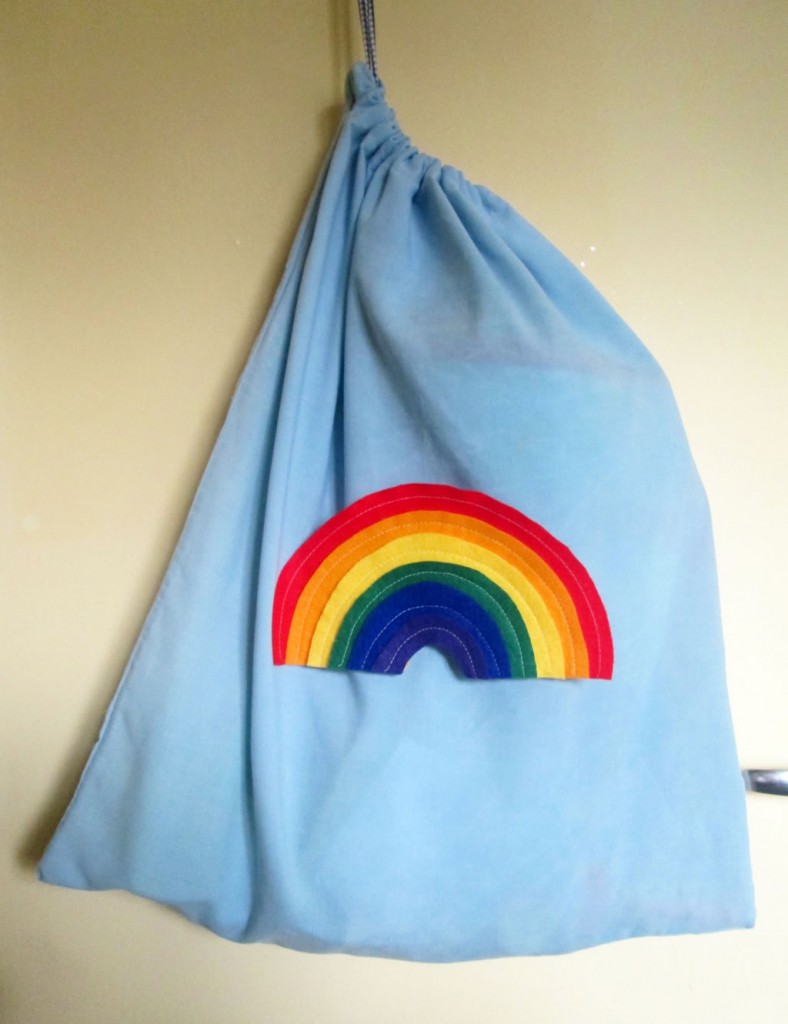
If your house is anything like mine, every available surface has probably disappeared under the chaos of post Christmas clutter. Toys that need homes, lego everywhere, games and puzzles that there’s not quite room for in the existing storage.
Happily it is easy enough to whip up some storage solutions and if you are a fabric hoarder have fabric left over from previous projects, they won’t cost any money to make either!
This drawstring bag is very easy. Pillowcases are perfect for making drawstring bags, due to being pretty much bag shaped already. The amount of sewing required is minimal and could be done by hand if necessary.
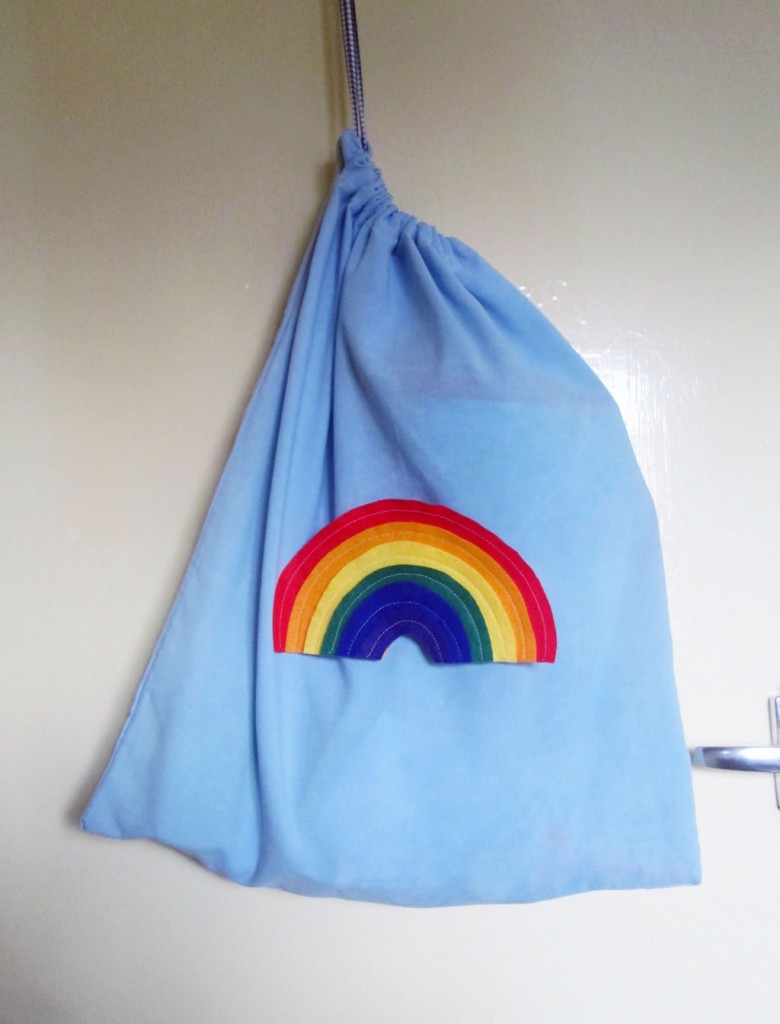
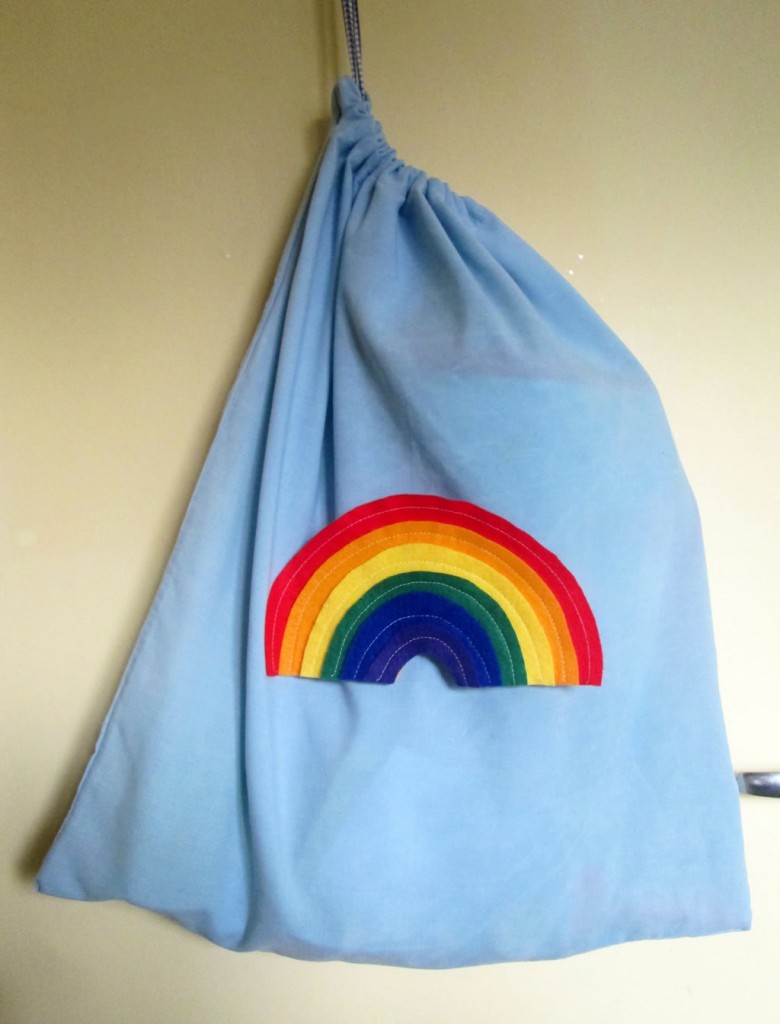
To make them look less pillowcasey, you can dress them up however you like! I made this one to accommodate Boy 4’s Rainbow Aquadoodle with its pens and funny little stamps. As he is only 3 and can’t read, instead of a written label I made a rainbow out of felt so that he knows that’s the bag for his AquaDoodle.
How to Make a Drawstring Bag From a Pillowcase
You will need: a pillowcase, a length of ribbon slightly longer than double the width of the pillowcase, felt to make the rainbow (optional), pencil and paper and a plate (for the pattern for the rainbow), usual sewing supplies.
If you don’t want to make your own pattern for the rainbow, you can buy the pattern here.
1. Decide how big you need the bag to be. A pillowcase makes quite a big bag. I didn’t need it that big, so I sewed across the bottom then cut the extra off.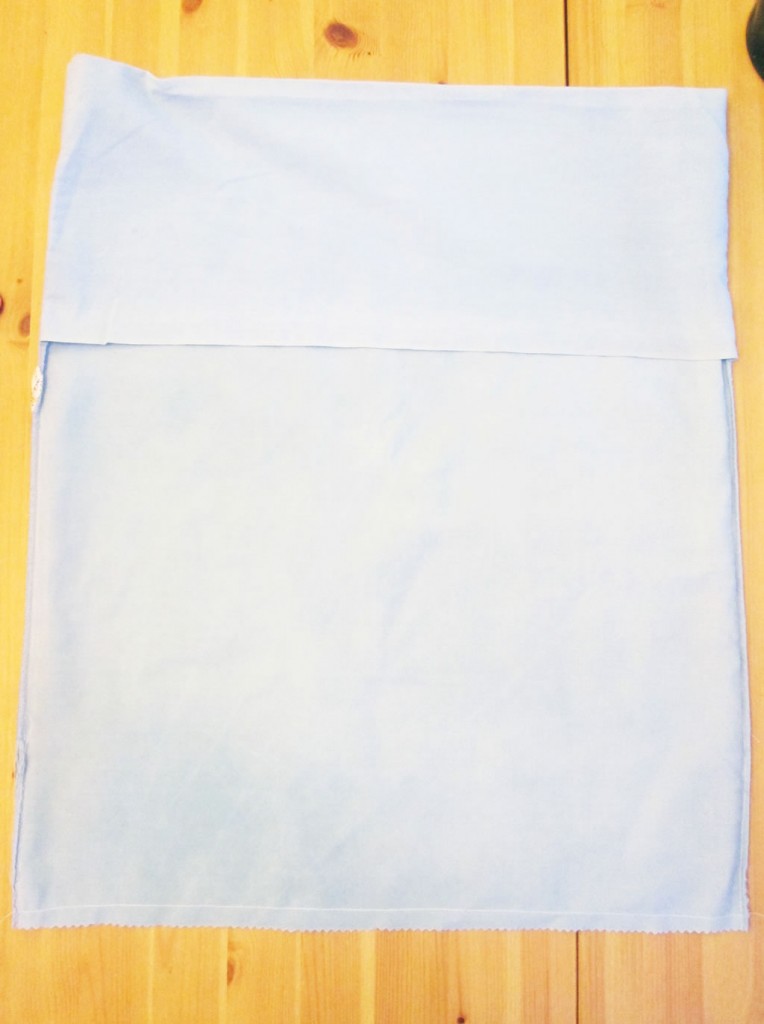
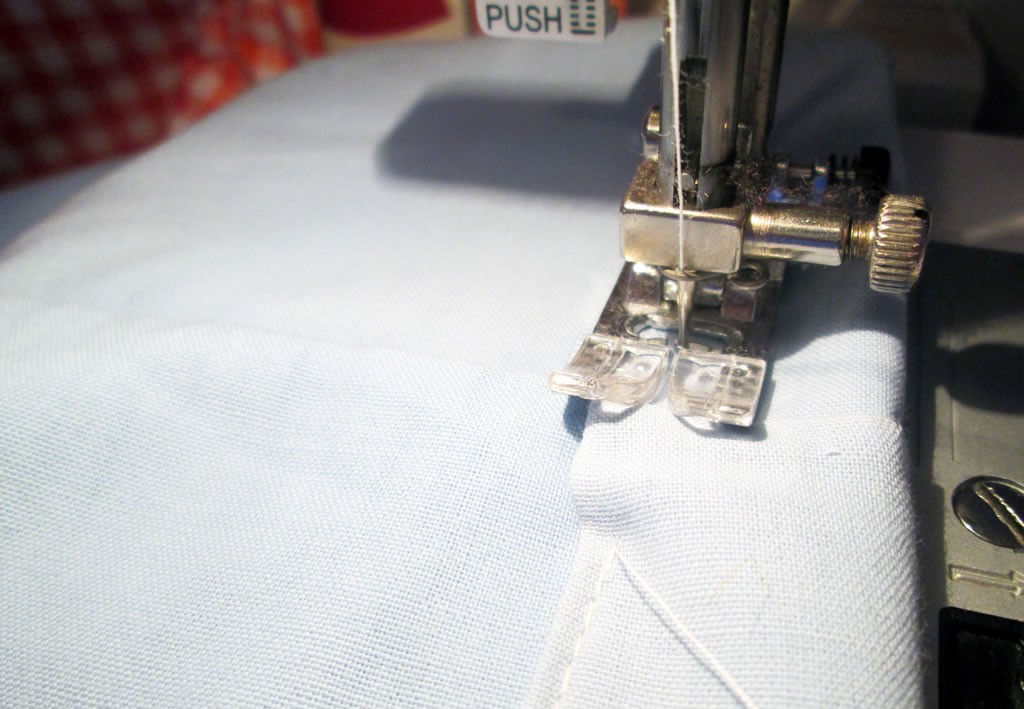
2. Make the casing for the ribbon. As the pillowcase has already been hemmed, all you need to do is fold the top edge down a couple of cm, pin, then sew. 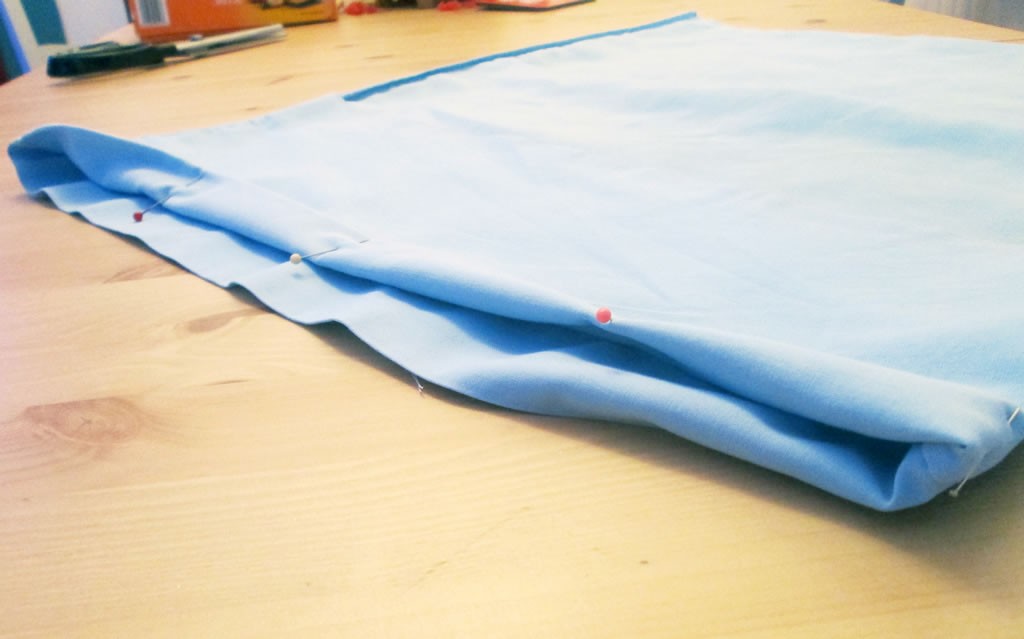 Make sure you leave a gap for threading the ribbon.
3. To make the pattern for the rainbow, fold a piece of A4 paper in half widthways. Place the plate on top of the folded piece of paper with the fold across the centre of the plate. Draw round it. 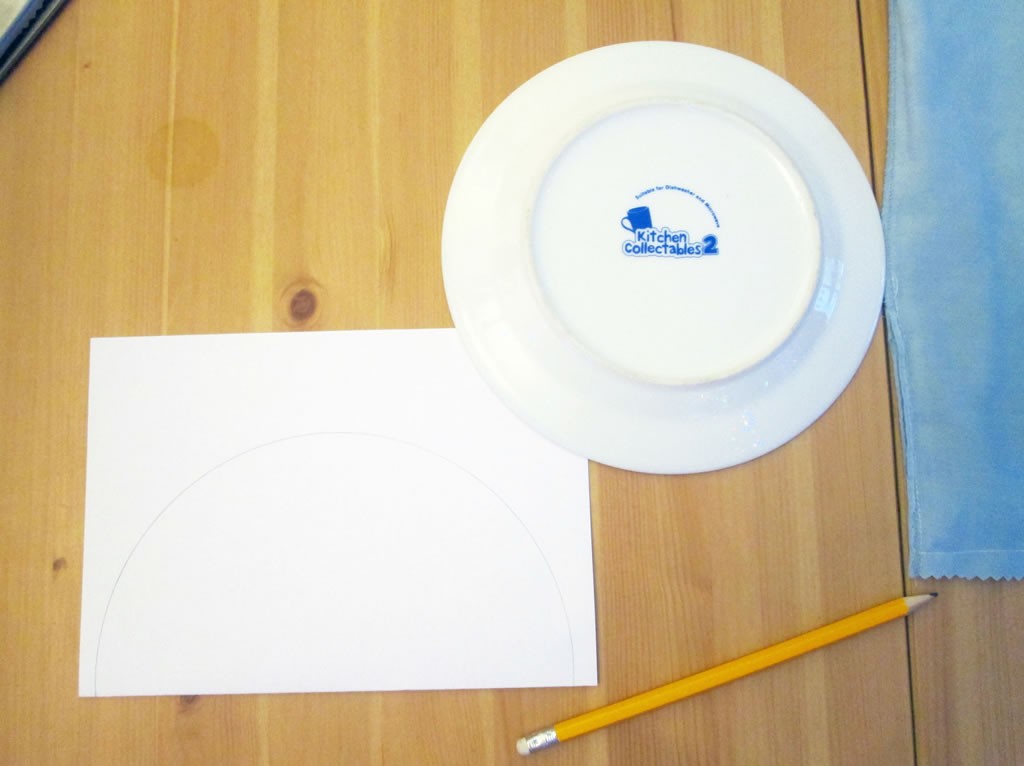 Draw a little arch in the centre, then draw 5 more arches. You could use a ruler to help get them the same size.
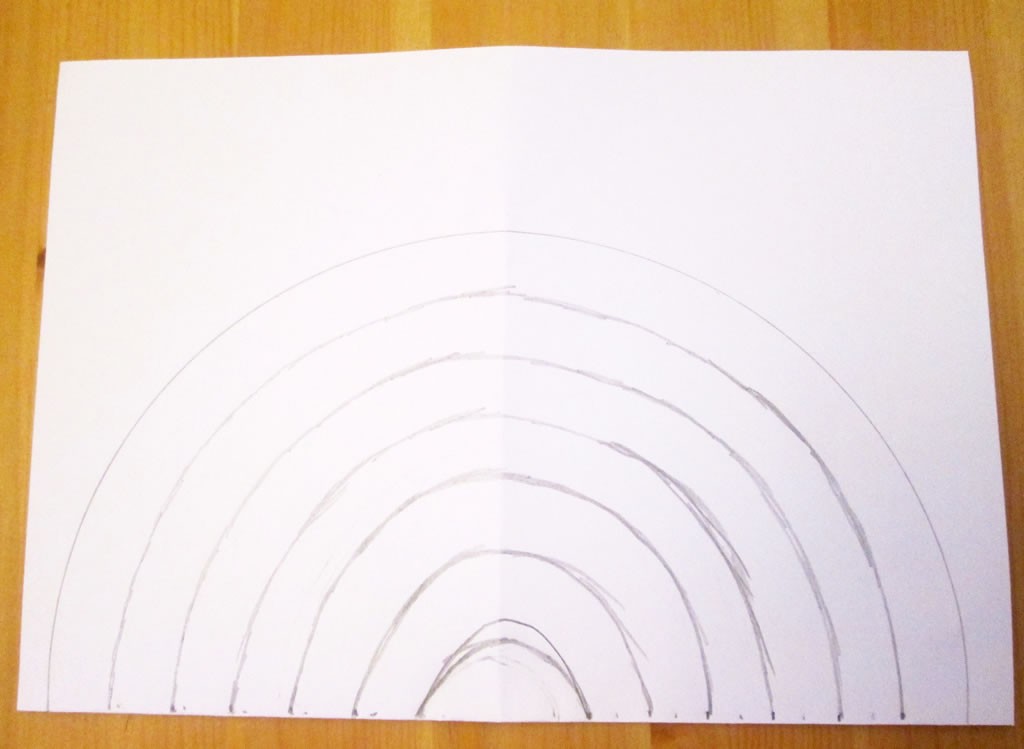
Trace each shape onto greaseproof paper. For each one you will need to trace the little arch in the middle, then on of the other arches until you have 6 shapes all of different sizes.
If all this sounds like too much of a faff, you can buy a pattern for the rainbow here.
4. Cut the shapes out of felt. The largest one should be red, the smallest purple, and the others orange, yellow, green and blue in order of largest to smallest.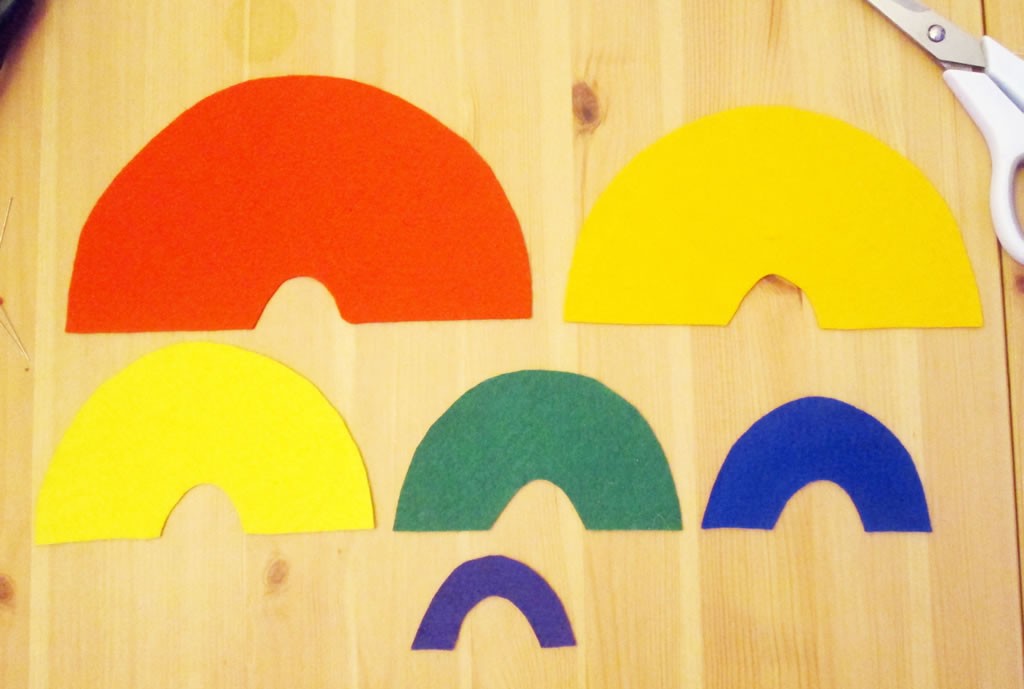
5. Pin the purple one to the blue one, aligning the little arch in the middle. Sew along the middle of the purple arch.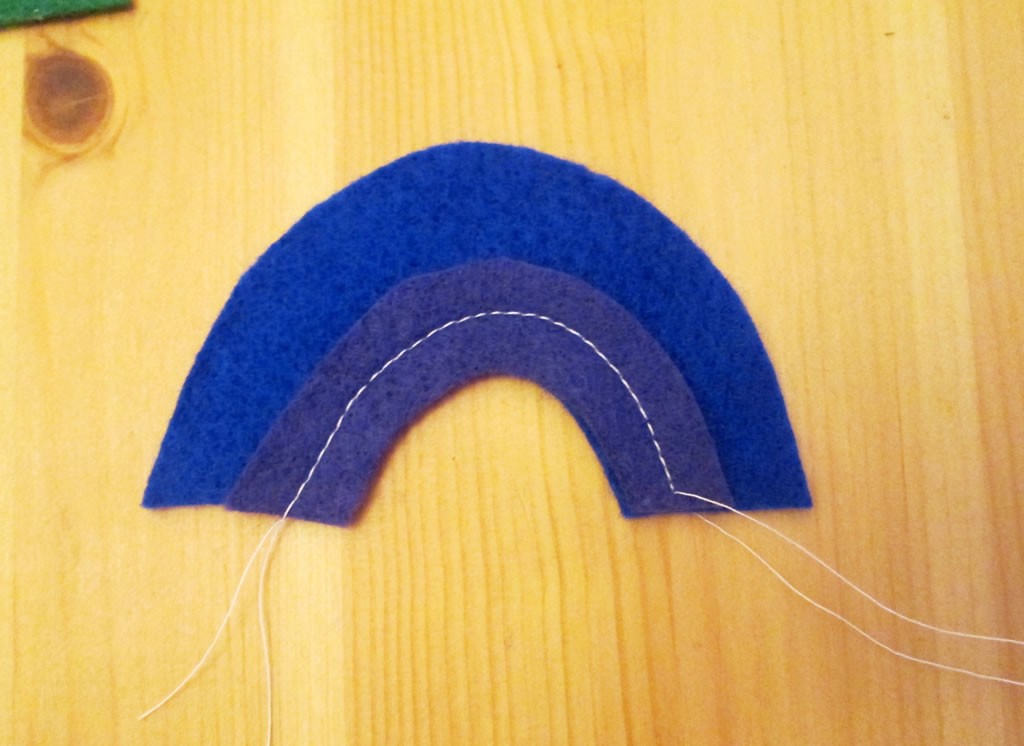
6. Pin the purple and blue arches to the green arch. Sew along the middle of the blue arch. 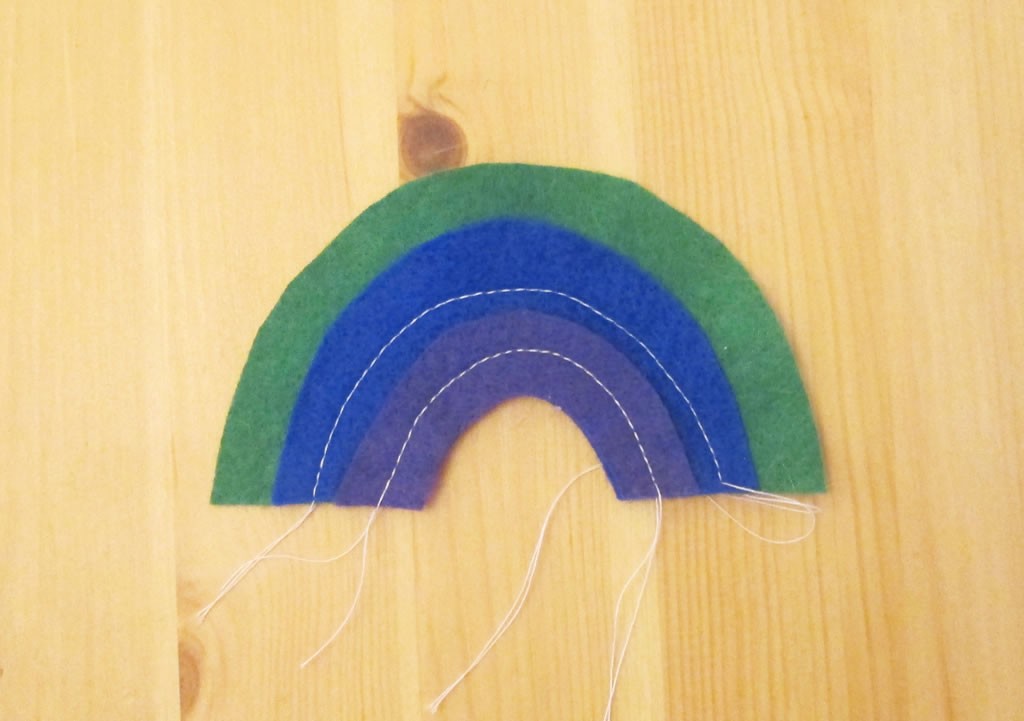 Keep going in this way until you have sewn all the pieces of the rainbow together. I sewed along the red one too so that it matched the others. You might need to trim the rainbow a bit so that it looks neat.
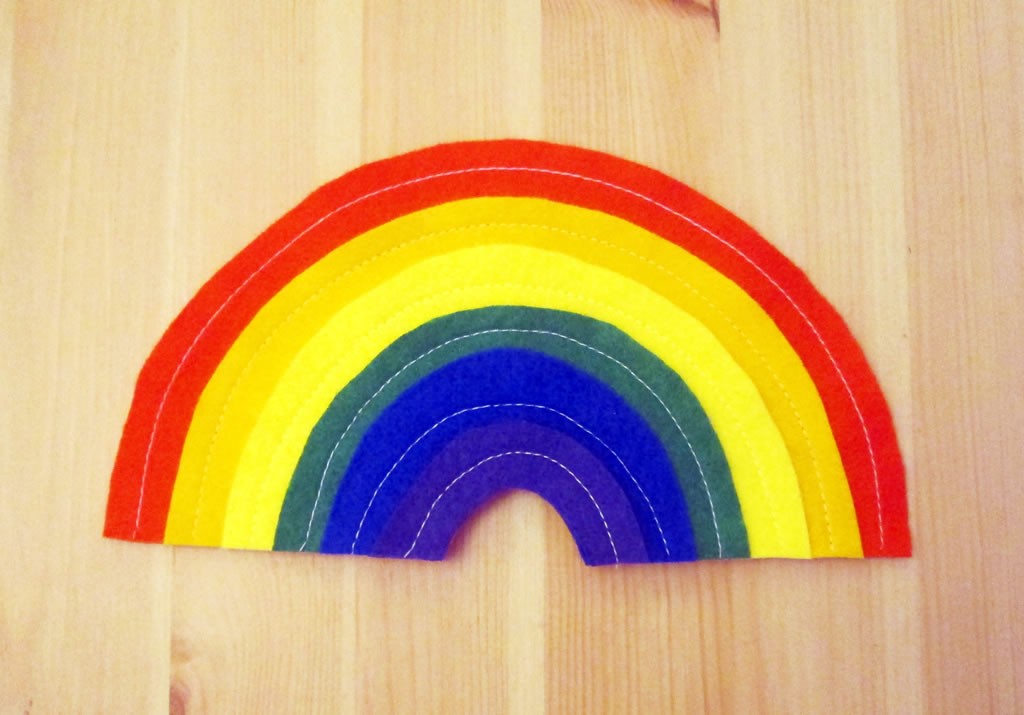
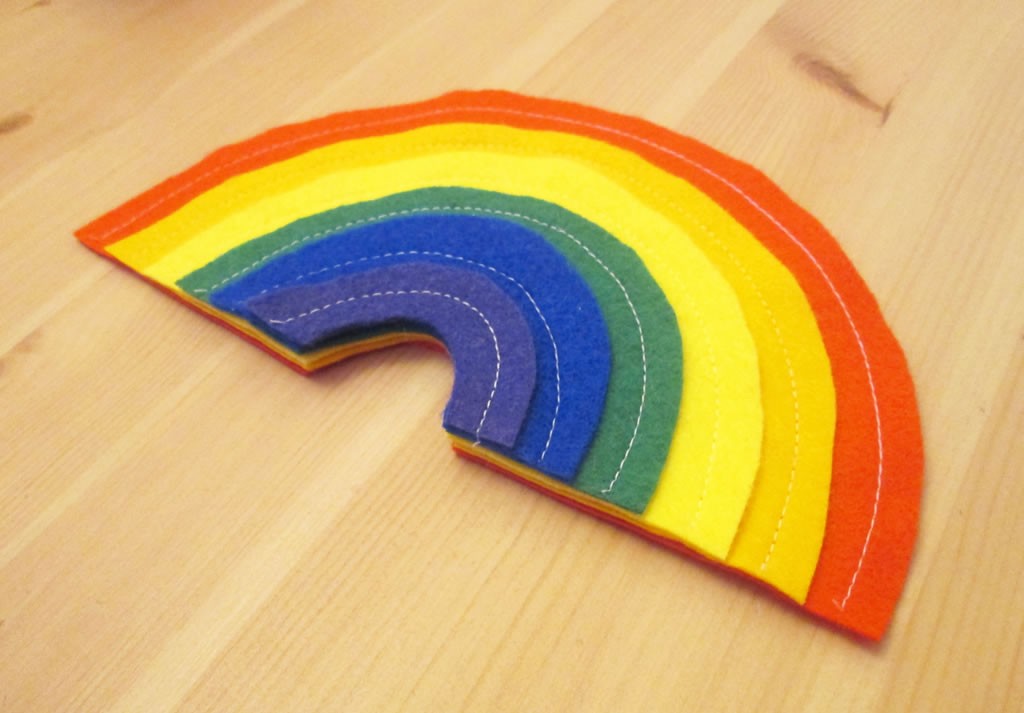
7. Sew the rainbow to the front of the bag. I used a few little stitches through the back of the rainbow so that they wouldn’t show.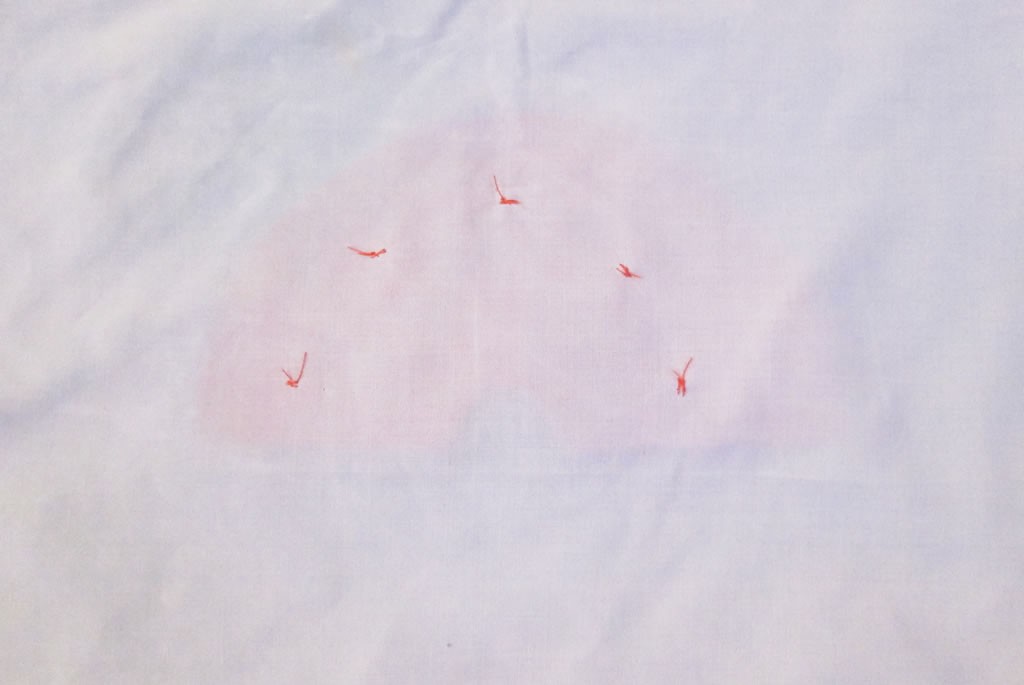
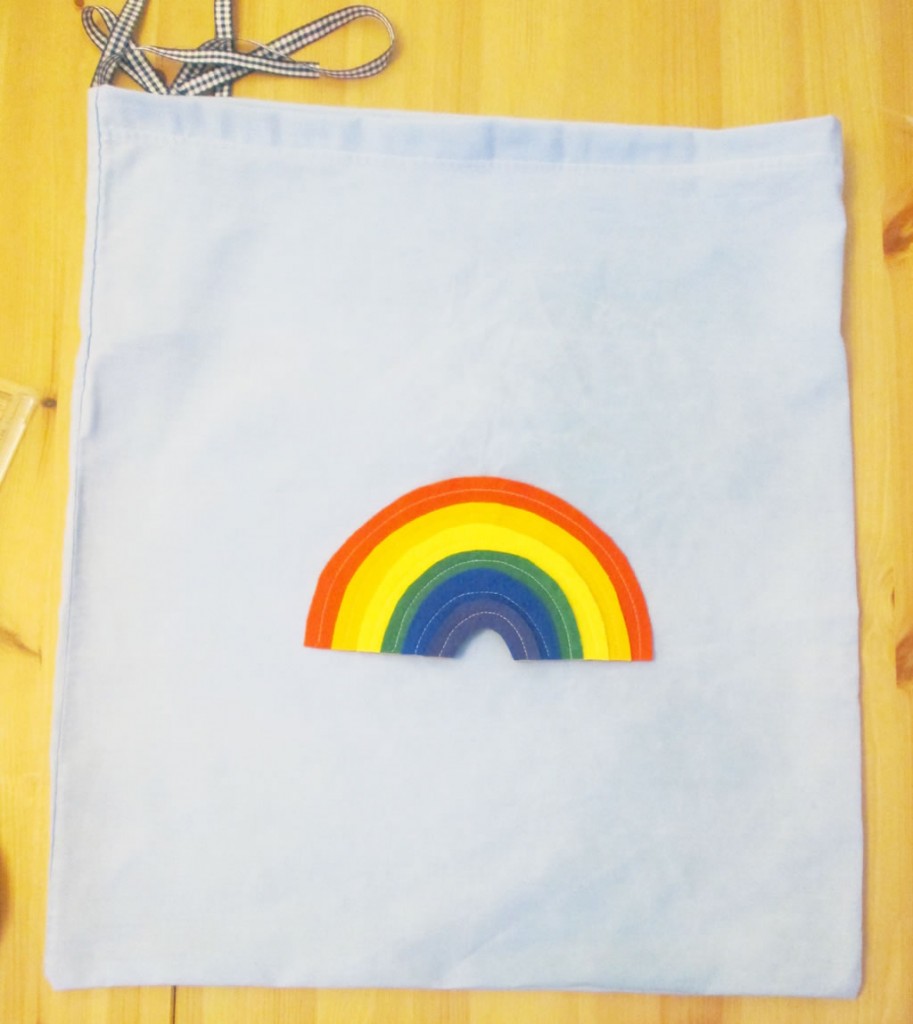
8. Using a safety pin, thread the ribbon through the casing. Tie the ends together and trim them. An almost instead solution to post Christmas clutter!
A felt pack from Hobbycraft
Gingham Ribbon from Hobbycraft
This post contains affiliate links.


This is such a cute idea Anna, and one that even I could make. I have basic sewing skills but like to look through your blog so I can learn a few new tricks.
Thank you xxxxx I want to be helpful 🙂
What a great idea, I’m now thinking which of Lucy’s clutter can be put in pretty bags!
Bags are definitely the way to go!
Love this simple bag Anna! What a great idea to use a pillowcase – so simple!!
Sometimes simple things work well!
Wonderful little project, and you could make others with clouds and rain and bolts of lightening! Thanks so much for sharing on craft schooling Sunday I’m so happy to see most of my regulars back again, really surprised about that!
I like your idea of weather themed bags!
Super Cute! & These are always great first sewing projects. Pinned & shared. Thanks for sharing at the Inspiration Spotlight party! See you again soon.
Thank you! They are nice, easy things to make!
I love this idea since we have pillow cases that match anymore and don’t know what to do with them. Then we have some that are a really funky color (from my kids bedrooms) that I would have never bought for myself. But I can make them into these bags for our homeless bag project. Thanks for sharing on Hope In Every Season.
Thank you, the’re great for using up pillowcases that are still fine but not used anymore 🙂
oh wow what a fantastic idea – i was thinking of buying a storage box for my son’s new lego that he got for christmas but this would be much better! better still i can make it before he comes home from school this afternoon! thanks for a brill idea
Hi Lindsey, yes, they’re great for storing all kinds of things. And if you have some hooks, you can just hang it up without worrying about it taking up space on a shelf or the floor 🙂