 Making a Christmas wreath to hang on the door is one of my favourite pre-Christmas tasks.
This is actually only the second time I have made a Christmas wreath using a floral foam wreath. I used to bend a wire coat hanger into a circle and attach bits of greenery to it with florists wire but, to be honest, they looked shoddy. The bunches of greenery would slip round and the white coat hanger would be exposed. A couple of times I was so ashamed of my rubbish Christmas wreath was it was only hanging up for a week before I brought it back inside!
So to try and ensure that my wreath was not rubbish , I decided to take a different approach and use a flower foam wreath instead of a coat hanger.
The result was much better :).
How to Make a Christmas Wreath
You Will Need: 1 oasis flower foam ring, florists’ wire or garden wire, greenery, twigs with berries on, pine cones, dried fruit slices, ribbon.

For greenery I used Leyland Cypress because our neighbour at the back of us has a hedge of it so there is some in our garden.
For the berries, I used hawthorn. This grows wild in the hedgerows round by us and I only needed a bit.
The pine cones were also free, collected from woods and lanes.
The oasis ring cost £3.50, a packet of florists’ wire was £1 and the ribbon was £1 each and I’ve got lots left over. I used 15 dried fruit slices, probably about 1 orange and a couple of lemons, which I dried myself (instructions how to do this can be found here!).
The total cost was less than £10 and it took me about 1 1/2 hours to make. I’ve seen wreaths like this retail for £20 – £40!
Instructions
1. Soak the foam ring for a few minutes. Oasis is supposed to sink when it is ready but I found that the plastic holder thing prevented it from sinking. It probably had about half an hour soaking which was plenty long enough.
2. Using a sharp knife, remove the edges from the foam ring to give it a more curved shape.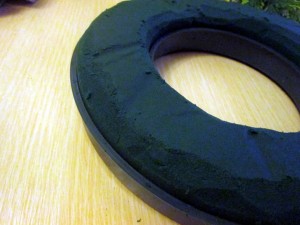

3. Cut your greenery into pieces about 20 cm long.

4. Push the pieces of greenery into the foam ring. Working in threes, put one on either side and one in to middle a little further down to make a v.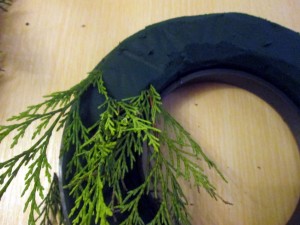

5. Keep going until you have filled up the ring. If there are bald patches, fill those with any spare small pieces of greenery, but don’t worry too much as the berries and pine cones will hide some of these spots.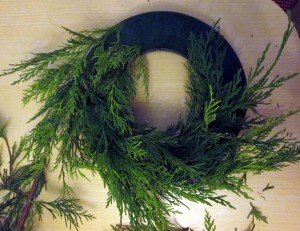

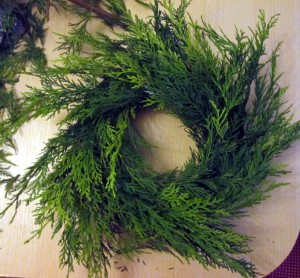

It might look like the wreath is having a bad hair day. Don’t worry, the berries and stuff will act like hair clips!
6. Push the twigs with berries on into the wreath so that they are arranged evenly.



7. Wrap some wire around a pine cone. Twist the ends together.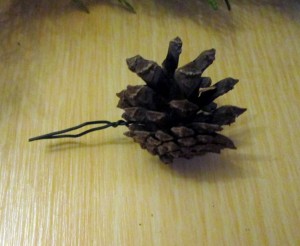

Do this for the other pine cones you want to used. I used 5 in total.

8. Arrange the pine cones on the wreath so that they are evenly spaced out. Push the ends of the wire into the foam ring to hold them in place.


9. Take 3 dried fruit slices. Put a piece of wire through the slices next to the rind. Twist the ends of the wire together.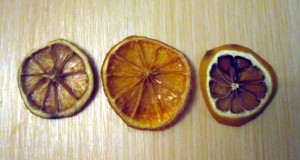


10. Arrange the fruit slices on the wreath and push the ends of the wire into the foam ring.

11. Cut a piece of ribbon and tie in a bow.



12. Attach the bow to the wreath using the wire.

12. Hang it on your door and enjoy the Christmassy-ness every time you open the door!


Your lantern and wreaths are beautiful thanks for tutorial
Thanks Mary 🙂
I have never made a wreath – maybe it’s time I did. Yours is beautiful, Anna, especially with the dried oranges.

Pam @Threading My Way recently posted…12 Days of Christmas DIY Challenges ~ Stocking Filler
I think it’s an American thing, but I love to see a wreath on my door 🙂