I always make a wreath for our door at Christmas, and after Christmas, once all the decorations have come down, my naked front door bothers me almost as much as the space left by the Christmas tree.
So last year I decided to adopt the American custom of always hanging a wreath on my door!
I could have just whipped out the spring wreath I made last year, but it is definitely not spring yet and I wanted to have a go at making a burlap wreath (I’ve seen lots of gorgeous ones on Pinterest!).
Here is my burlap wreath tutorial! It is very easy to make. It doesn’t require a special wreath form or a hot glue gun, just a wire coat hanger, some burlap ribbon, some other ribbon to make a bow and some wire. You could use florists’ wire. I used a couple of paper clips! The finished wreath measures about 23 cm across.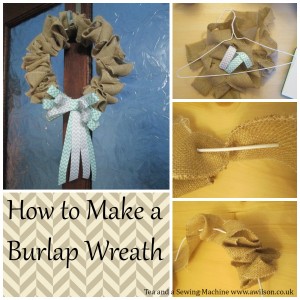
How to Make a Burlap Wreath
I have included affiliate links.
You will need: a wire coat hanger (or some thick, plastic coated wire), 6 m burlap ribbon
, 3 m of ribbon ( I used about 1.5 m of green chevron ribbon and about 1 m of the grey, which I bought here from Etsy), florists’ wire
or 2 paper clips, a needle and thread.
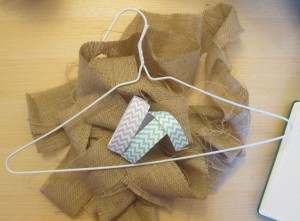
1. Bend the coat hanger into a circle. 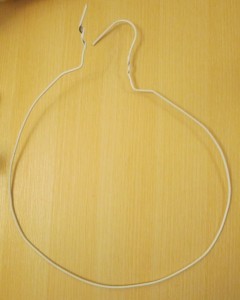 Untwist the ends and remove the hook. You can either use wire cutters
 or just bend it back and forth until it snaps.
2. If your burlap ribbon has raw edges, you might want to finish them using an overlocking stitch on the sewing machine. This step is optional though! I have no problem with frayed edges usually, I just didn’t want bits coming off which result in having to sweep the path or hoover the kitchen again!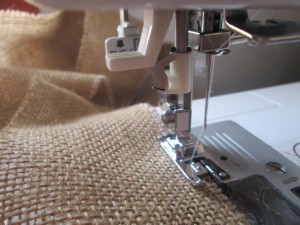
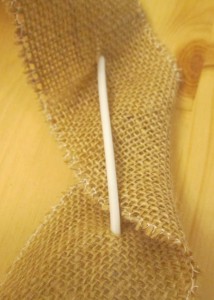
3. To attach the burlap to the coat hanger, I basically used the coat hanger like a giant needle and threaded it through the burlap as though I was doing a giant running stitch.
The stitches need to be about 10 cm long. To make this easier, I marked off 10 cm from the end of the hanger using a Sharpie.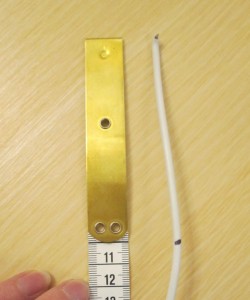
The only thing that makes it not quite like running stitch is that I twisted the burlap before threading the wire through.
So: thread about 10 cm of burlap onto the hanger,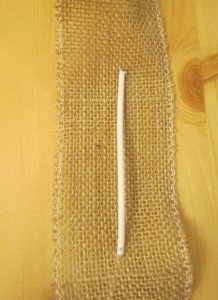
Push it down and round to the left side, then repeat until all the ribbon is on the coat hanger.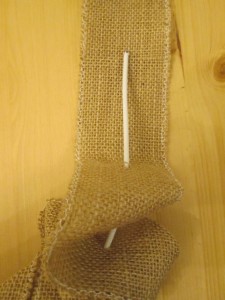
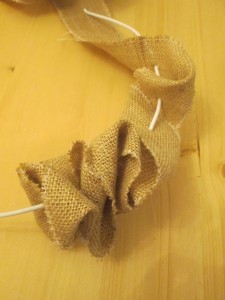
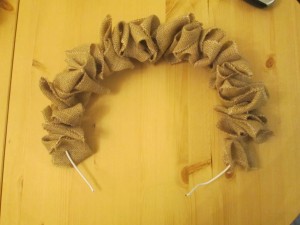
Twisting it gives it a more interesting look than just threading it straight on and pushing it round to the side means that your twists all go in the same direction.
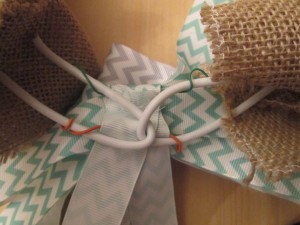
4. Once the ribbon is all on the wire, you will need to join the ends of the coat hanger back together. I tried twisting the ends together but it was too hard. So instead I made 2 loops and linked them together. Don’t worry about this looking messy, you’ll be making a pretty bow to cover it up!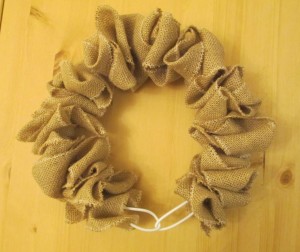
5. To make the bow, you will need to make 5 loops, 3 longer ones and 2 smaller. I cut 3 21 cm pieces of green chevron ribbon and 2 17 cm pieces of grey chevron ribbon.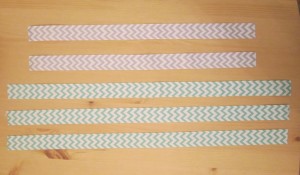
6. Fold in half to find the middle. Overlap the ends so that they are in the middle. Using a needle and thread, sew a few stitches through the middle to hold it all in place.  Repeat for all your bits of ribbon.
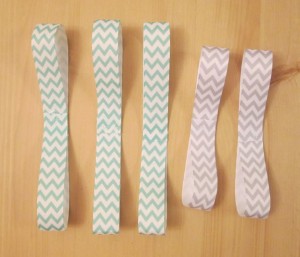
7. Arrange your loops so that the smaller ones are at the front and they are all spread out. Sew a few stitches through the middle to hold them.
8. Cut another piece of ribbon 9 cm long. Wrap this around your loops to hide the stitches and to make it look like a bow!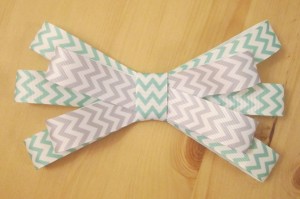
Sew the ends together at the back.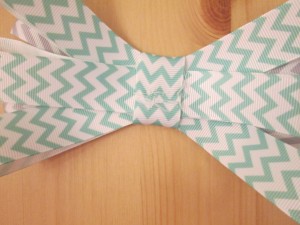
9. For the tails, I cut 2 pieces of green chevron ribbon 25 cm long and 2 of the grey 24 cm long. Sew them to the back of the bow. Cut the ends diagonally to prevent fraying.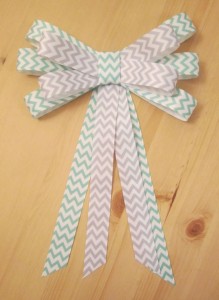
10. Thread wire through the back of the bow and attach it to the wreath to hide the wire loops.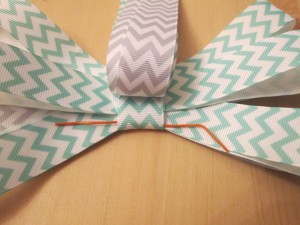
Hang it on your door and wait for people to admire it!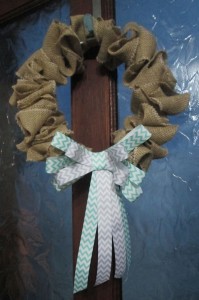 You can read about the other wreaths I have made here:
A Summer Wreath using a willow wreath form and silk flowers
A Christmas Wreath using natural materials. I’ll be adding this post to these linky parties! Fluster Buster’s Creative Muster, Creative Mondays, Handmade Monday, Frugal Crafty Home, Craftastic Monday, Monday Handmade, Ladybug Blessings, Totally Terrific Tuesday, Inspire Me Monday, Show and Tell Link Party Time, Do Tell Tuesday, No Rules Weekend, Craft Frenzy Friday, My Favourite Things Saturday, Submarine Sunday.




Great tutorial! Thanks so much for sharing it with us at Totally Terrific Tuesday! I hope we see you again this week. Party starts tonight at 10pm!
Thank you, I’ll be there!
Such a pretty wreath. Pinned Thanks for sharing your tutorial at the party! Hope to see you again this week!
Thank you 🙂
A great tutorial, I love how you’ve done the bow. Fab! Xx
It’s much easier doing bows that way, if I tie them they never look right!
Wow, it looks amazing, thanks for sharing the tutorial.
Thank you 🙂
I love how easy you make this. Great tutorial, thank you.
It is easy Stella, half of it is just having a go 🙂
Love the wreath, burlap is under used as can be so effective.
I agree that burlap is underused, it’s so easy to make something pretty out of it!