Little House Bag Tutorial and Giveaway
Little House Bag Tutorial and Giveaway
Recently I was sent some beautiful fabric from the new Tilda Harvest collection so that I could once again participate in their blog hop.
As well as the lovely new fabric collection which you can find here, a new Tilda ebook is coming out at the end of September. It’s available to pre order here and there’s a little preview of the book here. I’ve had a look at it myself and I want to live in that beautiful house with all the quilts!
As with Tilda fabric generally, it was so pretty I didn’t want to cut into it! However the deal was that I made something with it, not just add it to the mountain of fabric behind my bedroom door!
Once I’d got over the whole thing of not wanting to cut it, I decided to make a little house bag.
There was enough fabric to make 2 little house bags, so I’ll be giving the rest away as a kit. If you’d like to win the kit, keep reading because the details are at the bottom of the post!
***Please note that the giveaway has ended***
Here’s the tutorial for making a little house bag.
How To Make a Little House Bag
You Will Need
Cotton fabric for bag main, roof, doors and windows, porch and window frames and lining. I used 4 fat eighths in different designs from the Tilda Harvest collection.
1 wooden heart button
1 magnetic snap
Sew in interfacing (I used Soft and Stable. This is an affiliate link.)
Fusible interfacing for the applique
Templates for the bag which can be downloaded by filling in the form below.
Please note that these are available as a content upgrade and although you can download them for free, I will require an email address in exchange for them. You can find out more about content upgrades here.
Cutting Out
Cut 2 main bag pieces from outer fabric, 2 from the lining and 2 from sew in interfacing. You might like to use some fusible interfacing on one of the bag outer pieces too to give it some weight for the applique.
Cut 2 roof flap pieces from the fabric you’ve chosen for the roof and 1 from sew in interfacing. I used the same fabric to line the roof flap as for the outer.
From the same fabric you’re using for the roof, cut a porch and 2 window frames. Iron some fusible interfacing to the wrong side before cutting out.
From the fabric you’ve chosen for the door and windows, cut 1 door and 2 windows. These will need fusible interfacing too.
For the handle, cut a piece of fabric 14 cm x 10 cm.
Sewing Up
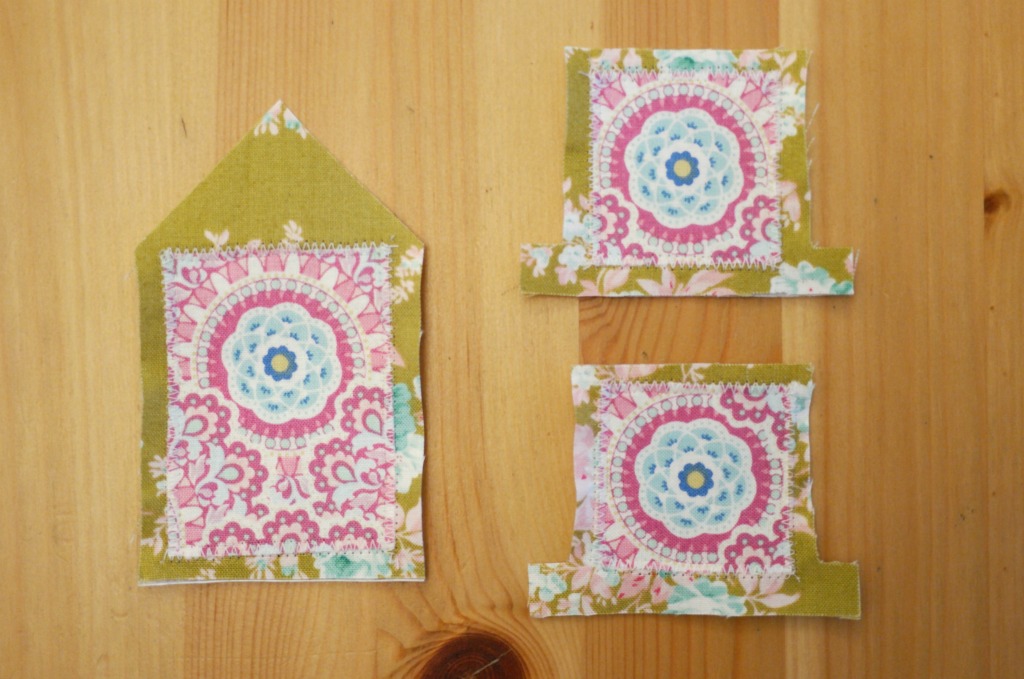
1. Applique the windows to the window frames and the door to the porch.
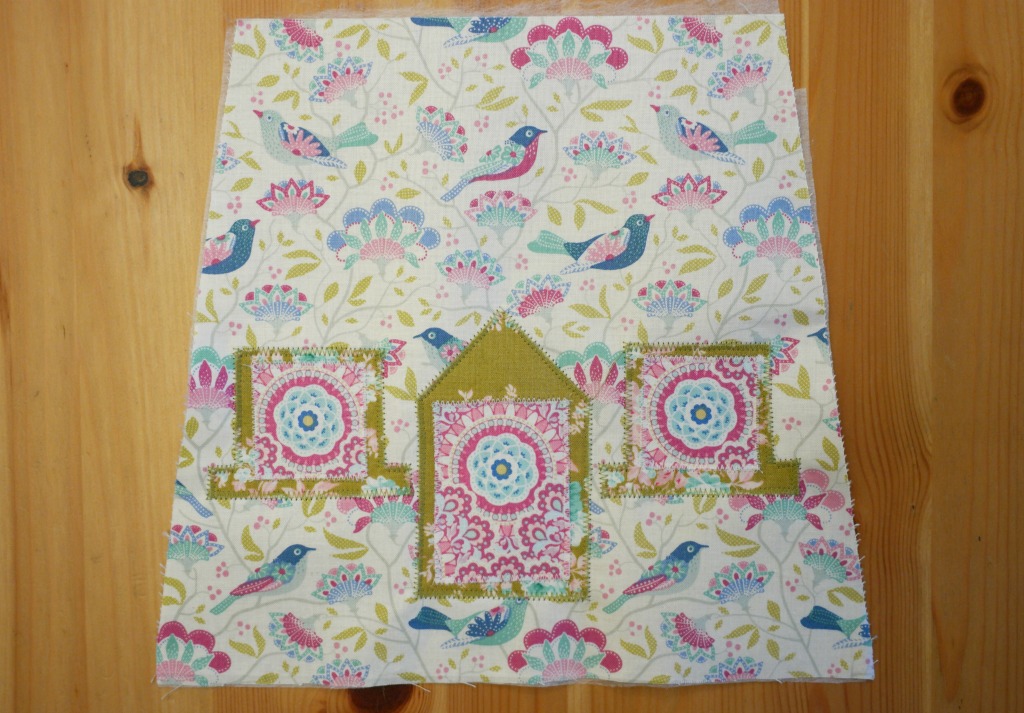
2. Take 1 of the bag main pieces and position the door and windows on the right side of the fabric. The door will need to be 3 cm up from the raw edge. Appliqué the door and windows in place.
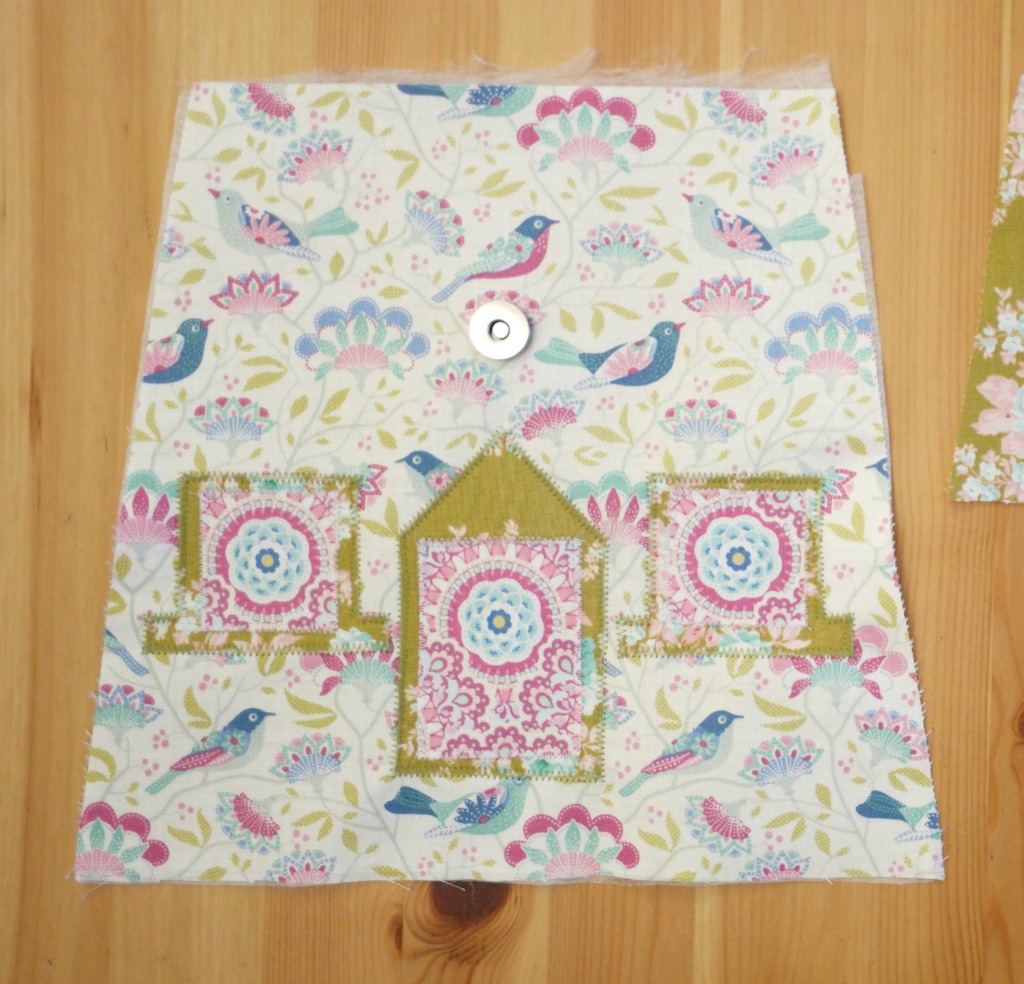
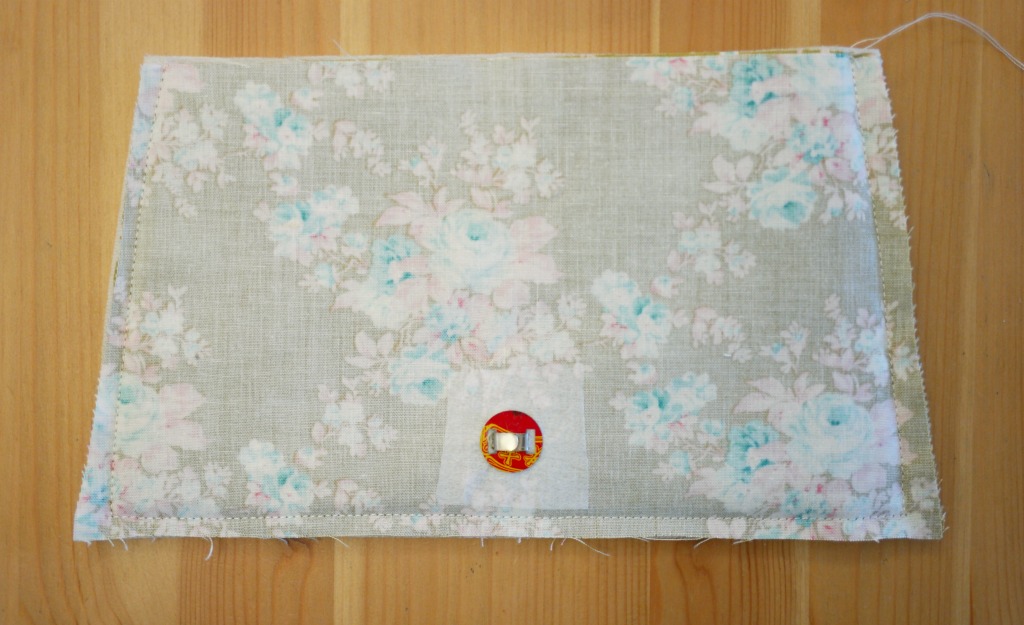
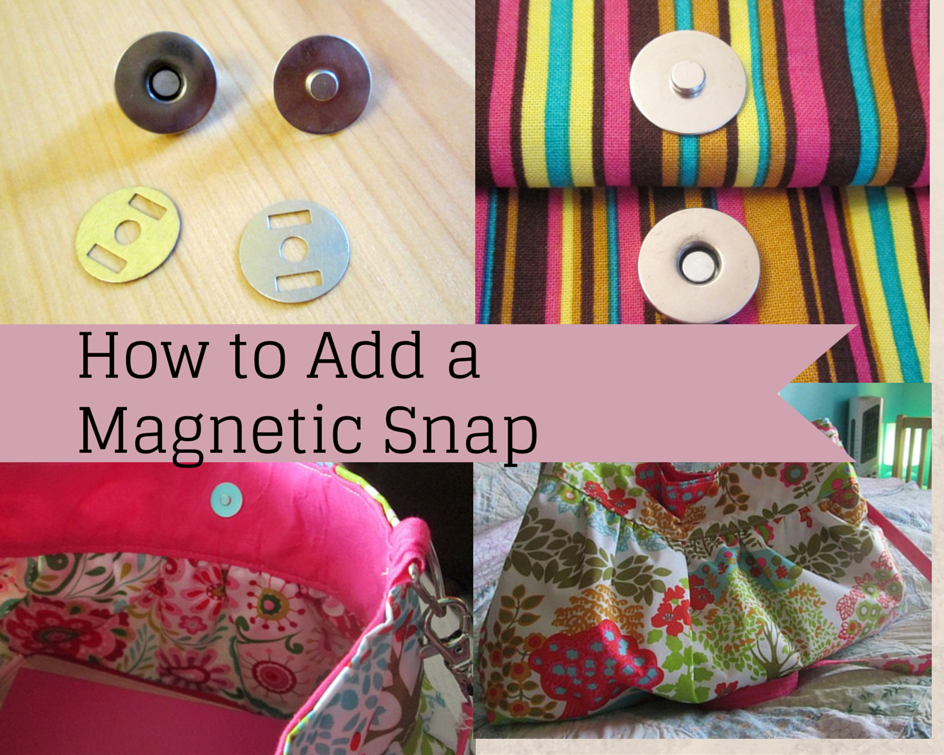
3. Attach one half of the magnetic snap 3 cm above the apex of the porch. If you need more detailed instructions showing how to install a magnetic snap, you can find one here.
4. Take the other bag outer piece and, with the right sides together, sew the sides and the bottom of the bag. If the sew in interfacing you’re using isn’t too thick, you could sew that with the outer pieces. Otherwise you’ll need to sew it separately.
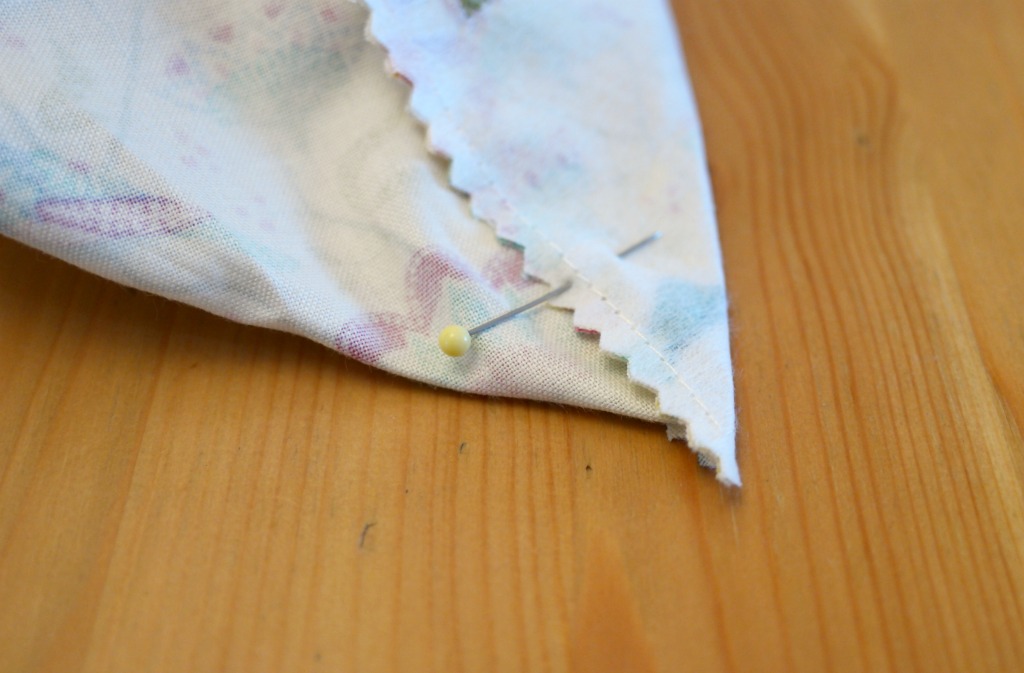
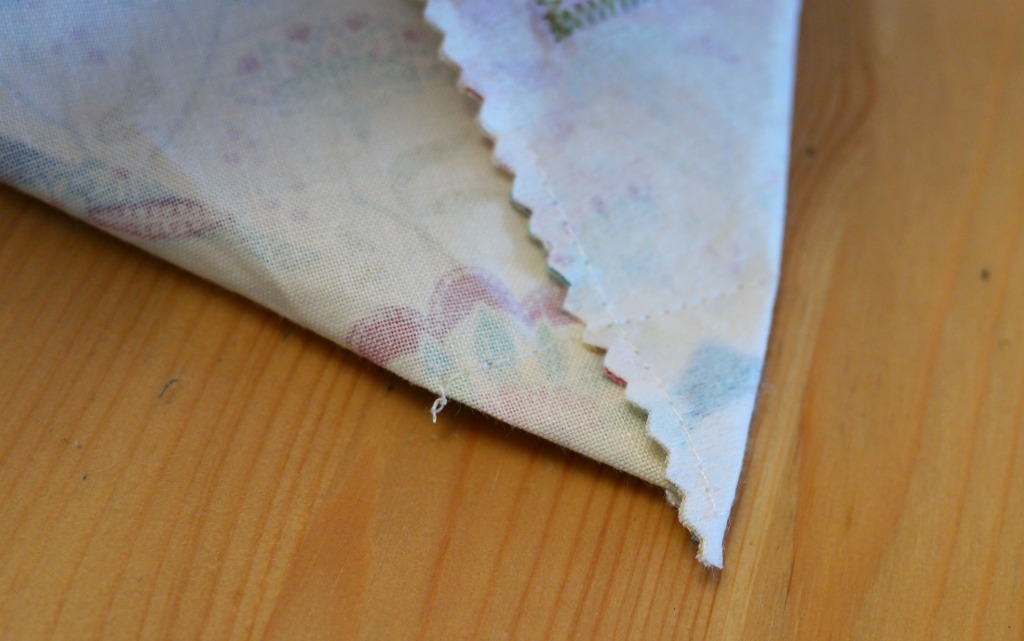
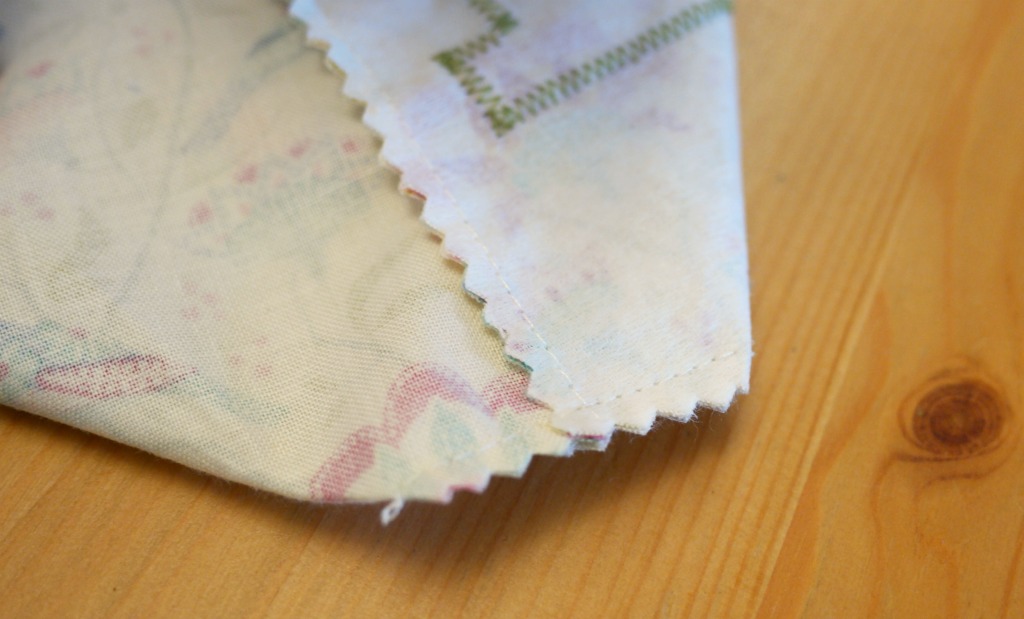
5. To make the boxed corners, take one of the corners and press it flat so that the seams are together. Measure 3 cm up from the corner. Pin, then sew across the corner at right angles to the seam. Cut the corner off. There’s a more detailed tutorial here showing how to make boxed corners if you need it.
6. Make the lining in the same way as the outer. If you’re using Soft and Stable, you’ll need to sew that separately as well.
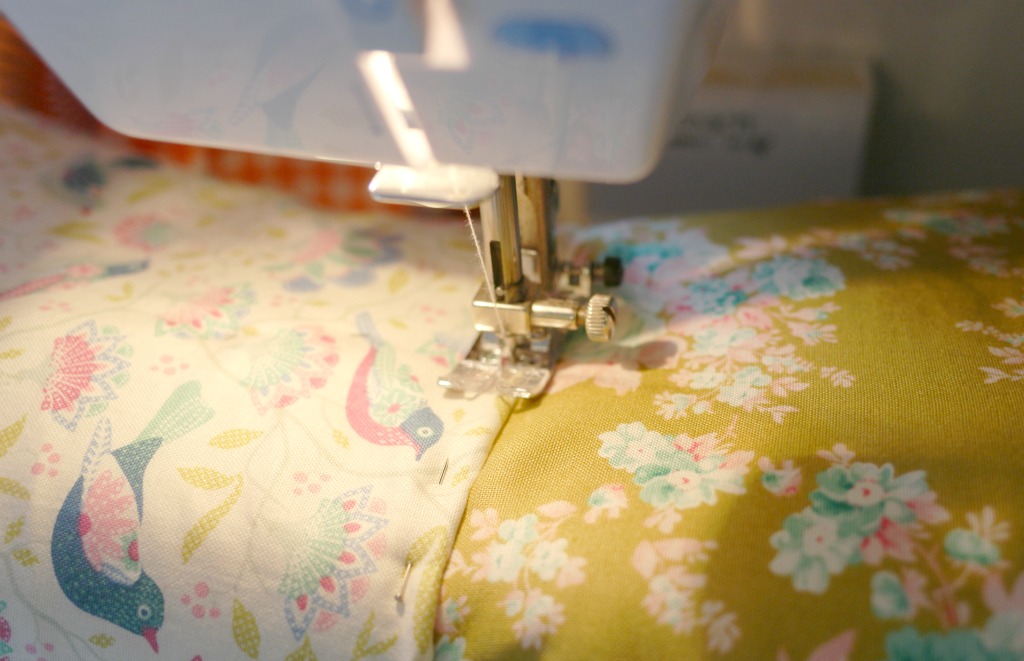
7. With the right sides together, sew the lining to the outer across the front. Make sure you leave enough of a gap at the back to slip the roof part in. Turn it the right way out.
8. Take the inside roof piece and attach the other half of the magnetic snap 2 1/2 cm up from the lower edge. You might want to iron on a little bit of fusible interfacing onto the wrong side of the fabric first.
9. Take the 2 roof pieces and the sew in interfacing. With the right sides together, sew the sides and the bottom. Trim the seams and cut off the corners. Turn it out and press.
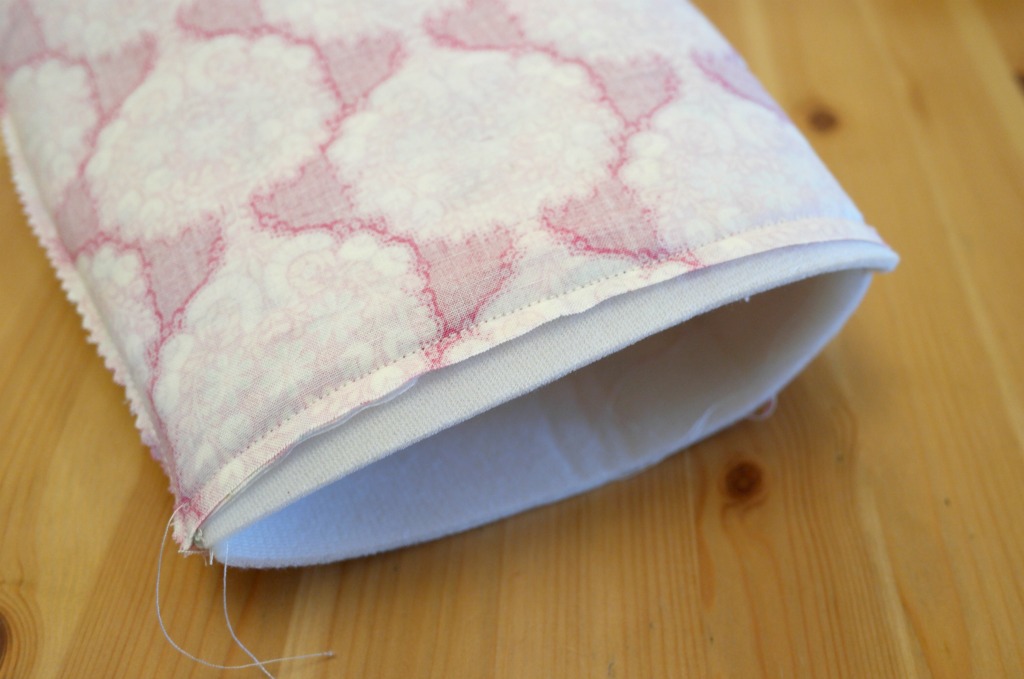
10. Fold the open part of the bag main inwards. Slip the roof into the opening and pin. Top stitch all the way round the top of the bag.
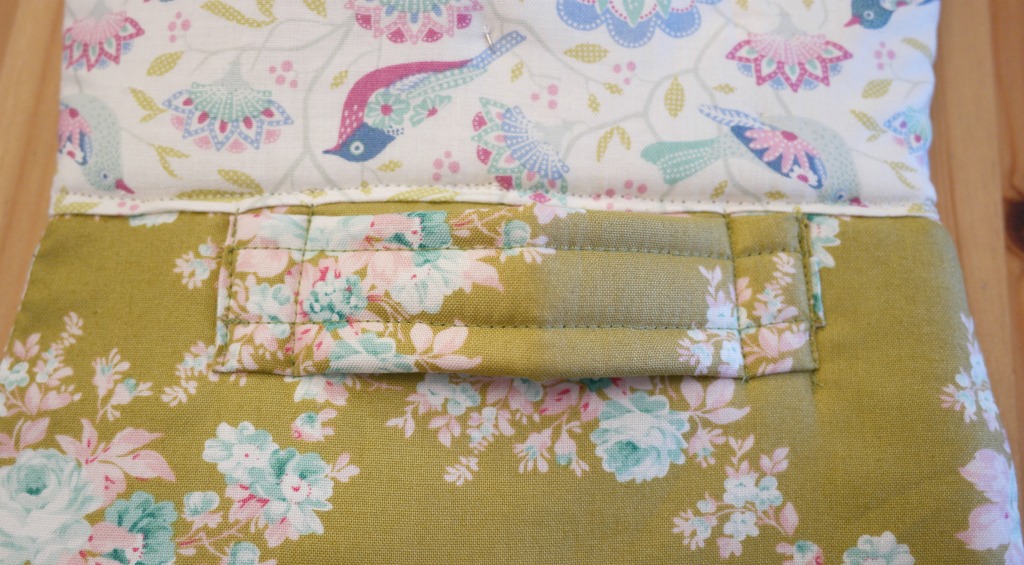
11. To make the handle, take the handle piece and fold it in half lengthways. Open it out, then fold the raw edges into the centre. Fold the ends inwards, then fold half again. Sew all around the handle.
12. Sew the ends of the handle to the roof, near to where it joins to the bag main.
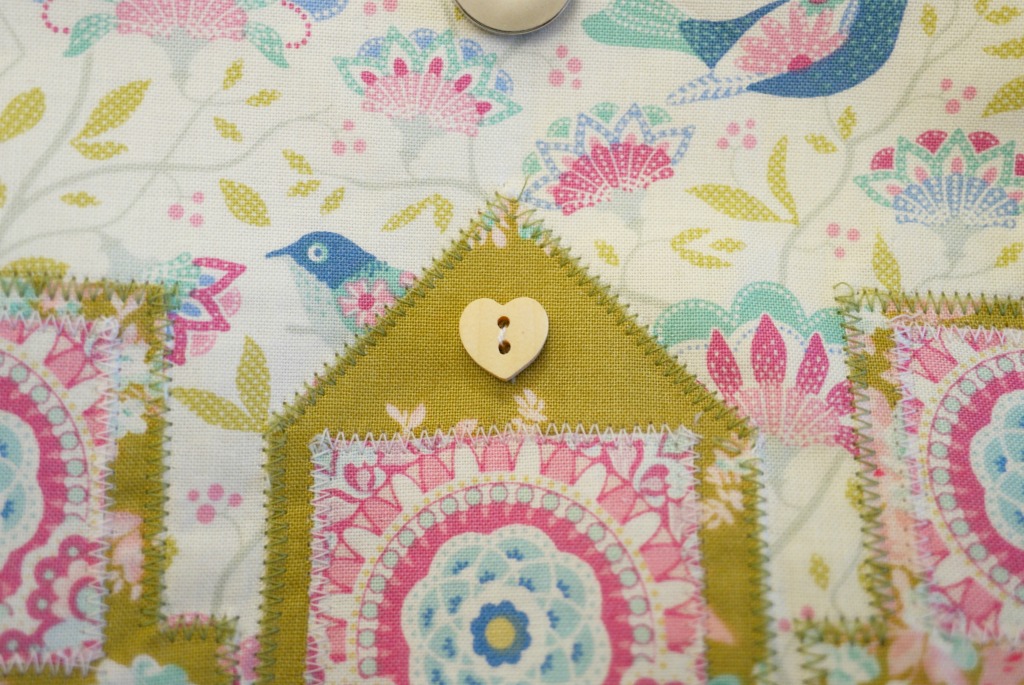
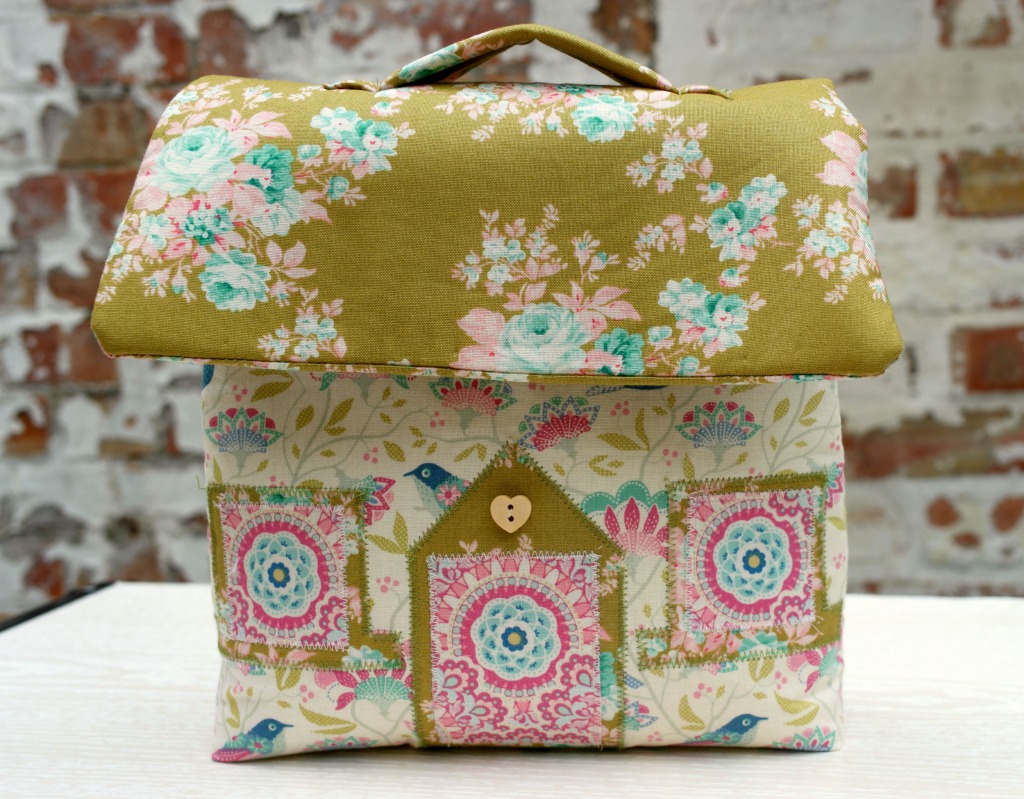
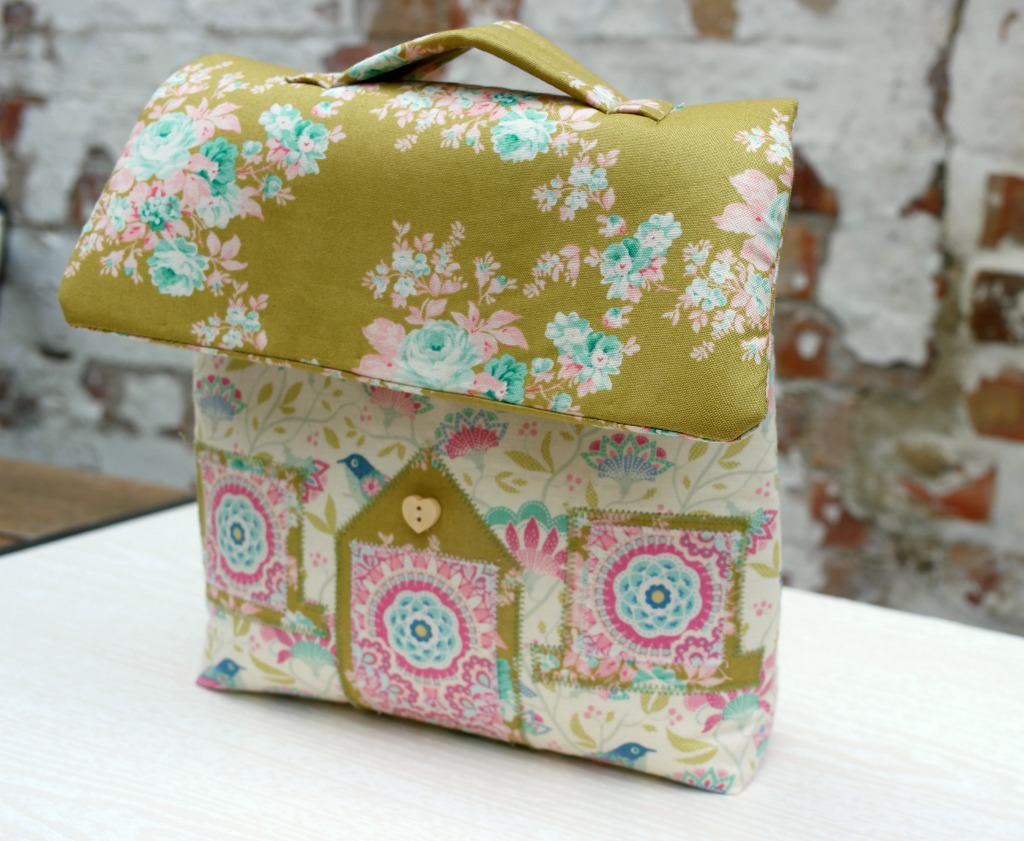
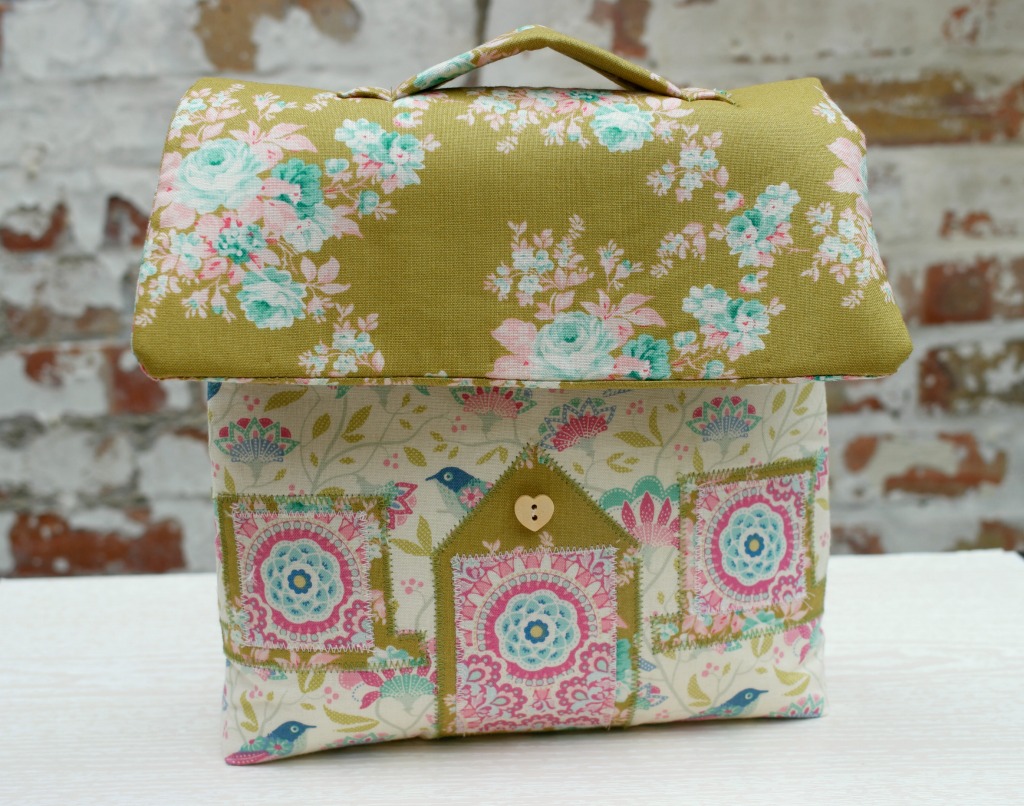
13. Sew the heart button above the door as shown in the picture below.
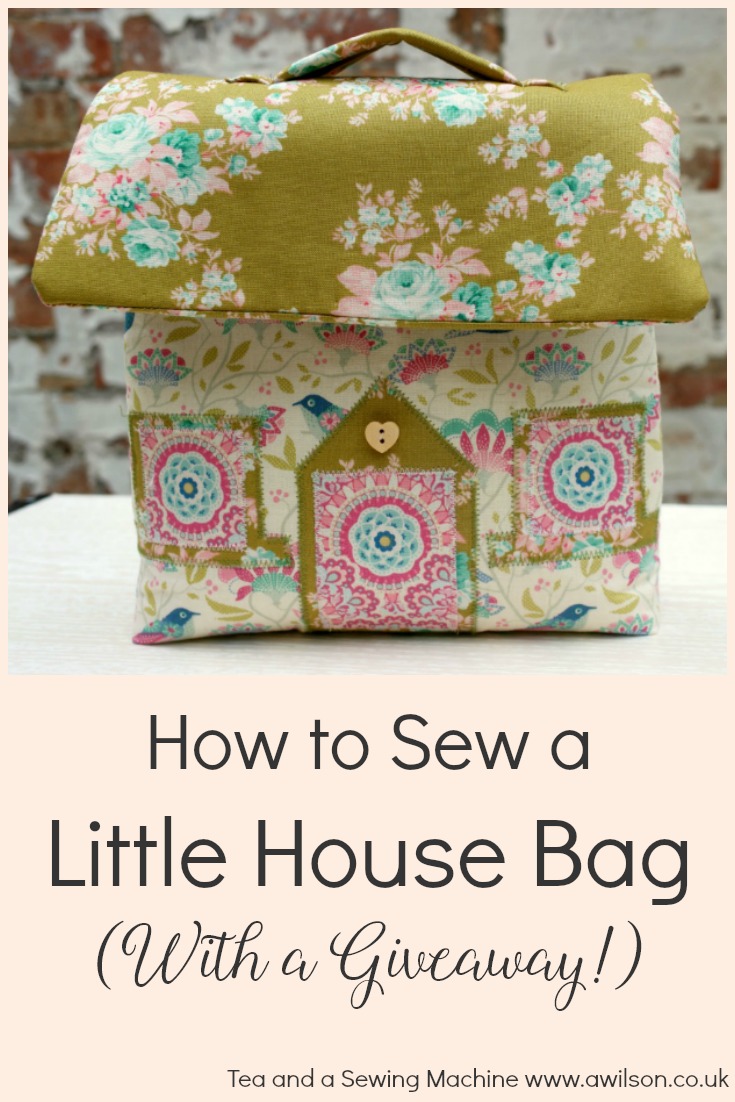
The finished bag is roughly 20 cm square and is perfect if you want a smaller bag. You could use it as a lunch bag or for storing a small crochet project or some embroidery.

I’m a visual learner and not too good with reading instructions. Do you have a video explaining the sewing process?
No, sorry. I always meant to but never got to it!
Hi Anna. This bag is just the cutest, however, I have very little experience in sewing. Did I miss the measurements of the pattern pieces? And if so, where do I find them? Thank you very much.
Hi Valissa, there are pattern pieces which you can download here: https://www.awilson.co.uk/wp-content/uploads/2017/09/little-house-bag-pattern-sheet-1-3-files-merged.pdf
The little house looks very nice.
Thank you!
Very cute house. My granddaughter is getting it with 3 little mice so she can take them with her. She will love it
Sweet! 🙂
Very cute and
fun bag!
Carla from Utah
Thanks Carla!
This is just adorable, I want to make a dozen and give them to every little girl I know 9and keep one for myself!) That may be a little bit ambitious. but I’d love to give this a try. Love love love!
Thank you 🙂
Hello Anna, great idea, very sweet!
I have printed out the templates, but somehow, in 2 different ways and ended up with 2 different sizes. As I can’t see any measurements I’m not sure which is correct. Is there a scale marking somewhere to check if pattern has printed correctly? On looking at the pdf of the templates I notice that the first page is printed portrait and the pages 2 and 3 are printed landscape. I have tried both but on both the main bag piece looks wrong. Printing the main piece landscape only prints half of it. What have I done wrong? Does the pattern include the seam allowances? Sorry if I am asking silly questions … (I have been sewing for more than 40 years!!!!). This bag looks so cute!
Rachel.
Hi Rachel, I sent you an email 🙂
Just seen the little house bag and I know two little girls who are going to love receiving one each for Christmas. If I win the kit their mum can have one as well!
Hope you have fun making them!
So clever, beautiful and quite smart. Looking forward to making this.
Thanks!
This is incredibly adorable!
Thank you!
Ooh, this is so sweet! love it very much!
Thank you 🙂
I’m not really a bag person, but I love this! It’s just so cute and the fabric is gogeous. Thanks for sharing the pattern
Thank you 🙂
The bag is so cute and as soon as I saw it I thought Christmas and a Gingerbread House. Some little girls I think will really love it. Plus you can go as plain or as fancy as you want.
Yes, definitely little girls, and you’re right, it would work in plain fabric too xx
This is such an adorable bag. Can’t wait to make it for my granddaughter. The fabric is so adorable.
Thank you!
This bag is truly gorgeous – I am thinking I could make it with an insulator such as Insul-Bright Insulated Lining and use it as a lunch bag.
Thanks Vicky, that’s a good idea 🙂
Very good and Lovely house! Where did you get the fabric from, it’s so pretty 🙂
Thanks Diana, I was sent it by the people at Sew and So.
This is just gorgeous, I can think of a few little girls that would love one. It would also be a fun accessory for myself too, great talking point. x
I thought talking point too 🙂