How To Transfer Embroidery Patterns To Fabric
This post contains affiliate links.
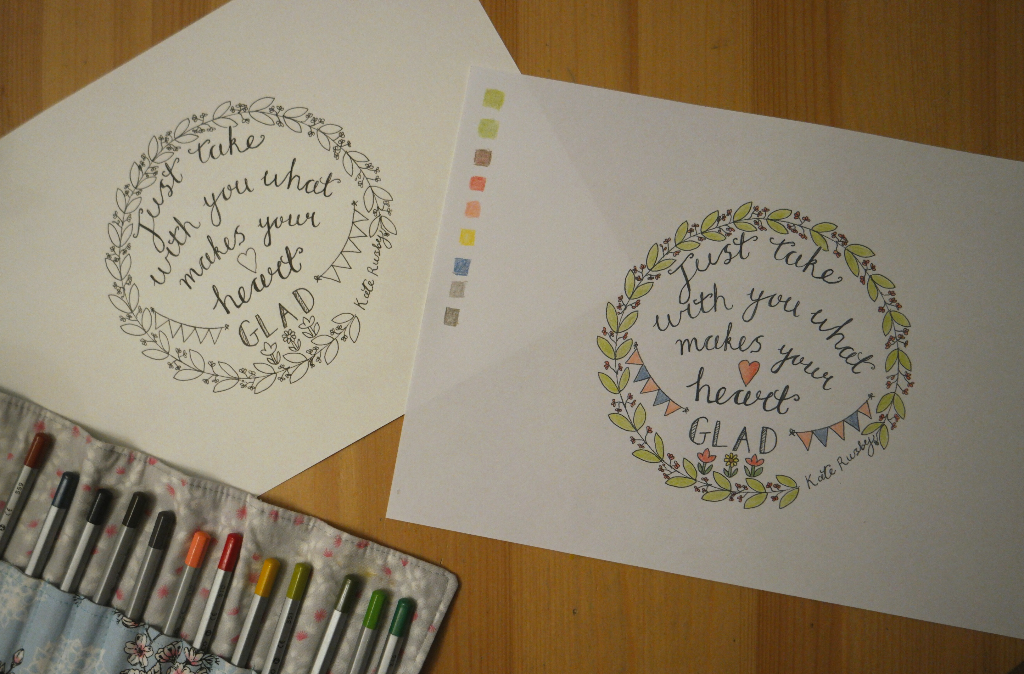
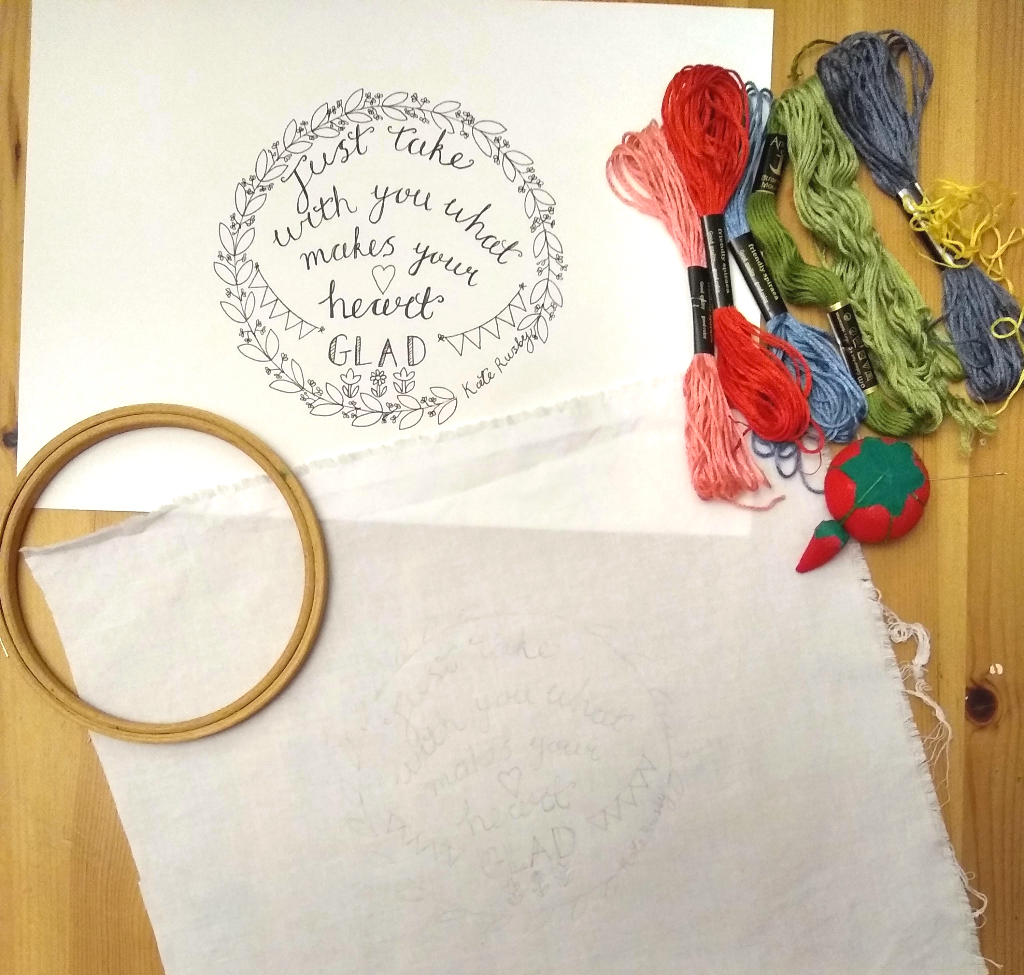
***Are you looking for an embroidery project? The photos used in this post are from an embroidery project I’ve designed for us to do together! The text is a line from one of my favourite songs, Let The Bells Ring by Kate Rusby. It’s fitting for the start of a new year, but is good advice at any time! For more information about the project and to download the free pattern, click here.***

If you’ve made your own pattern to be embroidered, or if you’ve downloaded one from internetland, one of your first jobs will be to transfer the pattern to your fabric.
Over the years, I’ve discovered several different ways to transfer an embroidery design to fabric. Some of them are conventional, some of them are less so!
I’ll get to those in a minute, but a couple of tips first.
Tip 1is that the best method for transferring your pattern will depend on the fabric you’ve chosen, and on the level of detail and complexity of the pattern. It’s one of the reasons why having a few things up your sleeve is always useful! You can use what is best in the circumstances.
Tip 2 is to not worry about transferring all the lines onto the fabric. It’s to give yourself a guide when sewing.
With my current project, I traced the lettering, the flowers at the bottom, the circle of the garland and the leaves on the outside. I need to know where things are, and how big the letters are, but I don’t need all the little details. For example the buds on the garland are easy enough to copy. I didn’t need them drawn onto the fabric. And if it looks wrong, I can always unpick it!

Tip 3 is to use either a washable fabric pen or a pencil. If you’re using a pencil, try to keep the lines light so that they won’t be visible when you’ve finished your sewing. A biro won’t do. It might sound obvious, but I don’t want anybody complaining that I didn’t say!
Trace It
The most obvious and the easiest way to transfer embroidery patterns to fabric!
This works best if the fabric you’re using is lightweight and is a pale colour. It also helps if the lines of the design are black or very dark grey so that you can see them through the fabric.
If your pattern is a digital one and the lines are not black, you could try printing it in black and white.
If this doesn’t work and the lines are still too faint, you might need to go over it with a black pen.
Trace It Using a Light Box
With thicker fabric, tracing might not work. If this is the case, you could use a light box.
A light box is basically a box made from opaque white plastic with a bulb inside. The light is diffused through the plastic, enabling enough light to pass through so that you can see the design through the fabric.
Alternatives To a Light Box
If you don’t have a light box and you don’t want to buy one, there are alternatives.
Alternative #1 A Window
All you have to do here is tape your design with the fabric over it to the window. It will work better if sunlight isn’t coming in directly through the window. A cloudy day is good for this, or a window away from direct sunlight.
Alternative #2 A Computer Screen or A Tablet
This is my favourite option if tracing doesn’t work.
A word of warning though: don’t press too hard or you’ll break the screen! Tablet screens are tougher than laptop screens, but please be careful!
Once you’ve turned the laptop/ tablet on, turn the brightness of the screen up and find something white to display on your screen. Opening a new document on Google Docs will do the trick.
Carefully stick your pattern with the fabric over it onto your screen.
If you can, stick it behind so that it’s on the outside of the laptop or tablet. If you can’t avoid sticking things to the screen, use washi tape or something else that’s not very sticky so it won’t damage the screen.
Use a soft pencil or a fabric pen to gently trace the design.

Print the Design Onto the Fabric
I have tried this several times and it is my least favourite method for transferring embroidery designs to fabric!
The main thing here is to make your fabric as much like a piece of card as possible, and to tape down all the edges so that any loose threads don’t get caught up inside the printer.
You can use freezer paper by ironing it onto the wrong side of the fabric, then taping down the edges, or you can stick it to a piece of card.
I have used washi tape to stick the edges down as it is easy to remove. The disadvantage with this is that it’s not very wide, so it’s difficult to get all of the edges stuck down and loose threads contained.
Once this is done, pop the fabric in the paper tray with the fabric face down. Then hit print.
I have found that this method sometimes works, but when it doesn’t fabric gets wasted because it gets ruined in the printer.
Also the amount of time it takes sticking it all down, untangling the threads from the printer’s insides and reprinting when it goes wrong means that it actually isn’t any quicker than the other methods.
Dressmakers’ Carbon Paper
Using dressmakers’ carbon paper usually works fairly well, but if you’re new to it, it might take a few goes until you get the hang of it.
It comes in a variety of colours. For light coloured fabric, I’ve found that the blue works best, although red works quite well too. I haven’t tried using it on dark coloured fabric. The official advice is to use a colour that’s close to the fabric colour, but I couldn’t see it!
To transfer the design, put the carbon paper over the fabric with the coloured side down. Pop the embroidery pattern on top, then trace over it with a pencil or a dried out biro.
You might have to press quite hard. It’s a good idea to try it out first on a scrap piece of fabric.
Tissue Paper
Using tissue paper is a traditional method used to transfer embroidery patterns to fabric. If you buy an embroidery pattern already printed, there’s a good chance it will be on tissue paper.
The way this works is that you pin the pattern to the fabric, then sew the design through the paper and the fabric. When you’ve finished, you pull the tissue paper away.
It has the advantage that no marks will be left on your fabric.
On the downside you might have to spend quite a lot of time pulling tiny bits of tissue paper out of your stitches with tweezers.
Stick n Stitch
I haven’t actually used this method, although it’s one I want to try!
Stick n Stitch is a water soluble stabiliser. To use it, print the design onto the fabric side (it will probably need to be fabric side down when you put it into the paper tray of your printer, but check first).
Stick the design to the fabric, then sew over it. When you’ve finished, cut away as much of the Stick n Stitch as you can, then wash it off. Lisa from Cucicucicoo explains how to do this with pictures here.
I’m not pretending to be an expert here, and there might be other ways to transfer embroidery patterns to fabric that I’ve not mentioned. If you have a favourite not listed here, then feel free to add it in the comments!
Don’t forget, if you want a project, you can download Just Take With You What Makes Your Heart Glad here.
You might also be interested to know that I have craft kits for sale on Etsy here, including some embroidery ones.


I really like your post. Thanks a lot great information shared with us.
Very helpful article
Cheryl Weeks recently posted…What Is the Best Sewing Machine for Upholstery?
Thank you
Best Post thanks for sharing this information I really like your posts.
Sana Haris recently posted…Covid-19 Awareness
Thank you so much for all this information, will certainly have a go, x