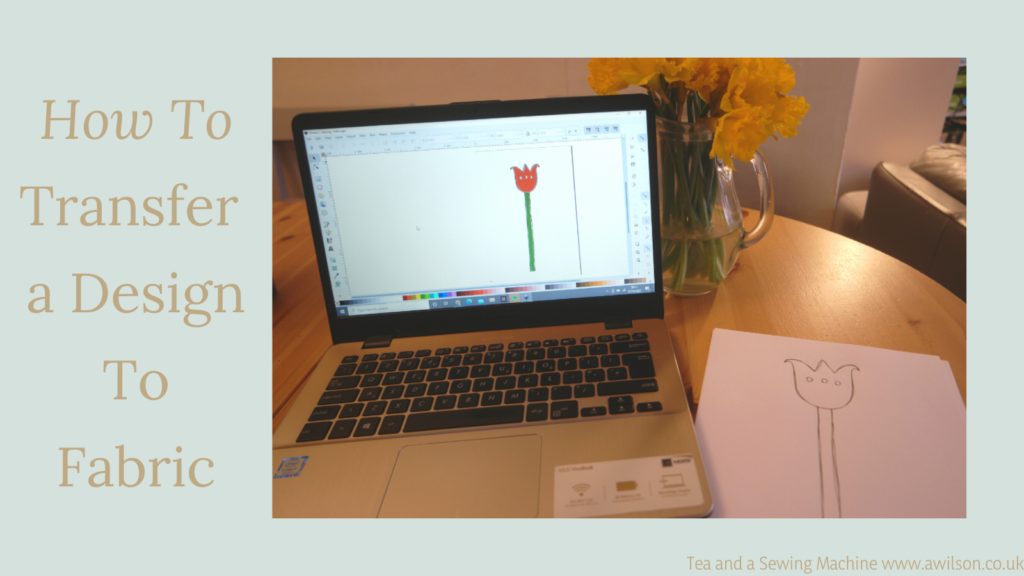
One of the things that’s on my sewing/ crafts/ mini internet empire to do list is to create a range of craft kits where the designs are already printed onto fabric. Inside my head there are bags, purses, aprons, even a lovely skirt with giant flowers and a scalloped hem.
I’m rarely short of ideas, but unfortunately time is often in short supply and I’m not the most organised of people.
But the lovely spring weather we had last week has inspired me to get on with some spring inspired projects.
Using a printing service to transfer a design to fabric is not as expensive as you might think, and it is possible to just get one or two metres if that’s all you need. There’s a list of places in the UK that offer printing here on The Sewing Directory.
But for a little project like a bag or a purse, it’s probably not worth it.
So here are some alternative options if you want to transfer a design to fabric.
Fabric Pens
You’ve probably come across these but if not, fabric pens are a kind of felt pen that you can use to draw on fabric. They are permanent so they don’t wash out.
It’s been a long time since I used fabric pens, and I recall that it looked as if I’d drawn on the fabric with an ordinary felt pen.
This was a long time ago and it’s possible things have changed! When I was having a look at fabric pens while writing this post, I found that some people have managed to make things that look lovely.
As I’ve said, I haven’t used fabric pens recently, so I can’t recommend a particular kind. But if you want to try them. I would go for the ones that are marketed towards adults rather than the kind aimed at children.
Embroidery
For a smaller design you could embroider by hand. There’s a post here on Sum of their Stories about adding embroidered flowers to a shirt.
For something larger you could use the sewing machine.
Sewing machine embroidery is a whole thing in itself, but when I’ve used the sewing machine for embroidery I’ve used it as I would normally.
The only thing I would say is that it’s easier if you have a transparent foot. I’d also use a smaller stitch, especially if you need to sew corners and tight curves. Any details can be added by hand later.
If you want to investigate machine embroidery more fully, there is a post here.

Applique
If you have a colourful design that you want to transfer to fabric, then applique might be the way to go.
You also have the option of using printed fabric, which can add an element of interest which might be difficult to achieve otherwise.
The trick here is to keep things simple and to use simple shapes as far as possible.
Fusible interfacing will help, especially if the fabric you are using is on the light side.
Build it up in layers and don’t try to sew everything all at once! If you are worried about remembering where everything goes, take a picture with your phone.
Applique can be combined with embroidery to add detail.
Carbon Paper
Dressmakers’ carbon paper can be used to transfer designs onto fabric. It works in the same way as ordinary carbon paper and can be a good way to transfer a design onto fabric if you want to embroider it.
All you have to do is pop the carbon paper coloured side down on top of the fabric, put your design on top of that and draw over it.
It takes a little bit of getting used to and you do have to press quite hard, so it’s probably a good idea to practise first.
Print with a Computer
I’ve used this to transfer designs for embroidery, but I’ve never tried it for pictures.
It worked fairly well, although I did have a small problem with ink splodges on the fabric. The printer I used was quite old and it might work better with a newer printer.
Some people recommend sticking freezer paper to one side. I’ve tried this, and I’ve also tried taping fabric to thin card.
The important thing here is to make sure that there are no loose threads, because there’s a good chance they’ll get caught up inside your printer and then it’s a major headache trying to cut the fabric out of the printer and untangle the threads from the rollers. Guess how I know!
So if you want to try this, make sure that there are no loose bits. Stick the fabric onto a piece of thin card. Tape down all the edges.
Check which side of the paper the printer will print onto. Then put your fabric into the paper tray. If you can, change the settings so that the printer thinks it’s printing onto card.
When it’s printed, all you have to do is remove the card and the tape.
Light box
This can be used as an alternative to carbon paper.
If you don’t have an actual light box it doesn’t matter. All you need is something that will allow enough light to shine through so that you can see your design through the fabric. A torch and a glass topped coffee table might work.
For smaller projects I’ve used a plastic box (like an ice cream container or the sort that Chinese takeaways sometimes come in!) and my phone. I’ve also used the screen of my laptop, but if you do this please be careful! Laptop screens break very easily, so it’s probably safest to use a soft pencil and avoid pressing too hard.
If you have a favourite method for transferring a design to fabric, feel free to share it in the comments below!
And if you liked this post, you might also like this one about making your own handlettered designs for embroidery.


Great idea to transfer a design to fabric.