How to Sew Trousers From Your Own Measurements
Last week I showed how to draft a trouser pattern from your measurements. The trouser pattern I made was for Cosmo’s measurements, but the same principles apply whatever the size of person!
So now I’m going to explain how to sew trousers from the pattern you’ve made so that you can have a beautiful pair of made to measure trousers!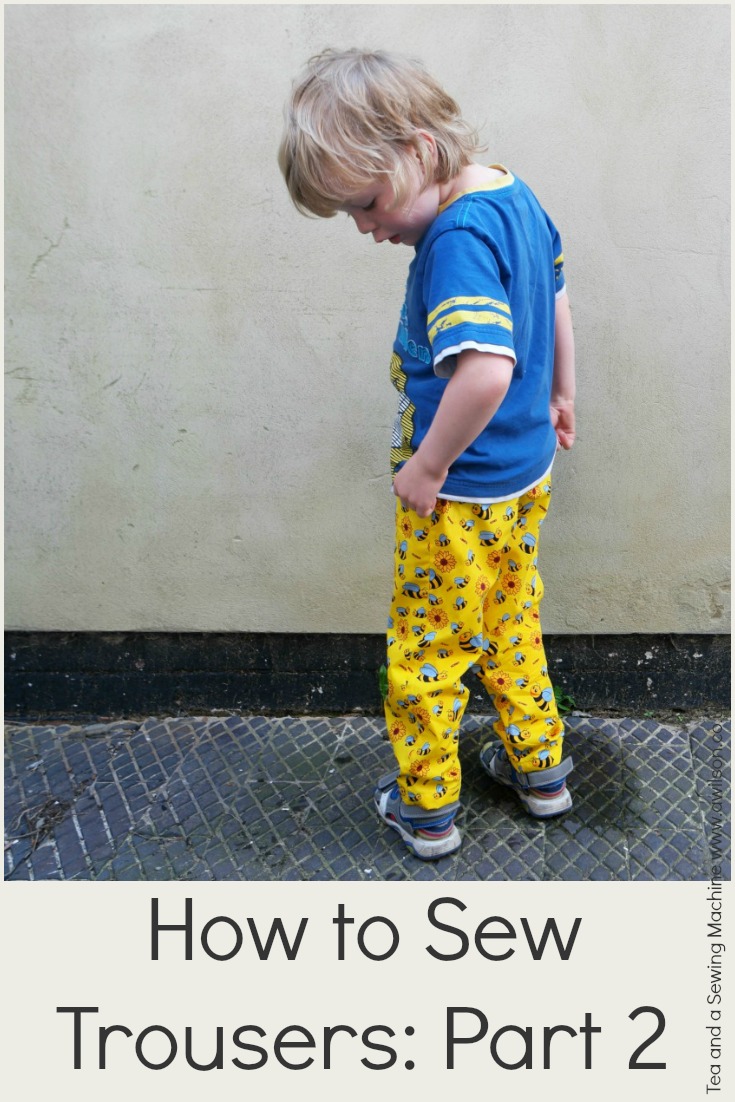
How to Sew Trousers
You Will Need
Your trouser pattern pieces (you should have a back piece and a front piece. If you haven’t made them yet, you can find out how to here), fabric (I used cotton), elastic, usual sewing supplies.
Cutting Out
To cut out your pattern pieces, you will need 2 each of the front section and the back section. Cut them on folded fabric so the pieces are mirror images of each other.
Did you add a seam allowance to your pattern pieces? If not, don’t worry. Just add an extra cm or 2 around the outside of the pieces while you’re cutting out.
Make sure that you add about 5 cm to the top of the waist to allow for the casing for the elastic.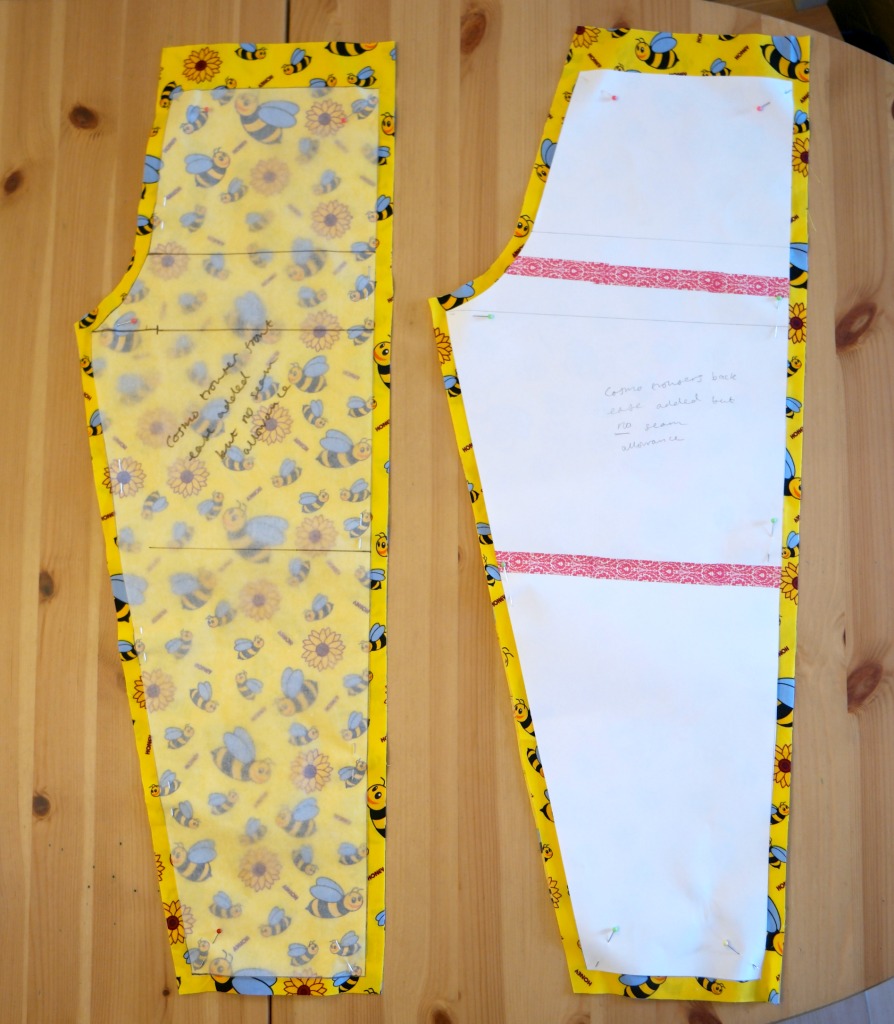
Sewing Up
1. Take the 2 front pieces and pin them, right sides together, along the centre seam. This is the bit that goes from the waist to the end of the crotch extension. 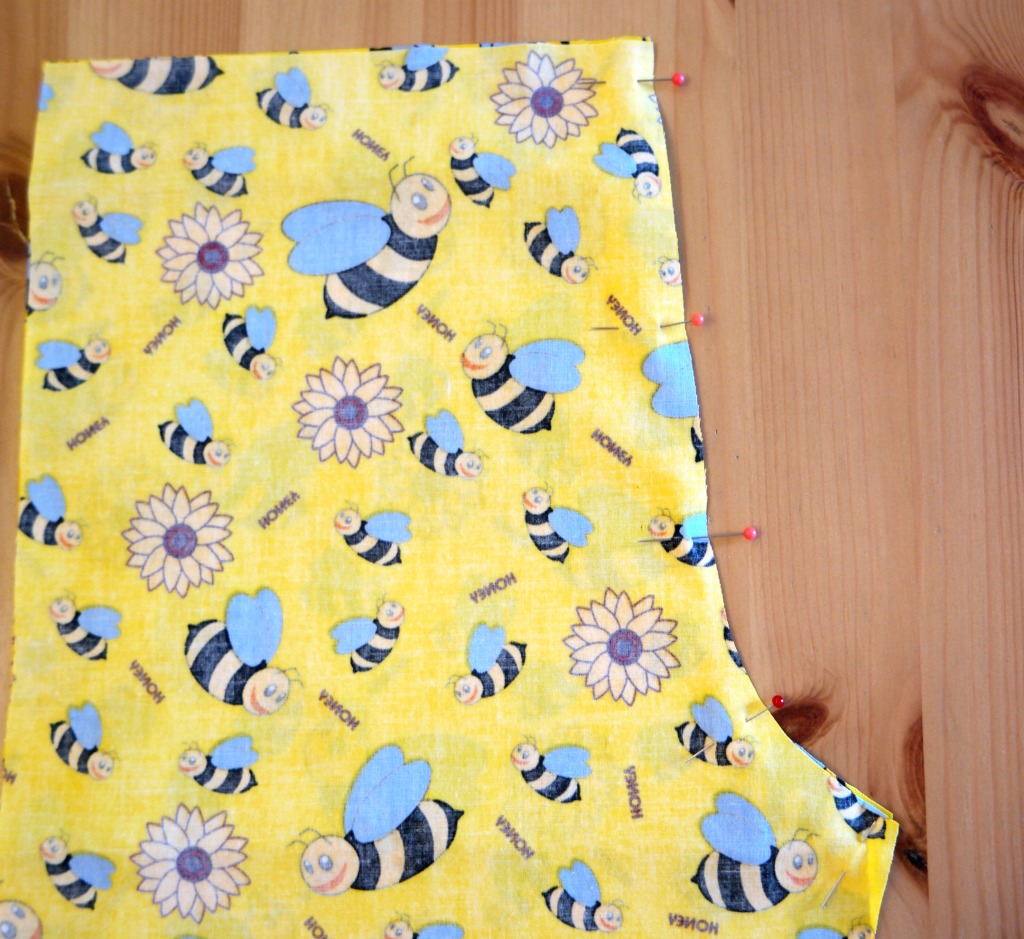 Sew the seam. Trim it and clip the curved part. Press the seam open.
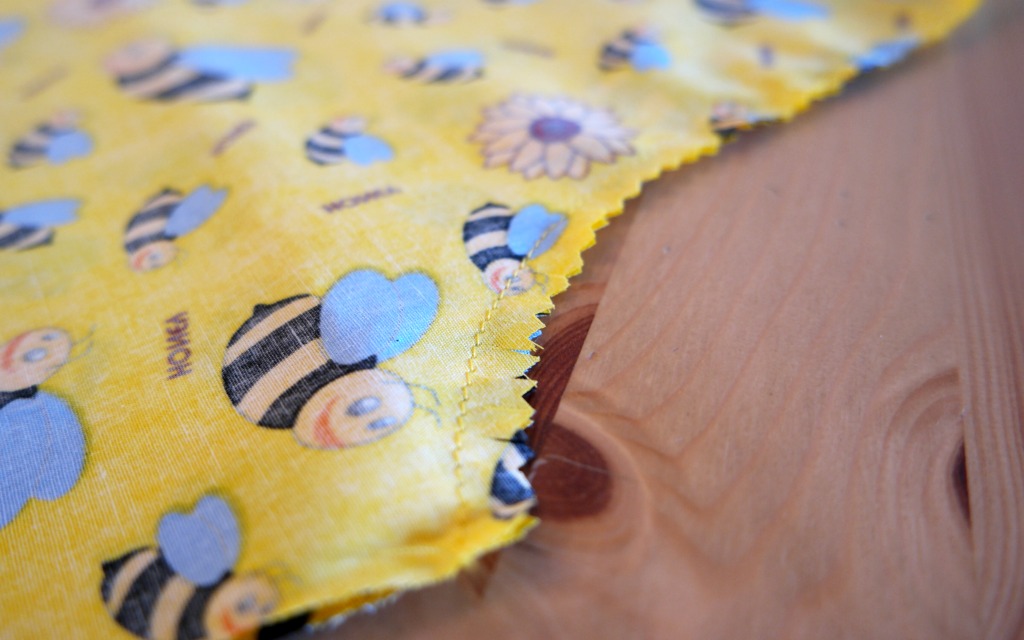
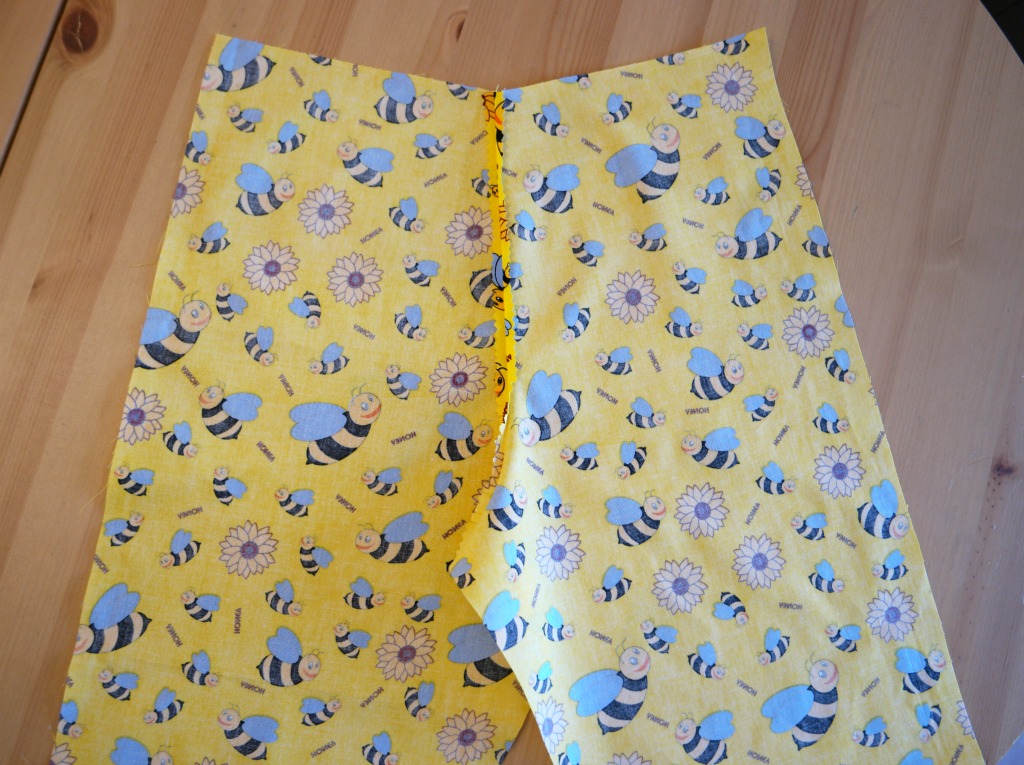
Do the same with the 2 back pieces.
2. With the right sides together, pin the front and back pieces along the side seams. Sew them, then trim the seams and press them open.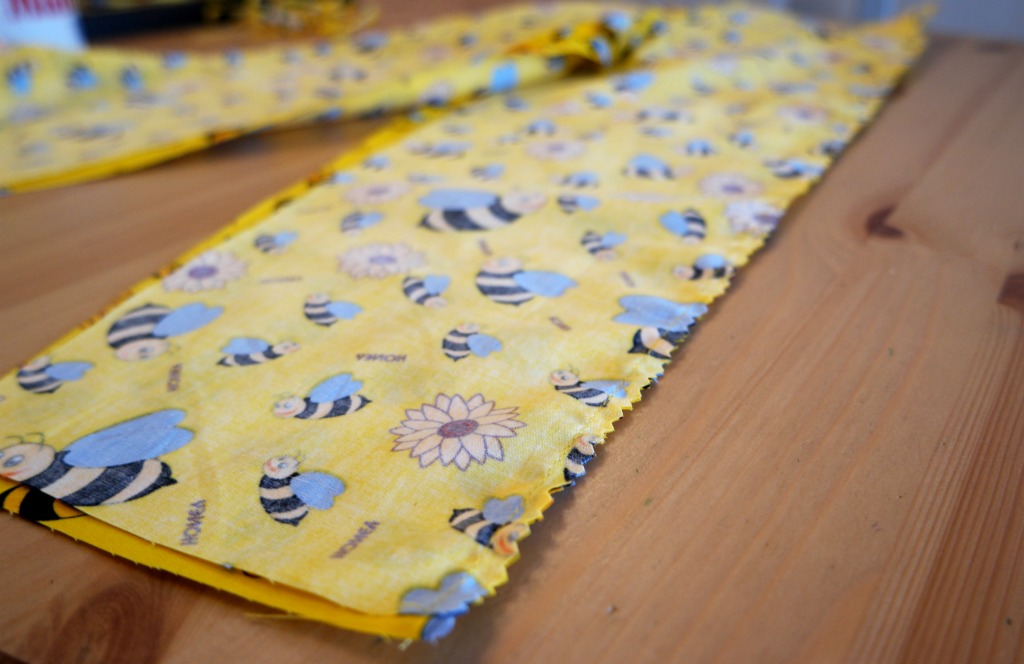
3. Now pin and sew the inside leg seams. I always start at the centre so that I can be sure of the centre seams matching. I’d also sew over the centre part a few times as this the part of the trousers that is put under the most strain, especially on a 4 year old’s trousers!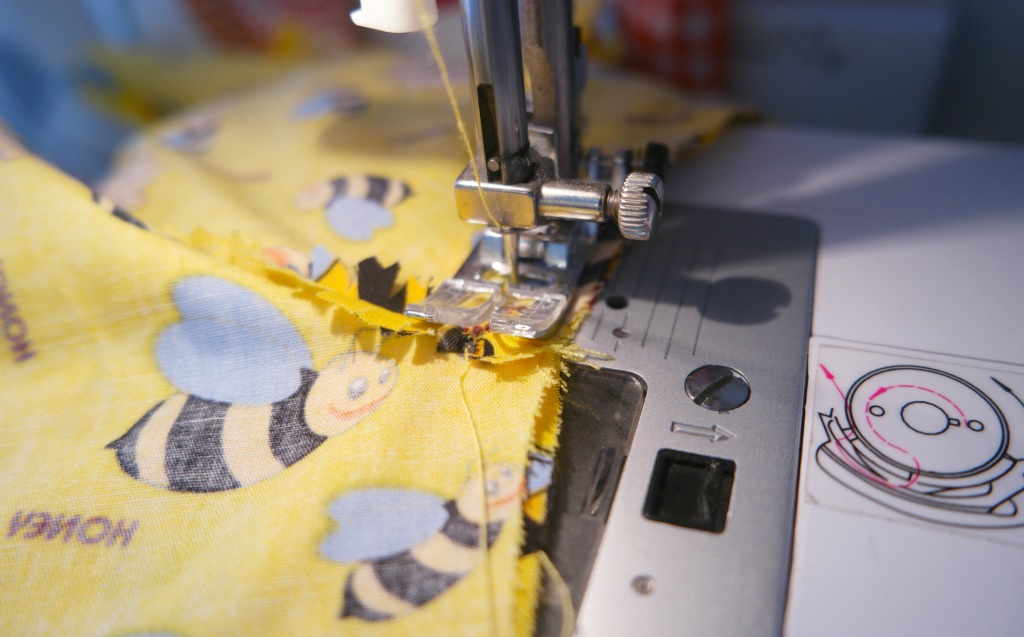
Trim the seam but not too closely! Clip the curves. It will be difficult to press this seam, especially on a child’s trousers unless you have a small ironing board for ironing sleeves and little trouser legs (affiliate link). Do what you can, but don’t worry too much.
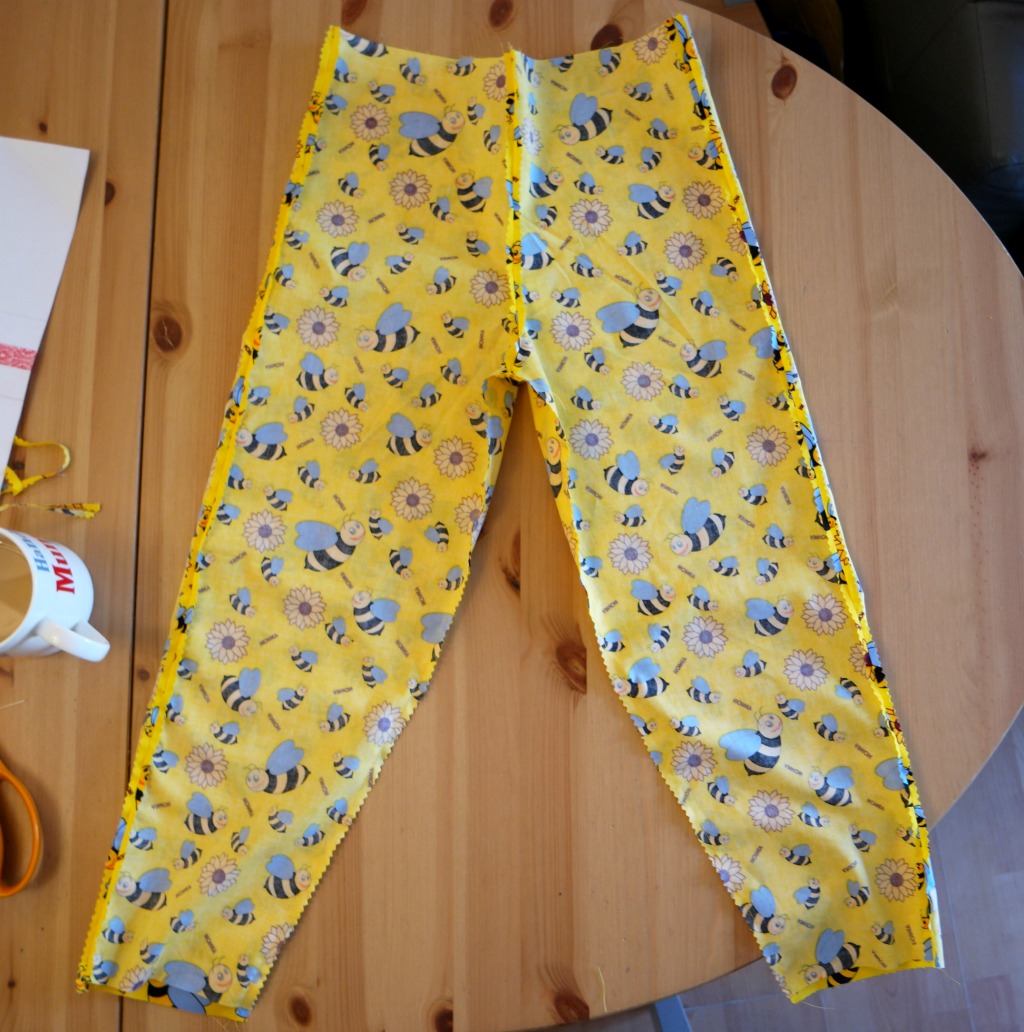
4. To make the casing for the elastic, fold the top of the trousers over about a cm, then fold it over again another couple of cm. Pin it, then starting about half a cm away from the centre back seam. Make sure that you that you sew close to the folded edge furthest from the top of the trousers or you won’t be able to get the elastic in!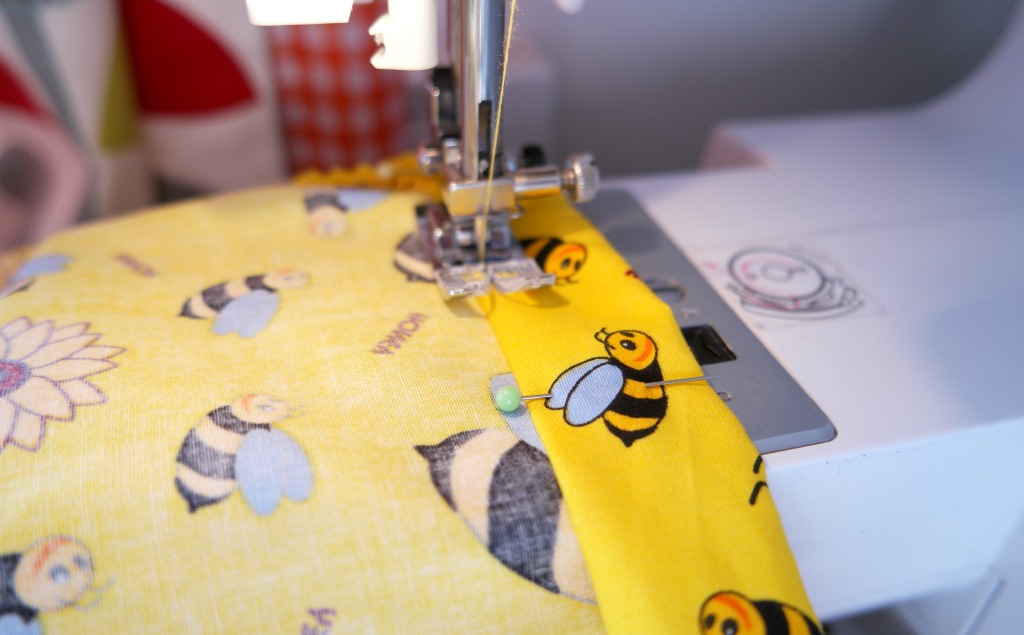
When you get back near to where you started, stop sewing about half a cm before the centre seam. This will leave you an opening of about a cm to get the elastic in when you thread it through the casing.
5. Hem the bottoms of the trouser legs by folding the hem over about a cm, then folding it again. Pin, then sew the hem, keeping close to the folded edge furthest away from the bottom of the trousers.
To get a nice, neat finish to the hem, match side seams while you’re folding.
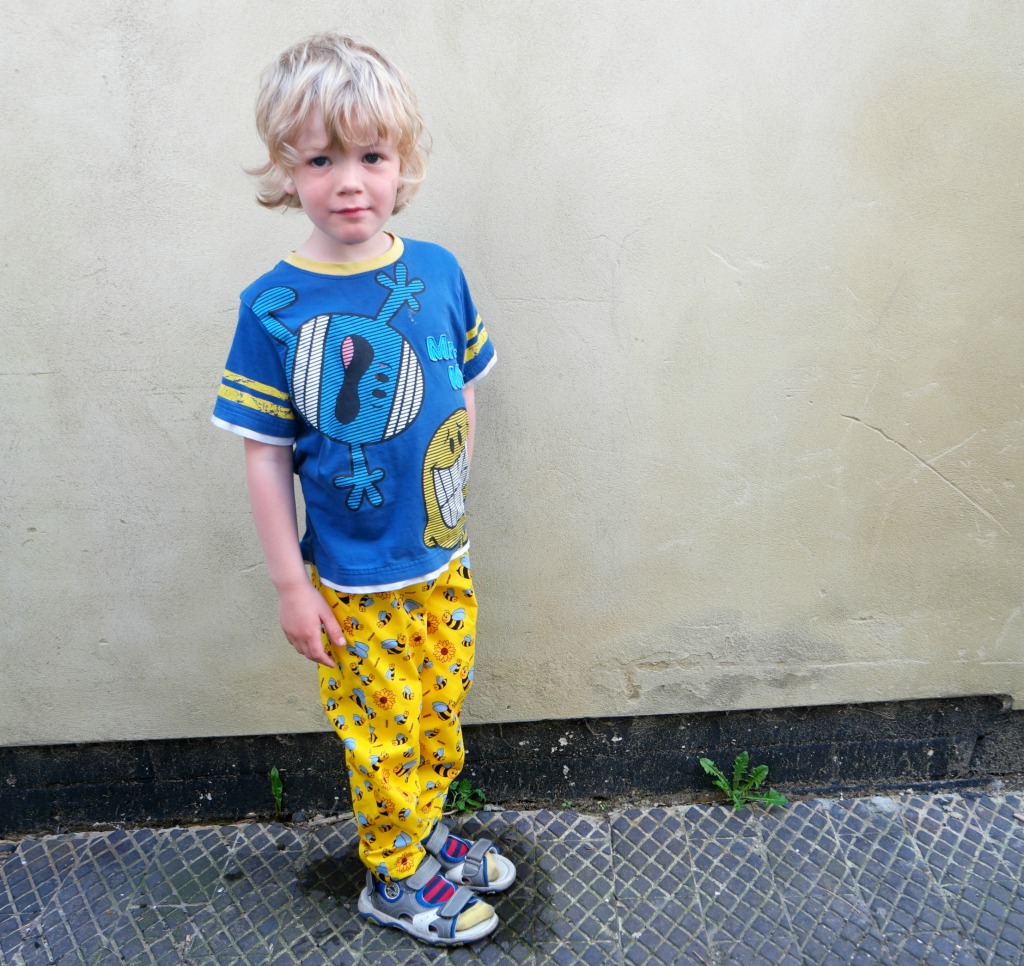
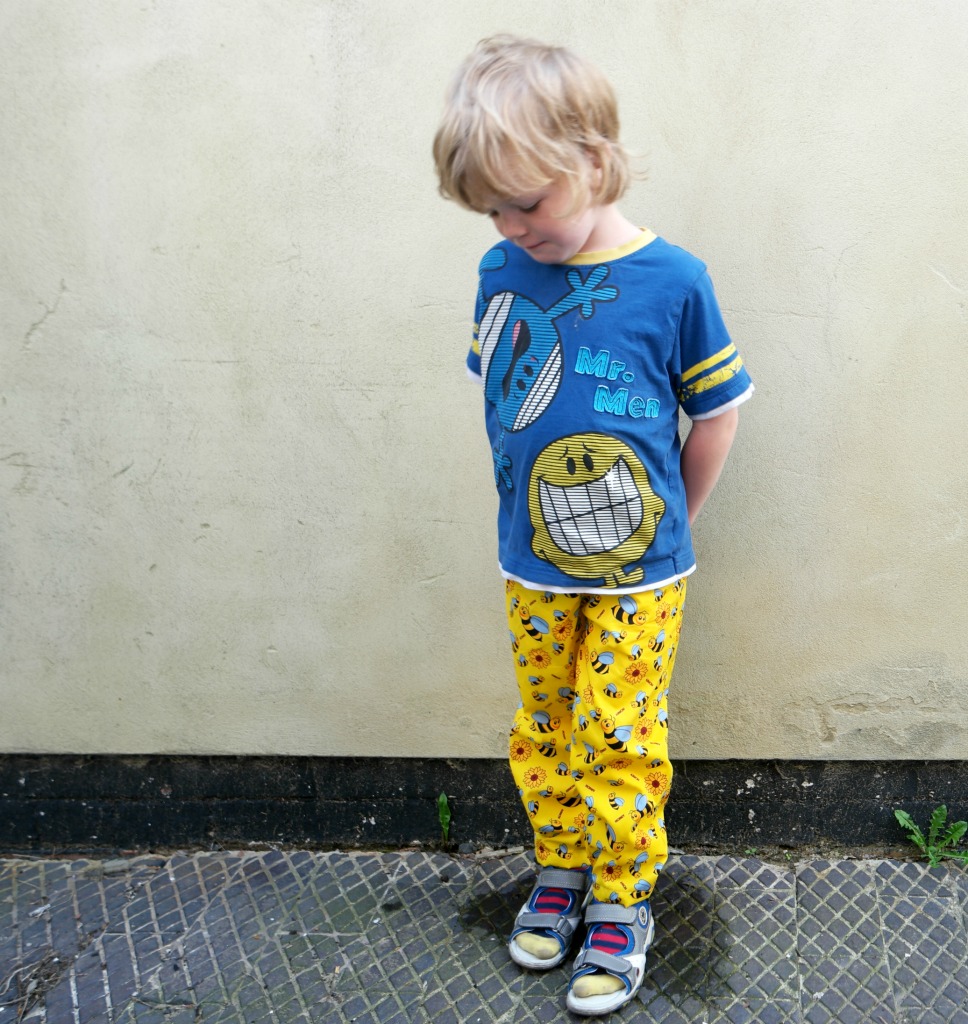
Trim away any stray threads, run the iron over them one more time and your trousers are ready to wear!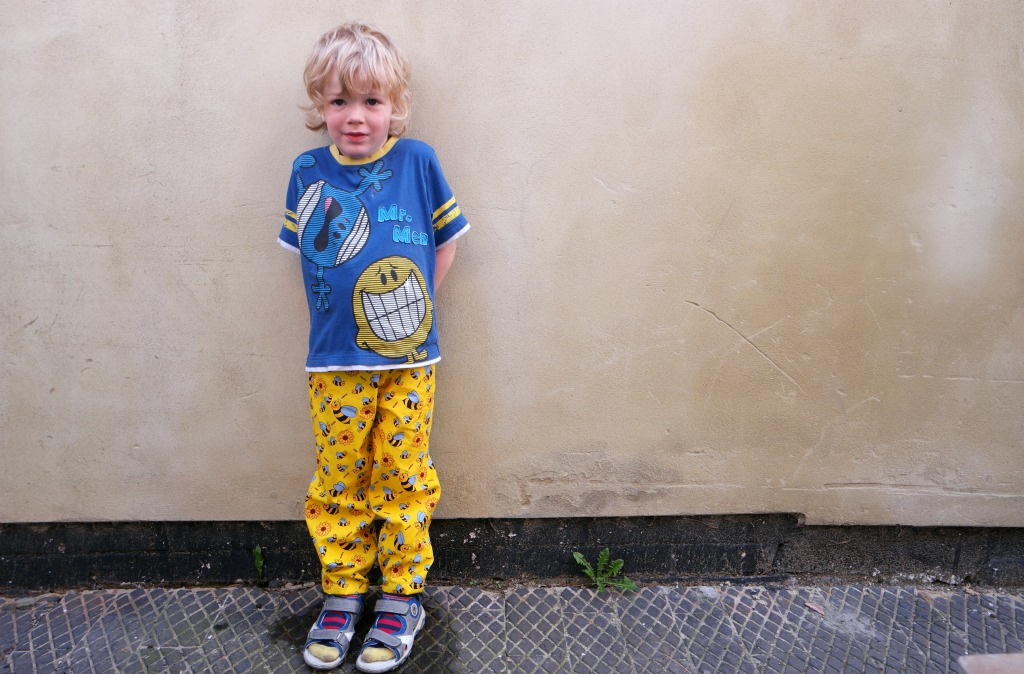
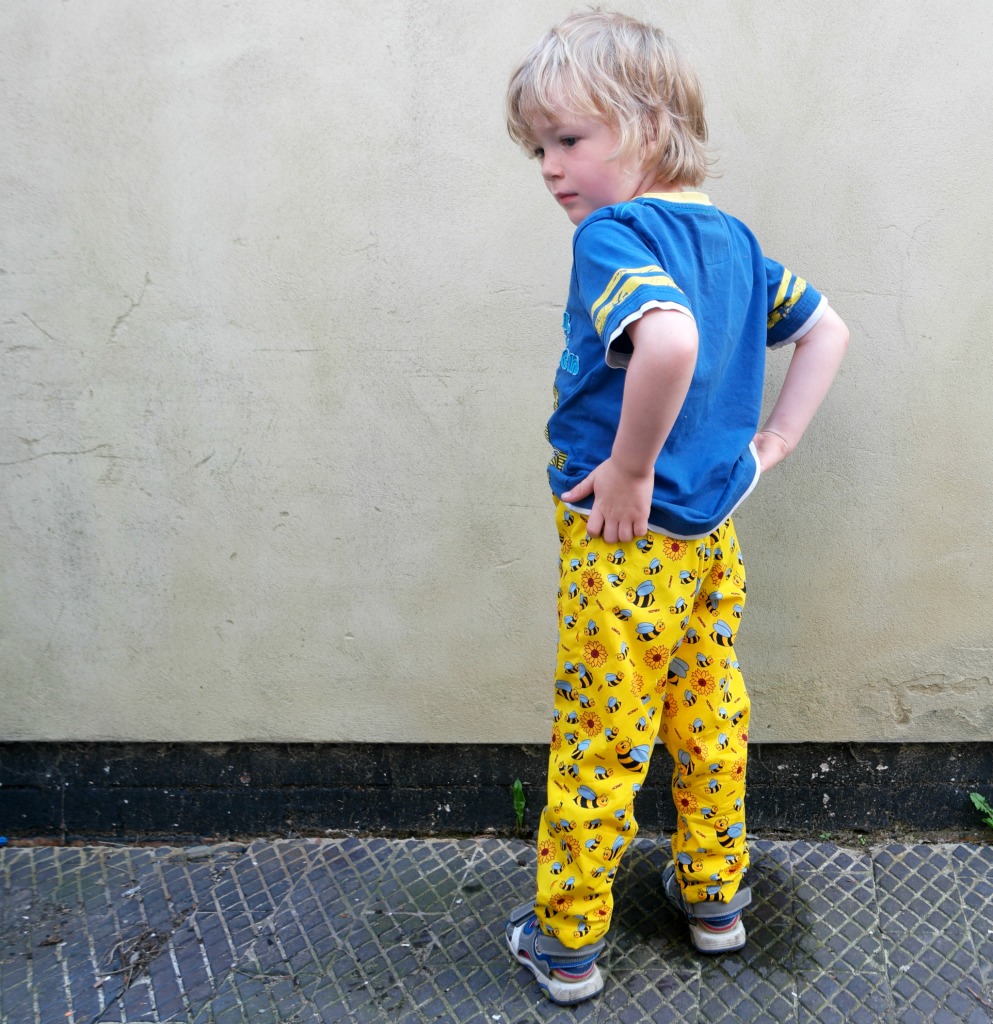
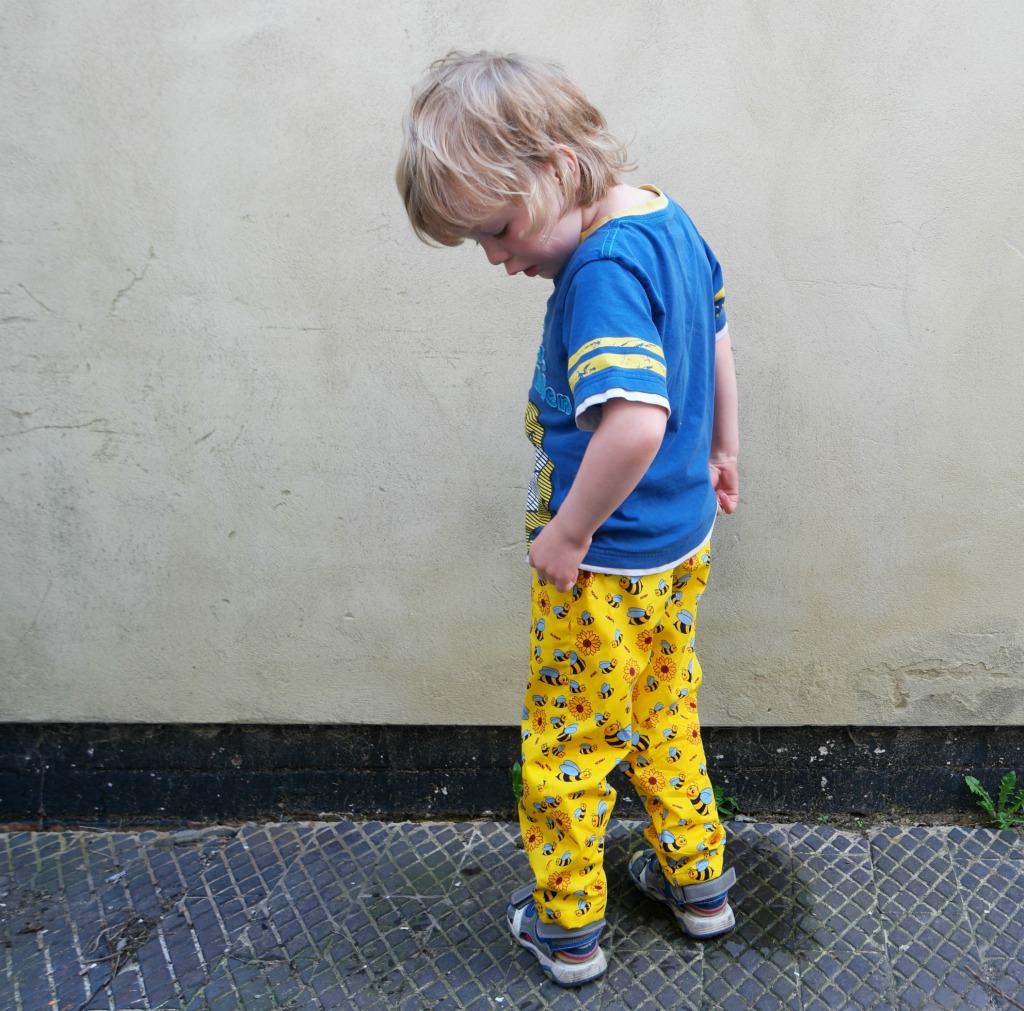
Linking up here.
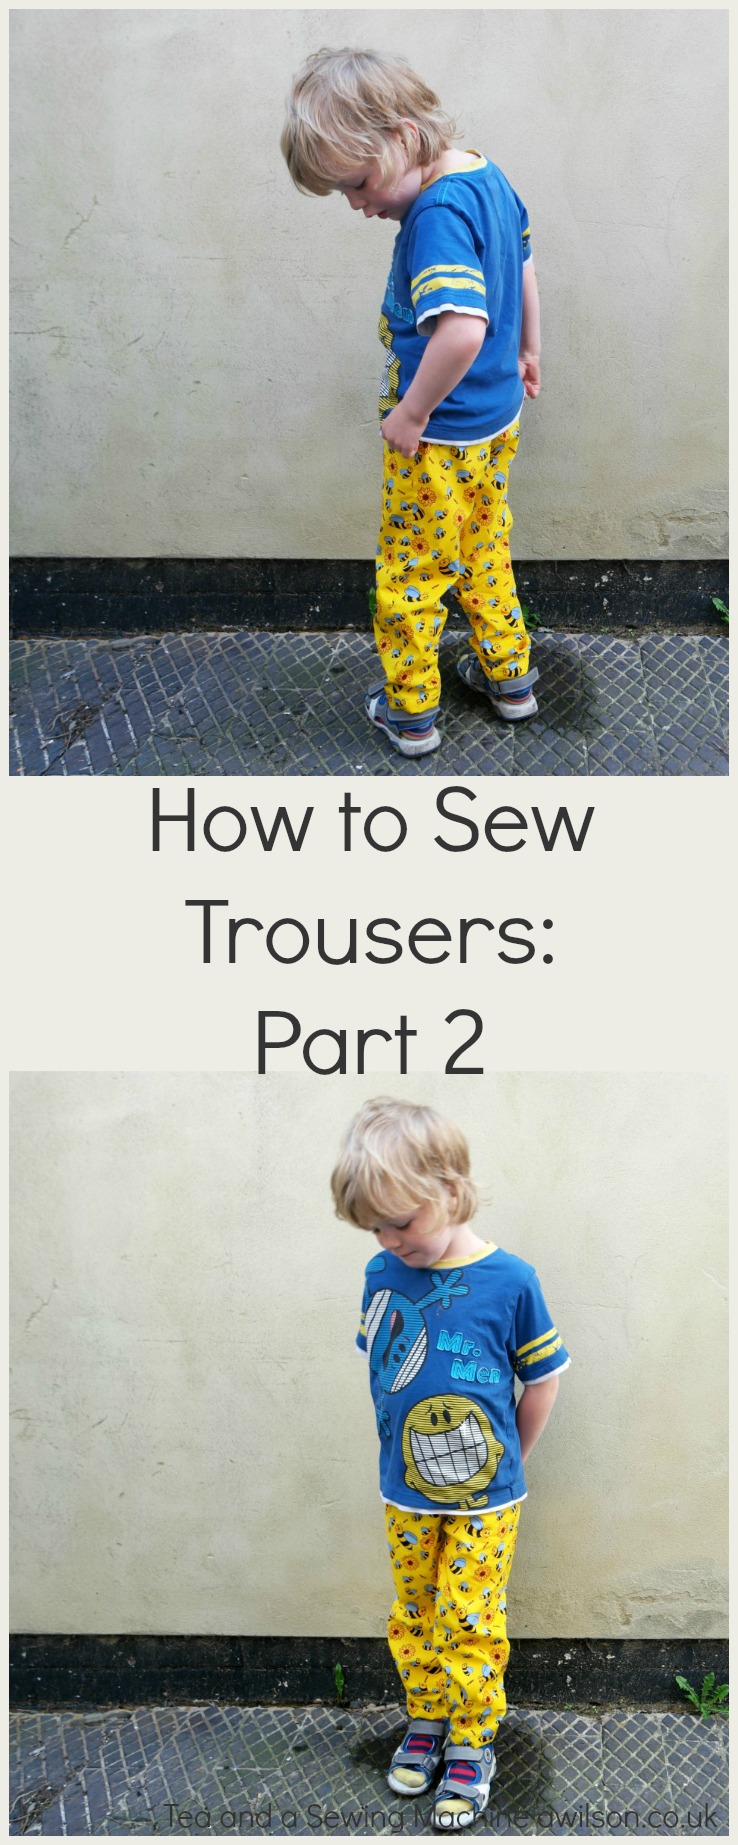


Wow so it is this simple thanks for sharing am thinking of trying this too. You have got a lovely boy thre.
Thank you! It’s quite an old post and he’s 7 now!
You make it so clear and straight forward. New PJ bottoms for my oldest lad using your pattern making in part one and this method is firmly on my to do list!

Julie recently posted…Christmas Ornament Recycling
I’d love to see them if you make some!