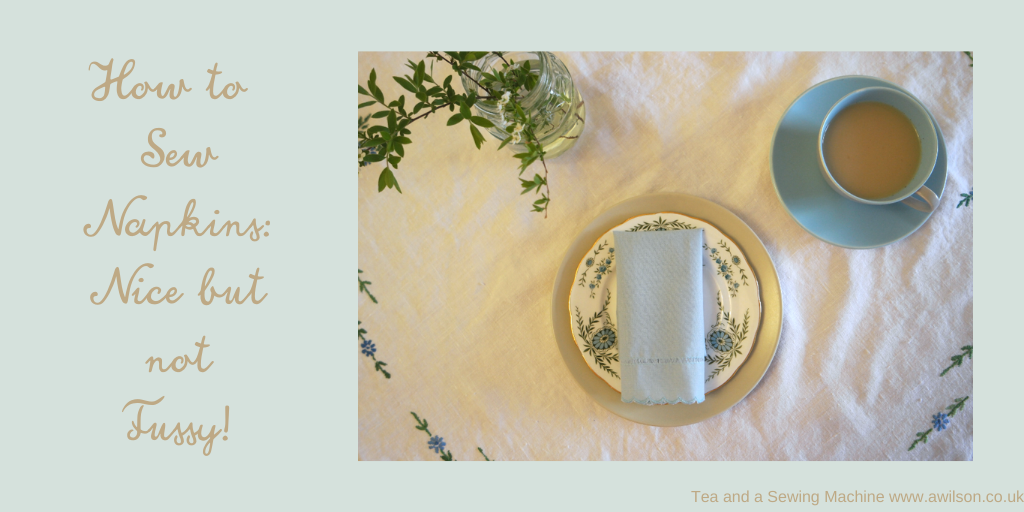
It’s the first time in several years that we’re actually at home for Easter. This isn’t what we’d planned! Easter is a good time to go on holiday. The bank holidays mean extra days and the weather is often alright (and sometimes lovely!).
We had planned a trip to Japan, but because of the current situation we’ve had to postpone it.
I’m trying not to think about it too much. At least we are all at home and safe. And Easter, like Christmas and springtime, swings round again regardless of whatever else is going on.
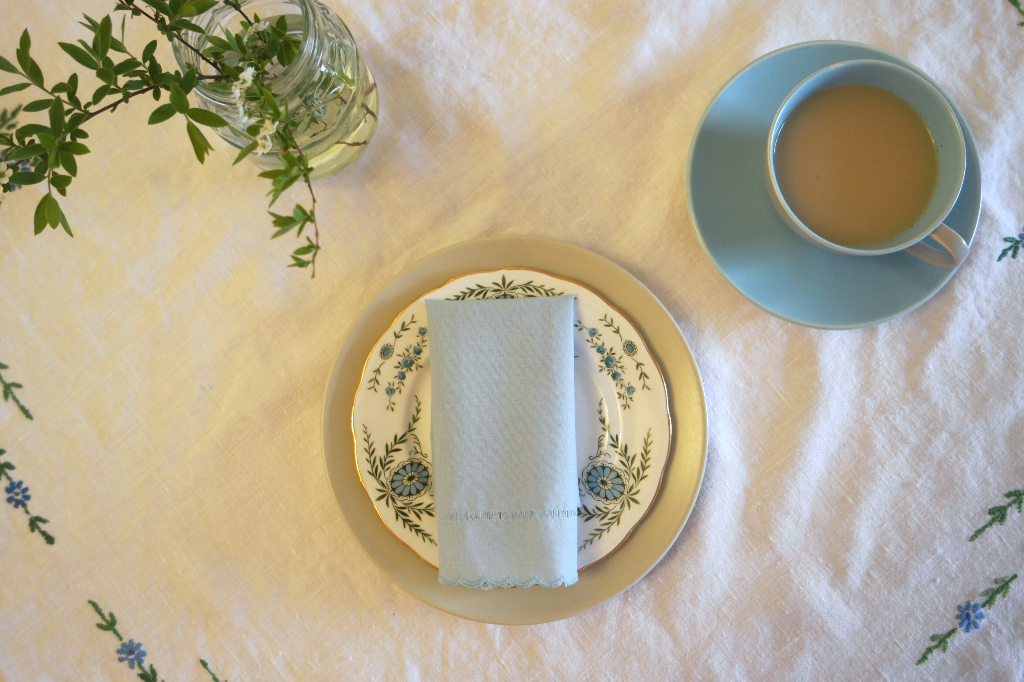
I wanted to make the table nice for our lunch on Easter Sunday, so I decided to sew napkins. I had plans to make a similar thing but larger for the centre, but I ran out of time.
As you probably know already, I like things that are pretty! I’m not a huge fan of fussy though. And living in a house full of boys, there is a limit to what I can get away with!
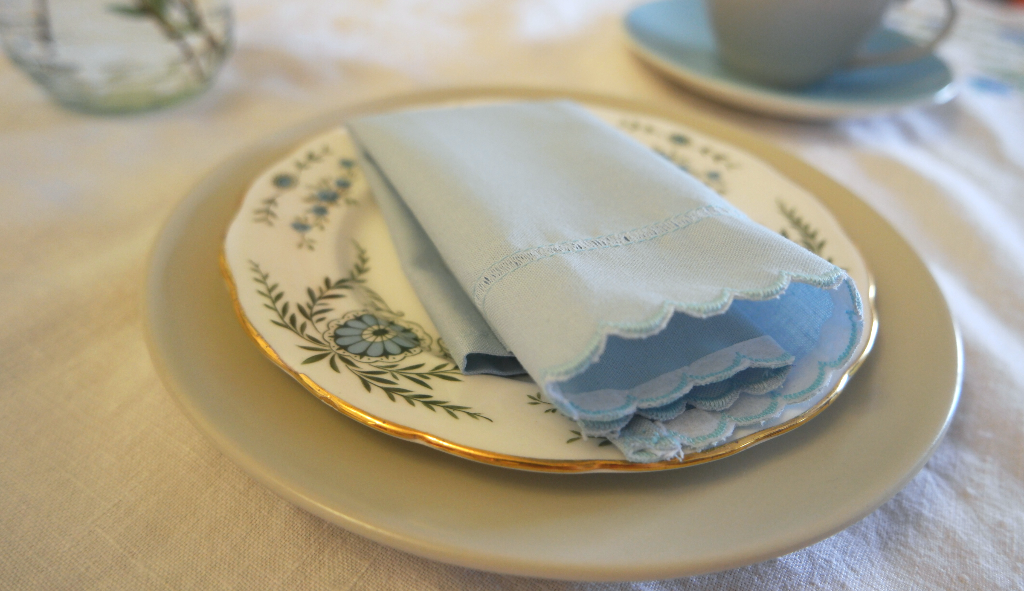
So I opted to sew napkins in a pretty blue colour. Easter is a special time, and I wanted my napkins to be special too, but simple and not fussy.
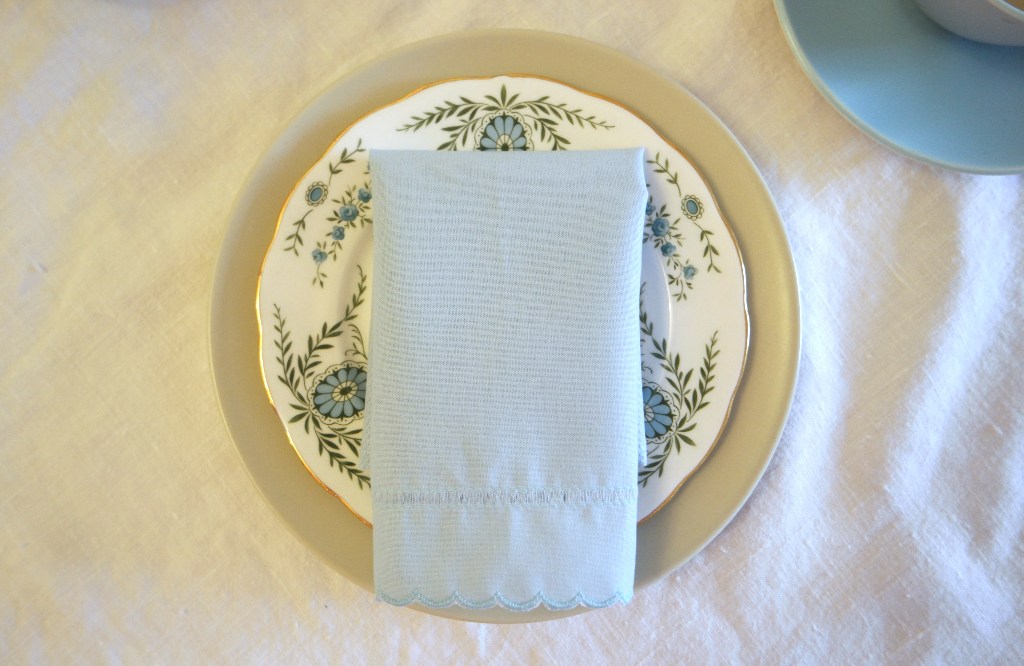
The technique I’ve used here involves pulling out some of the threads and sewing so that the others don’t become loose. I actually did this once before, years ago, when my eldest was a baby and I made him a christening gown for his dedication.
For the scalloped edge, I actually used the fancy stitches setting on my sewing machine, which I don’t think I’ve ever used before!
The napkins also have mitred corners so that they’re nice and neat.
I like these napkins so much I might make some more in different colours!
The fabric I used came from this shop in Swindon. This isn’t an affiliate link; I just want to do my bit at the moment to support smaller businesses when lots are struggling.
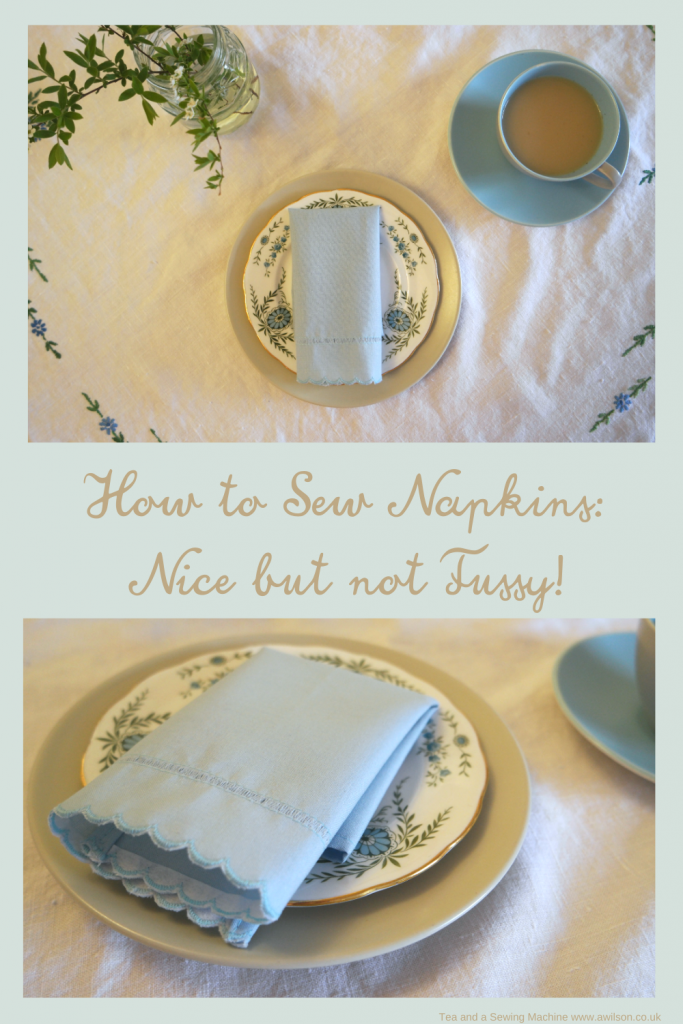
Instructions For How To Sew Napkins
You Will Need
Fabric for your napkins. Cotton is best.
A small amount of interfacing. The iron on kind is easiest, but you can use what you have.
An unpicker
Usual sewing supplies
Cutting Out
Cut your fabric into squares. Mine were about 25 cm (10 inches) square. If you have a fat quarter, you could just fold it into 4 and you’ll have 4 squares about 25 cm square.
Cut the interfacing into strips 25 cm x 1 cm (10 inches x 1/4 inch).
Decorating the Napkins
Scalloped Edging
Attach the interfacing to which ever side will be the wrong side, about 1 cm (1/4 inch) up from the bottom edge. If it’s not the fusible sort, pin it but be sure that you can get to the pins easily!
Set your sewing machine to make scallops. It’s a good idea to practise first.
My practise attempts were a disaster until I realised that the bobbin footplate area probably needed cleaning as the feed dogs haven’t been working properly for a while. After removing a shocking amount of fluff, I’m pleased to say that everything is working well! Practising will also help you to determine what size you’d like them. You might need to change the foot, so check before you start.
Sew the scallops about a cm (1/4 inch) up from the bottom edge, over where you attached the interfacing.
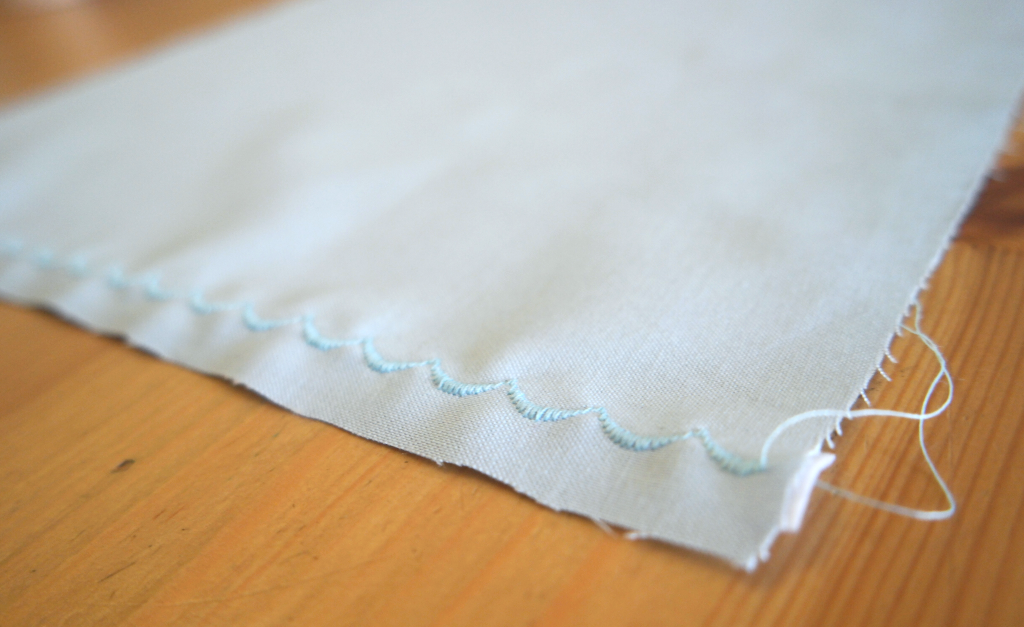
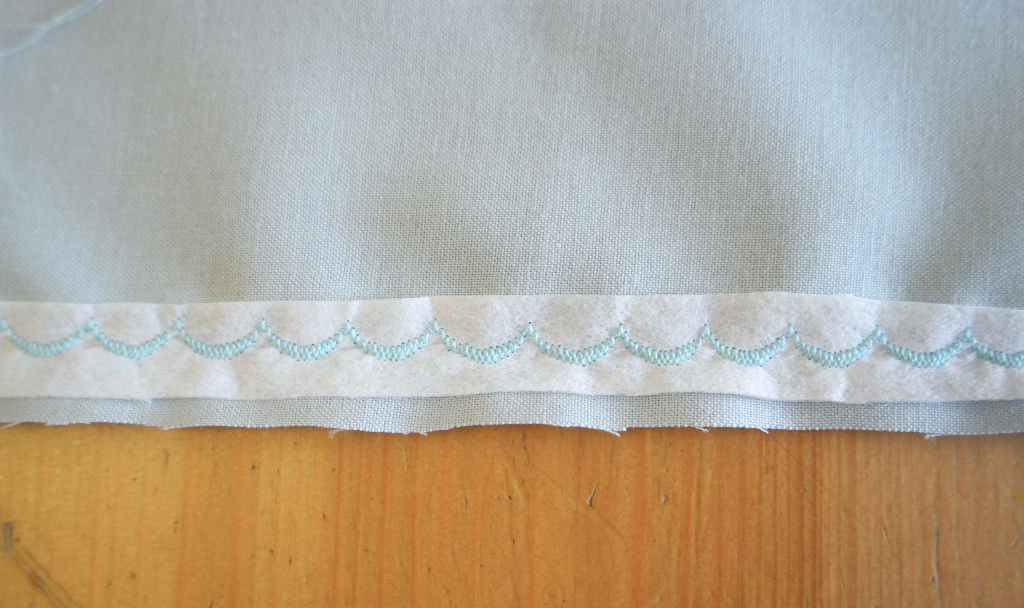
Trim the fabric away from the bottom of the scallops. Small, sharp scissors are best for this task!
The Drawn Threads
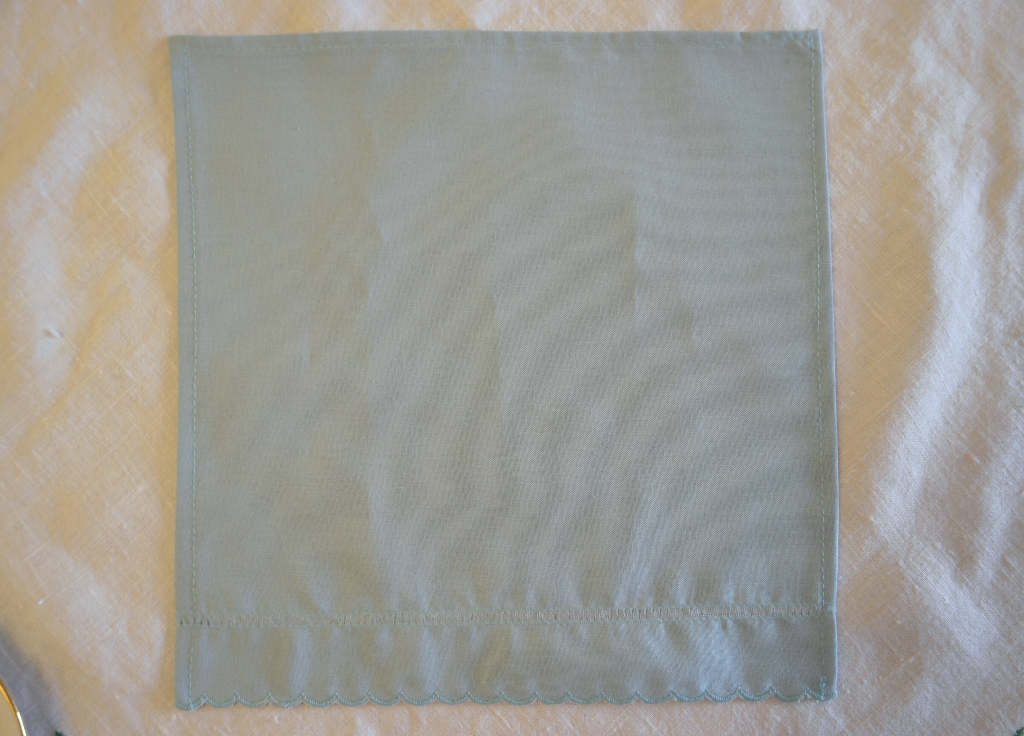
Sew a line of stitches about 2 cm up from the scallops, then another 0.5 cm above the first row.
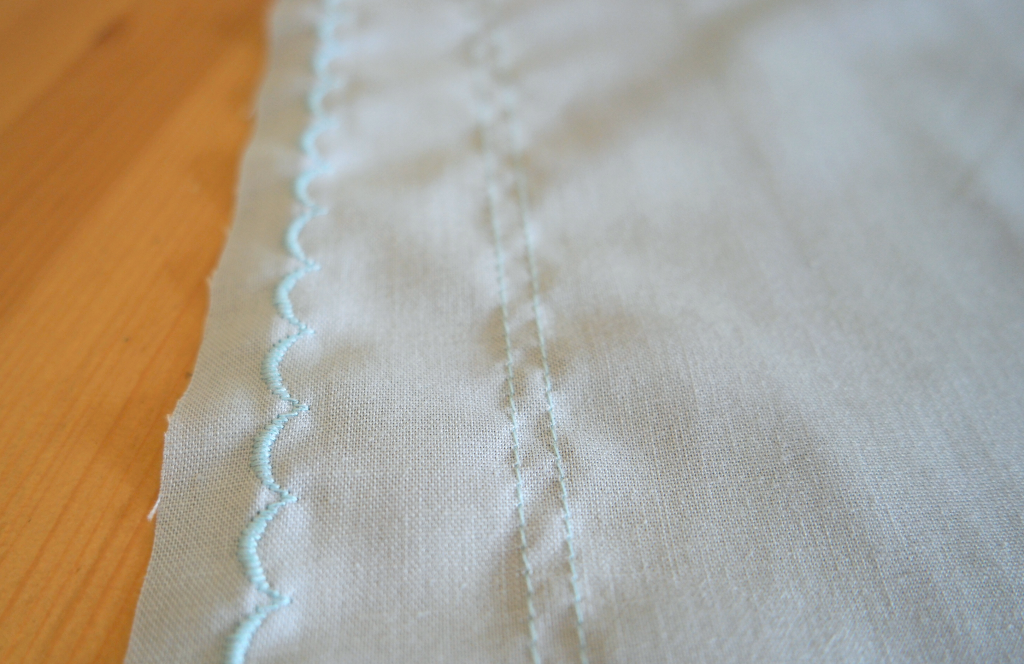
Using an unpicker, pull one of the horizontal stitches out between the 2 rows of machine stitching. This is a little bit fiddly, especially if you are using a closely woven fabric, but once you’ve removed a couple of threads it gets easier.
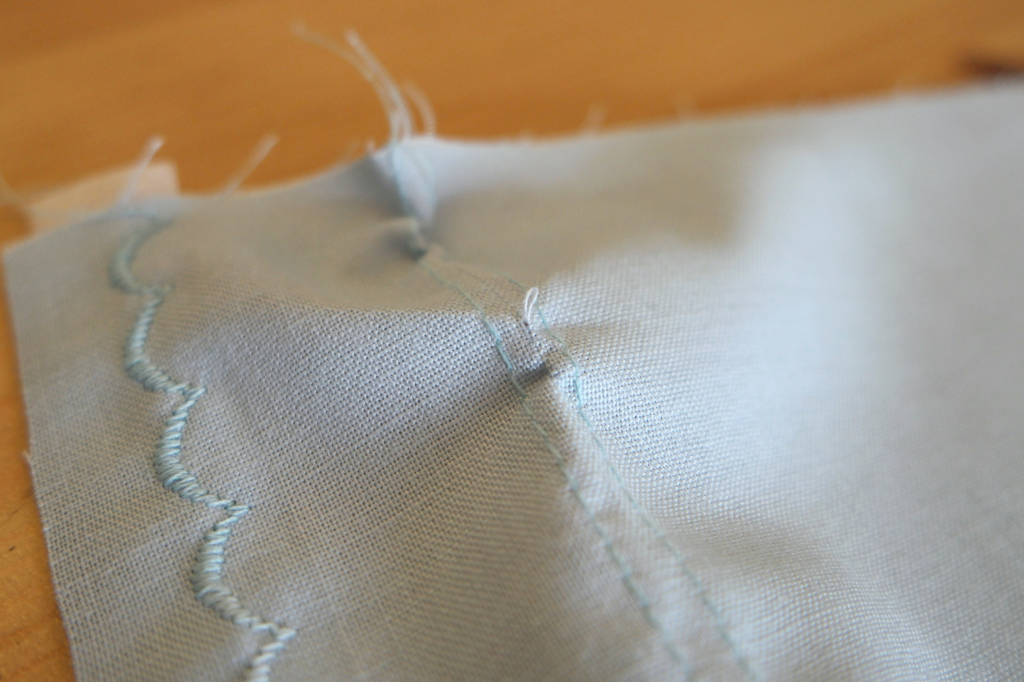
Pull out more threads until you are left with only vertical threads between the row of machine stitches.
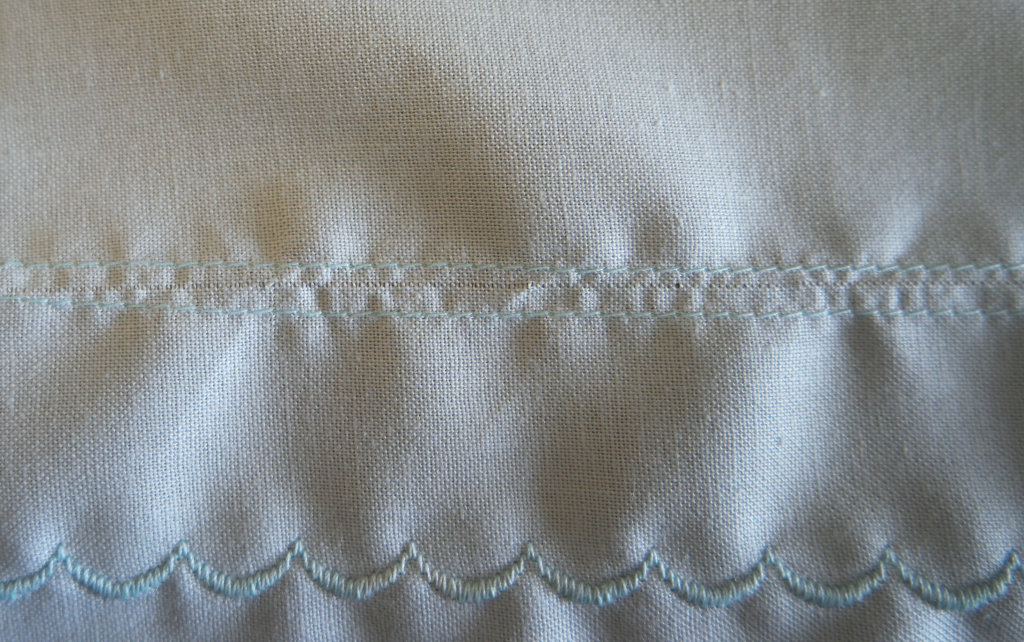
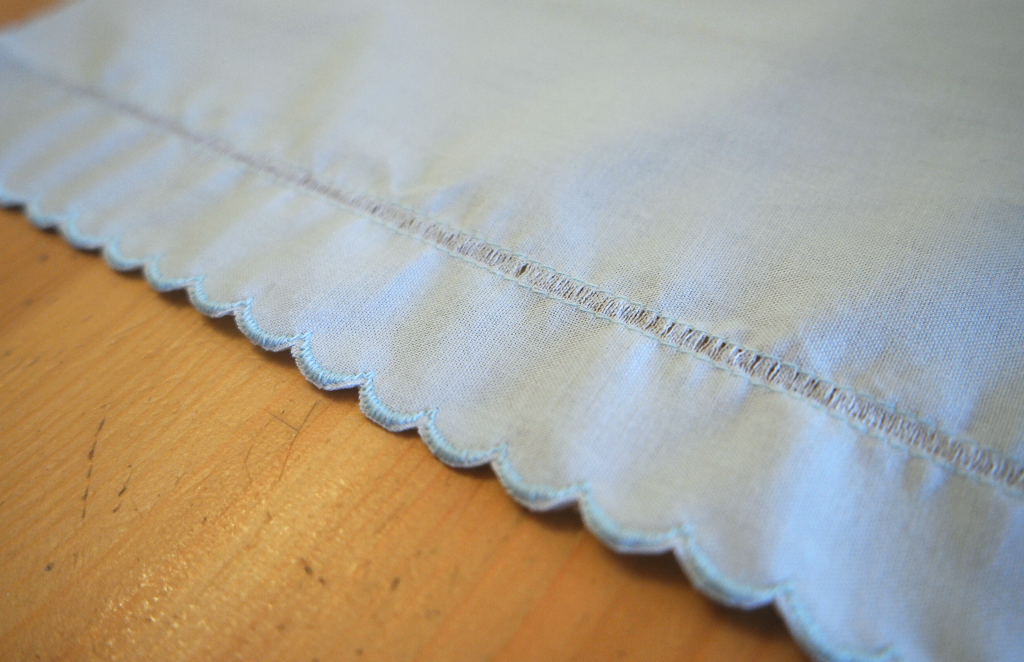
Officially I think you’re supposed to hand sew round the threads, but I didn’t because I liked it as it was.
If you find this bit too fiddly, you could just leave it or sew a length or ribbon or lace onto the napkin instead.
Sewing the Napkins
All you need to do now is to hem the three raw edges!
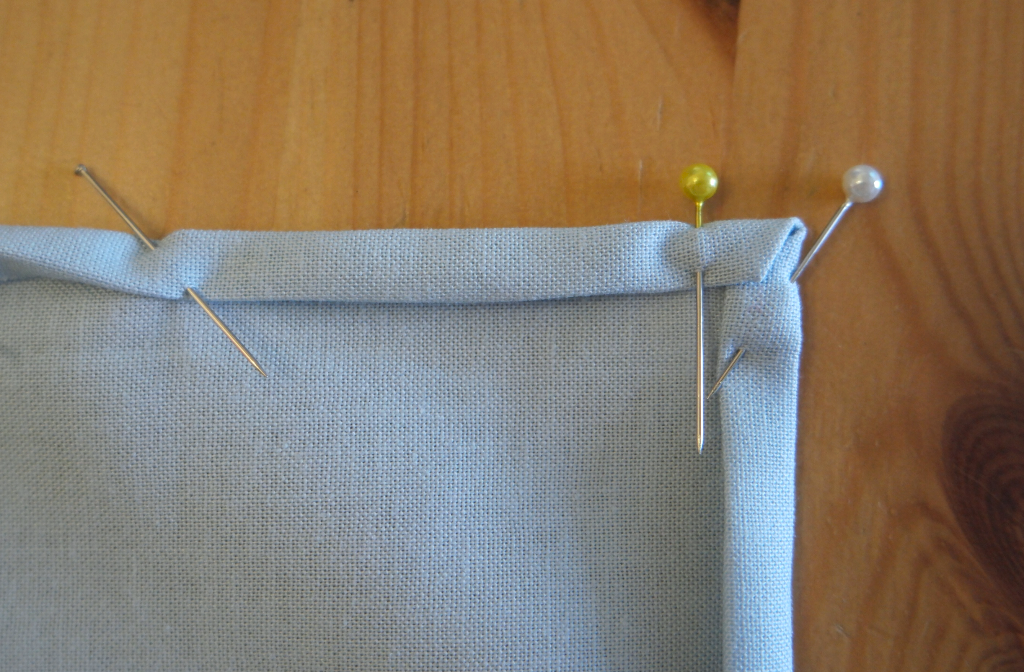
Mitred corners will make them nice and neat. To do this, take a corner and fold it inwards on the wrong side.
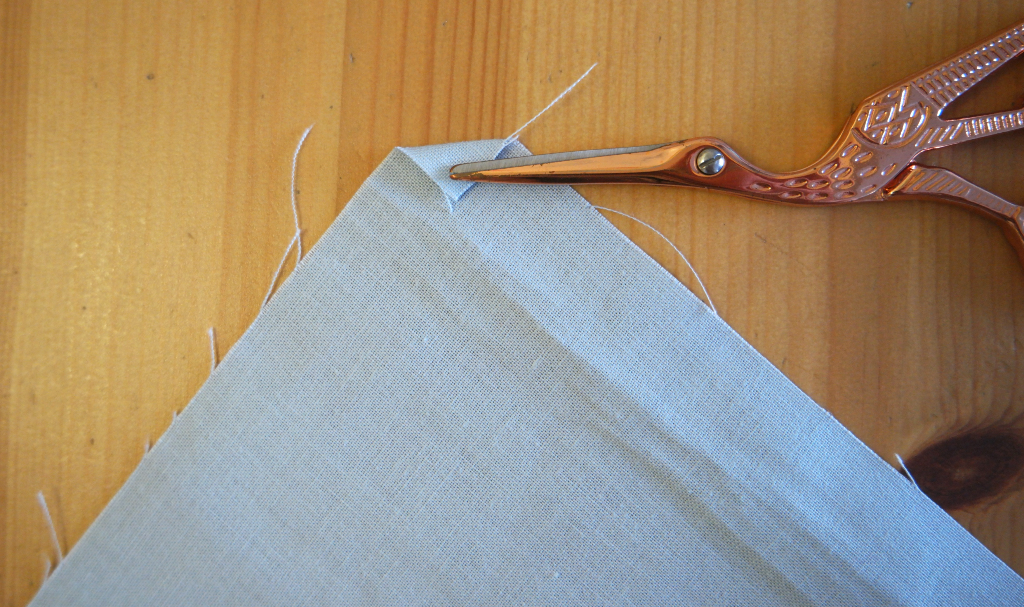
Fold it over again and pin.
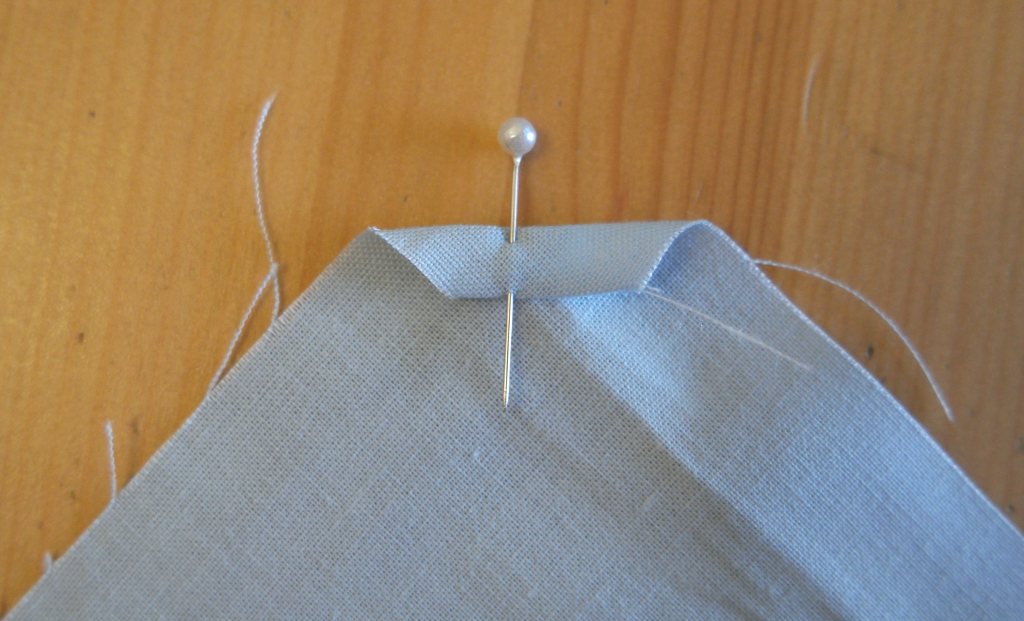
Do this with the other corner as well.
Fold raw edge inwards, then over again so that the raw edge is enclosed. The corners will be neat and you won’t get a weird bulge that your sewing machine might object to.
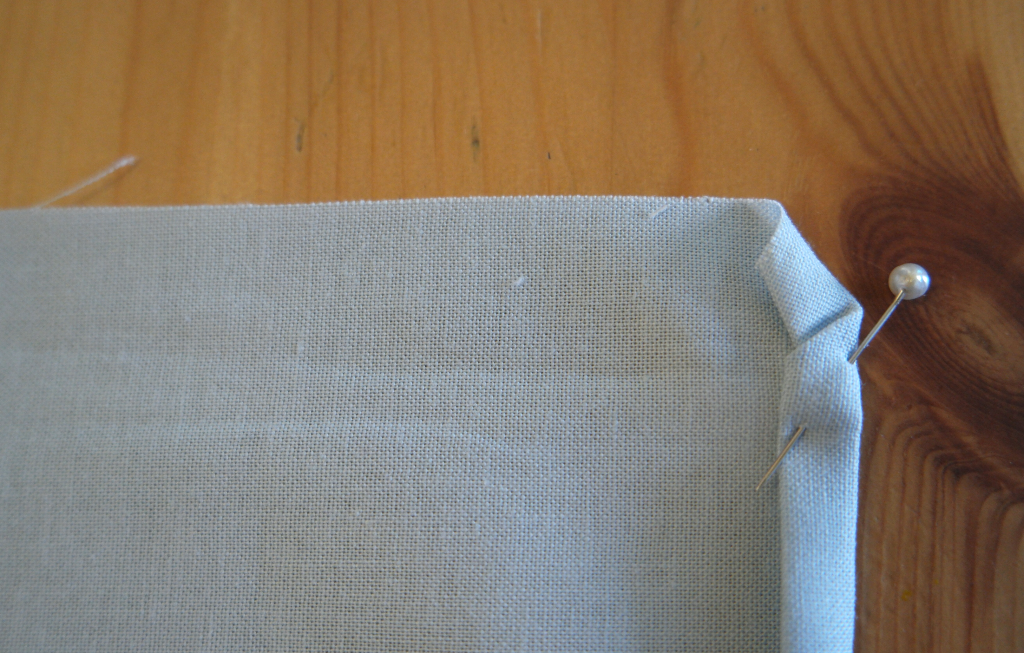
Run the iron over your napkin and it’s ready to make your table pretty!
Tips
If your sewing machine doesn’t do fancy stitches, you could either sew a scalloped edge or, for an easier alternative, use trim as an edging instead.
Pulling the threads out is a task for earlier in the day job if you have eyesight issues.
It’s harder to pull the threads out of closely woven fabric, although it becomes easier once you’ve pulled out a couple of rows. Looser fabric is easier.
This is the kind of project where you can batch like tasks, especially as you’ll probably want to make a few!
If you like this post about how to sew napkins, you might also like these:


Hello there! I could possibly have sworn I’ve visited this web site before but after looking at several of the posts I realized it’s a new comer to me. Anyhow, I’m certainly pleased I discovered i and I’ll be bookmarking it and checki g back often!
A really lovely idea and you have outlined the process so clearly. It’s making me want to go to my machine and get started! Thank you!
Thank you xx If you make one I’d love to see it!
Simply beautiful napkin tutorial! I was searching just for that!

Ishmum recently posted…Best Embroidery Machines in 2020
Thank you!
Thank you of sharing this post, it is one to remember for a quiet day. I would never have thought about using fancy stitches like this (but then again I only ever use my straight stitch and zigzag so I should try some others out). Happy easter. x