How to Sew Felt Birds
How to Sew Felt Birds
My favourite Christmas decorating style is Scandinavian, and after a trip to Norway last year, I love it even more!
A couple of years ago I made some Scandi style felt birds as Christmas decorations. They’re the kind of thing that you can get away with leaving up even when it’s not Christmas, but the red is quite Christmassy. So I decided to make some similar birds in blue instead of red, and these I will be leaving up all year round!
Like the ones, the blue felt birds are made from felt. Gingham felt can be hard to find, but I bought all the felt for these birds, including the gingham, from Minerva Crafts. This is an affiliate link.
I sewed them together with the sewing machine, but being small, they could be sewn by hand.
Felt Birds Tutorial
You Will Need
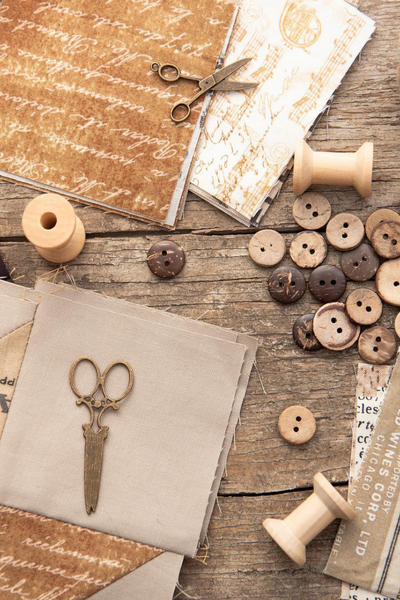
Blue felt, white felt, gingham felt, blue and white ribbon, tiny black buttons, wooden heart buttons.
Instructions
1. Cut 2 bird pieces from the blue felt, 2 from the white felt and 4 wings from the gingham felt. Before cutting the wings, fold the felt in half so that you have 2 wings facing one way and 2 facing the other.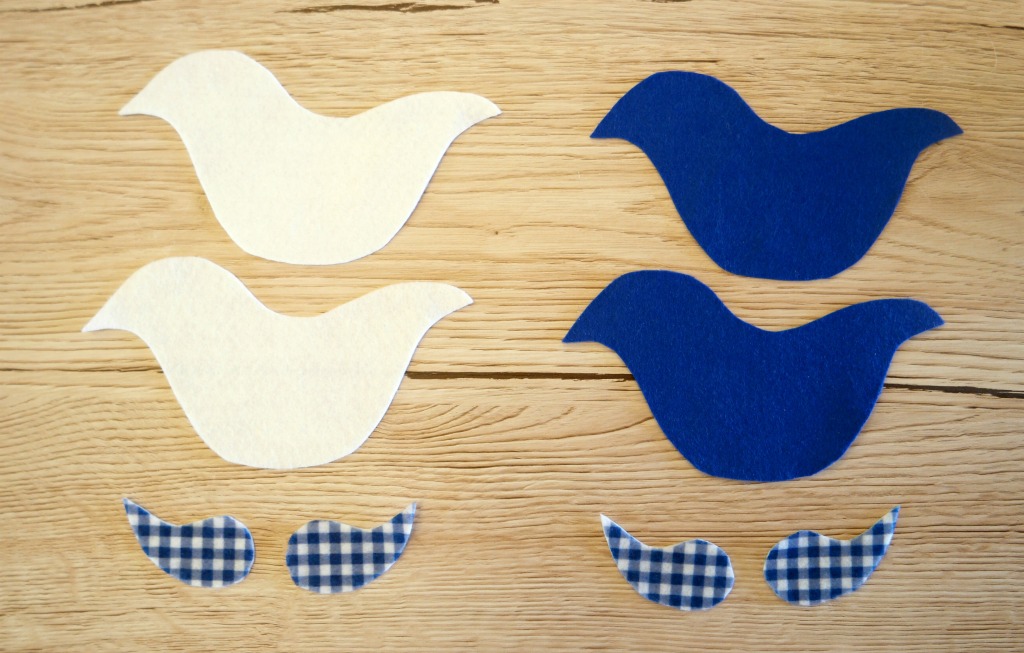
2. Pin 1 wing to each bird body and sew in place.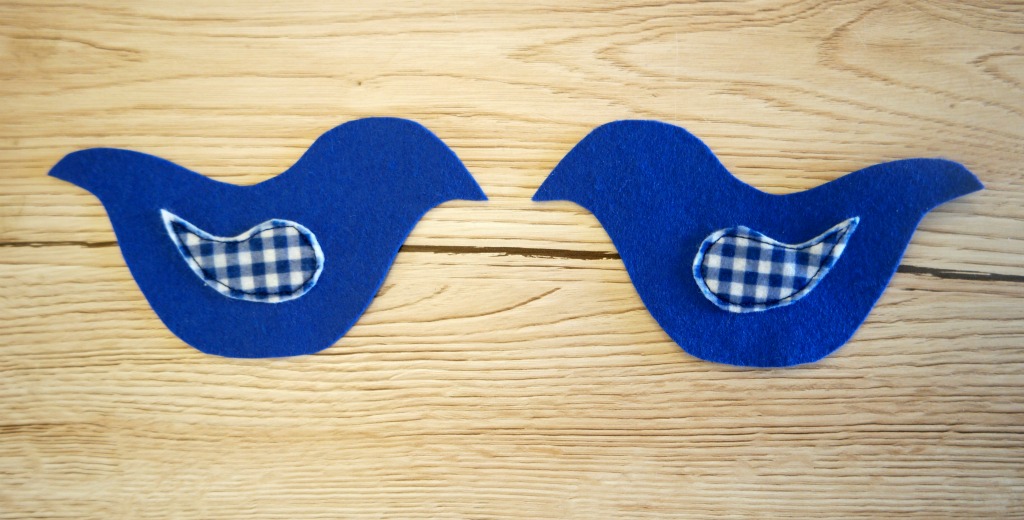
3. Sew a heart button to the centre of each wing as shown on the picture.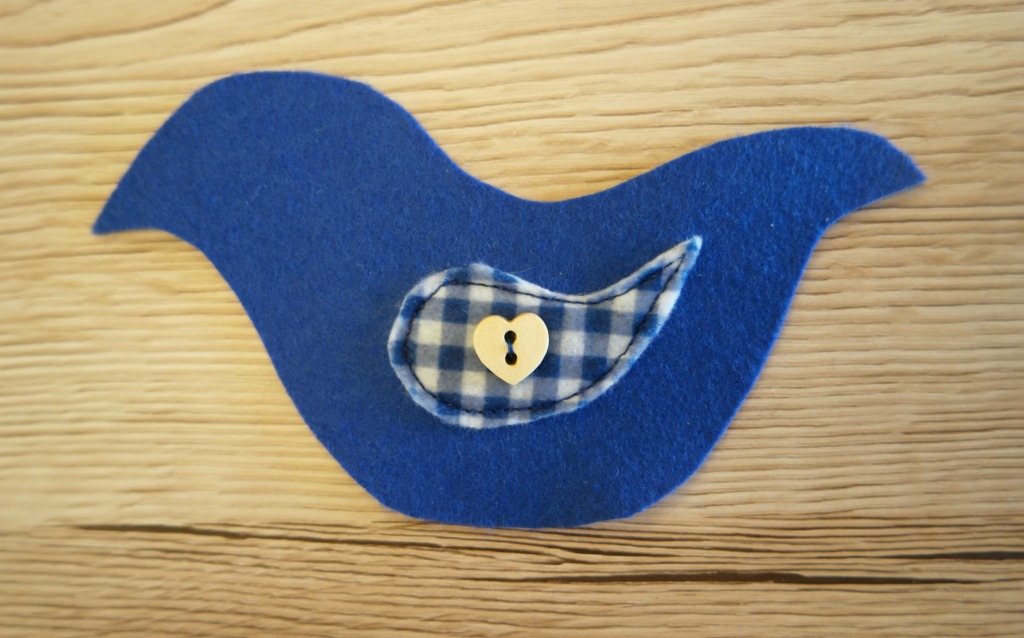
4. Sew a tiny black button to the head of each bird piece.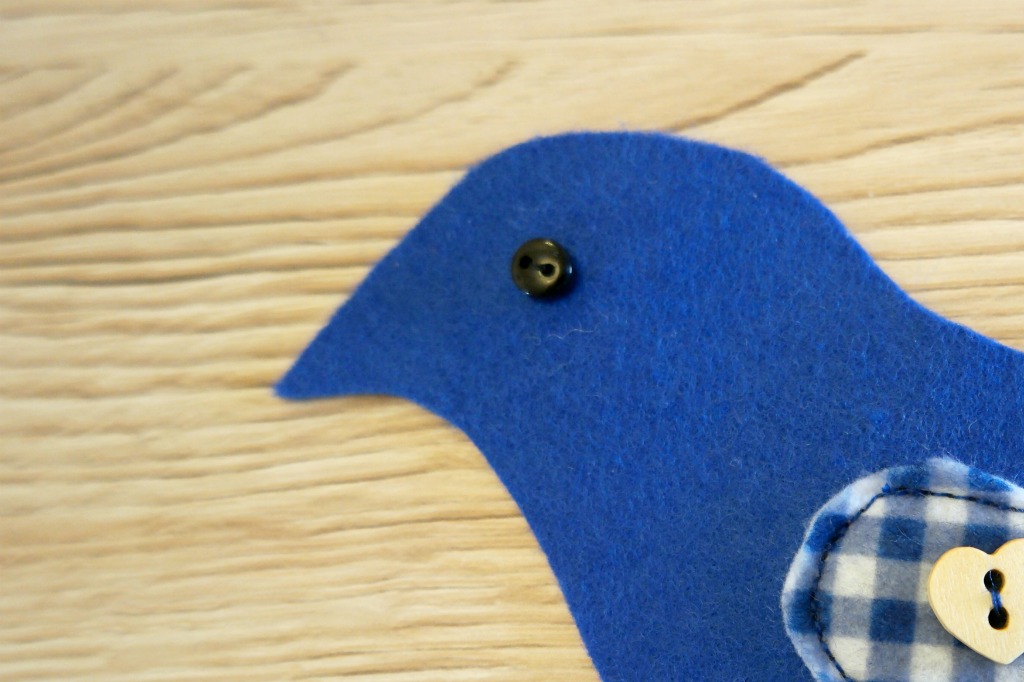
5. Take the 2 blue body pieces and, with the wrong sides together, sew around the outside edge of the body. Repeat with the 2 white body pieces.
6. Sew a piece of ribbon to each bird for hanging.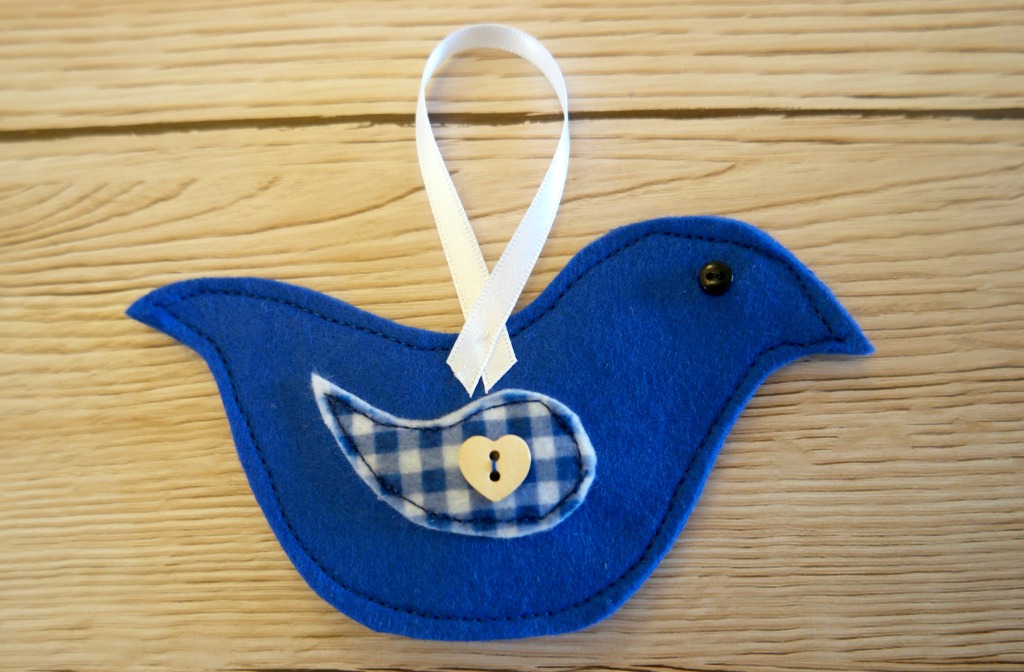
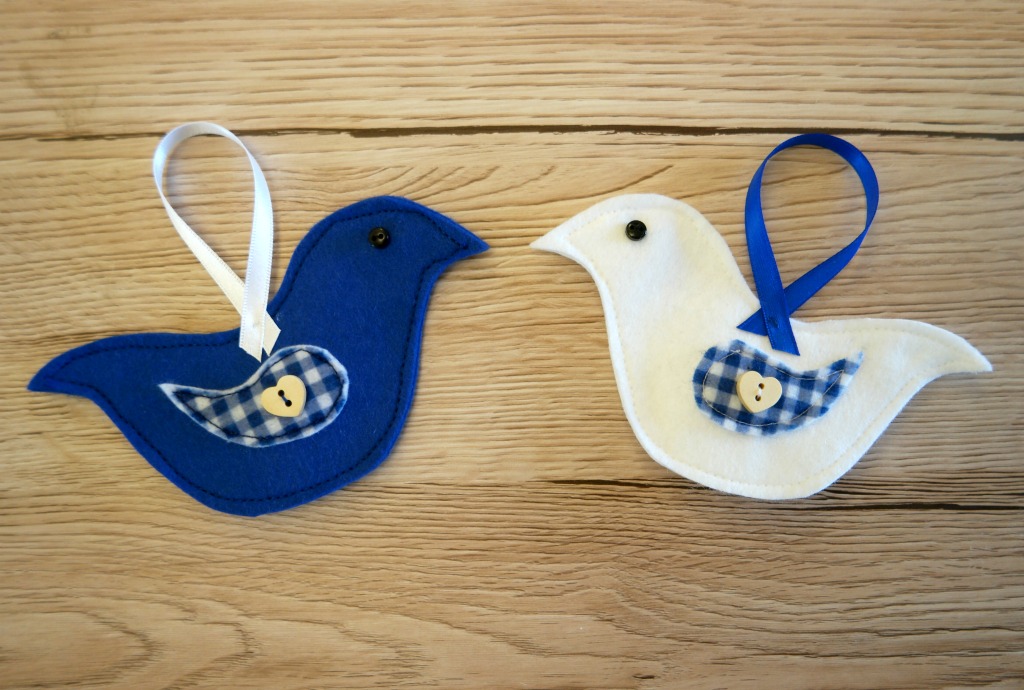
I have kits available for these birds if you don’t want to faff about finding the supplies yourself. They’d also make nice gifts for people.
You might like the tutorial for the red felt Christmas birds.
I have kits for sale for the red birds too!
If you make some birds, I’d love to see! You can post them to the Tea and a Sewing Machine Facebook page!


