As I have gradually got better at sewing and I’ve tried more things, I have been amazed at how easy things are that I previously thought were some kind of wizardry only available to people were amazing at sewing.
Magnetic snaps were one such thing. I wrote a post about using magnetic snaps a few weeks ago. You can read it here. If you are making a bag, a snap is so much less of a faff than a zip!
Another thing that I really wanted to be able to do but didn’t believe that I could was sew boxed corners. When I finally figured it out, I was amazed at how easy it was! Now I use them all the time, at least I do when I’m making bags!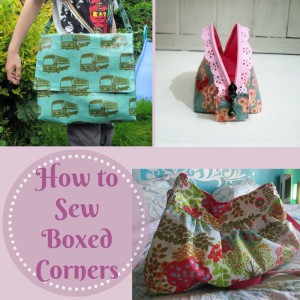
Boxed corners are great because they give your bag or purse a bit more shape and make them feel more bag like. It’s also much easier and quicker than adding a gusset.
How to Sew Boxed Corners
1. Take the front and back sections of your bag. Pin with the wrong sides together. Sew the sides and the bottom. Trim the seams.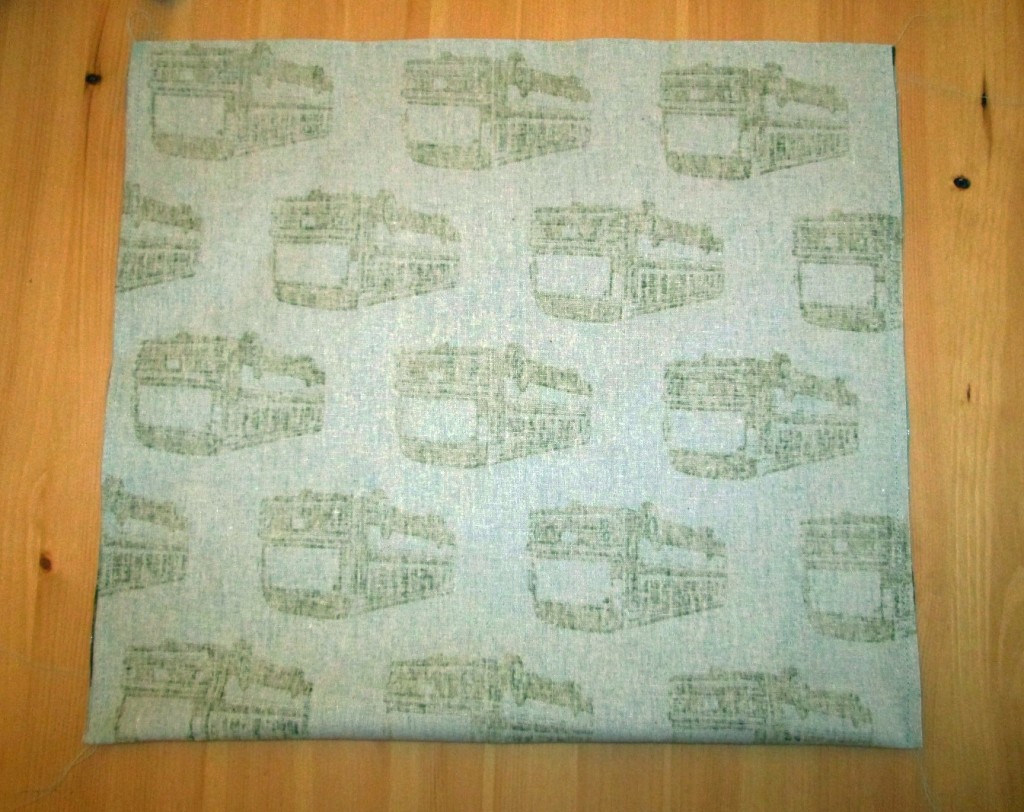
2. Squash one of the corners flat so that the side seam and the bottom seam are together. Measure up from the corner and pin.  How far up you measure is up to you! You might need to experiment a little bit. The width of the corner will be the width across from where you measured. There’s probably some maths for working it out. I don’t know what it is though, I would just measure it!
3. Sew across the corner at right angles to the seam where you have pinned.
4. Repeat for the other side then cut the corners off.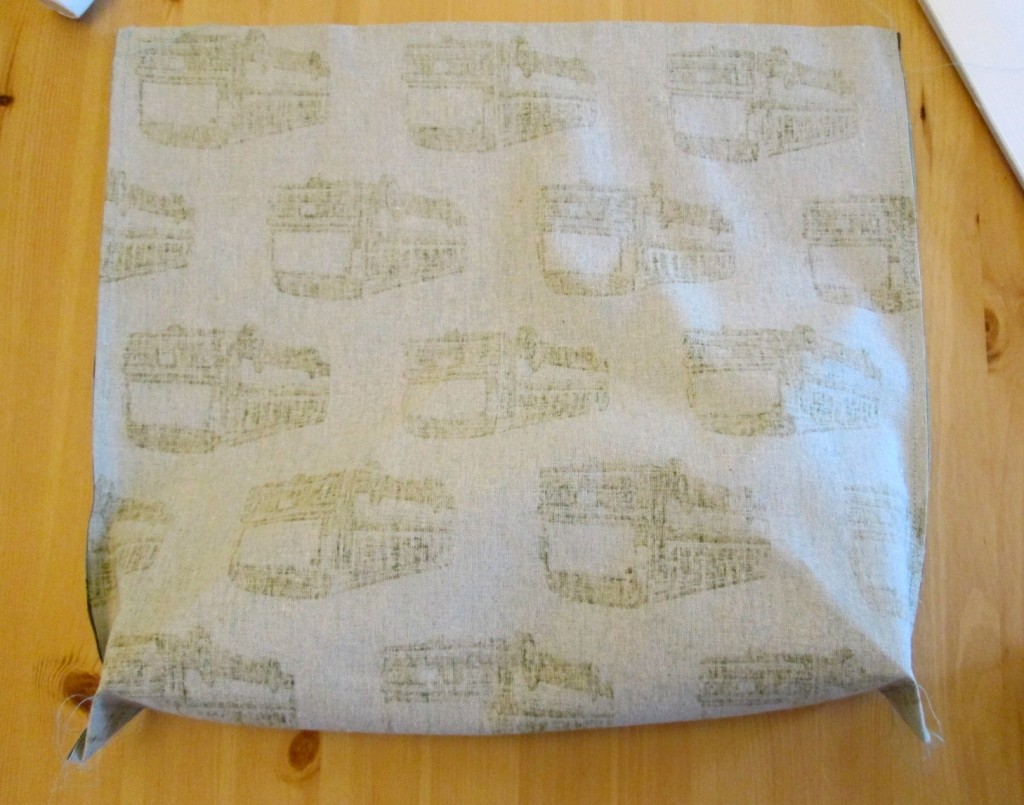
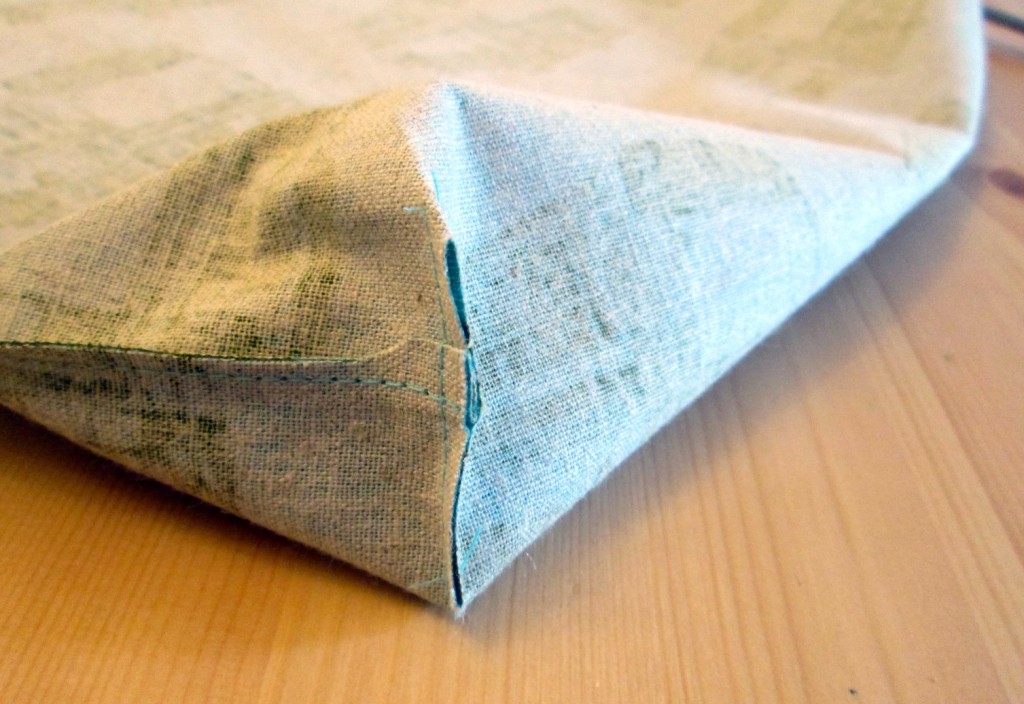 Easy, see?
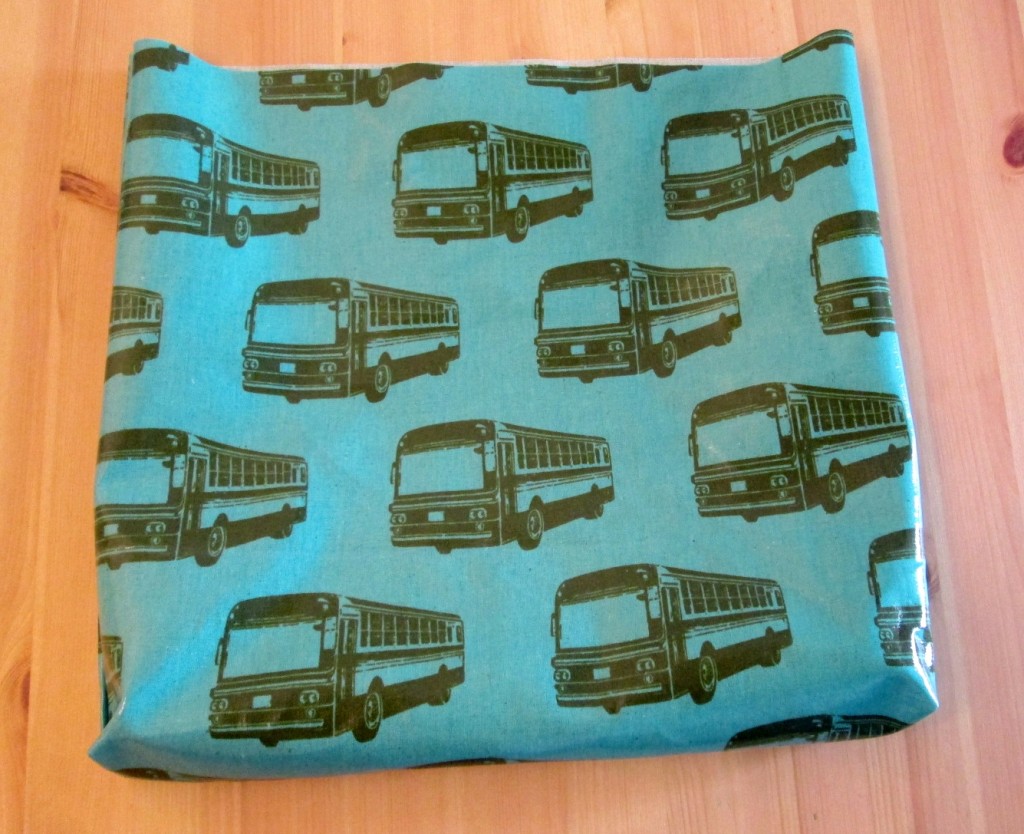
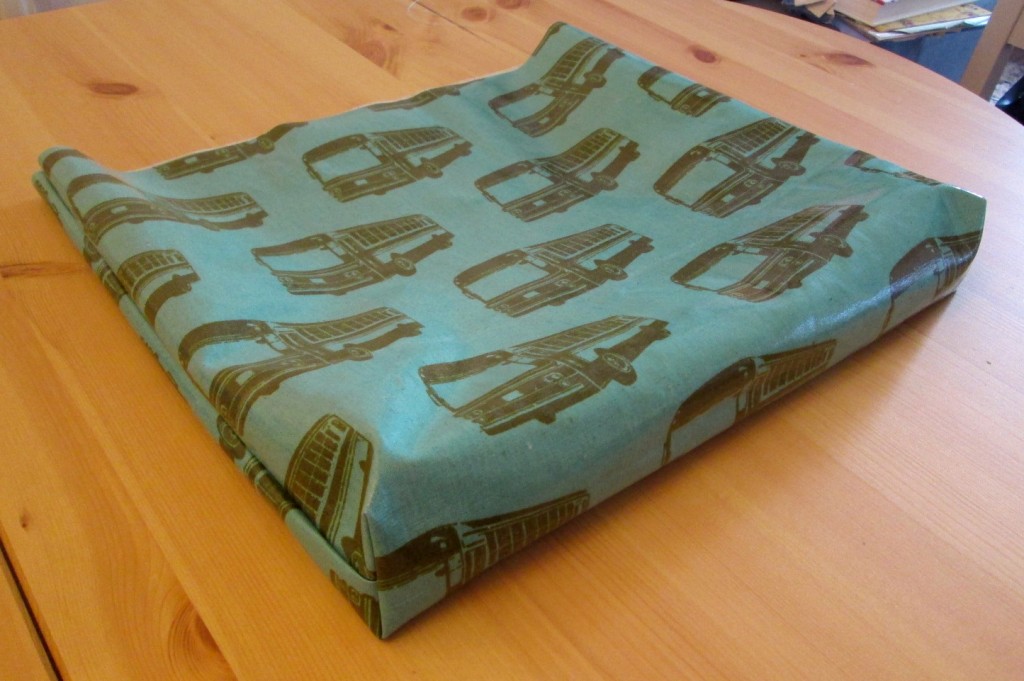
If you are making a lining for your bag, obviously you will need to do the same for the lining.
You can use this for all kinds and shapes of bags and purses, as long as they are flat at the bottom.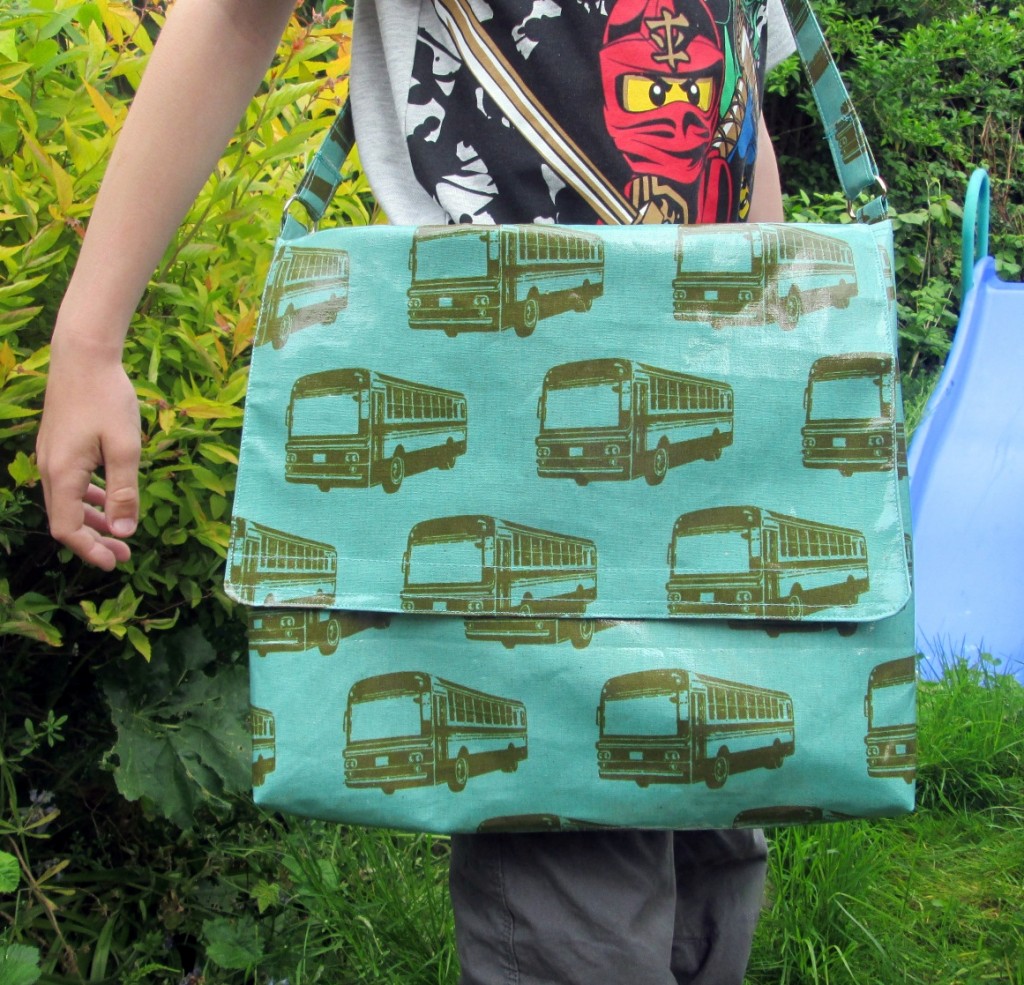
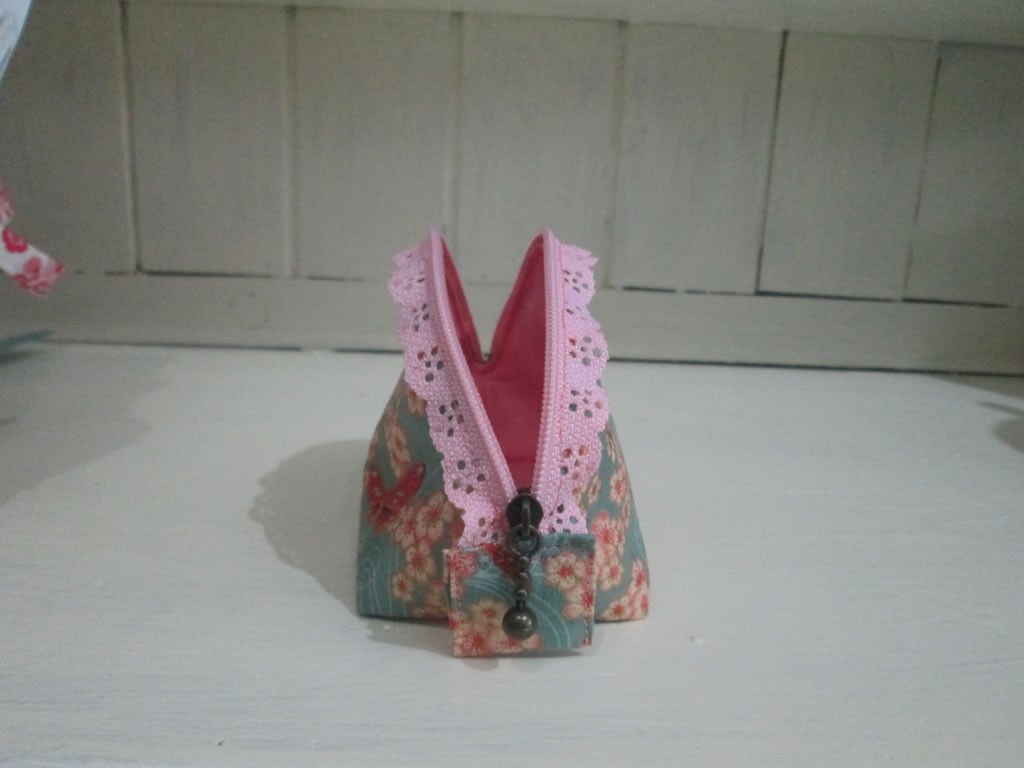
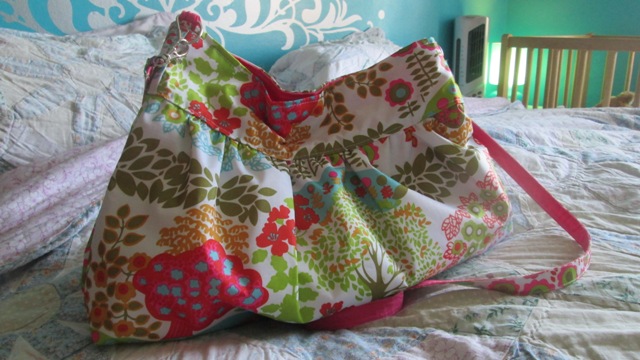


When I learnt to do these I made all me bags like it too. I love your little curvy purse with the pretty zip.
Thank you! The zip was the reason for making the purse!
What a great tip, thanks for sharing.