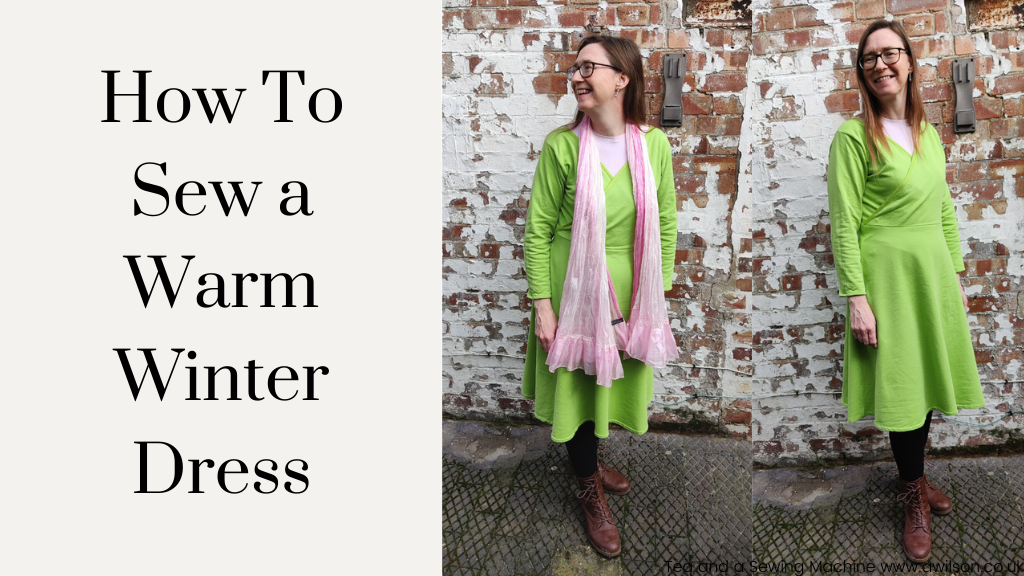
Hopefully you’ve made your pattern pieces and you’re all ready to sew a warm winter dress!
If you missed the previous post and you haven’t drafted the pattern yet, it’s here.
Once you’ve got your pieces cut out, you can start assembling the dress.
The order for sewing the dress is:
Shoulder seams
Binding the neckline and the front
Sleeves
Skirt pieces
Side and arm seams
Hems
You might choose to go about things in a different order and that’s fine. Dresses take quite a lot of fabric, and sweatshirt fabric is bulky, so dealing with the bulk is going to be an issue however you choose to tackle it.
Your efforts will all be worth it in the end when you have a nice warm dress to wear!
Here’s how to sew a warm winter dress.
You Will Need
To sew a warm winter dress, you will need:
Your pattern pieces (the post is here if you missed it)
About 3m of jersey fabric, depending on your dimensions and the width of the fabric. I used sweatshirt fabric with a fleece back.
2m jersey bias binding
Usual sewing supplies
Cutting Out
The grain will need to run vertically through the centre of the bodice, and through the centre front and back of the skirt.
With the sleeves, the grain will run from shoulder to wrist.
If you can’t remember what the grain is, it runs parallel to the selvedge.
Cut 1 back piece.
Cut 2 front pieces on folded fabric, so that you get a left side and a right side.
Cut 2 sleeves.
Cut 2 skirt pieces on the fold (Your skirt pattern piece is 1 half of the skirt front/back). When you fold the fabric, have the fold run parallel to the selvedge, then the grain will be in the right direction.
Sewing the Dress
With knits it is best to use a stretch stitch. If your sewing machine doesn’t have that option, you can use a zigzag instead. This allows the fabric to stretch even after you’ve sewn it.
Shoulder Seams
With the right sides together, pin the front pieces to the back at the shoulders. Check the fit (you might need to temporarily pin the side seams as well), then sew the seams.
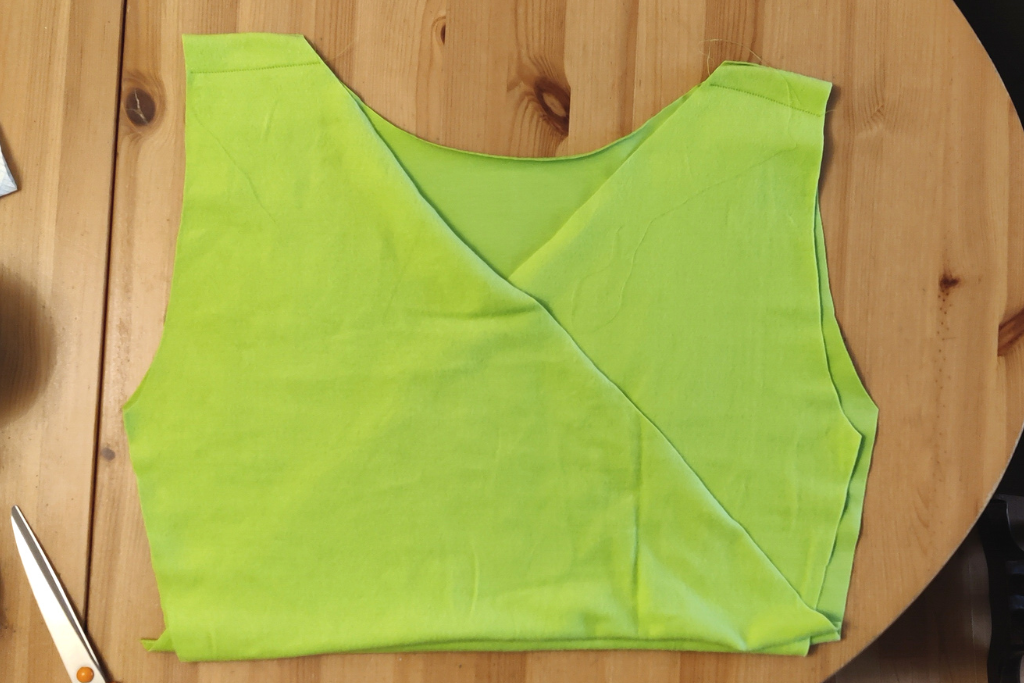
Press the seams open. Use a warm iron, not a hot one!
Binding the Neckline
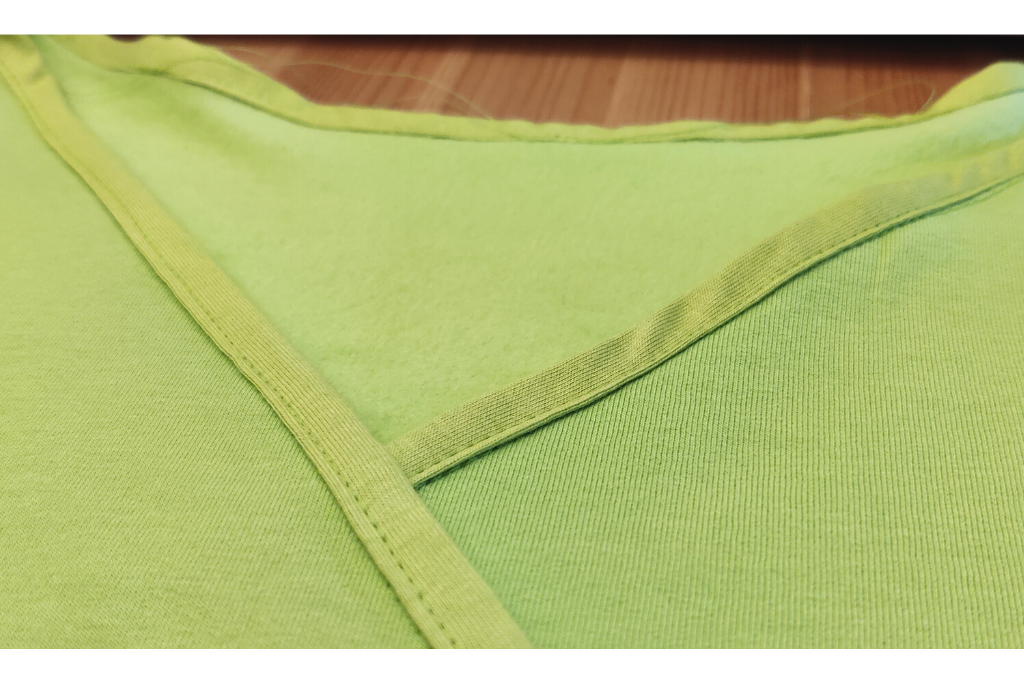
Starting at the centre back and with the right side down, pin the bias binding to the wrong side of the neckline.
Make sure that the edges are lined up.
Sew the bias binding to the bodice, keeping close to the folded edge.
I prefer to start in the centre, then sew outwards. It’s easier to keep it neat that way!
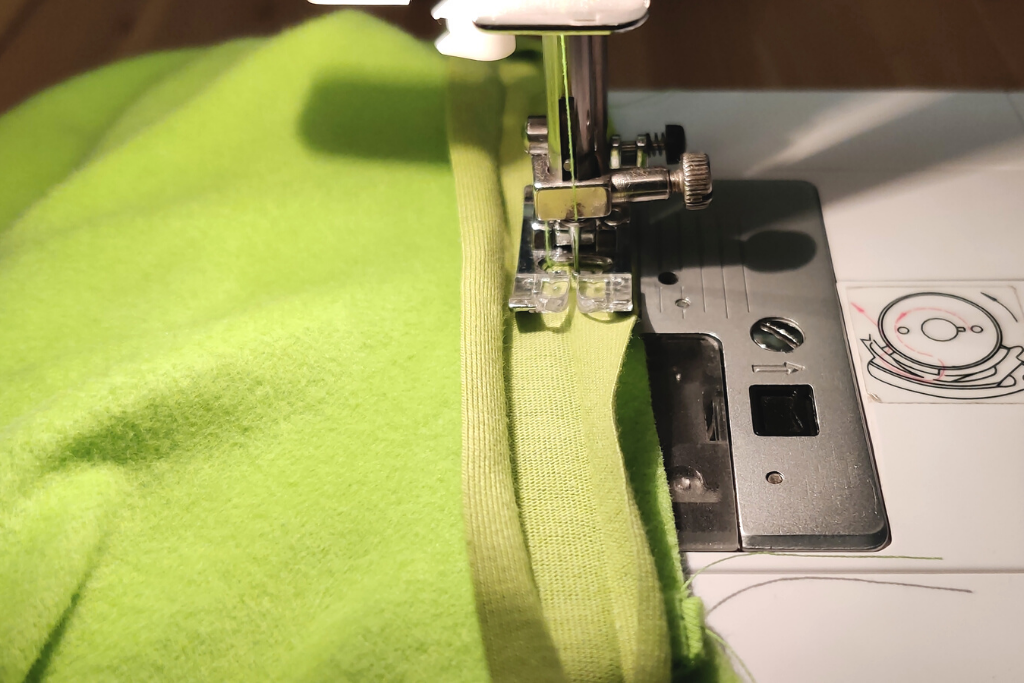
Fold the bias binding over the raw edge and pin.
Top stitch the bias binding.
Sleeves
The official way to attach sleeves to a bodice is to sew up the seams, then ease the sleeves into the armhole.
However, it’s often much easier to sew the sleeve into the armhole before sewing the side seams, and that is what we are going to do here.
At the top of the sleeve, find the centre. Match the centre of the sleeve with the shoulder seam of the bodice. Pin with the right sides together.
Again, I usually start from the centre and pin outwards, and the same with the sewing.
Sew the sleeve and trim the seam. Do the same with the other sleeve.
Sewing the Skirt Pieces to the Bodice
It’s a good idea to check the fit at this point, before sewing the skirt to the top.
With the bodice inside out, pin the side seams (don’t worry about the sleeves) and pop the top half on.
Pull the cross over bits across yourself and check where the corners are. Hopefully they will be where the sides are, but if not, don’t worry, just put them where they need to go and pop a pin in.
Take the bodice off. Unpin the sides.
Pin the cross over sections at the waist.
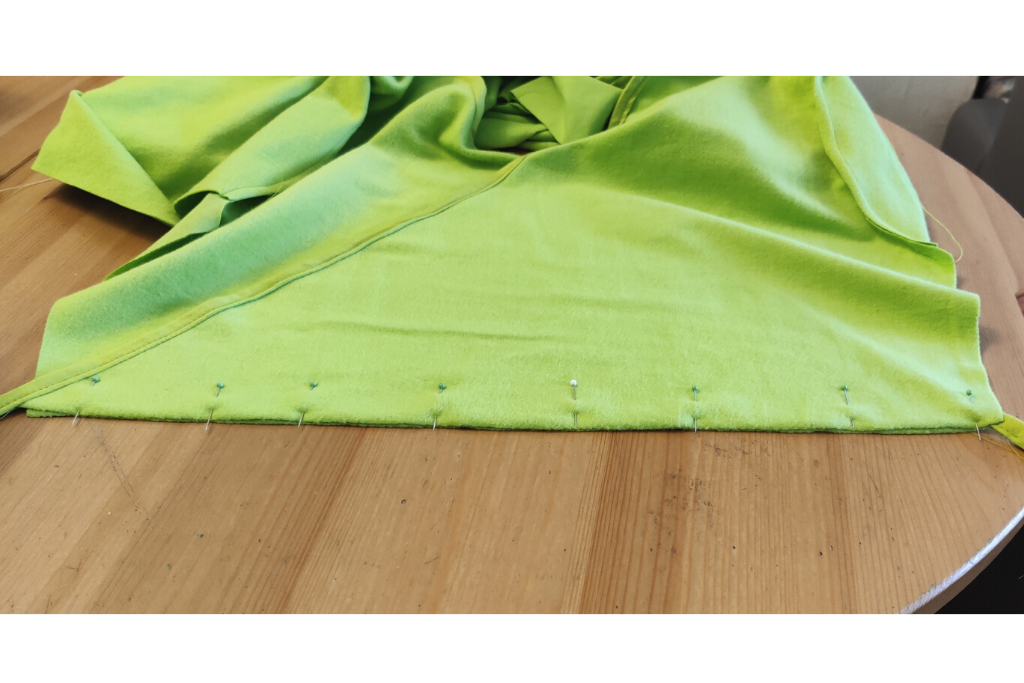
Pin one of the skirt pieces to the bodice front with the right sides together.
As the pins you used to pin the bodice sections together will be on the other side, you’ll be able to take them out now. It’s a good idea to do this so that you don’t end up with a broken needle!
Sew the skirt to the bodice front, then trim the seam.
Pin the other skirt piece to the back, sew, then trim the seam.
Sewing the Side Seams
Find the waist seams and pin them on one side, making sure that they are lined up. From there, pin up to the arm hole, then down to the hem.
Starting at the arm hole, sew the side seam. Trim.
Do the same on the other side.
Sewing the Under Arm Seams
Go back to the arm hole and from there, pin the under arm seam. Sew the seam, starting at the armhole.
Do the same with the other sleeve. Trim the seams.
Hemming
The last job is to hem the sleeves and the skirt.
The fabric I used showed no signs of fraying, so I just folded the hems over and sewed them with the stretchy stitch.
The kind of hem where you fold it twice so that the raw edges are enclosed might be a bit bulky, so if your fabric is fraying, it’s probably best to either use an overlocker or finish the edges with a zigzag before sewing the hems.
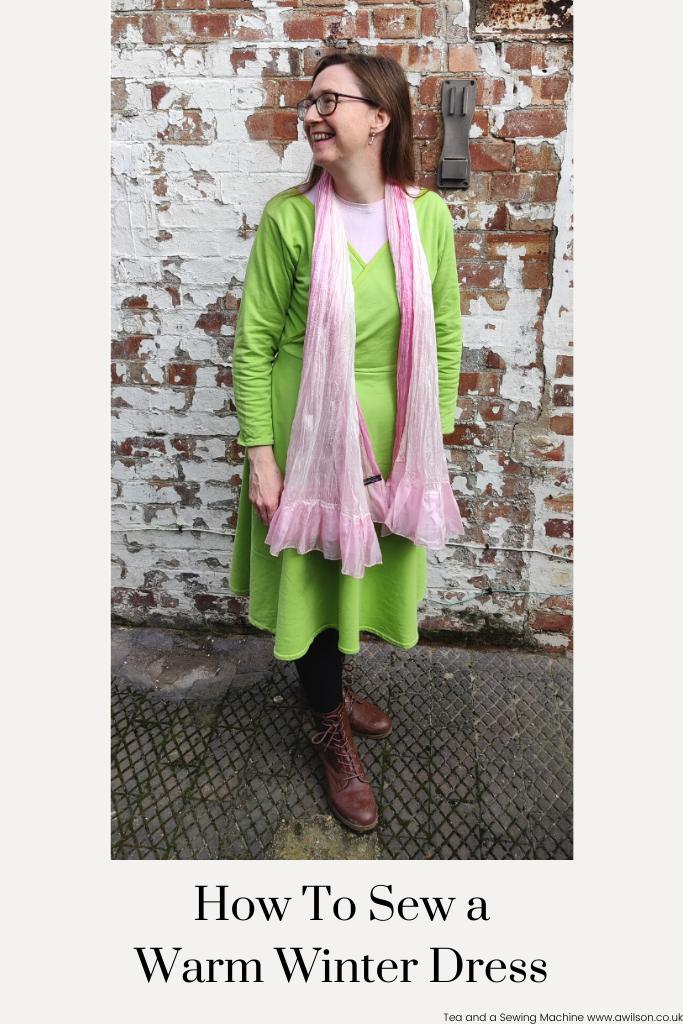
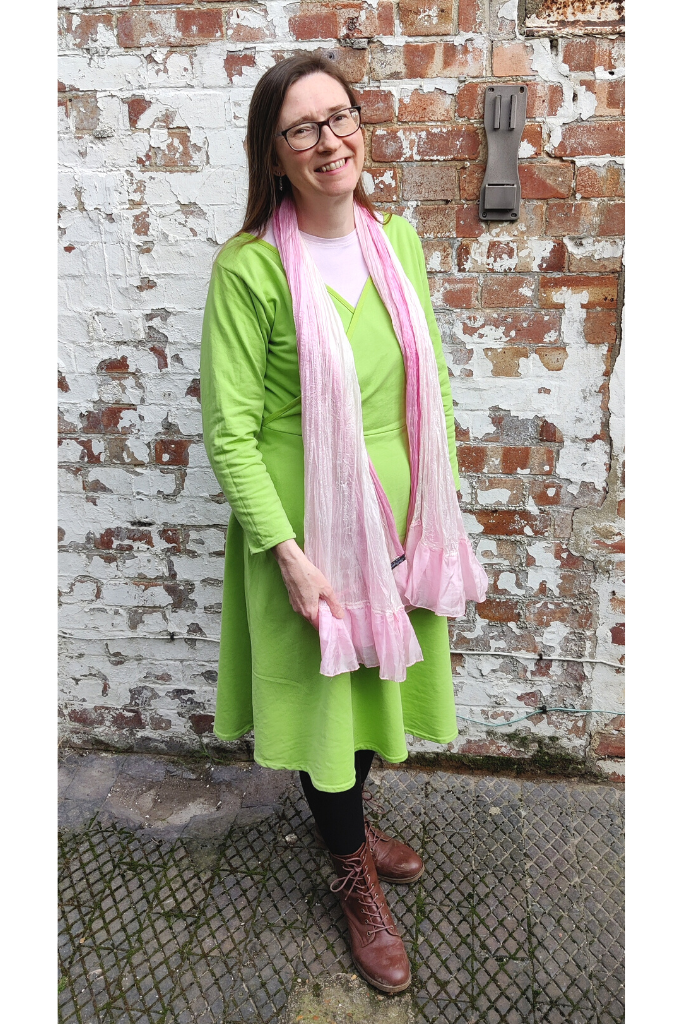
Having worn my dress a couple of times now, I can happily tell you that it is both warm and comfy, and I love the colour!
My photographer this week was my nine year old son. He did a very good job!
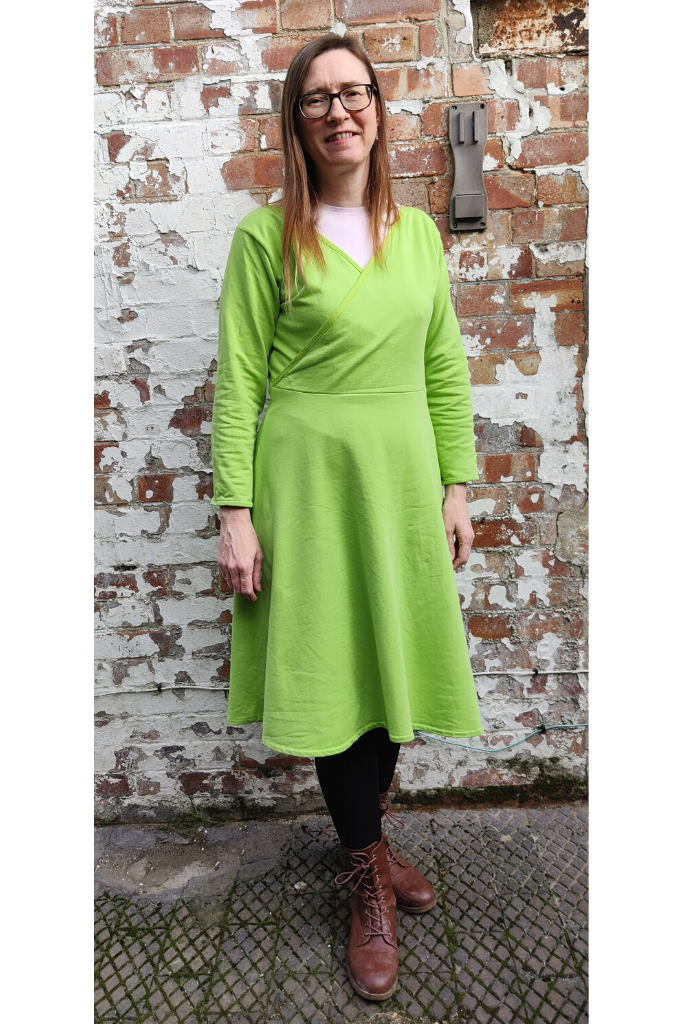
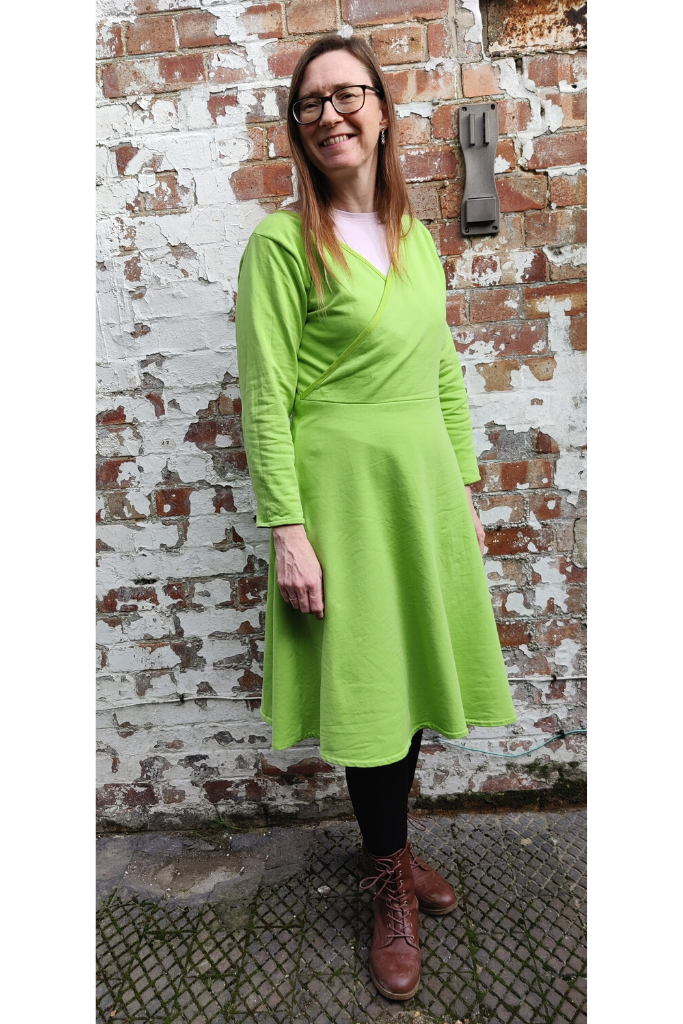
I like the pink scarf with the green because it makes me think of spring flowers.


It looks so much good thank you Anna for sharing this creative idea I will also try to make this dress at home then I will share a photo with you.
Hi
It looks really lovely and a fabulous colour!
Can I ask something about the neck binding? It looks like you have used a straight stitch for this which looks really neat. Have you however added a slight zigzag to allow for stretch which isn’t visible on the pictures, or do you feel that isn’t needed here? Thanks
Hi Lucy, yes, I did use a straight stitch for the binding and managed to forget between making the dress and writing the tutorial (it might have been a whole 2 days!) Thanks for spotting, I’ll change it xx