How to Sew a Passport Wallet
One of the things that worries me the most about going on holiday is forgetting the passports.
If people forget to pack pants again, or sun cream or extra wipes, it doesn’t matter. That’s fixable.
If we turn up at the airport without the passports, well that’s a different story!
Our passports used to live in a sandwich bag in a basket in the kitchen. Although this did the job of keeping the passports together, I thought it would be nicer if they had a little wallet to keep them safe.
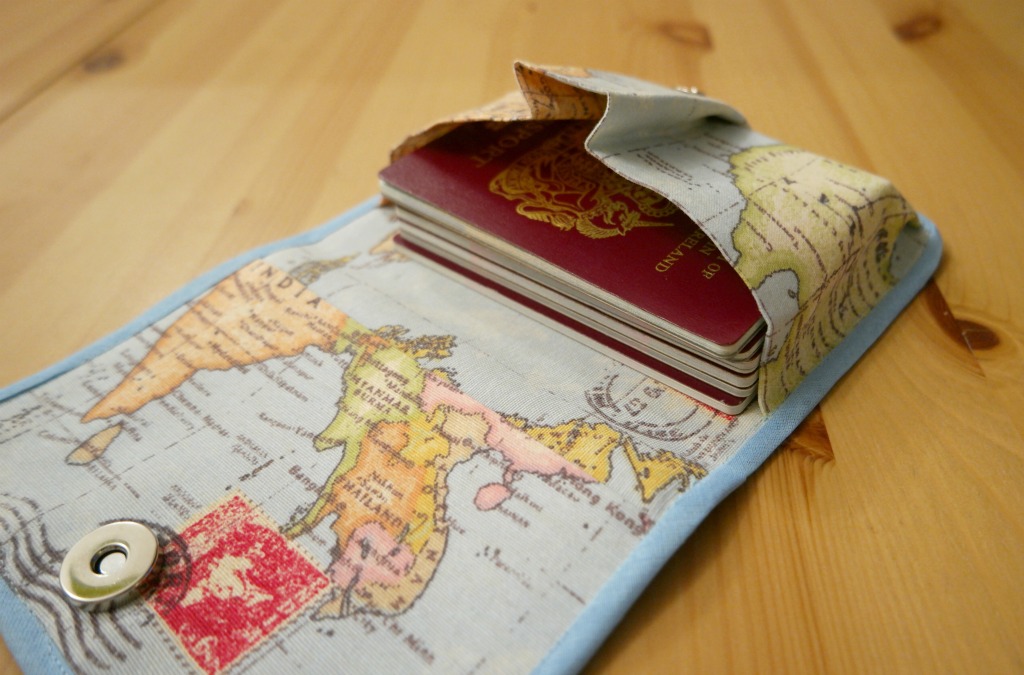
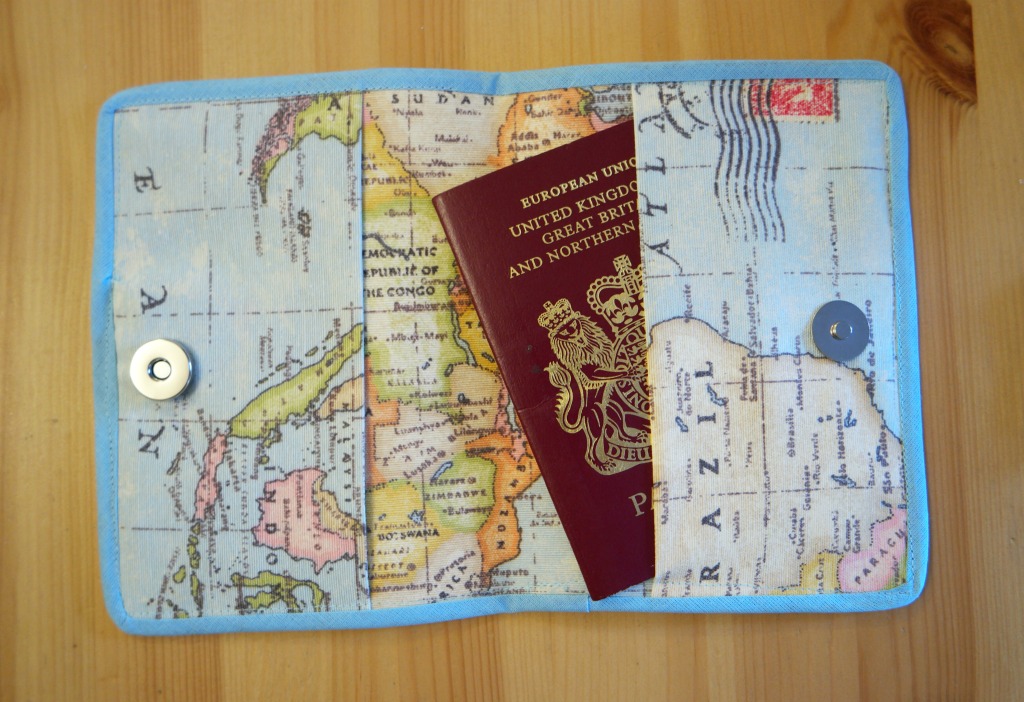
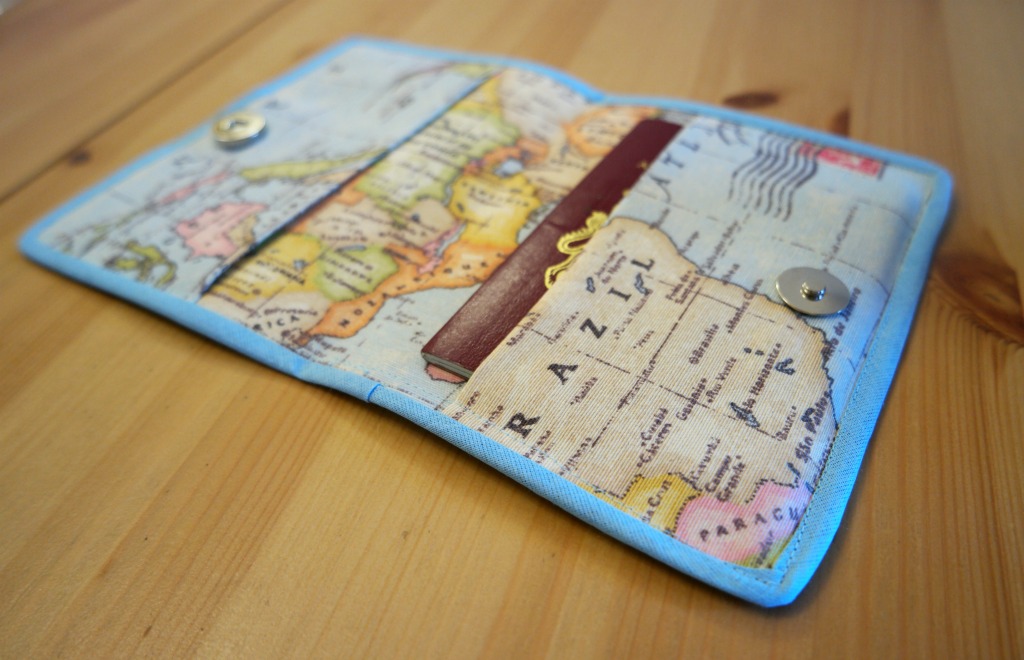
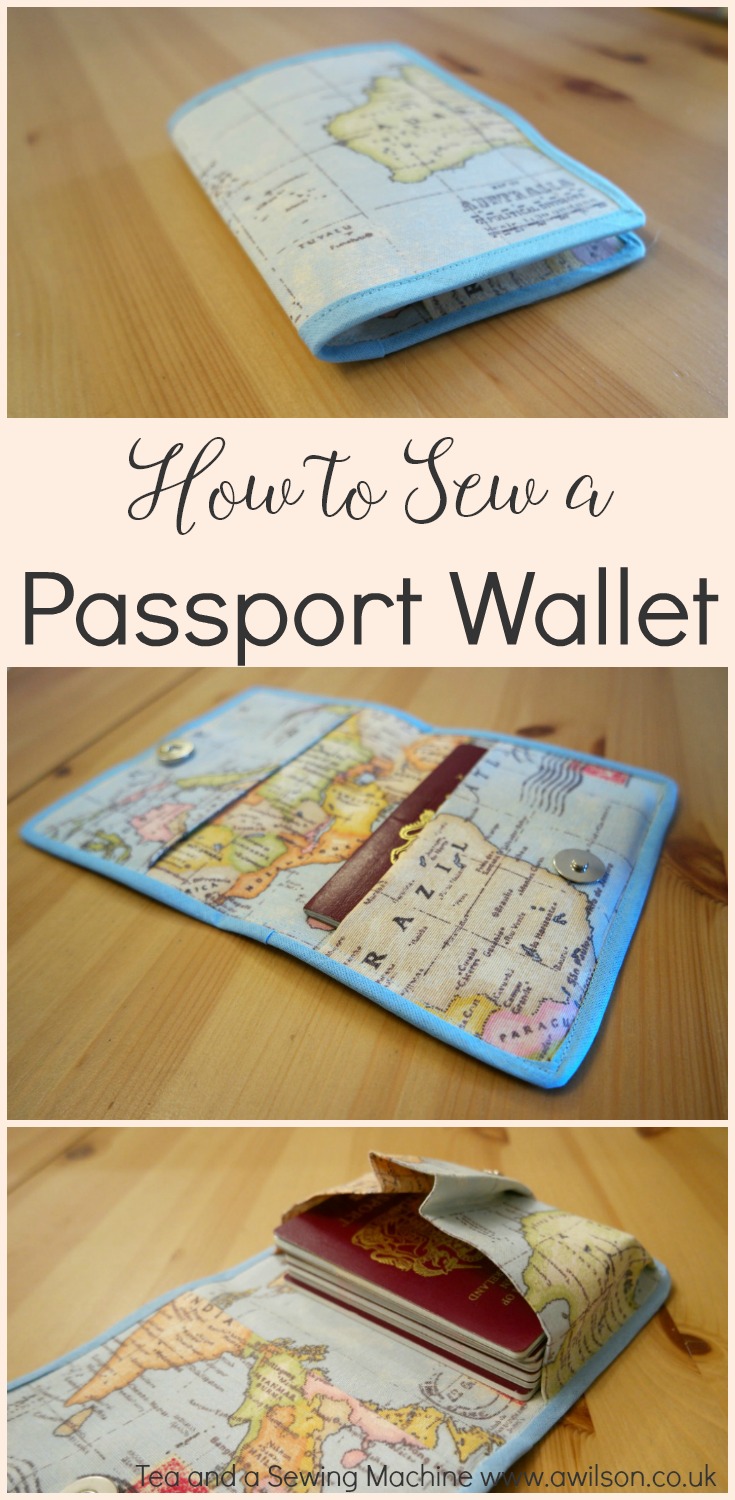
This tutorial has 2 versions of the passport wallet. The first is a standard one that has 2 pockets and will hold up to 2 passports.
The other passport wallet has a larger, family sized pocket for people who need to carry around a lot of passports (Jason Bourne, this one’s for you! 😉 )
They are both constructed in the same way. The only difference is that the standard sized passport wallet has 2 pockets the same, and the family sized one has a larger pocket with pleats, plus a standard pocket.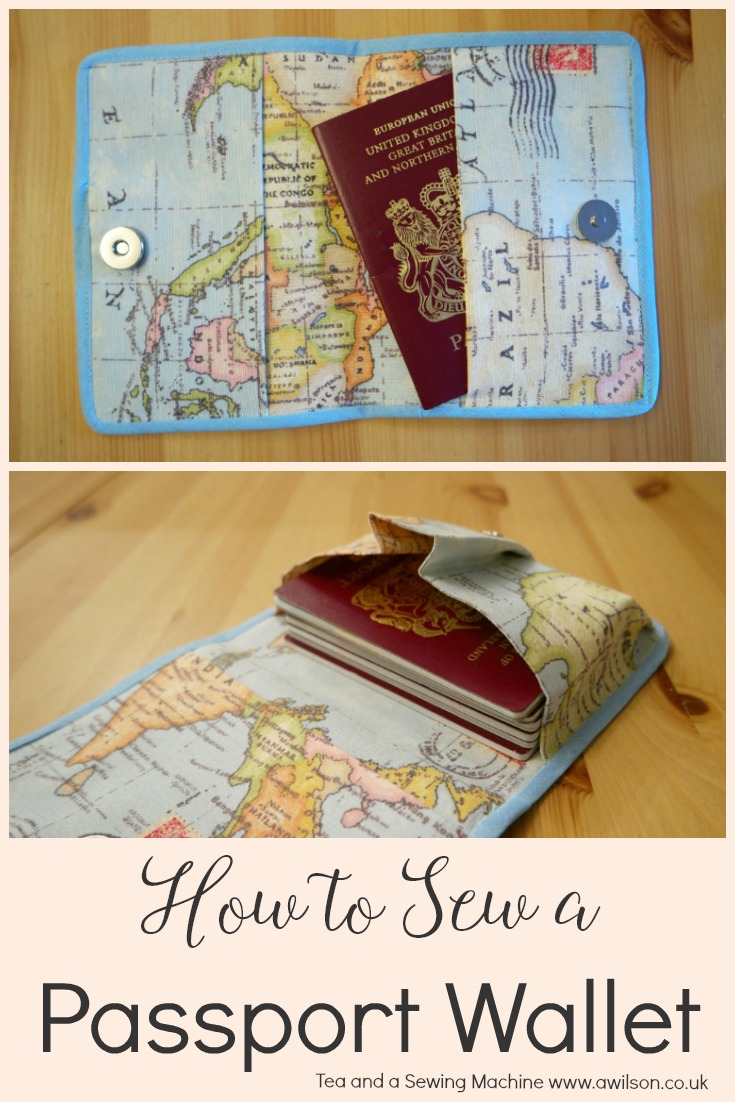
Instructions For Sewing a Passport Wallet
You Will Need
Cotton fabric (1 fat quarter will be enough), 1 m bias binding, 1 magnetic snap, buckram or some other stiffener, a small amount of fusible interfacing.
I’ve included some affiliate links at the bottom for the things you’ll need to make it. Please away that the map fabric is not the same as the one I used!
Cutting Out
From the cotton fabric, cut 2 rectangles 24 cm x 16 cm for the main section. For the standard pocket, cut a rectangle 16 cm x 20 cm. If you need 2 standard pockets, cut 2 of these. For the family pocket, cut 1 rectangle 25 cm x 22 cm.
Sewing Up
1. Cut 2 squares of fusible interfacing about 3 cm x 3 cm. Take one of the standard pocket pieces and measure up 2 cm from the bottom edge. In the centre, fuse 1 square of interfacing to the wrong side.
Repeat for the other pocket. If you are making the family pocket, measure up 2.5 cm from the bottom, then fuse the interfacing in the centre.
2. While you have the iron on, fold the pocket pieces in half and press.
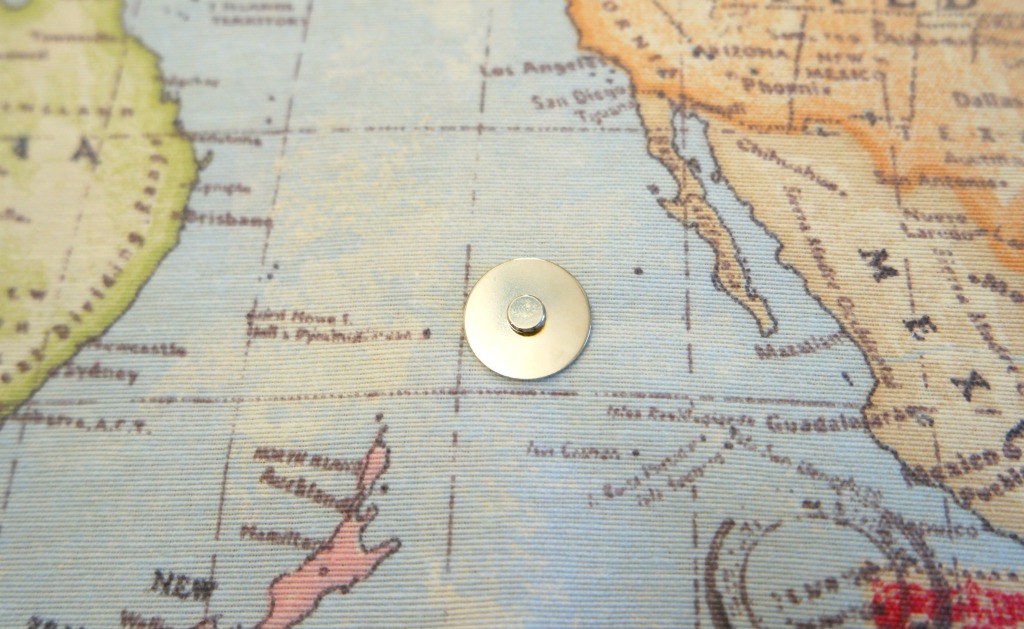
3. Attach each half of the magnetic snap to the pocket pieces where you fused the interfacing. On the standard pockets, the centre of the snap will need to be 2 cm up from the bottom edge. On the family pocket, it will need to be 2.5 cm up from the bottom. If you need a more detailed tutorial showing how to install a magnetic snap, there’s one here.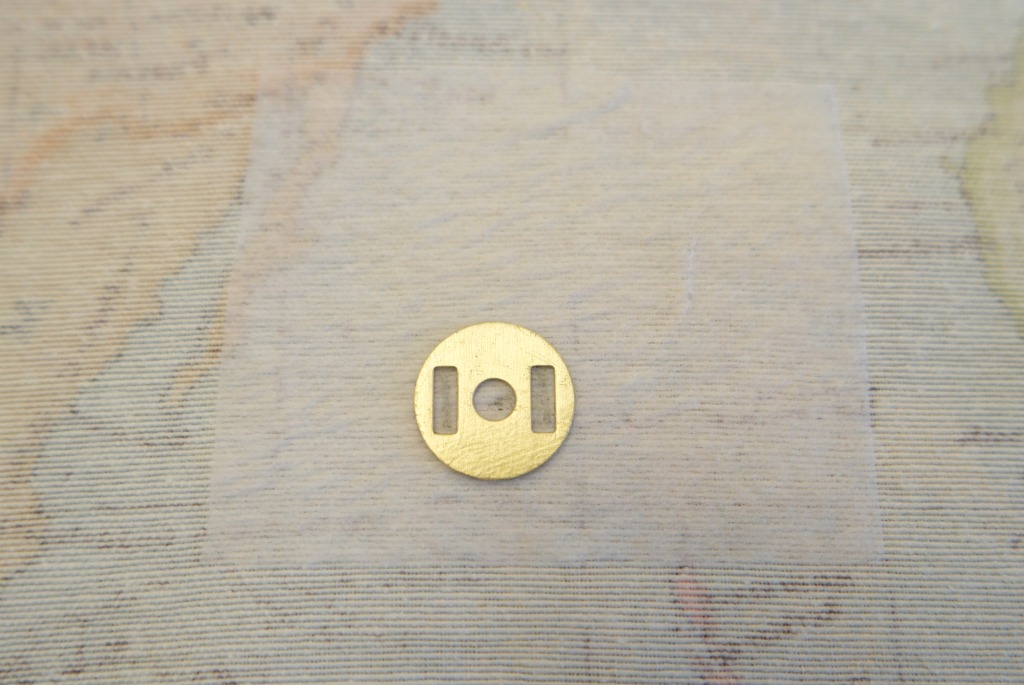
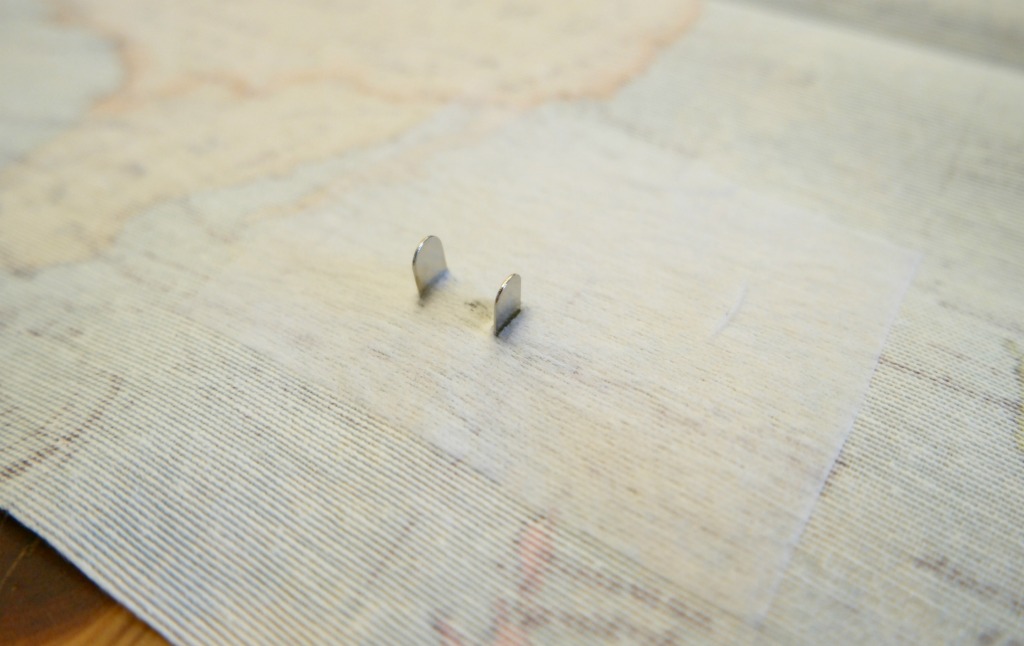
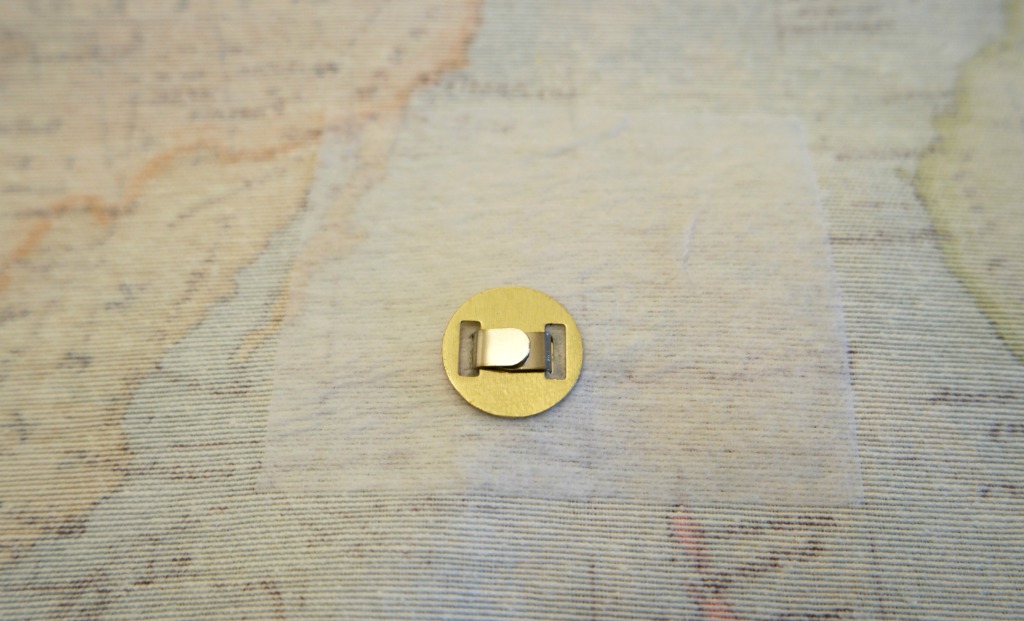
4. Take the pieces for the main section of the passport wallet. Put them wrong sides together with the buckram in the middle. Pin the pieces together in the centre. This is so that the pins don’t get in the way of the pocket which you’ll be doing in a minute!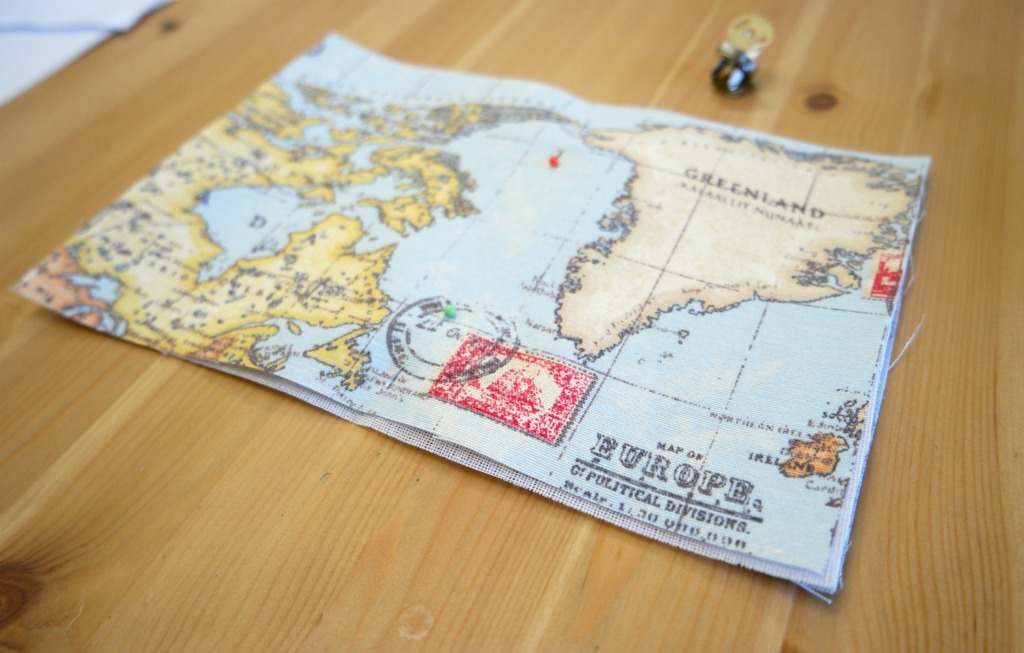
5. Take your standard pocket and pin it to the main wallet piece. The pocket piece needs to be folded and the raw edges matched up with the side, top and bottom of the main wallet pieces. The magnetic snap should be on the outside of the pocket.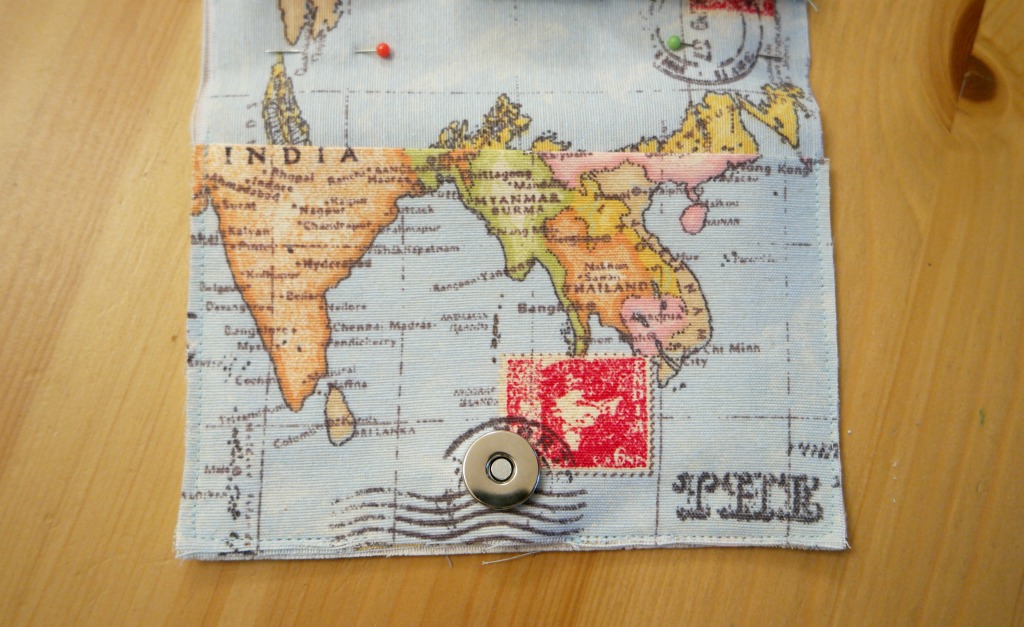
If you are making the family version, sew the edges of this pocket to the main wallet section, keeping close to the edge. This is to make things easier when you sew on the bias binding.
If you are making a standard sized passport wallet, pin the other pocket to the other side of the main wallet section, then sew all the way round.
If you find it difficult to sew near the snap, using a zip foot will allow you get closer.
6. To make the family pocket, find the centre of the bottom edge of the pocket section and measure out 3 cm on either side. Fold outwards to make a pleat. The magnetic snap needs to be on the outside of the pleat. Pin in place.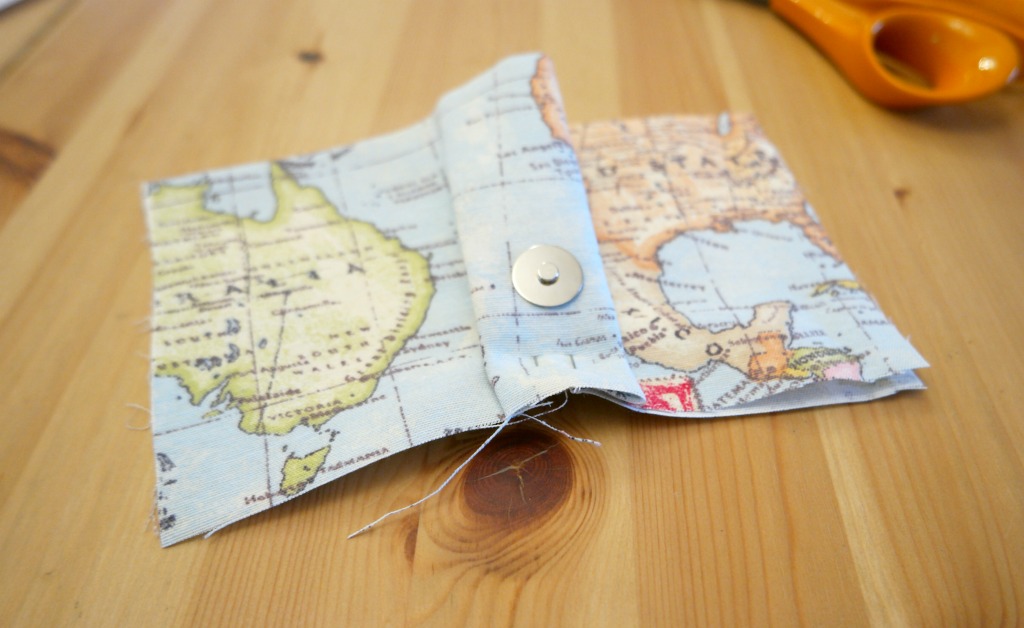
Pin the edges (not the bottom!) of the family pocket to the edges of the main wallet section. Sew them in place, keeping close to the edge.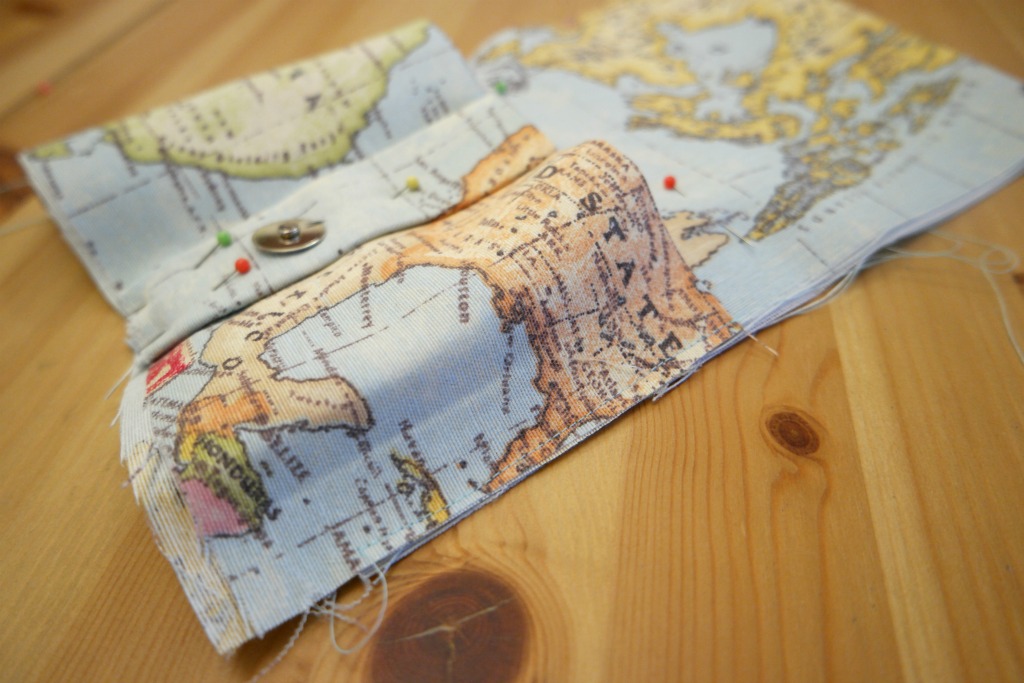
Pleat the sides so that the pocket sits flat. Pin in place, then sew along the bottom, again keeping close to the edge.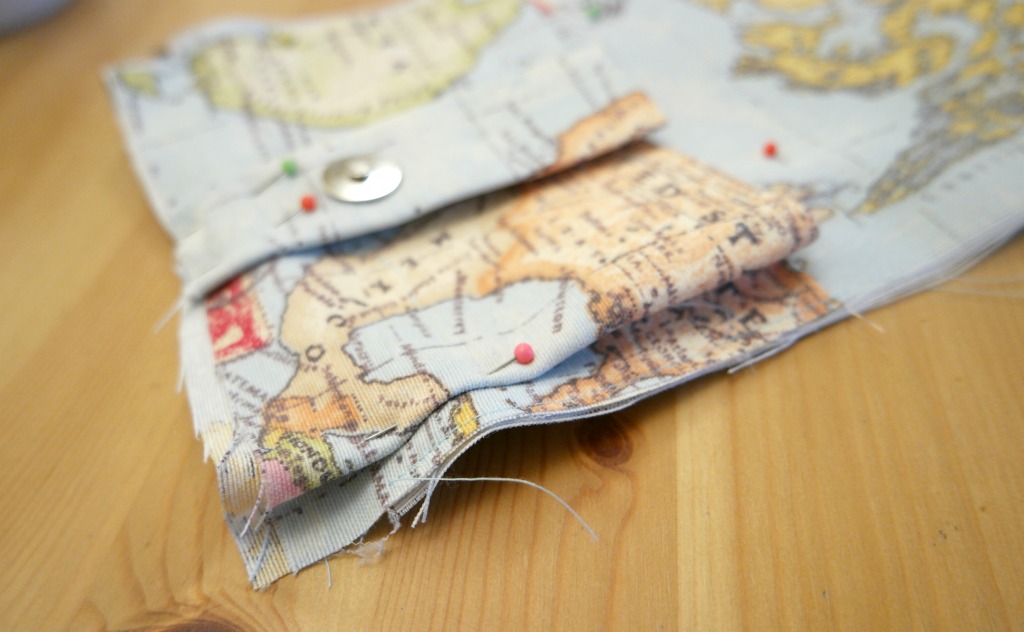
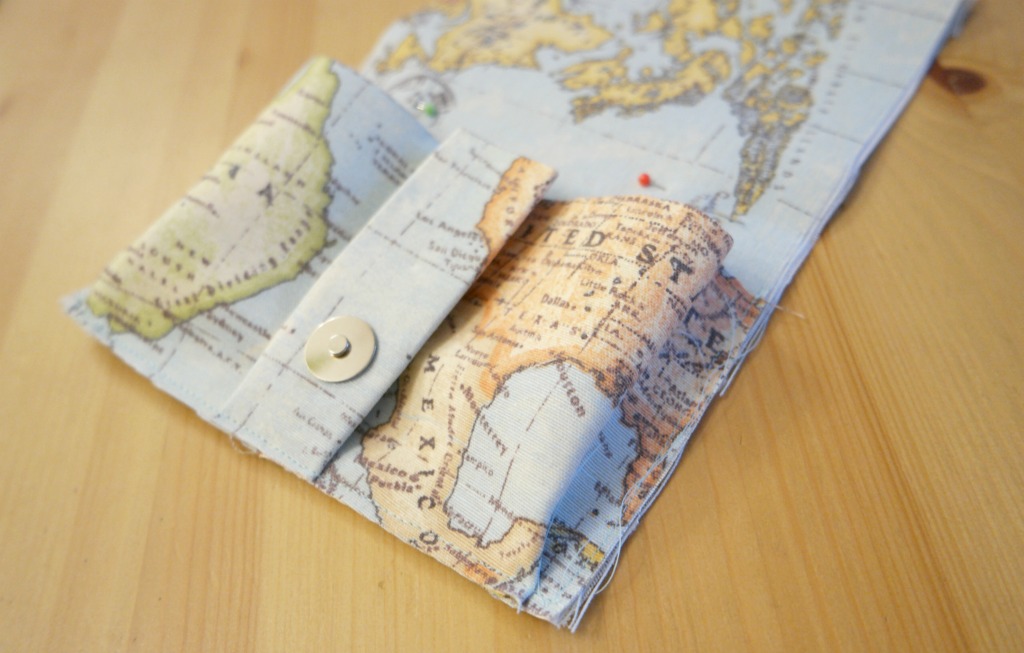
7. Take the bias binding and fold it in half lengthways. Fold one end over and pin it to the inside of the passport wallet so that the edges are together. 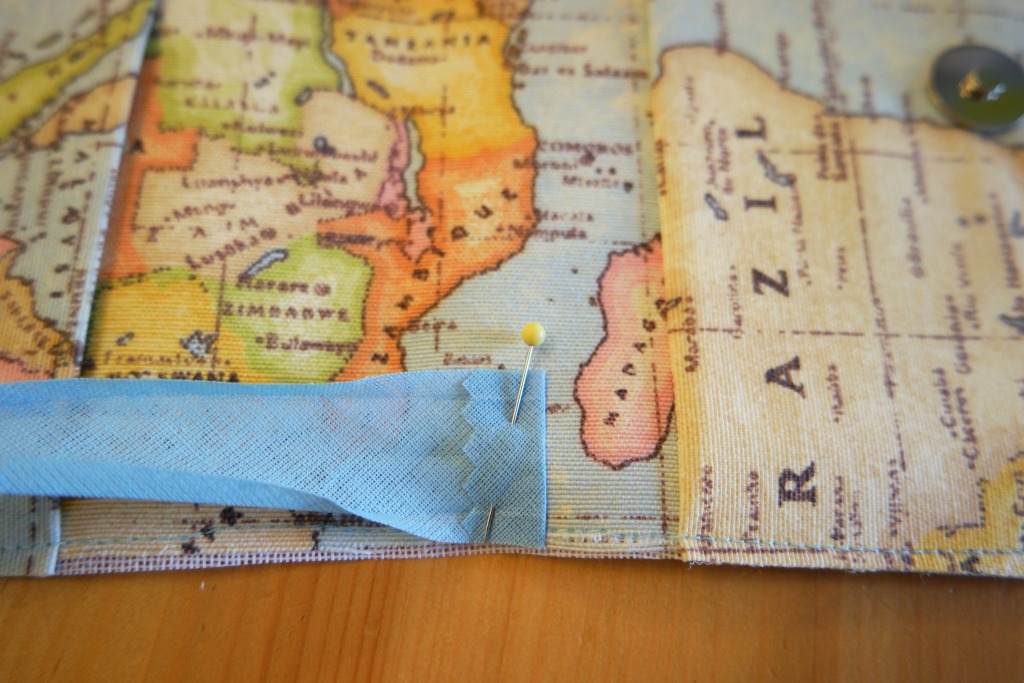 Sew the bias binding to the inside of the wallet. When you get back to where you started, overlap the ends of the bias binding and sew over them.
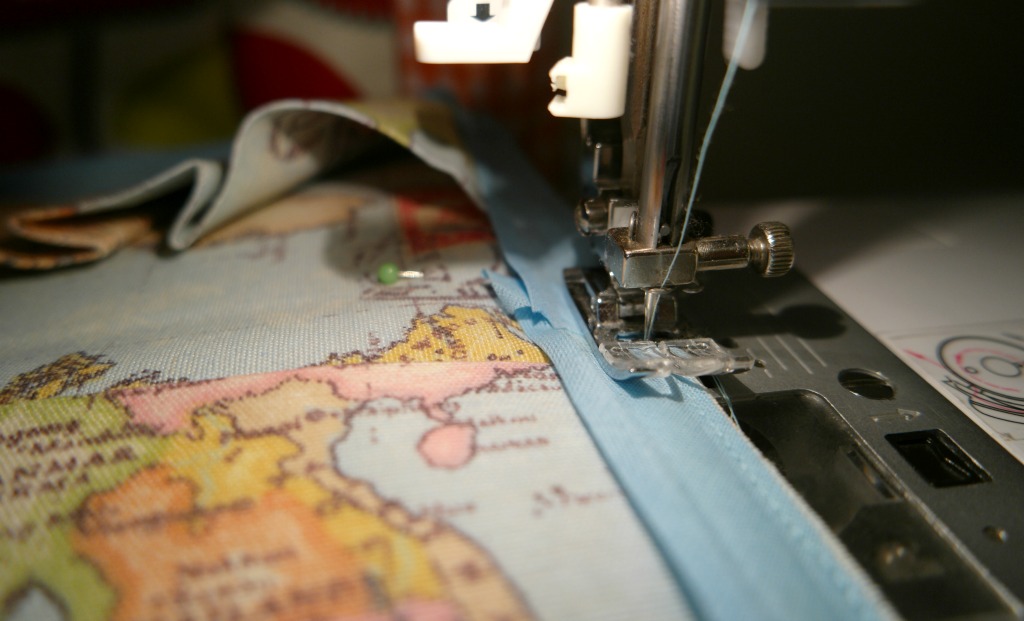
8. Fold the bias binding over the raw edges. Top stitch all the way round, taking care at the corners.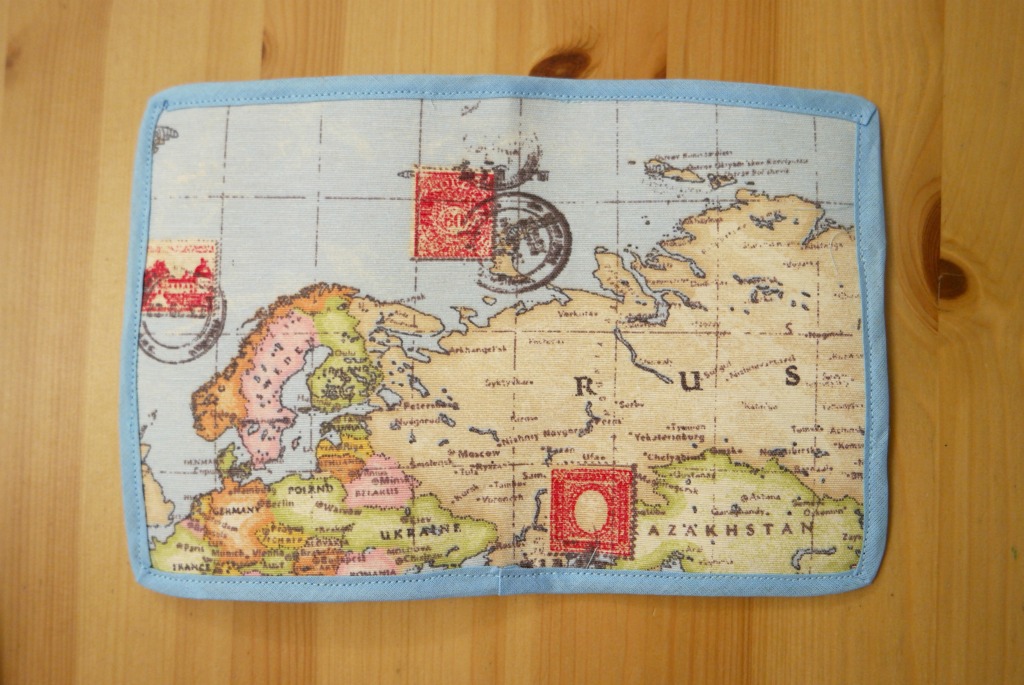
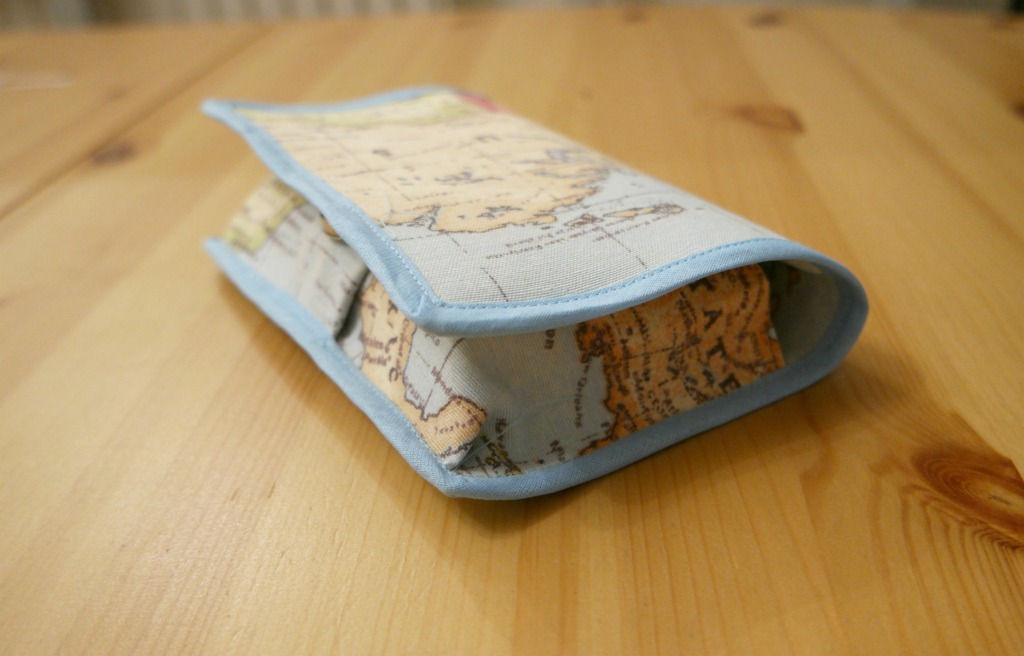
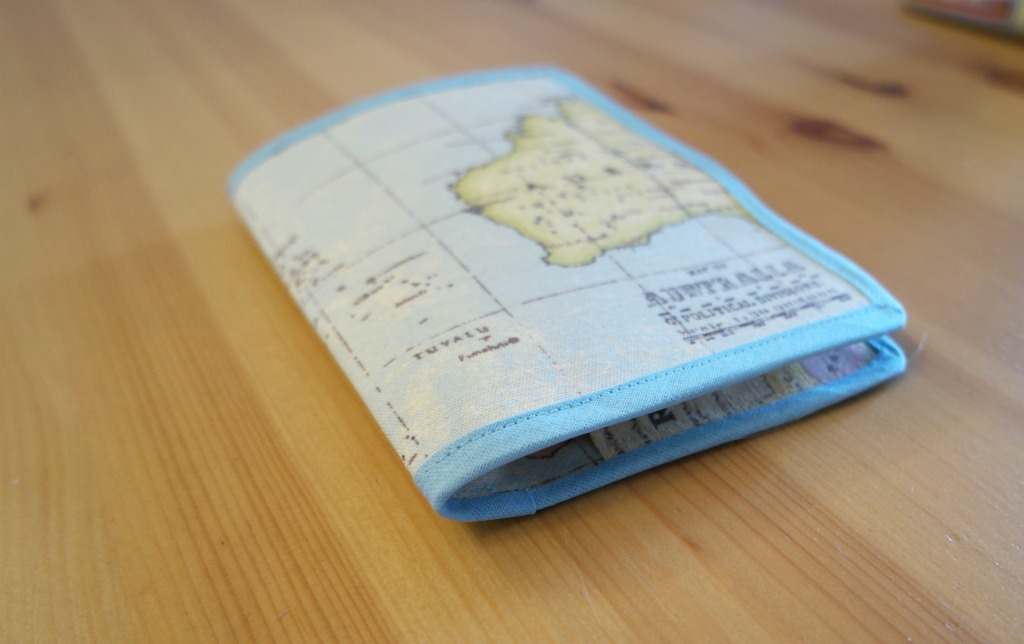
Now you have somewhere safe to keep your passports! This would make a nice gift for somebody who likes to travel.
…and here’s the family version.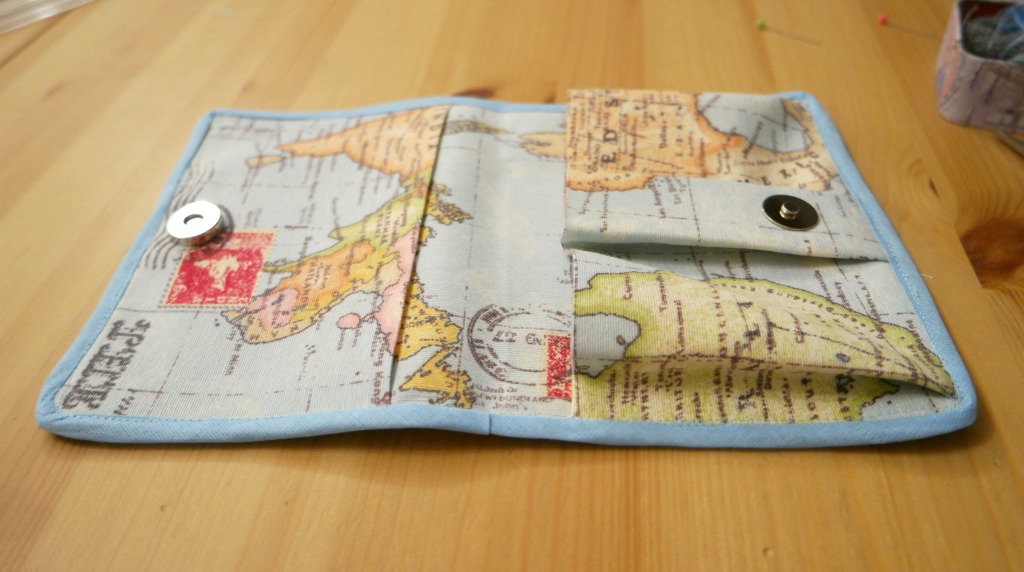
Here are some affiliate links to things on Minerva Crafts you would need to make a passport wallet.
Bias binding in various colours
Linking up here.




Anna this is such a good idea. I had to laugh when I read you kept them in a plastic bag. I am not far off from there. They really need to be kept in a special wallet, they are so important. And this is really cute.
Mary recently posted…How To Make Your Own Beeswax Furniture Polish
Thank you Mary xx
Such a brilliant idea. As a mum I was always dishing out then collecting up the passports on family trips. I always just kept them in a boring plastic wallet. I don’t collect them in now as the kids are all grown up but I fancy something a bit stylish for mine 🙂

Julie recently posted…Felt Gift Card Envelope
Good idea, to kepp everything tidy on travels. I got roped into making dog passport cover a few years back.
Lol, a dog passport!
What a great project, and I really appreciate all the photos and details. I’m a beginner sewist, so I have to choose my projects carefully to keep my frustration level low. This looks super doable, and I’d learn a few new skills at the same time.

Also, what a great choice of fabric!
Susan recently posted…New life for old cushions
Thanks Susan, definitely a good project for a beginner. I find lots of pictures help!