How to Print Onto Fabric With and Without Freezer Paper
I’m on a bit of an embroidery thing at the moment, and one of the things that I’ve wanted to find out is how to print onto fabric.
There are several ways of transferring embroidery designs onto fabric, including using dressmaking carbon paper or transferring the design onto tissue paper, sewing over the paper then tearing it away when you have finished.
However these methods are time consuming, and as I had a couple of designs that I wanted to reproduce several times over, using the printer sounded like the most efficient method, providing I could get it to work!
I’ve tried the freezer method, and I also tried printing using another method as well. For both methods you will need to have your design saved as a digital file on your computer.
I have included some affiliate links.
How to Print Onto Fabric Using Freezer Paper
The first method I tried was the freezer paper.
Freezer paper is different to greaseproof paper. It has a plasticky coating on one side. It’s not something we seem to use very much in the UK (I’m a tin foil girl myself!), but you can get pretty much anything from Amazon!
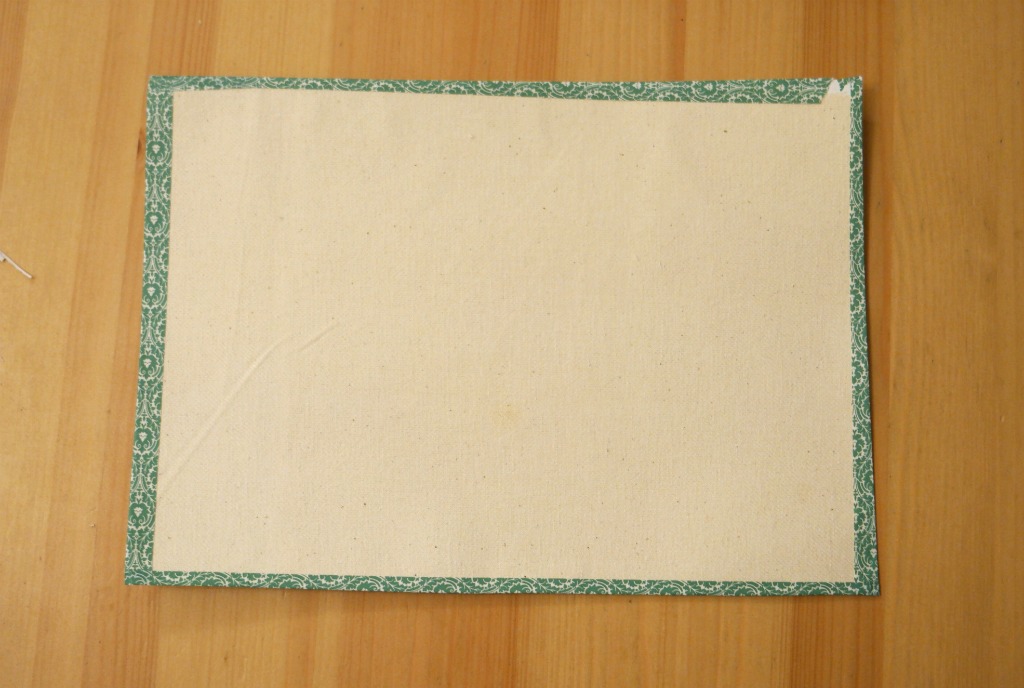
1. To print using the freezer paper method, cut an A4 sized piece of fabric and a piece of freezer paper the same size.
2. Place the freezer paper shiny side down onto the wrong side of the fabric.
3. Iron it with a hot iron. The freezer paper will fuse to the fabric.
4. Tape the edges of the fabric to the freezer paper. This is especially necessary if the fabric you are using is fraying. You don’t want it getting caught up in your fabric and wrecking your printer!
If your fabric isn’t fraying, you could just tape the top edge and along the sides a bit.
5. Pop it into the paper tray of your printer. You will need to work out whether to have the fabric side facing up or down, depending on how your printer prints.
My printer takes the paper in on from the front, pulls it up round a roller, then spits out the printed thing at the front just above the paper tray. The side to be printed on needs to be face down in the paper tray.
6. Hit print on your computer and wait for the printer to do its thing.
7. Peel off the tape and the freezer paper.
I found this worked fine with light weight fabric. The printer did need a little bit of gentle persuasion, but poking the contents of the paper tray towards the opening was enough.
When I tried this with medium weight fabric, it was a disaster! The printer kept chewing it up and I had to open it up to rescue the fabric that was caught up inside. It was also covered in ink.
This is where I tried Method 2.
How to Print Onto Fabric Without Using Freezer Paper
All the freezer paper actually does is add a paper like quality to the fabric, thus enabling it to go through the printer like a piece of paper.
As my printer was chewing up my medium weight fabric for the 4th time, it occurred to me that perhaps heavier fabric needed something heavier behind it.
So I decided to try using a piece of card instead of freezer paper. This worked much better!
1. Cut an A4 sized piece of fabric.
2. Tape it to a piece of A4 lightweight card. My fabric wasn’t fraying too badly so I just taped the top and put a bit on the sides to hold it.
3. Put it into the paper tray of your printer so that it will print on the fabric side. For my printer, this meant having the fabric side face down.
4. Hit print.
5. Carefully remove the tape to separate the fabric from the card.
I think freezer paper is probably fine for lightweight fabric, but for anything heavier, card is probably better. I haven’t tried taping light weight fabric to a piece of card, but I imagine this would work too.
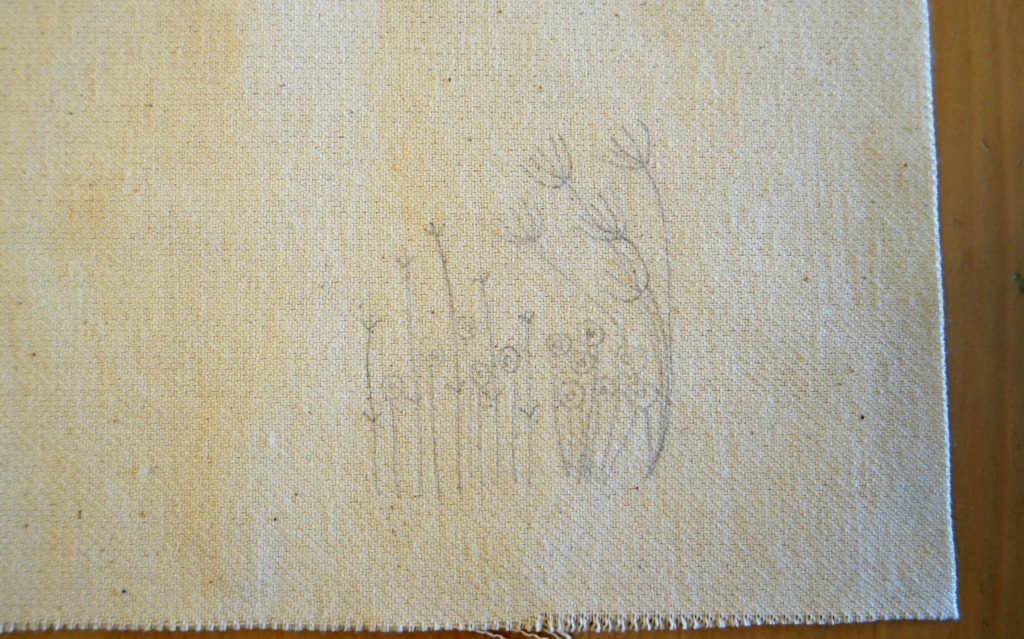
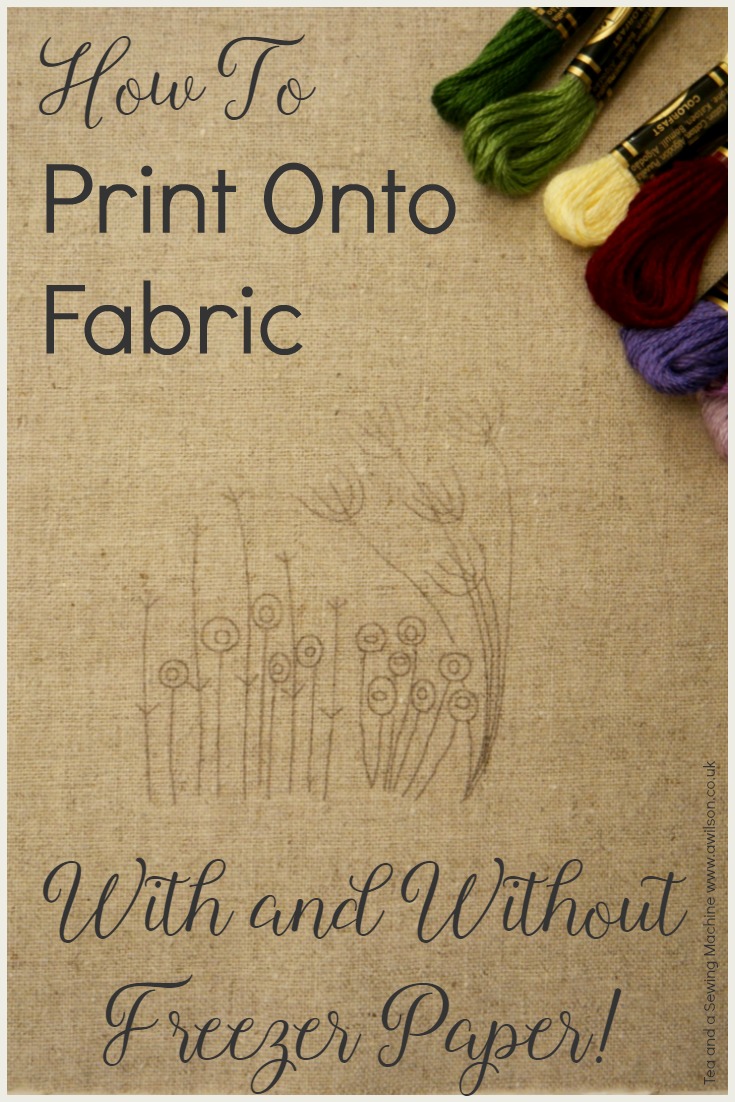
If you would to try out printing an embroidery design to fabric, I have 2 embroidery designs which you can download for free here. One is the design pictured earlier in the post. The other is the daisies design which you can see in this post here.
Linking up here.


I would agree with your saying that Freezer paper is only best for lightweight, I also have not got the right response on heavier fabric with freezer paper.
Eliza recently posted…Can You Sublimate on Glass? A Detailed Step By Step Guide!
I am researching how to print onto material using an inkjet printer and came across your site. Great information. I am wondering though about the inkjet ink for a permanent ink. Do you know about this ink and if it would be permanent? My finished product would be subject to the outdoors, and weather.
I’d check the ink you have in your printer, but I suspect it’s not waterproof.
Awesome post! Thank you for sharing this tips. Very informative. I learned a lot of things regarding transferring embroidery designs onto fabric, including using dressmaking carbon paper or transferring the design onto tissue paper, sewing over the paper then tearing it away when you have finished. Keep it up!
Glad you like it! 🙂
Hello,
hi this is just brilliant! but i was wandering is it safe to wash? thank you!
noor
I think printer ink is probably washable, so if you need the ink as part of your design, I wouldn’t.
I print individual labels for all the quilts I make and so far, I’ve had a 100% success rate by using quilt basting spray on a sheet of standard A4 paper and smoothing the fabric onto it – no need to tape it down. Once ironed to set, it works like a dream. Once printed and ironed again to set the ink, the paper can be peeled off and discarded.
Hope this helps?
That’s a good idea, I didn’t even know there was such stuff! I’ll add this to the post at some point 🙂