How to Plan a Sewing Project
If you have read any of my other blog posts, you will probably have realised that I rarely use a pattern to make things. I prefer to come up with something myself from scratch. That way I end up with something that is just the way I want it. Usually. I would be lying if I said things always turned out perfectly!
In the post I am going to share with you how I plan a sewing project right from the start. I’m not saying that this is the right way or the only way. This is what works for me, and if you are considering making something from scratch without using a pattern, but you don’t know where to start, hopefully you will find this helpful!
1. Deciding What to Make
In some ways, deciding exactly what to make is the hardest step!
Usually for me it will be:
Something I want or need, for example a dress to wear to a wedding or storage solutions after Christmas.
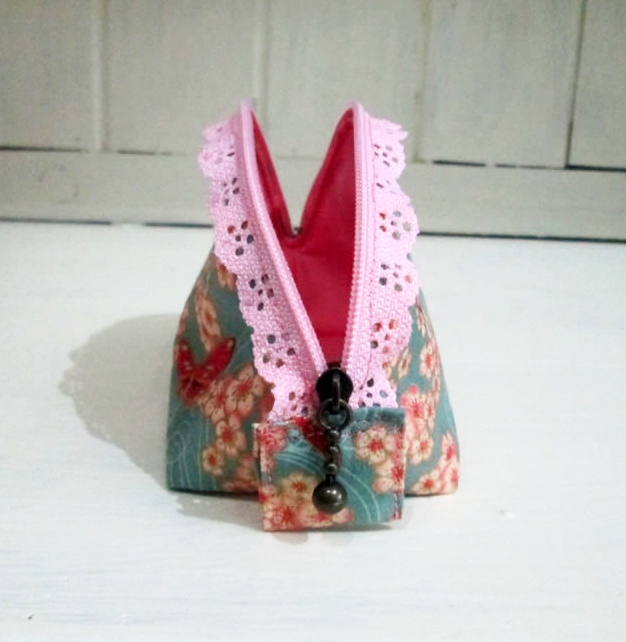
I want to try out a particular product or technique, like boxed corners or these pretty lace zips. The reason I made this little purse was mainly because I wanted to make something with a lace zip. And you can’t have too many purses, right??
Inspiration hit me while I was rummaging in my fabric hoard. It’s easy to forget what you have and when you find a beautiful piece of fabric that you were saving for something special, it’s like buying something new without spending any money!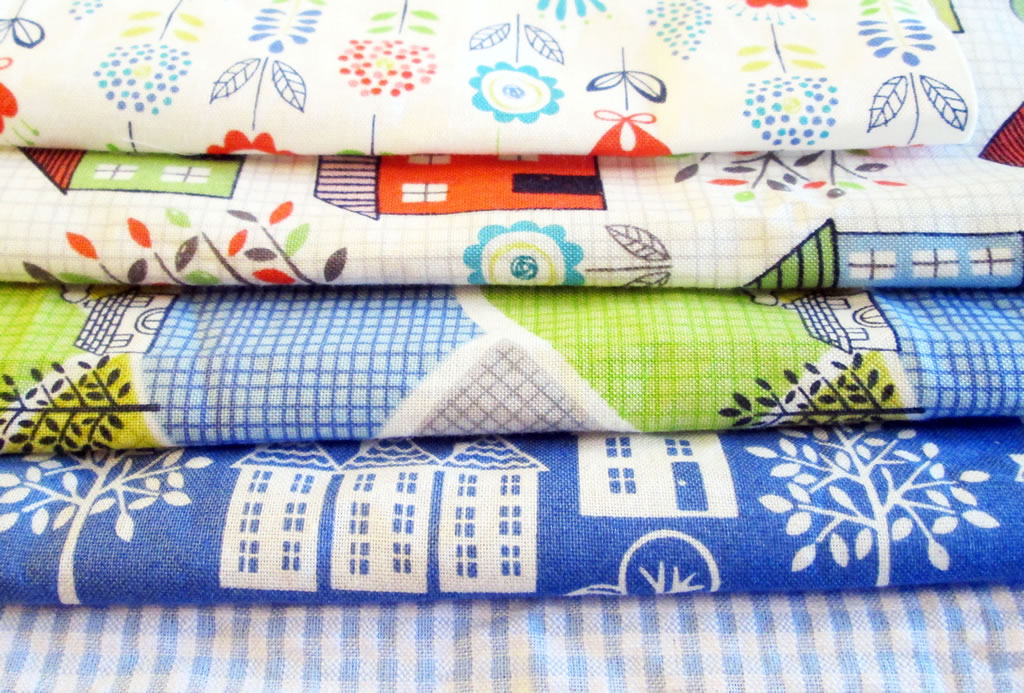
I was looking on one of my favourite online fabric shops and saw something I wanted to try our or some fabric that would be perfect for a project that occurred to me while I was looking at it. My current faves are Minerva Crafts (affiliate link), Plush Addict and Fabric Rehab.
2. Gathering Inspiration
Once you have decided what to make, the next step is to collect some ideas. For me, these ideas can come from a variety of sources, including:
My head. I usually have plenty of ideas!
Pinterest. I love Pinterest! The things that people have pinned to their Pinterest boards will have come from all kinds of different places, including other blogs and websites, Etsy and Not on the High Street.
It’s important to emphasise here that if you use somebody else’s design and then sell it or write it up as a blog post, it has to be attributed, otherwise you risk copyright issues. Cheryl from Sew Can Do wrote a blog post about having her ideas stolen and this has happened to plenty of other people too. I don’t want to be those people! The best thing to do is to use the ideas you find as a springboard for your own ideas.
Once you’ve pinned a few things, it’s a good idea to make some drawings of your sewing project. It doesn’t matter if you’re not much of an artist, it’s more about focusing your ideas. You don’t have to show them to anybody if you don’t want to!
3. Decide How to Make It
Keeping things simple is best. It is much better to have something simple and beautifully made than something complicated that ends up being unusable.
Once you have made some sketches of your sewing project, it’s time to start considering the pattern pieces.
I like to think of a project as a set of simple shapes.
Draw the shapes onto paper. If it is a small project, you might be able to use printer paper, although it is often a little thick. Pattern paper is best, although greaseproof or newspaper will work well too.
Don’t overcomplicate things because it will probably cause you problems!
4. Cut Out the Pieces
Before cutting out, you will need to think ahead.
Have your measurements included a seam allowance? 1-2 cm around each pattern piece is usually enough.
You might need to allow extra for boxed corners if you’re making those.
Consider whether it will need interfacing. Interfacing will make the finished item feel sturdier, if that is what you want (eg with a bag), it can help unstable fabrics hold their shape and it can help to reduce fraying.
At this point, it’s also a good idea to think about how you will finish the raw edges if they need it.
5. Decide on an Order For Sewing It Up
Things to take into account here include:
- Pockets
- Lining
- Interfacing
- Zips and other fastenings
- Darts
- Lining up seams
- Finishing raw edges
- Trims and embellishments
You don’t want to have to unpick what you’ve done because you’ve discovered a step that you missed that needed to be done earlier! Jotting down a list is a good way of avoiding this happening.
6. Sew it Together
Once you have all the pieces cut out and decided on the order in which things need doing, you can begin to sew it together.
- Don’t forget your seam allowance!
- Trim and press seams as you go.
- Finish the seams if they need it.
- Add fusible interfacing where needed to give fabric more weight, stability and to reduce fraying.
- Use longer stitches if they are going to be visible, unless you are appliqueing something fiddly!
7. Finishing
The last thing to do as with any sewing project is to trim threads, hand sew any areas that need it and give it one final press.
PS If you want to sew clothes without using a pattern, you might like my ebook!
You can find out more about here.
If you liked this post, you might also like:
25 Great Tips For Sewing Clothes Without a Pattern
10 Top Tips to Make Sewing Projects Easier
Linking up here.


Hi, Anna – what a fun and charming post for a beginner (me) or an expert! All your photos are great, too.
Michelle recently posted…Hamsa Hand Door Amulet
Thank you! I’ve been trying hard to improve them 🙂
Its great pleasure to me to be a reader of your blog Anna. Thanks for sharing your great idea. I believe that It will help every newbie sewer.
Thanks Robert 🙂
I had to read this because I rarely plan my projects. Ha! It will work much smoother if a project is really planned well. Thanks for the inspiration! Thank you again for sharing at our DIY Crush Craft Party!! Hope to see you this Thursdays at 7pm EST. Have a great rest of the week!
It makes things much quicker if you don’t have much time. 🙂
Great advice here, thanks for sharing
Thank you xx
You are so good being this organised. I usually dive in them realise I don’t have everything I need and have to wait (sewing machine out on the table so we eat from trays) until I get the interfacing or matching zip etc that I need.

Julie recently posted…Ideas for your colouring pages
I’ve forced myself to become organised! I
love productivity hacks!