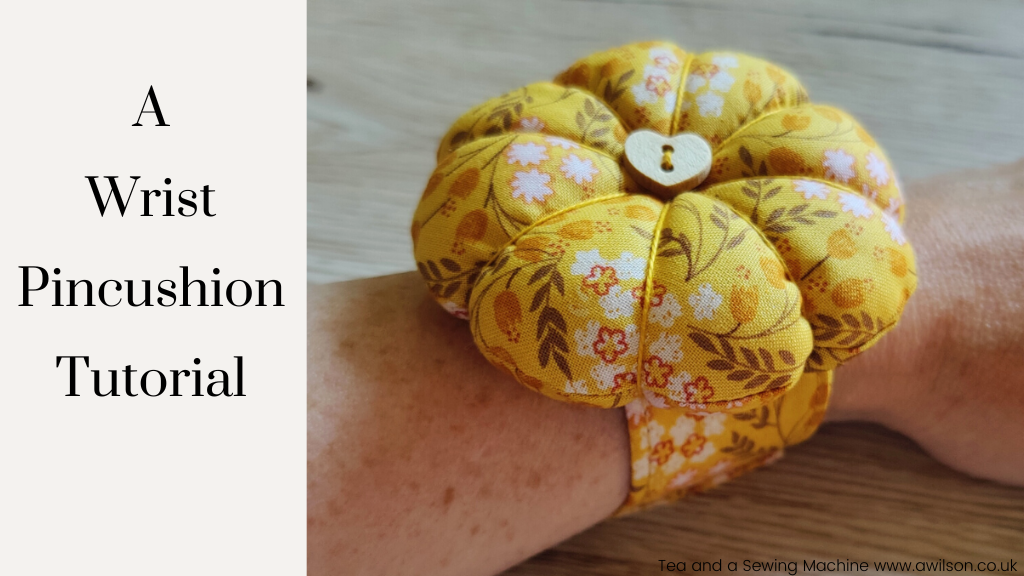
With the Great British Sewing Bee back on the television, I thought I’d revisit the wrist pincushion tutorial I wrote back in 2016.
I still have the original pincushion, and I often use it when I’m sewing. We are who we are, and I still lose my pins if I don’t have them actually attached to me!
At the time, I had some wrist pincushion kits for sale on Etsy, but in different fabric. Unfortunately, once they had sold out I couldn’t get any more of the fabric, so I never relisted them.
So I’ve redone the wrist pincushion tutorial with a few small changes. It’s basically the same, just a little bit larger and with some interfacing in the strap.
I’ve made 2 versions of the kits. One is in the same beautiful yellow fabric that I’ve used in this tutorial, and the other is a lovely blue one. The kits are for sale here.
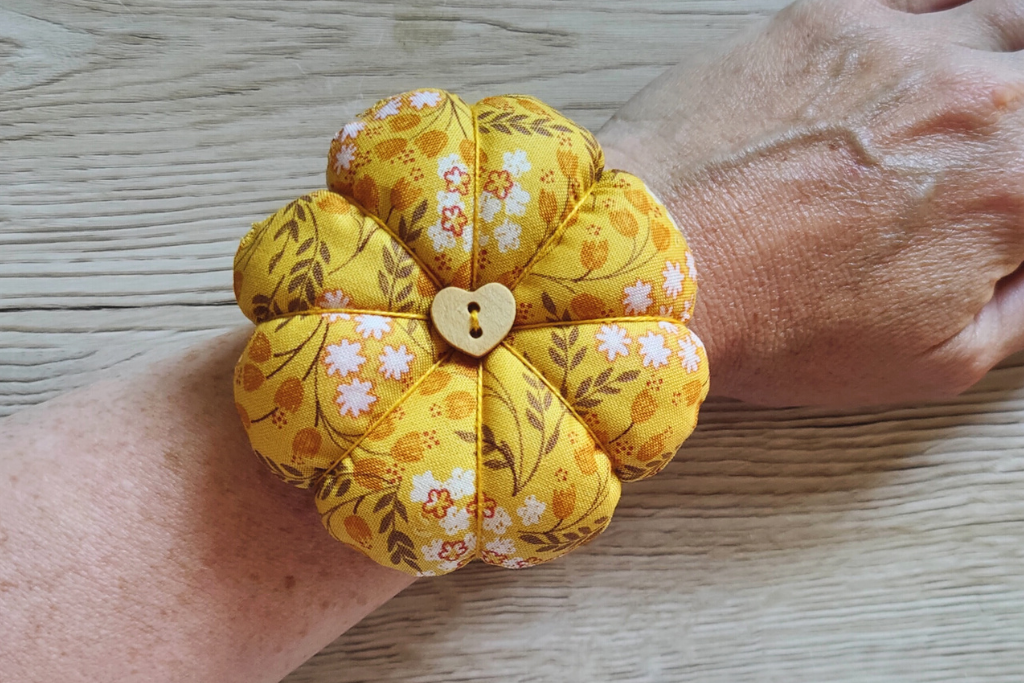
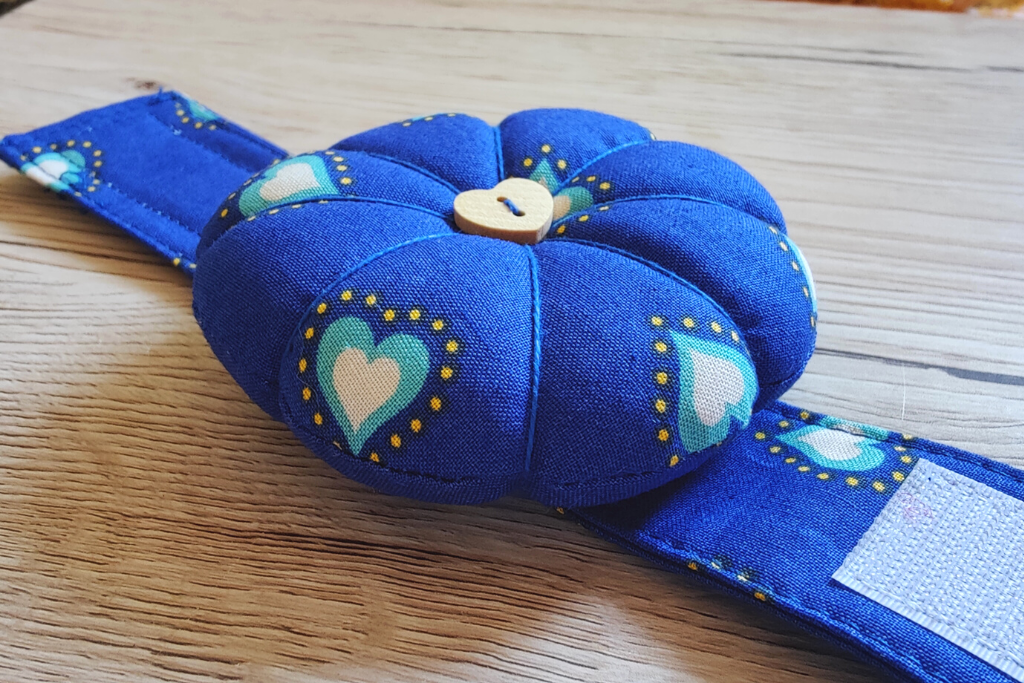

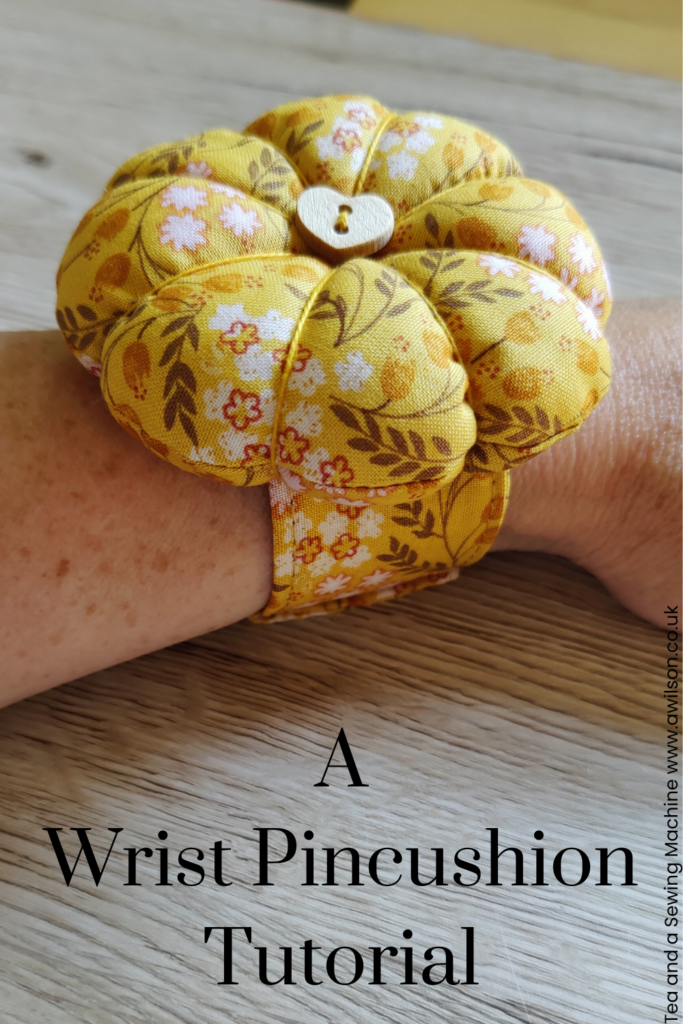
How To Make a Pincushion with a Wrist Strap
You Will Need
A small amount of cotton or polycotton. A fat eighth would be enough.
A little bit of interfacing for the wrist strap (optional)
A button
A 5cm piece of Velcro.
Polyester filling.
Strong thread. I used Sylko Perle.
A needle.
Cutting Out
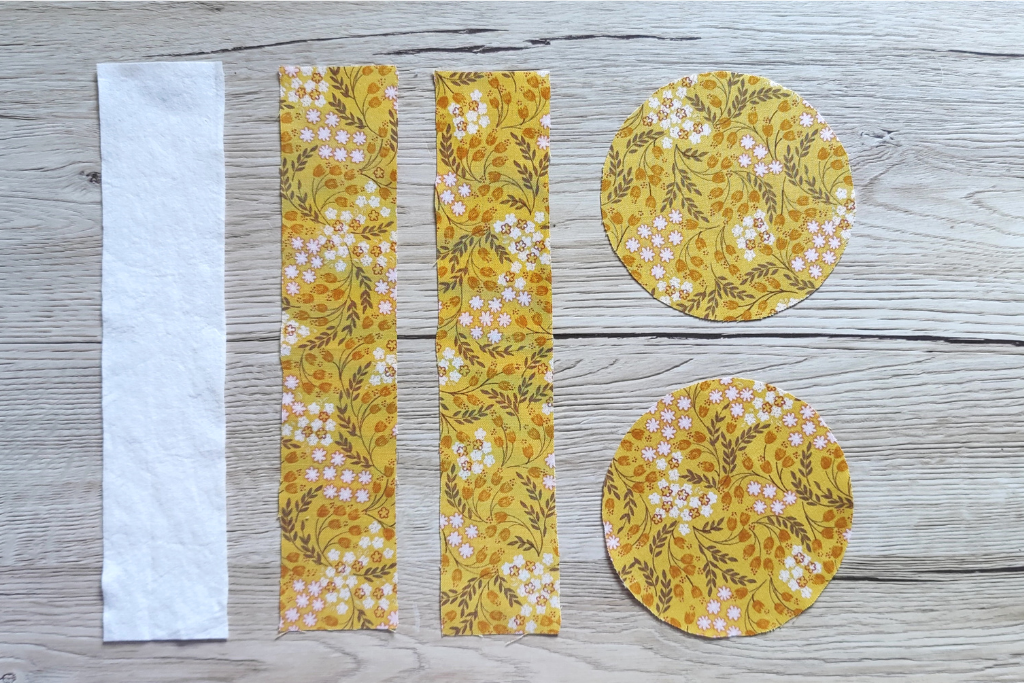

The size of the pieces allows for a 1 cm seam allowance.
From your fabric, cut 2 circles about 12 cm in diameter. You could draw round a cup or a glass if you don’t fancy drawing a circle.
Cut 2 rectangles 25 cm x 7 cm. They need to be long enough to go comfortably around your wrist with about 5 cm overlap. You might need to make yours longer as I have freakishly skinny wrists.
If you are using interfacing, cut a rectangle 25 cm x 7 cm, or the same size as your rectangles if they are different.
How to Sew a Pincushion for your Wrist
Place your rectangles with the right sides together. Pop the interfacing on top.
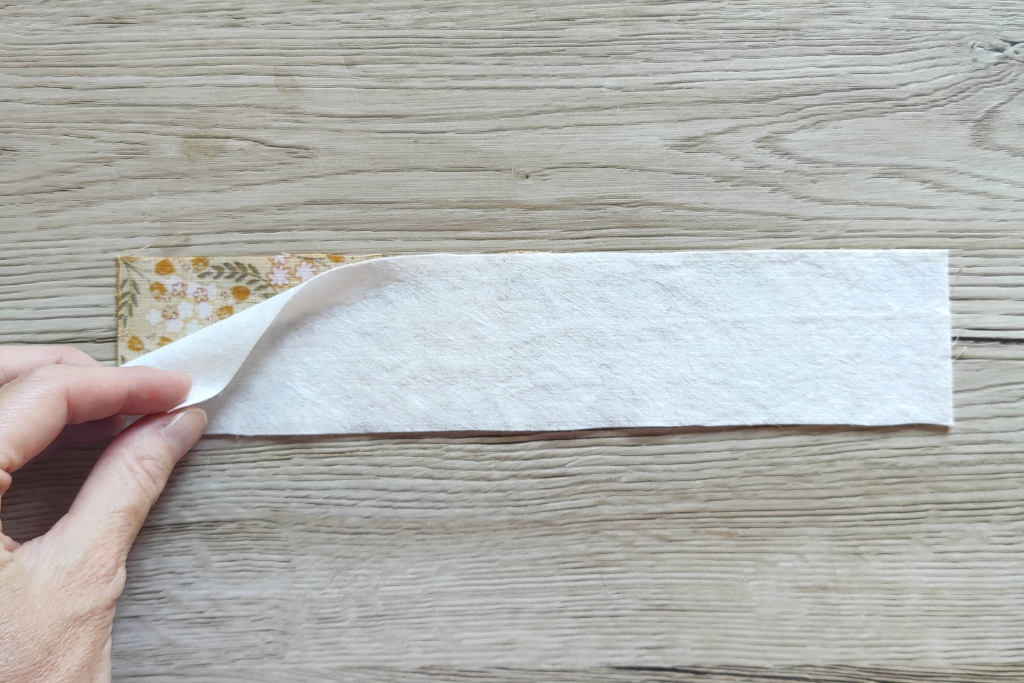

Sew around both the long edges and one of the shorter edges, leaving a cm at the open edge.
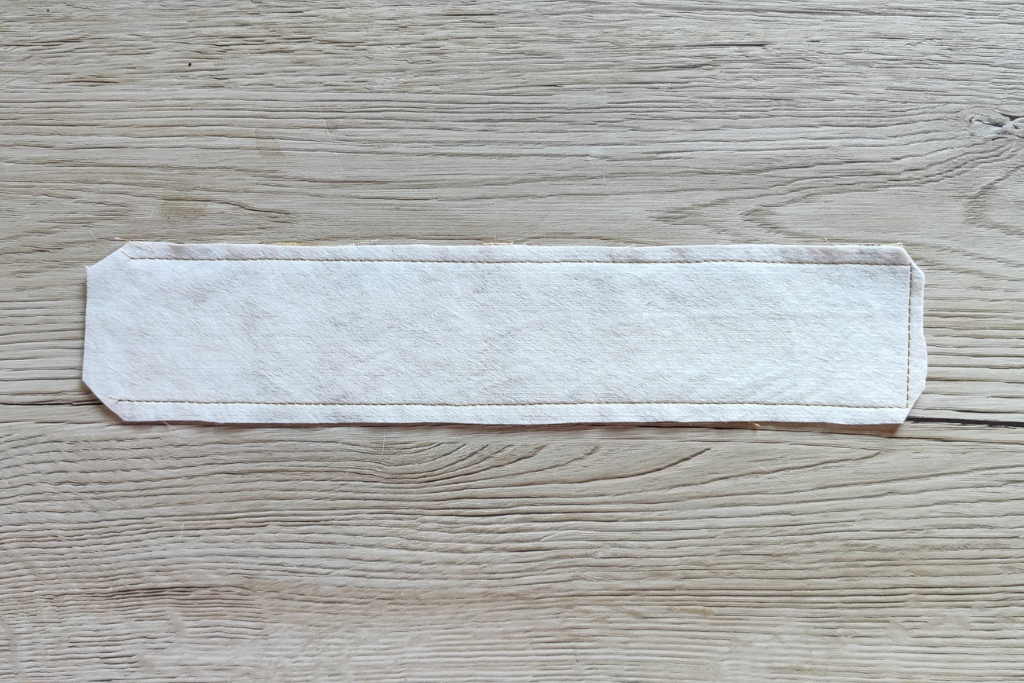

Trim the seams and cut the points of the corners. Turn it the right way out.
Run the iron over it, then tuck the raw edges inside. Pin.
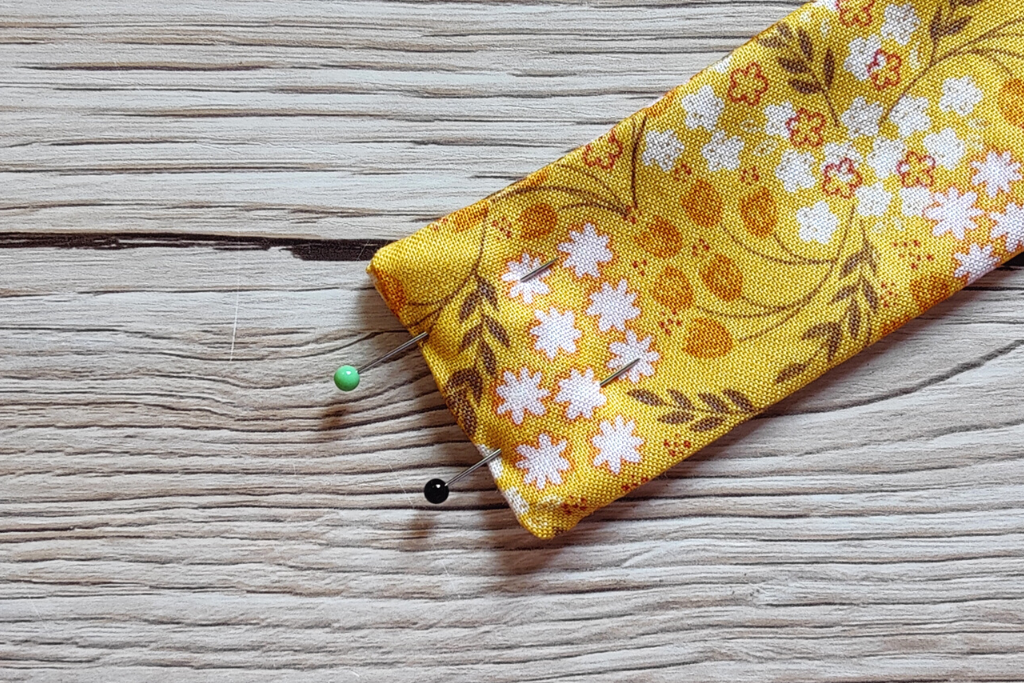

Top stitch all the way round, keeping close to the edge.
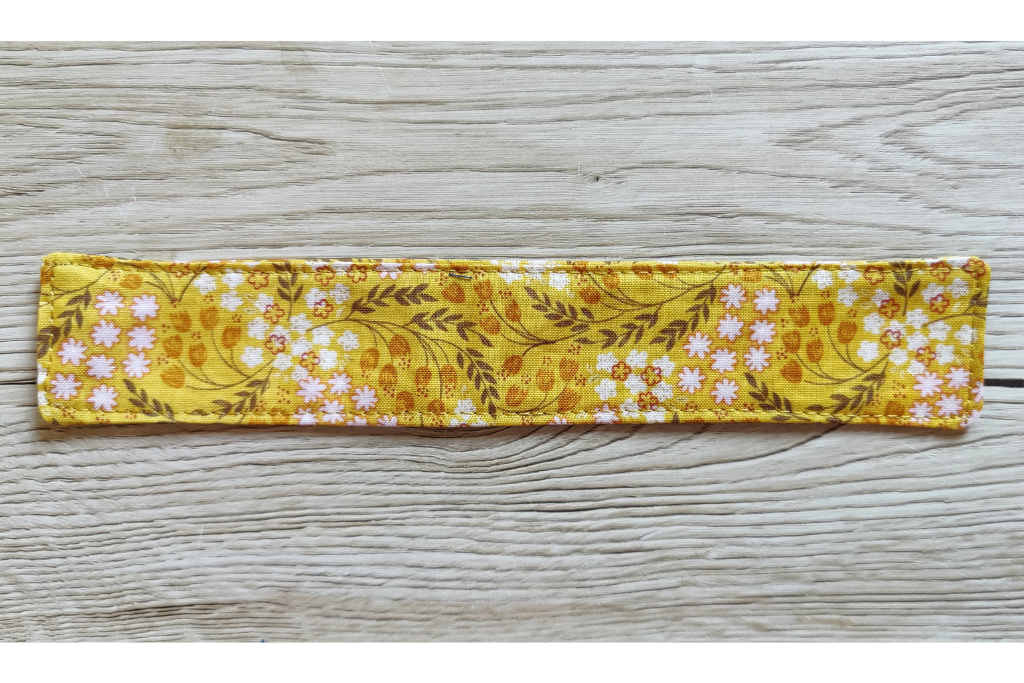

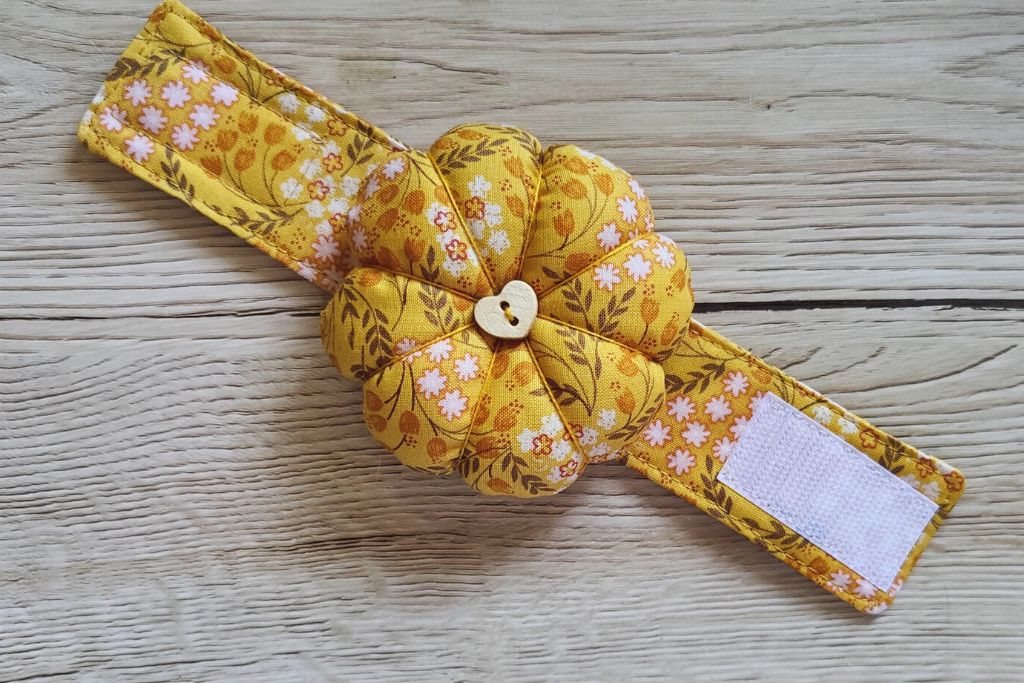
Sew the Velcro to the ends of the wrist strap. One piece will need to be on one side, and the other piece will need to go on the other side.
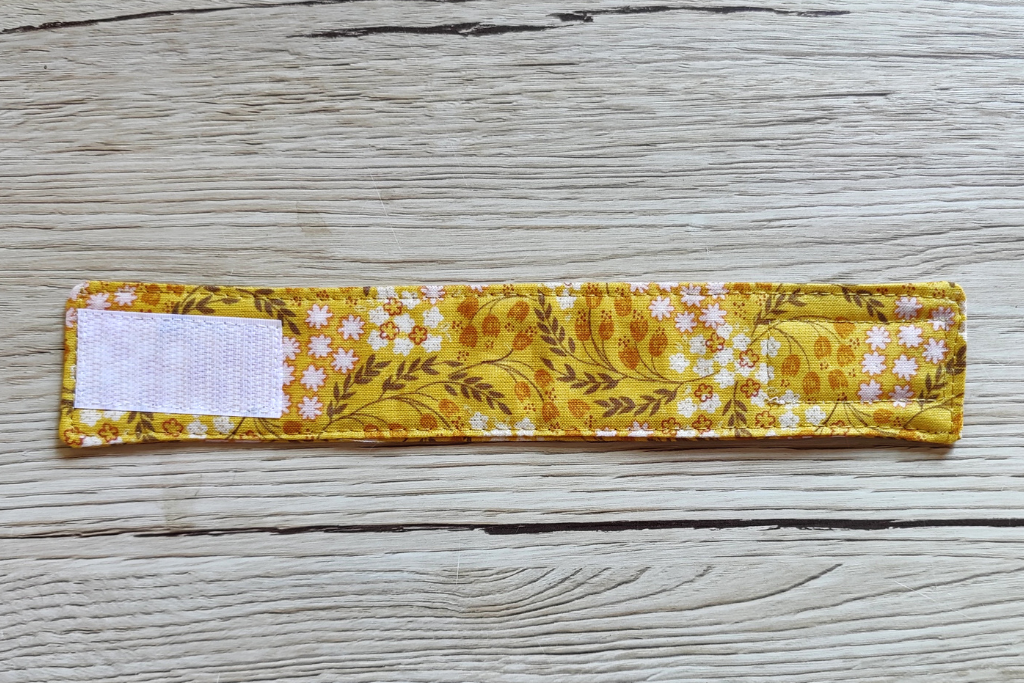

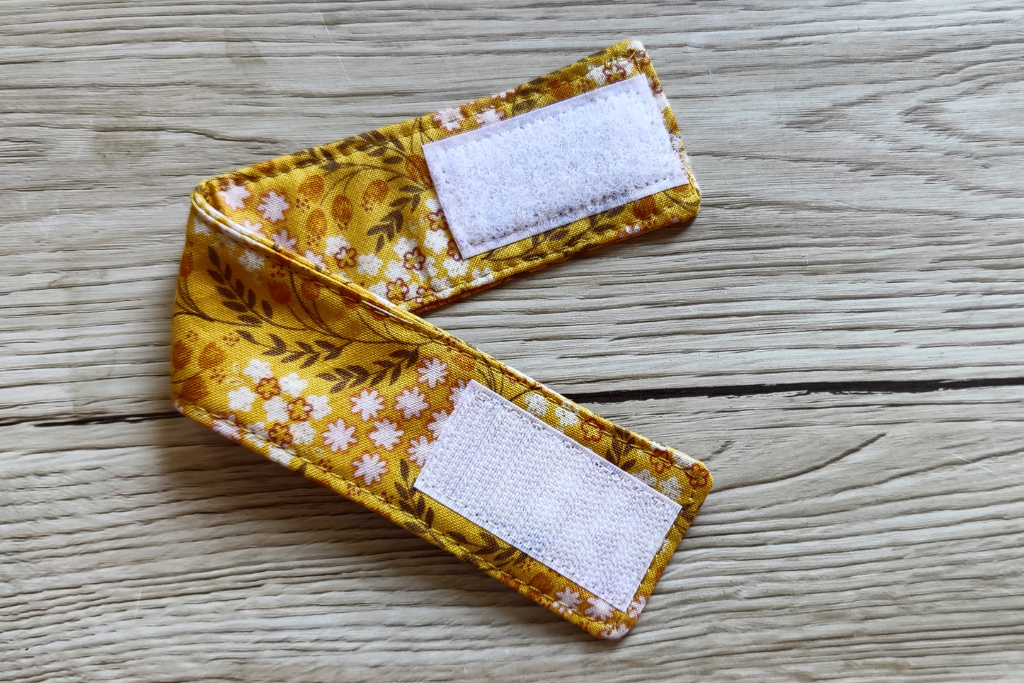

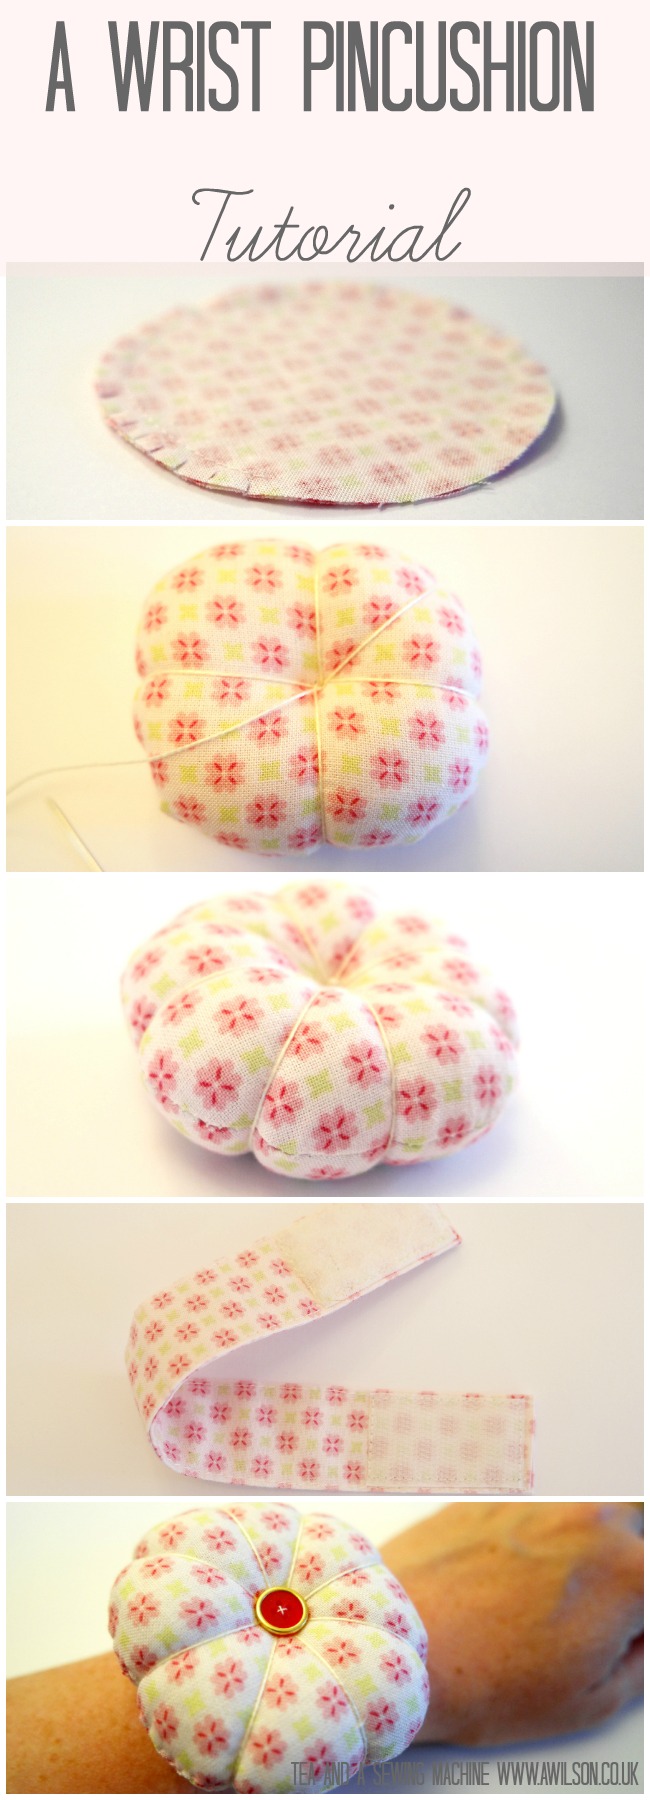
Put the strap to one side and take your circles. Pin the circles with the right sides together.
Sew most of the way round, leaving an opening.
Trim the seam and clip it. You’ll get a neater finish that way!
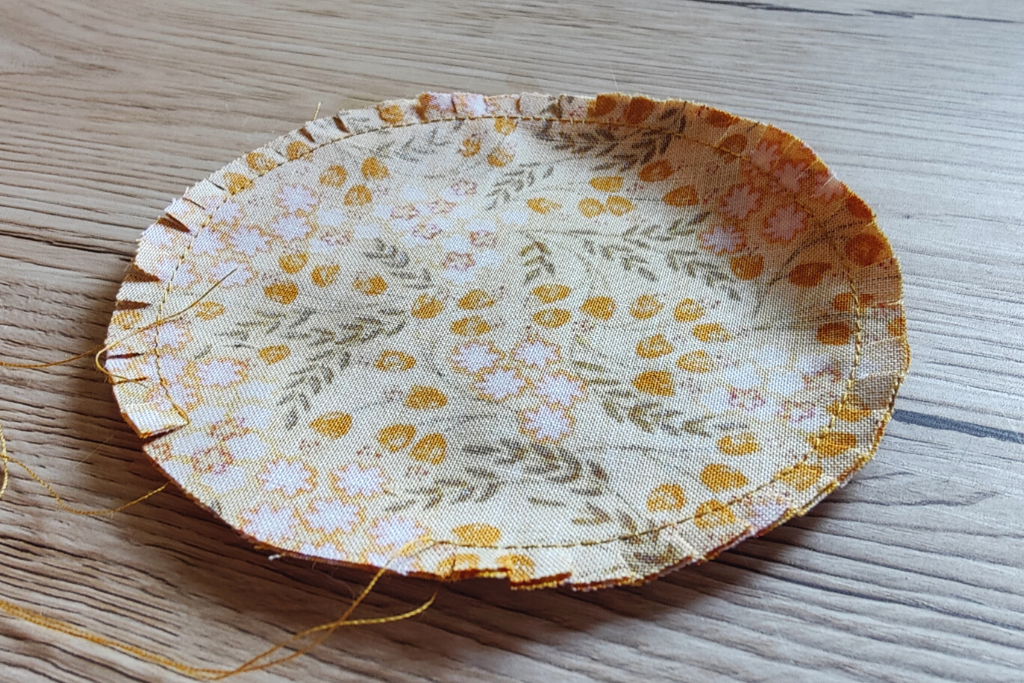

Turn the circles the correct way out.
Fill the pincushion with polyester filling. It needs to be quite firm.
Slip stitch the opening.
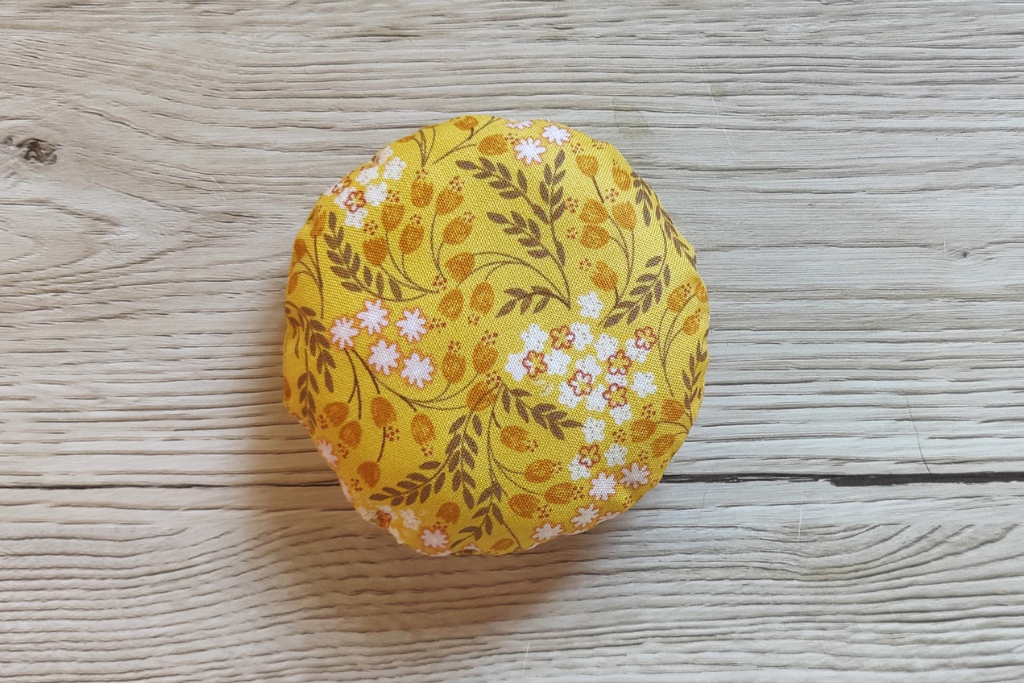

Cut a length of your strong thread. You’ll need enough to go around the pincushion 4 times, plus a bit more.
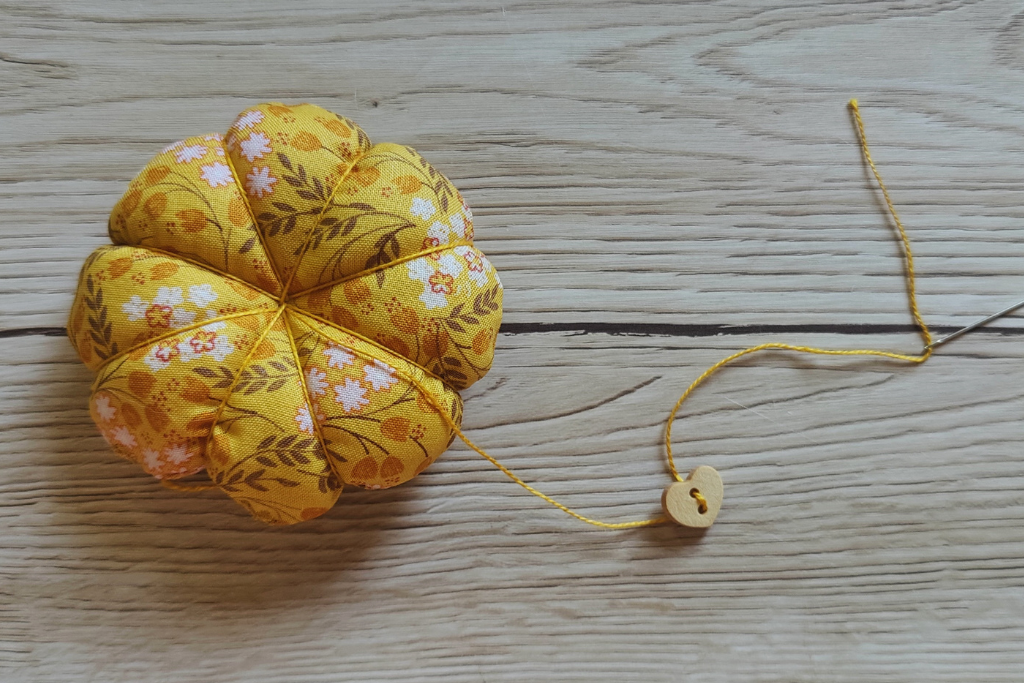
Bring your thread up through the centre of the pincushion. Leave a good tail. You’ll need enough to tie it in a minute.
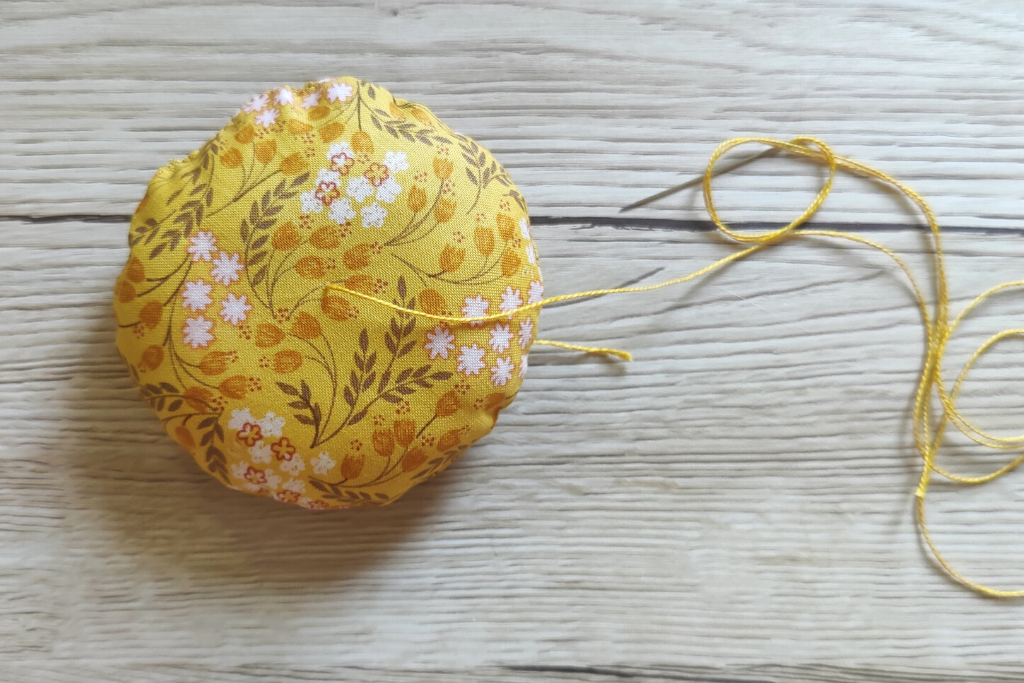

Take the thread over the pincushion and put the needle back in where you started. Bring the thread up through the centre again, and pull it.
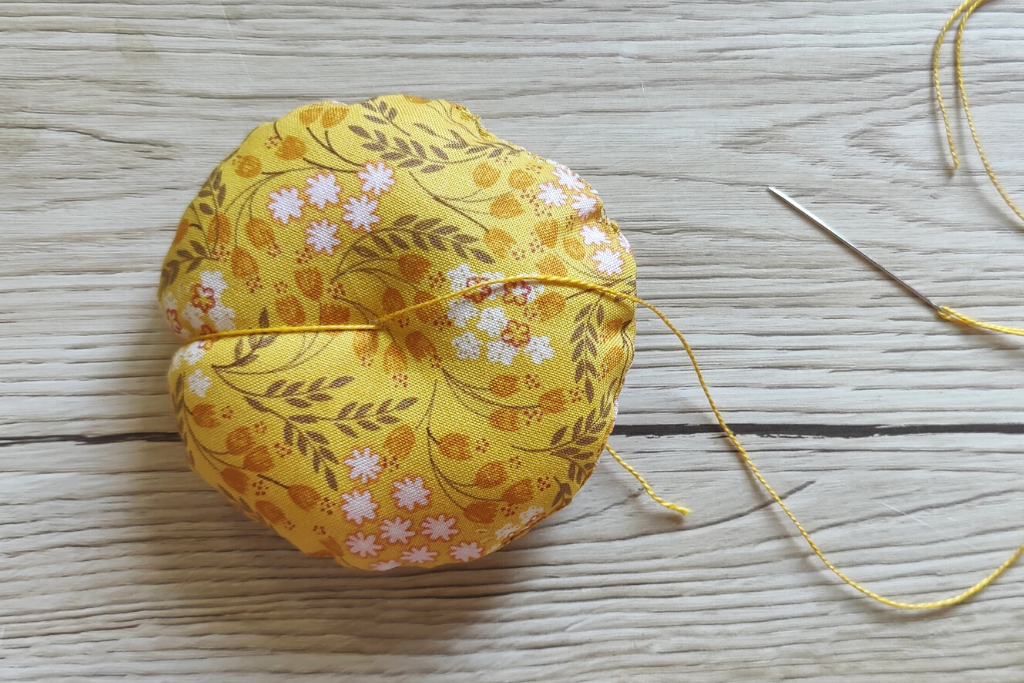

Take the thread round the outside of the pincushion on the opposite side, then back in through where you started.
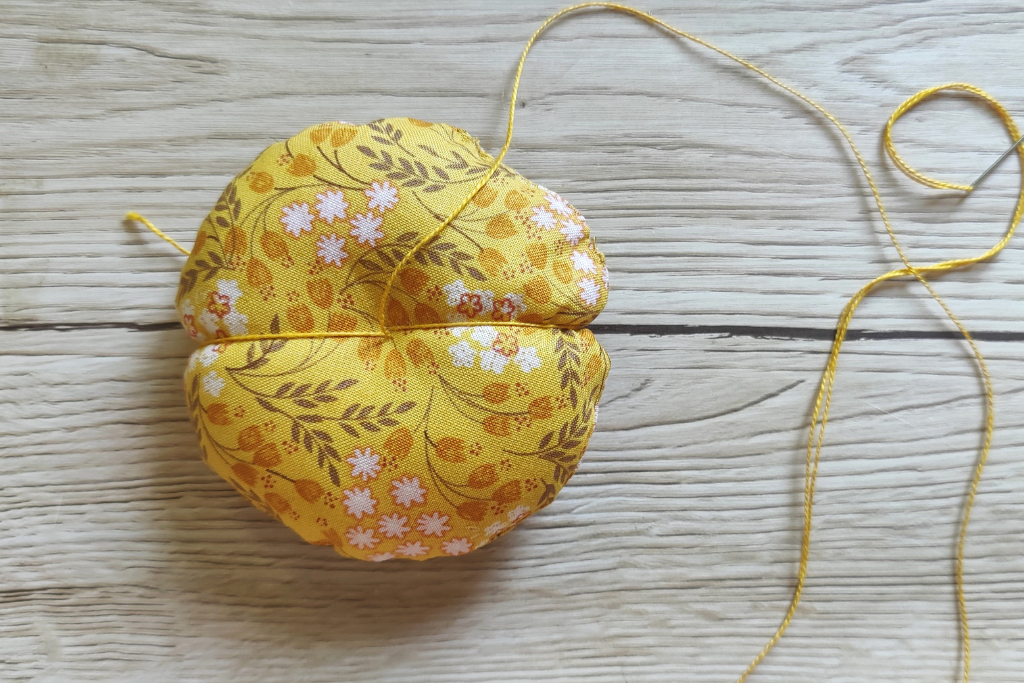

Keep going in this way until the pincushion is divided up into 8 little sections.
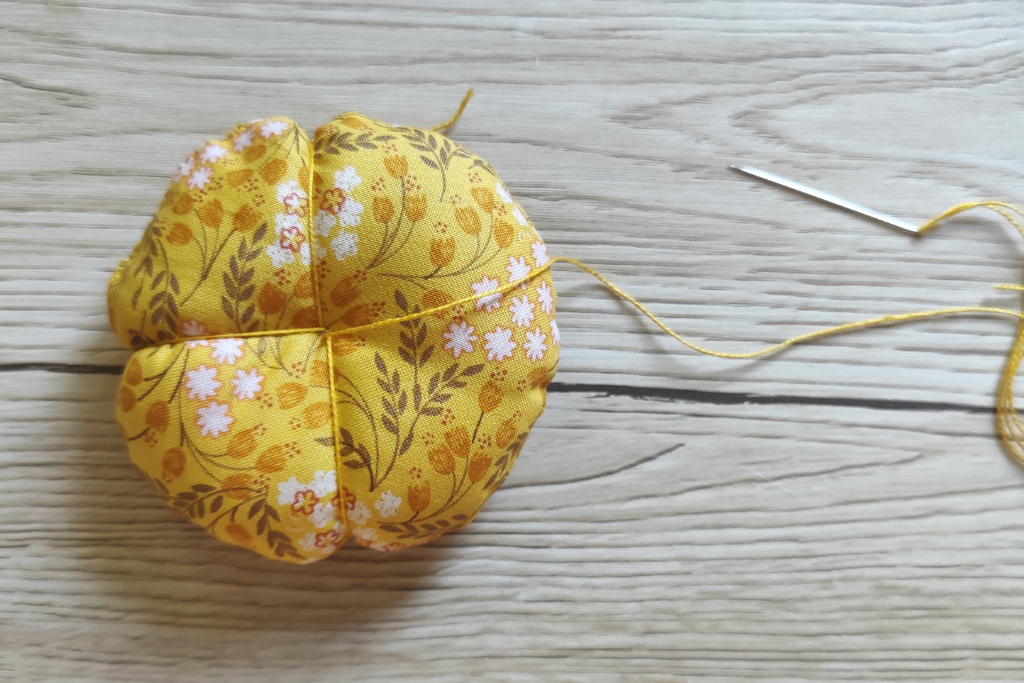

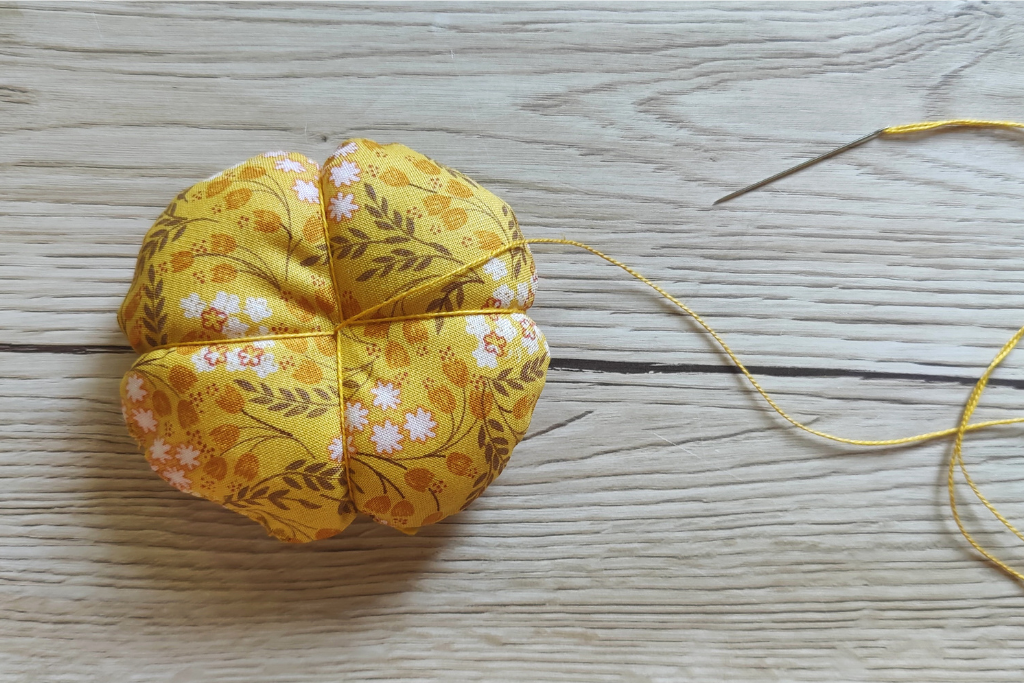

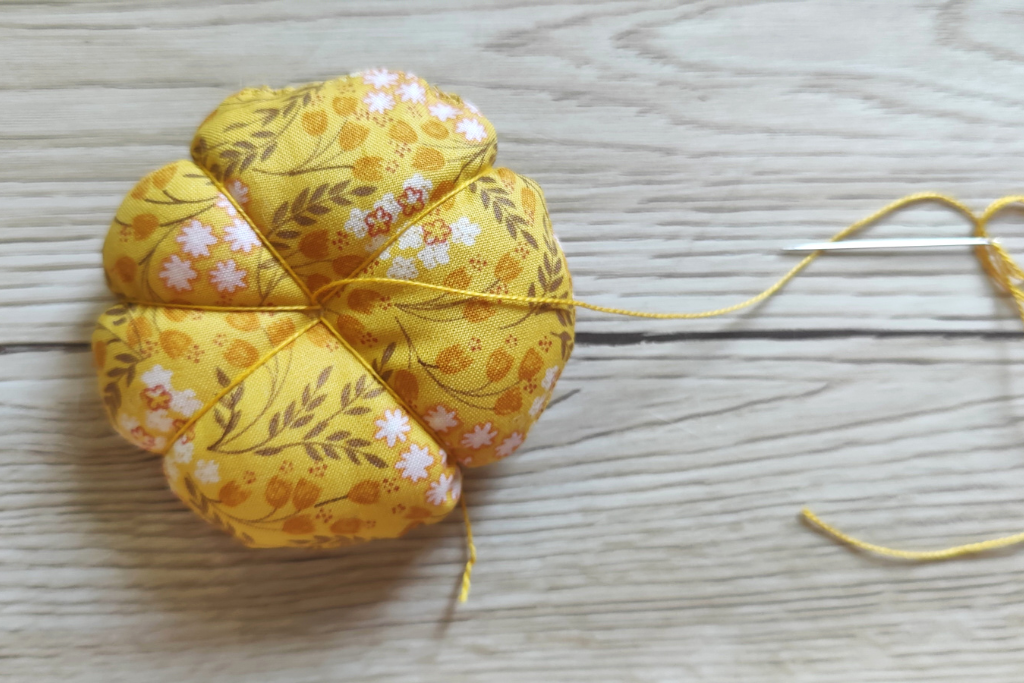

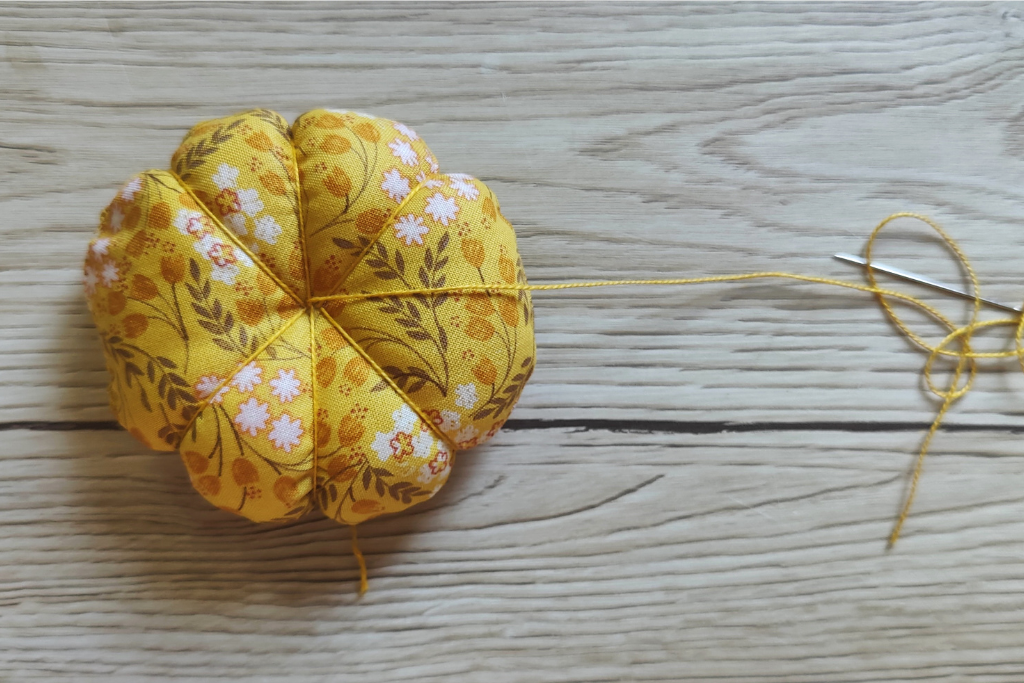

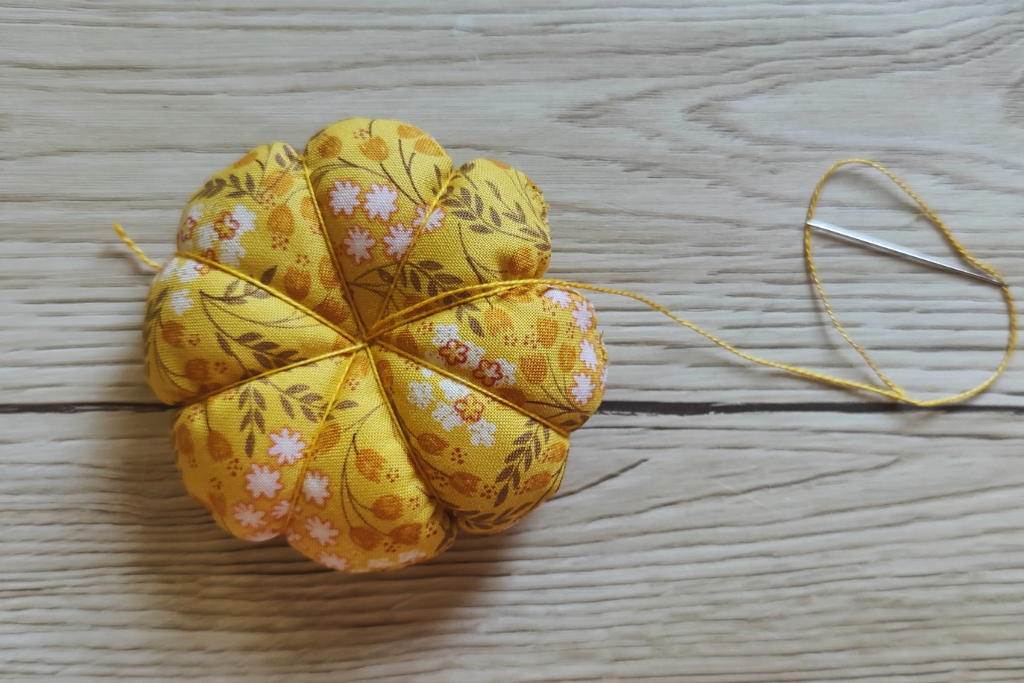

Thread the button, then pass the needle through to the bottom of the pincushion again

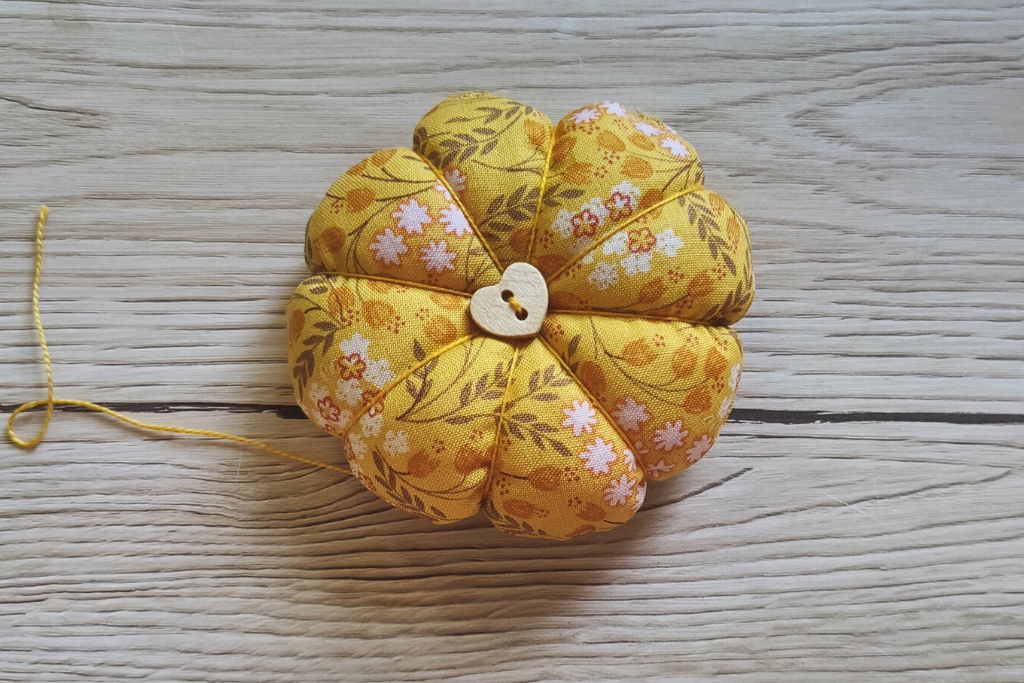

Tie off the thread.
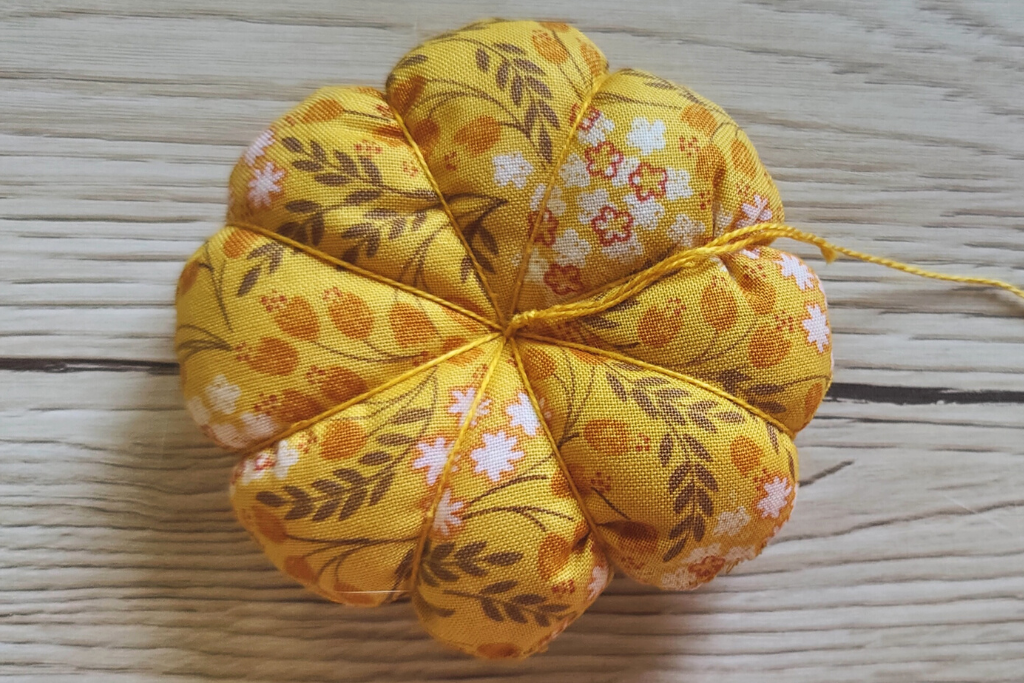

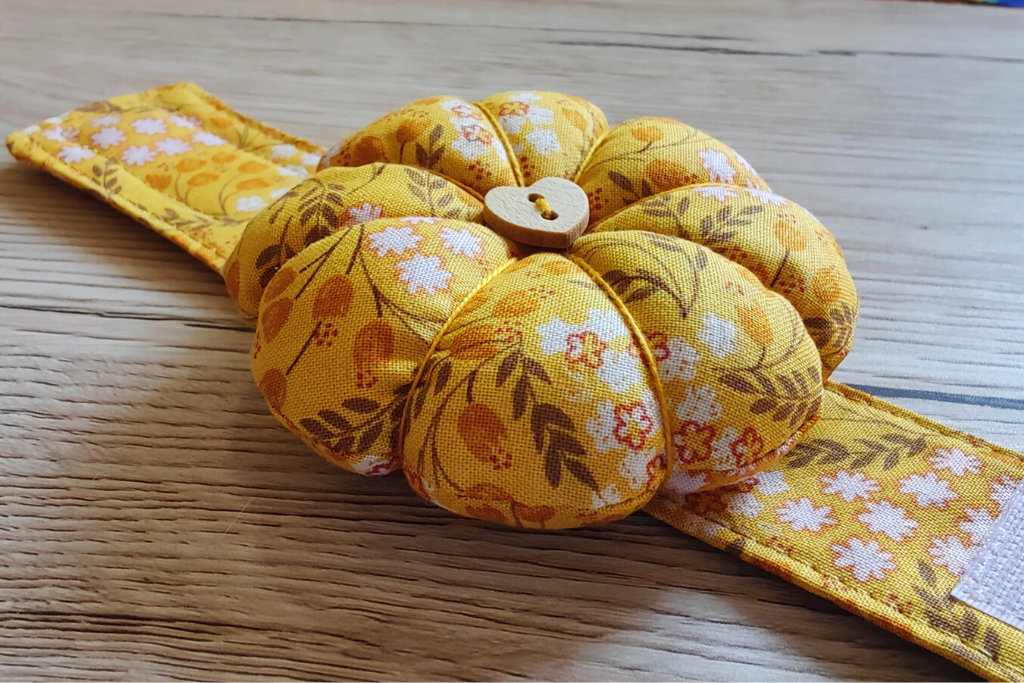
Hand sew the pincushion to the centre of the strap.
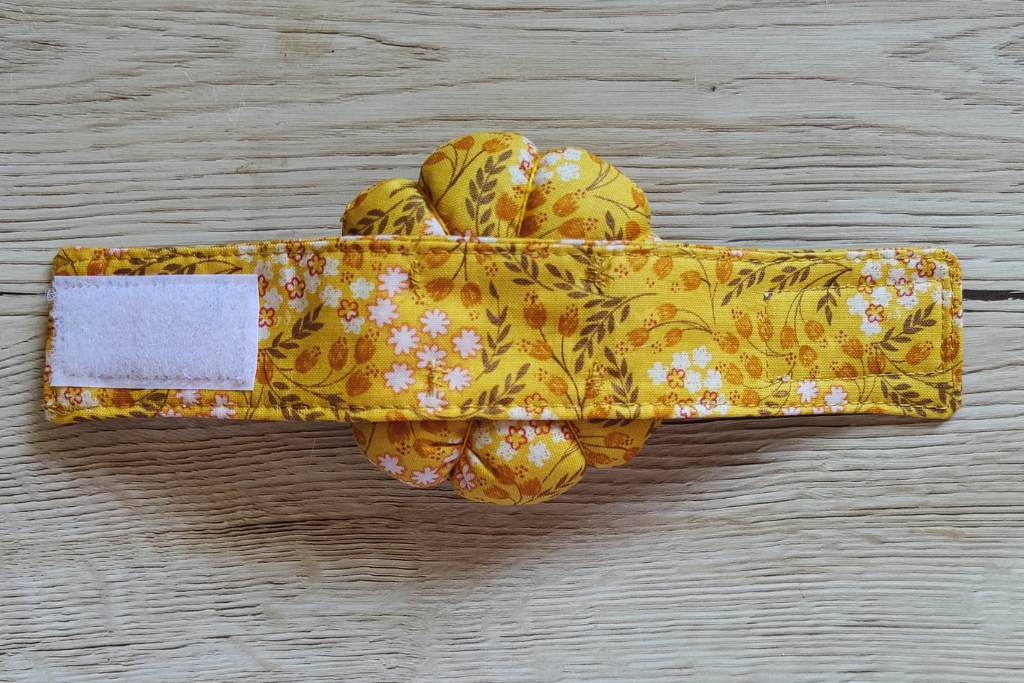

I love its squishy pumpkin shape, in fact you can even make this pumpkin pincushion!



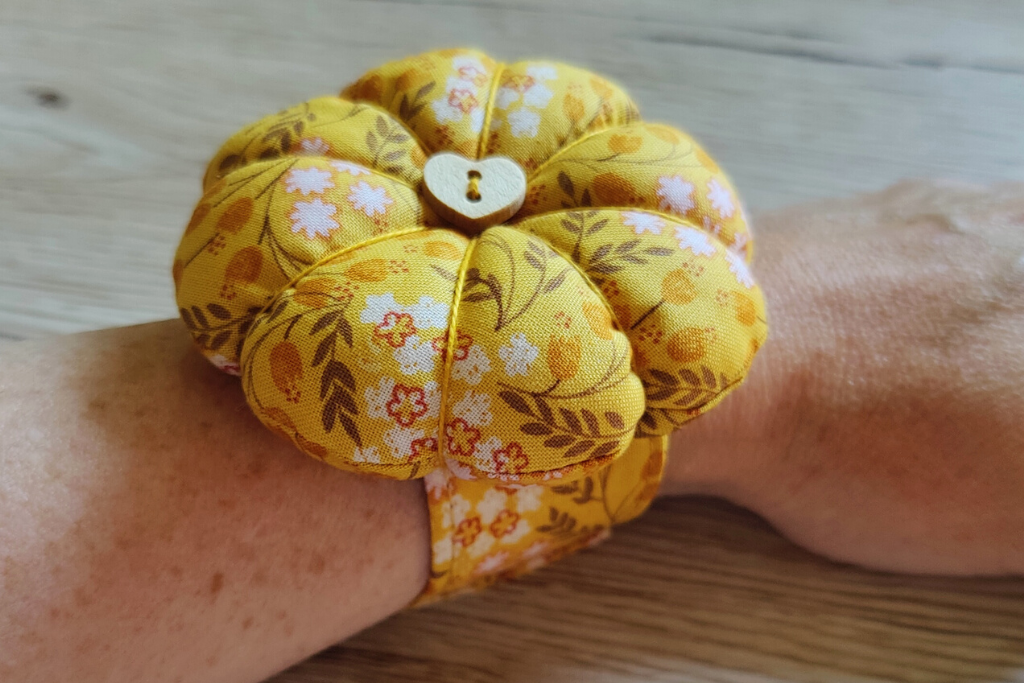

You can buy the kits to make a pincushion for your wrist here. A slightly more complex option would be to make an embroidered pincushion to attach to the wrist strap. If you are as much of pincushion fan as me, you can check out my Pinterest board devoted to pincushions here!
If you like fun and quick projects to use up odds and ends, you might like these:


Wanted to learn how to make pin cushions. And you mad it easy.
Thank you for sharing this pattern. I had a good chuckle at your memories of pre Covid era. Thank God for sewing as an escape from the craziness of today!
Definitely!