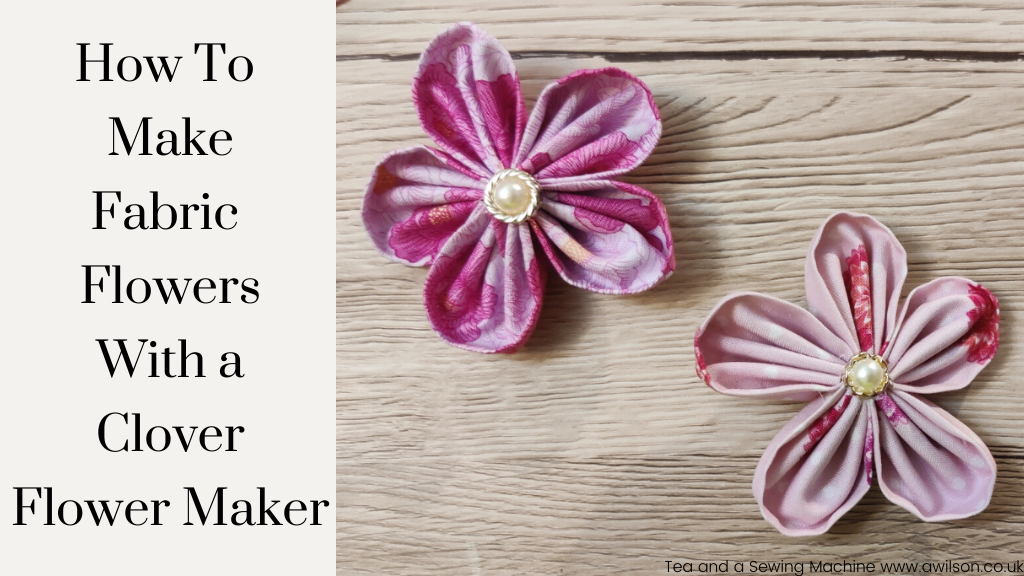
This post contains affiliate links.
Sometimes the best kind of project is a little thing you can work on for a few minutes, then put down again and come back to later. It can feel like a treat to have a little tray with some bits and pieces in that you can work on.
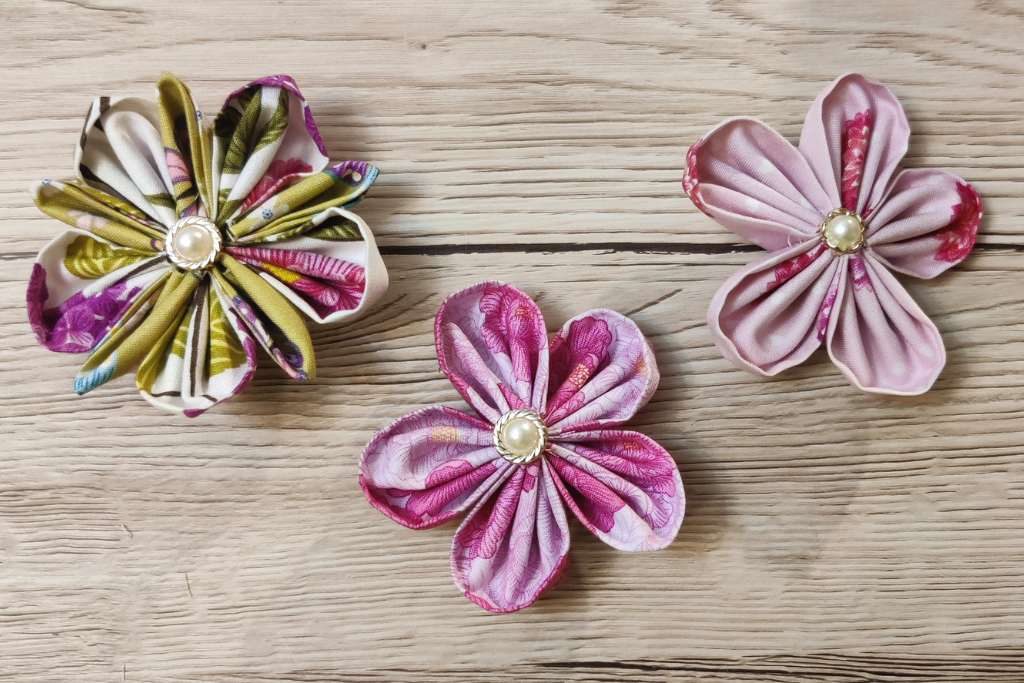
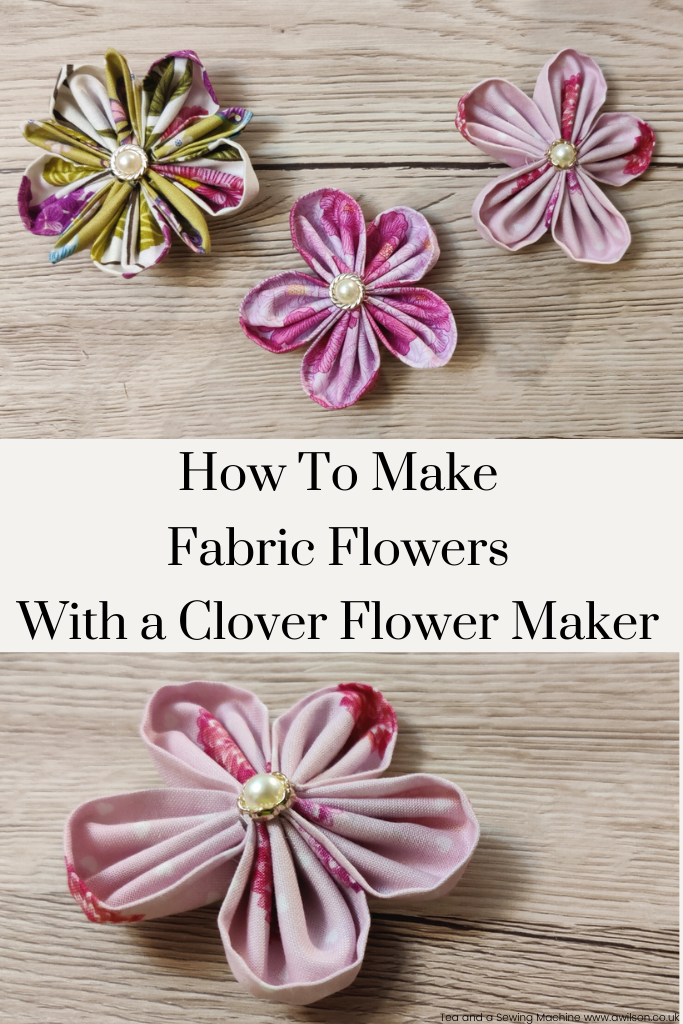
Kanzashi flowers are perfect for this kind of thing, especially if you are not really into knitting or crochet. They are little fabric flowers that Japanese ladies traditionally wear in their hair. You could wear them in your hair if you want to (I might!), or you could find another project for them. I’m planning on making a few, then turning them into a cushion cover. I haven’t actually made it yet, so we’ll see!
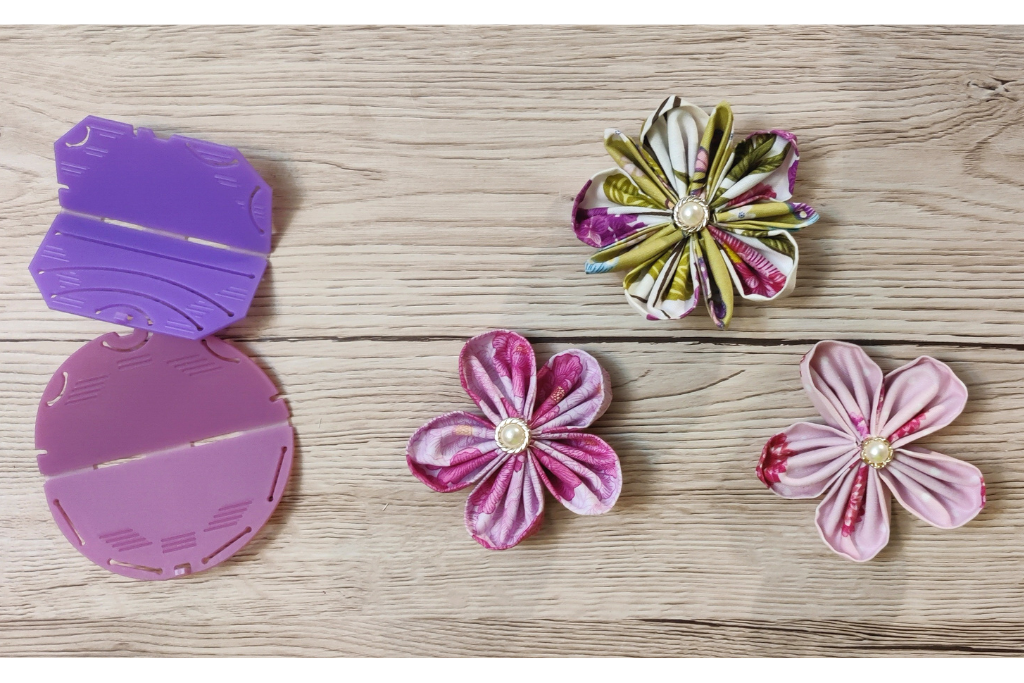
It’s easiest if you use a little gadget. I use Clover flower makers, although it is possible to make Kanzashi flowers without them.
The fabric flowers are made one petal at a time, so you will need to make a few. I make them with either 5 or 8 petals. In nature, the number of petals corresponds with numbers in the Fibonacci sequence, which is why if you make or draw a flower with only 4 petals, it might look weird! But it’s entirely up to you how many petals your flowers have.
You Will Need
Clover flower makers. You could use just one, or two or three, depending on what you might do with them once you’ve made them.
Fabric. I used a cotton fat quarter pack because I’m planning to make a few and I want the colours to work together. Using a fat quarter pack means that the fabric flowers will “go” without overthinking it and being paralysed into indecision! If you don’t want to buy fabric, larger pieces left over other projects will be fine.
Buttons for the centre. The kind with shanks are the easiest to use. I bought some pearly buttons, but you might have something already. For keen upcyclers and repurposers, there might be some interesting buttons on an old blouse or jacket that you could use.
Needle and thread, and a pair of scissors.
How to Use the Flower Maker
Depending on which one you use, it might be slightly different, but the basic principle is the same.
Open out your maker and lay it down flat.
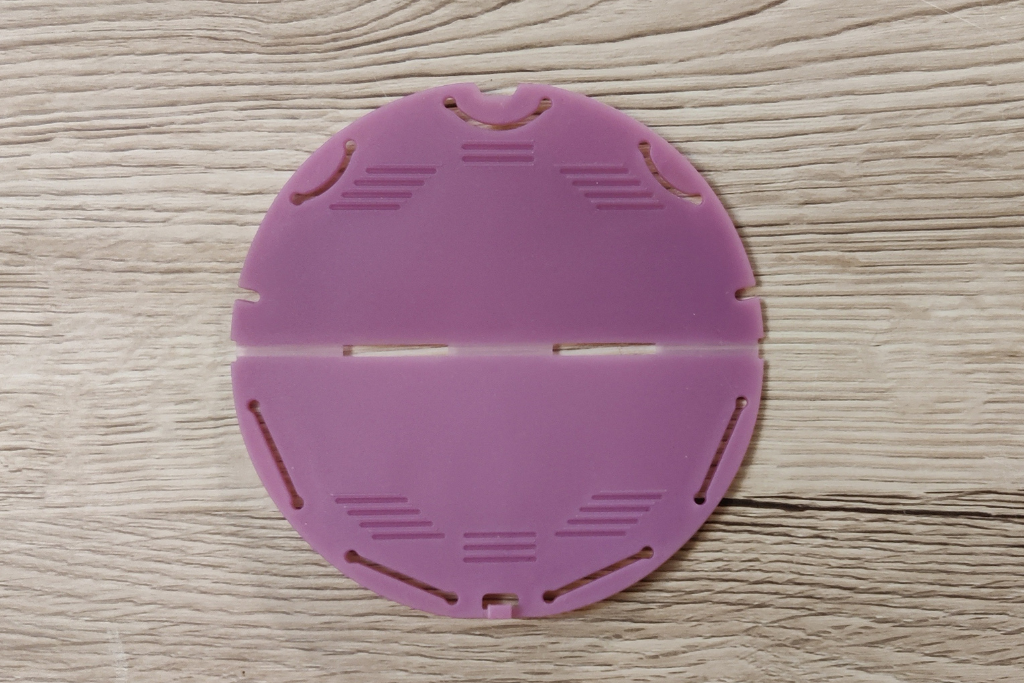
Pop a piece of fabric on top of it, right side down.
Carefully close the flower maker with the fabric inside it. You should be able to see the right side of the fabric and the wrong side will be inside.
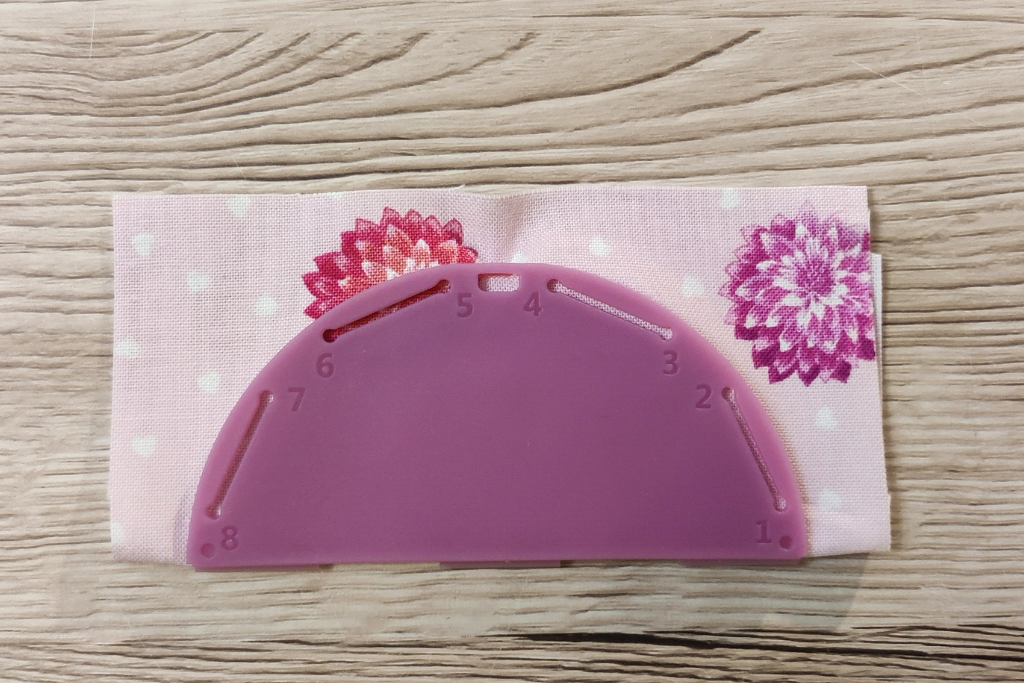
Trim the fabric down using the edge of the flower maker as a guide.
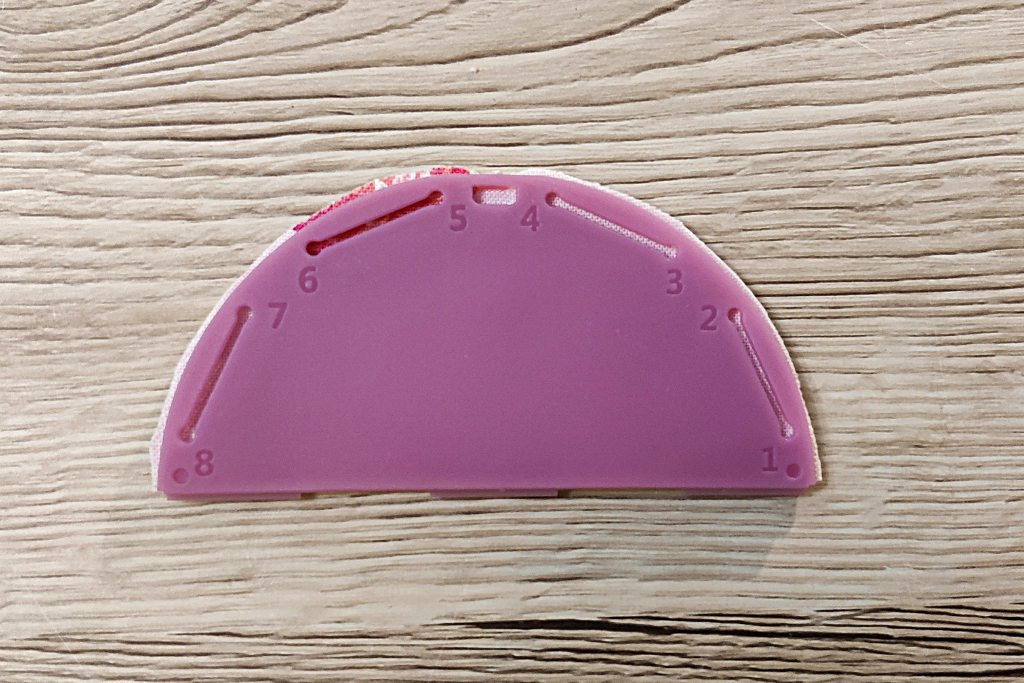
Take a needle and thread, and knot one end of the thread. Find where it says “Start” on the flower maker and push your needle through the fabric.
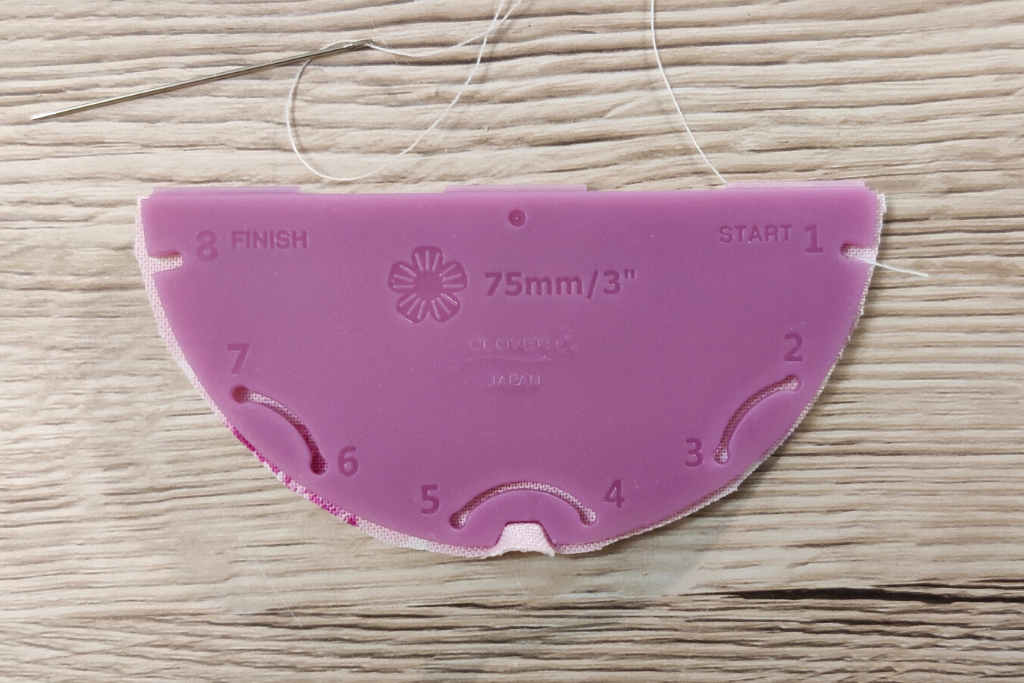
Now follow the numbers with your needle!


When you’ve pushed your needle through the last hole, don’t cut the thread and leave the needle attached.
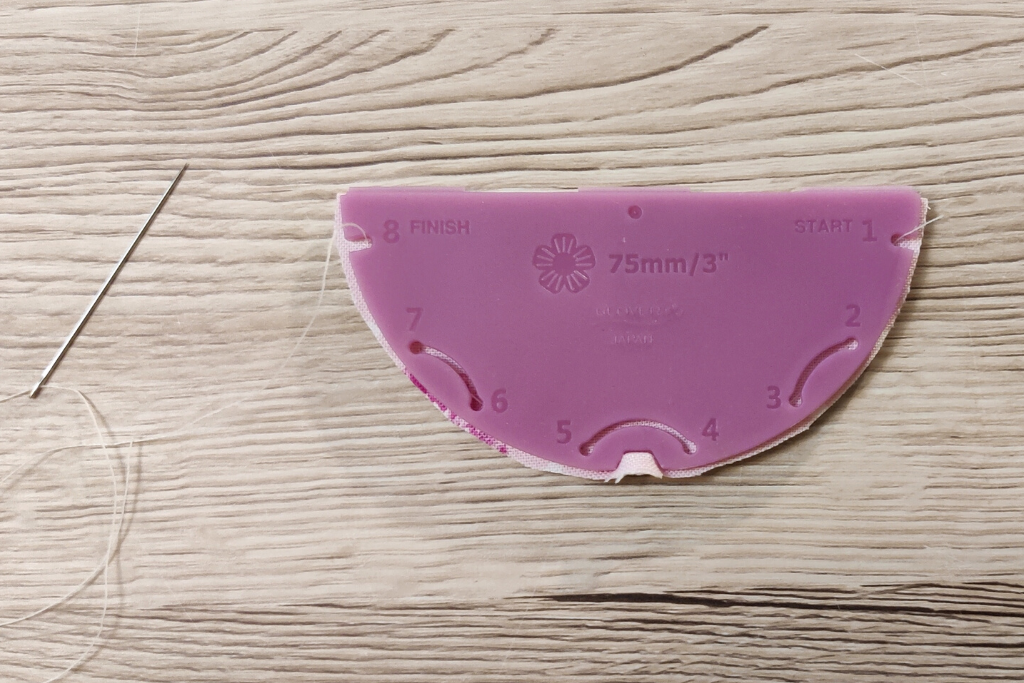

Remove the flower maker. You’ll see that there are little notches at the beginning and end of where you have sewn, so separating the flower maker from the fabric won’t be a problem.
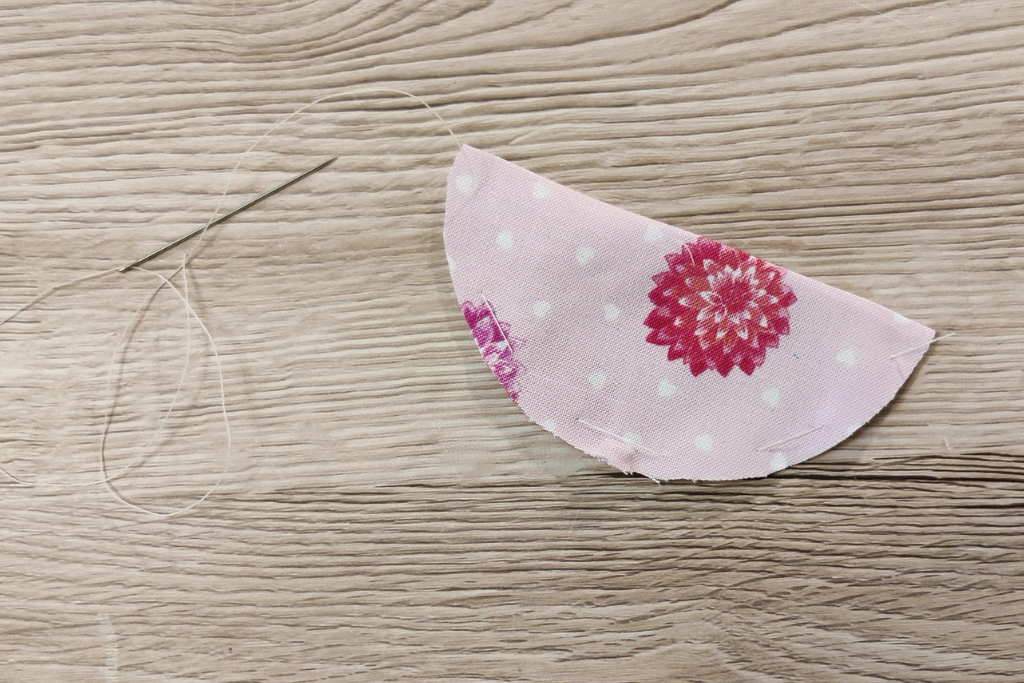

Gather the stitches. You’ll see a petal forming!
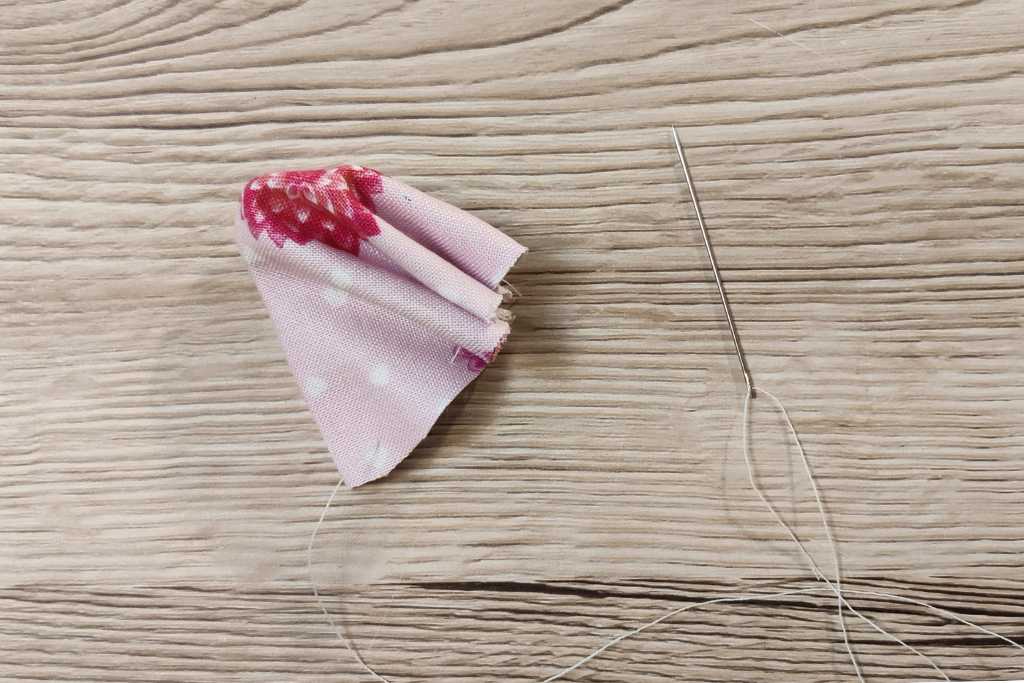

Now do the same thing again. Put another piece of fabric in the flower maker and trim it down.
Using the same thread with the first petal still attached, sew through the holes in the flower maker.
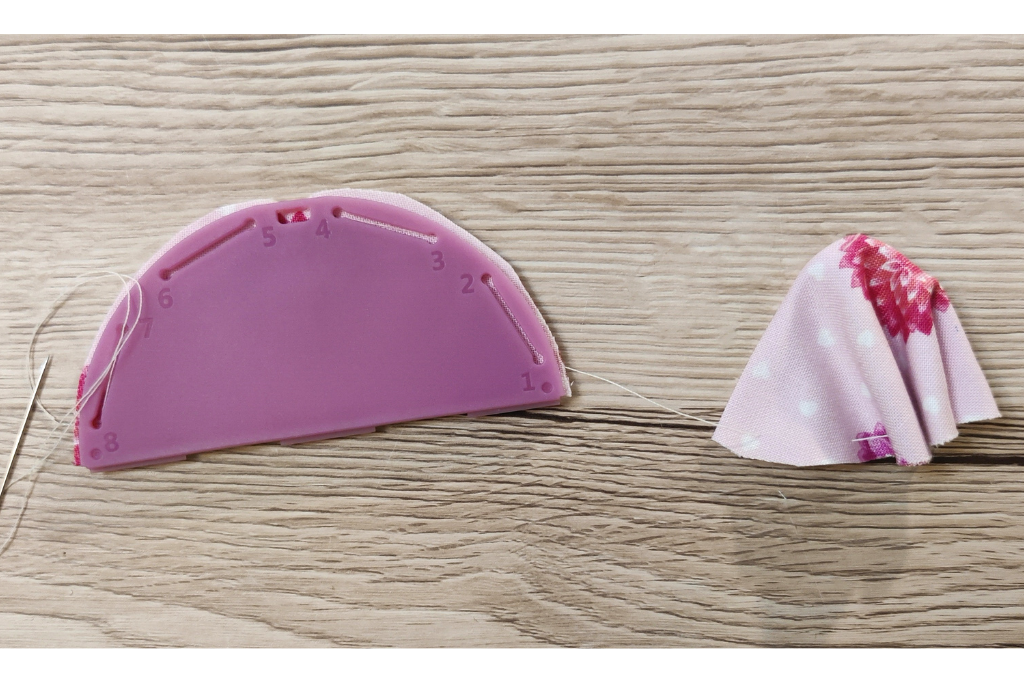

Remove the flower maker and gather the stitches. Now you have two petals!
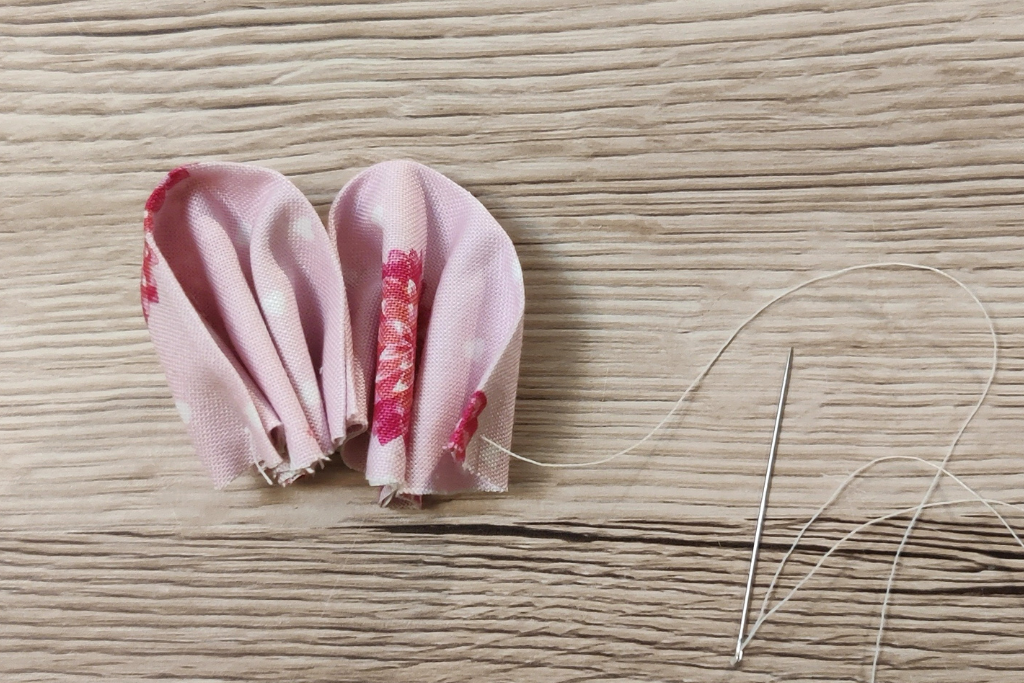

Keep repeating until you have as many petals as you need.
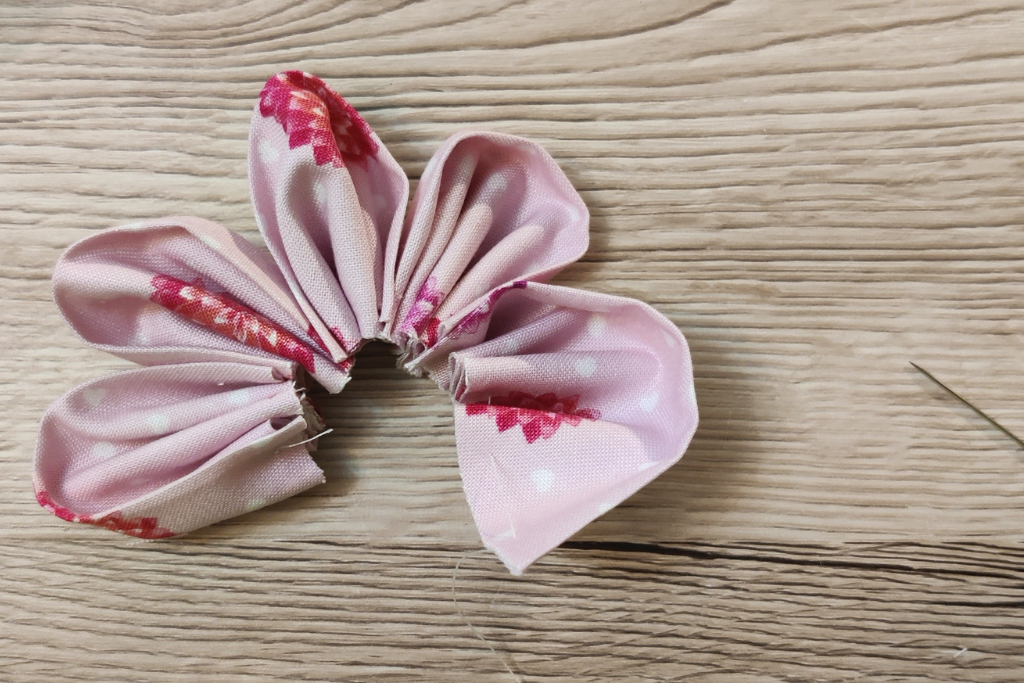

Finishing Off the Flower
Once you have all the petals you need, check that they are all the same way round.
Make sure that the petals are all gathered, then sew through the gathers of the first petal again. You might also want to make a few small stitches at the back to hold it.
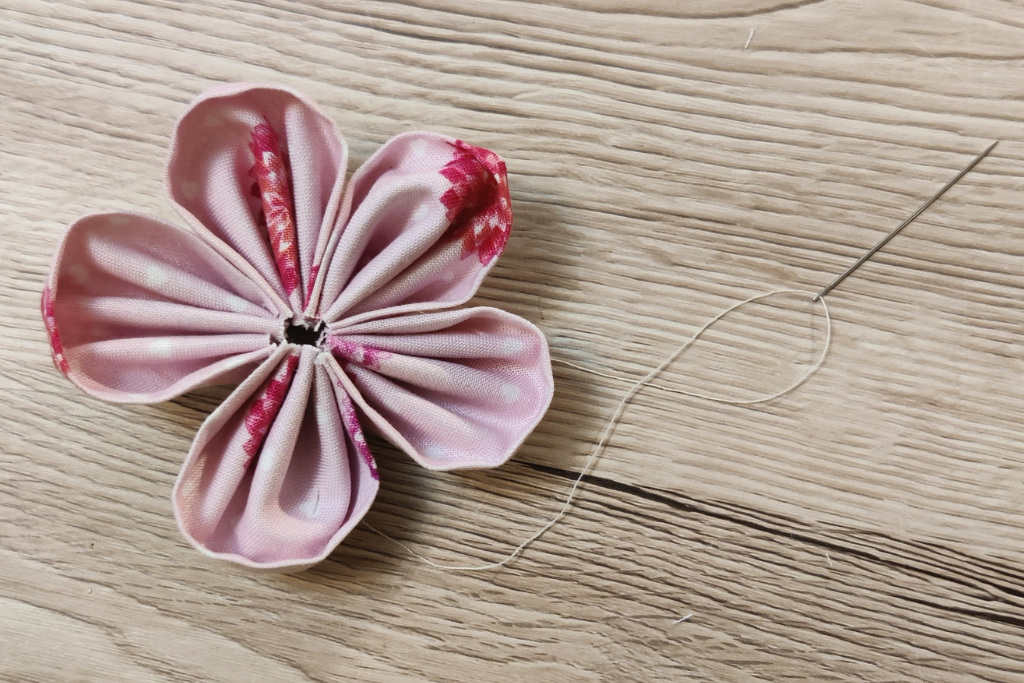

An option is to glue a little felt disc to the back. I haven’t at this stage, but I might when I get to the point of using the flowers in a project.
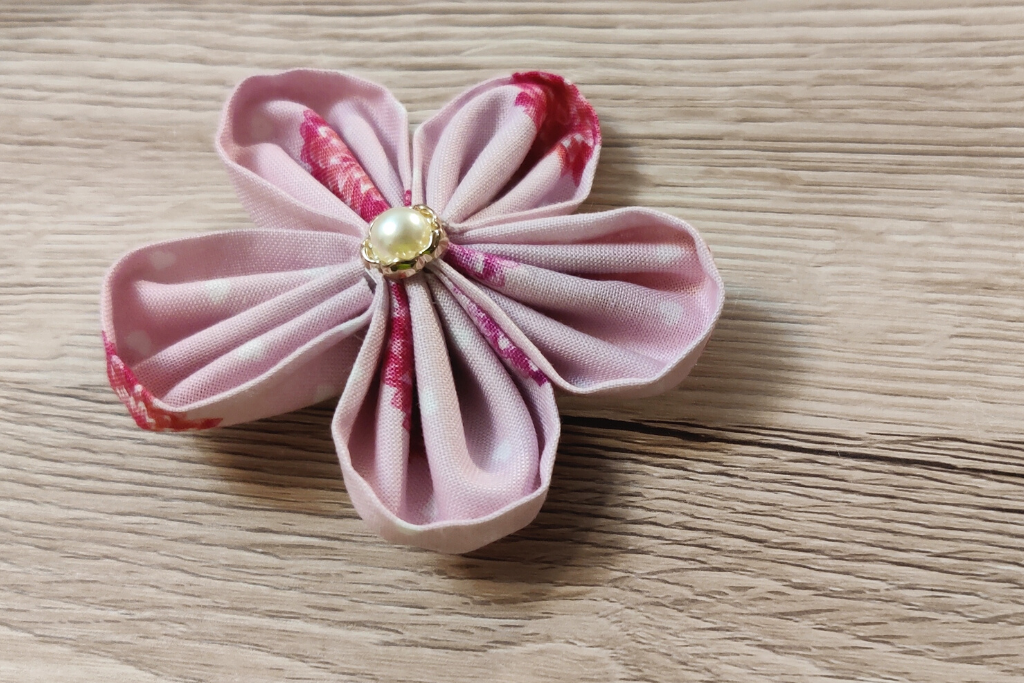
Sew a button in the centre. The way I did this was to make a couple of stitches in the back of the flower, pass the needle up through the centre and through the button. Then I went back through the centre of the flower and sewed a couple more stitches at the back.
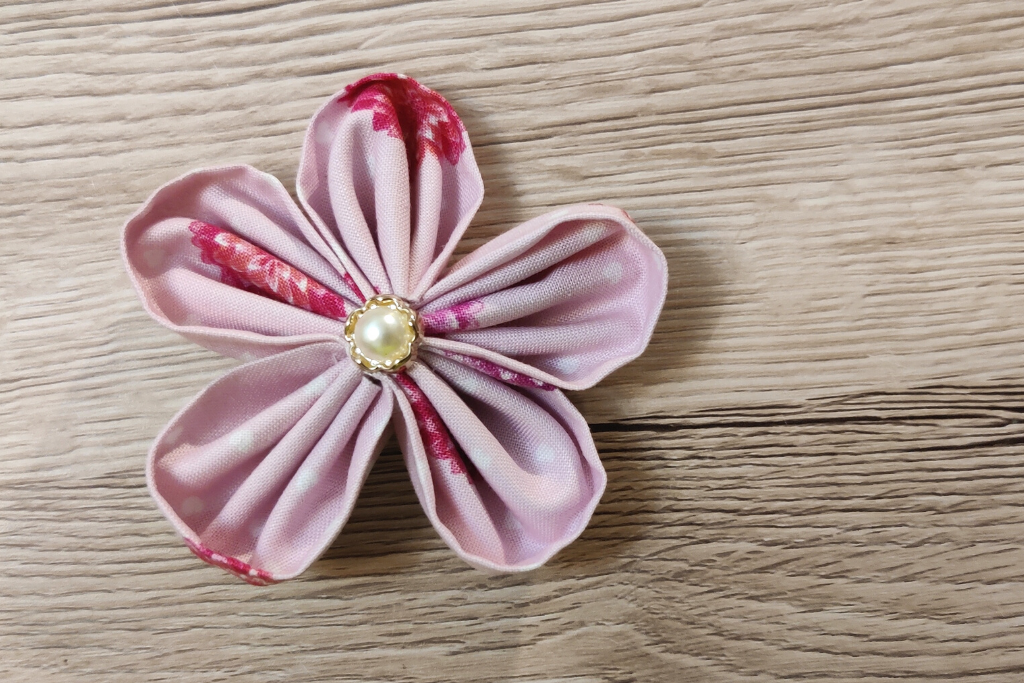

Another option would be to leave sewing the button until you are ready to sew your flower to something, then use the button as a way to attaching the flower.


Taking Things a Step Further
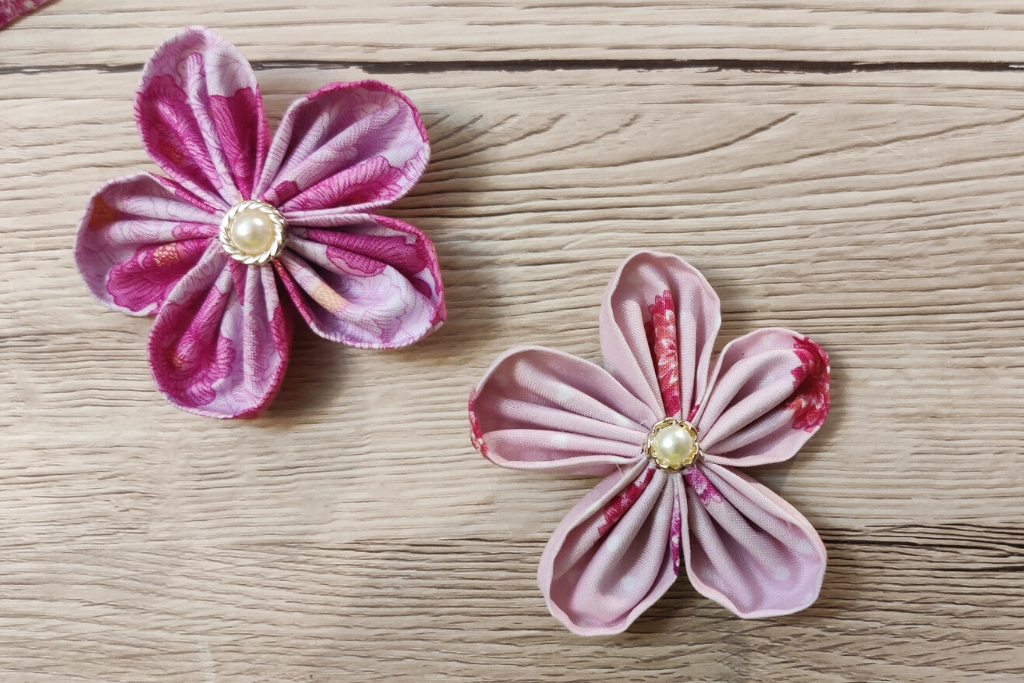
The simple fabric flowers are beautiful as they are, and you may well feel that this is enough.
However, if you want to take things a bit further, here are a couple of suggestions.
Make more petals and arrange them in a spiral to create layers. To do this, you’ll need to make a lot more petals! You could try using different fabrics, for the different layers, or different shades of the same colour.
Make several flowers and layer them together. You could either make petals the same size but have more of them in the bottom layer, or, if you wanted the same number of petals in each layer, make smaller petals for the top layer.
Add some pointed petals in between round ones. If you use green fabric, the pointed petals will look like leaves.



I love these flowers. I think they would be cute with a pin glued or stitched to the back and worn on an outfit. Or put them on a quilt of flowers. I love your ideas Anna.
Joyfully Janis
Hi Janis, both would work wonderfully! xx