This post contains affiliate links.
Around Christmas time, it’s nice to do some Christmas crafts, but I’m not one for doing lots.
I used to do more when I was younger, but as the years go by, I find that I already have enough and I don’t need any more.
There are also a lot of Christmas craft tutorials out there already, and I’m not sure that more is what everybody needs. What there is is a lack of is winter themed crafts that are not aimed at children or feature snow. I might write a post about that at some point!
Christmas is busy enough without us putting ourselves under lots of pressure to do a lot of extra craft things. As well as all the stuff that’s out there, there’s the feeling that we have to have to have an entirely handmade Christmas, alongside completely redecorating our houses and all the other crazy things that advertisers tell us are necessary so that we can have their unrealistic idea of a perfect Christmas, and spend a fortune in the process.
And all this comes at a time when we feel tired, the days are short and all we want to do is to hibernate at home with a fire, lamps on and a book and a gentle craft project or two, not wrestling crowds of Christmas shoppers or queuing up at the supermarket in lighting that makes you feel weird.
This all might sound like I’m a bit of a humbug and I have a problem with Christmas crafts! I really don’t, but I want to enjoy Christmas, but it’s hard to do when you are running yourself ragged.
So as I already have plenty of Christmas things, I’m focusing on making a few things that will be used or eaten, or can be composted once Christmas is over.
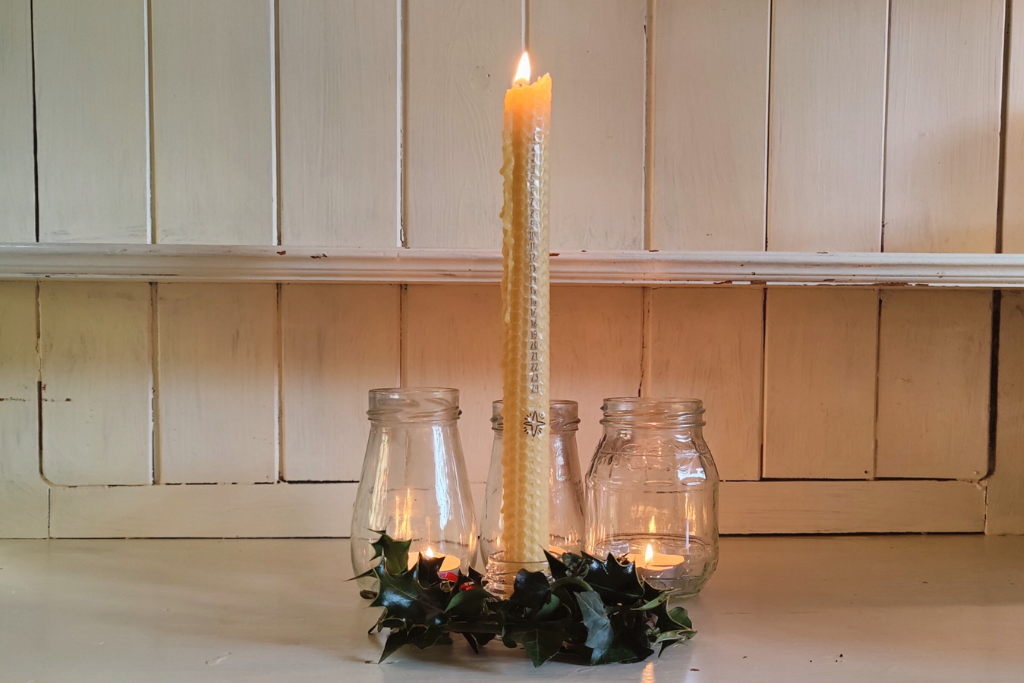
So with that in mind, last year Cosmo and I decided we would make our Advent candle, and we’ll be doing the same this year.
I’d never actually made an Advent candle before, and I wasn’t sure whether it would be a success. But earlier in the year, we made candles from a little kit using sheets of beeswax, and it proved to be both easy and fun, which is why Cosmo said he wanted to make the Advent candle.
Having made plenty of things in the past that have gone hideously wrong, I agreed and made a mental note to do it early enough so that if it didn’t work, there would still be time to buy one!
I’m happy to say that last year we didn’t need to buy an Advent candle!
If you didn’t want to make one for Advent, you could just leave the numbers off and use it any time you like :).
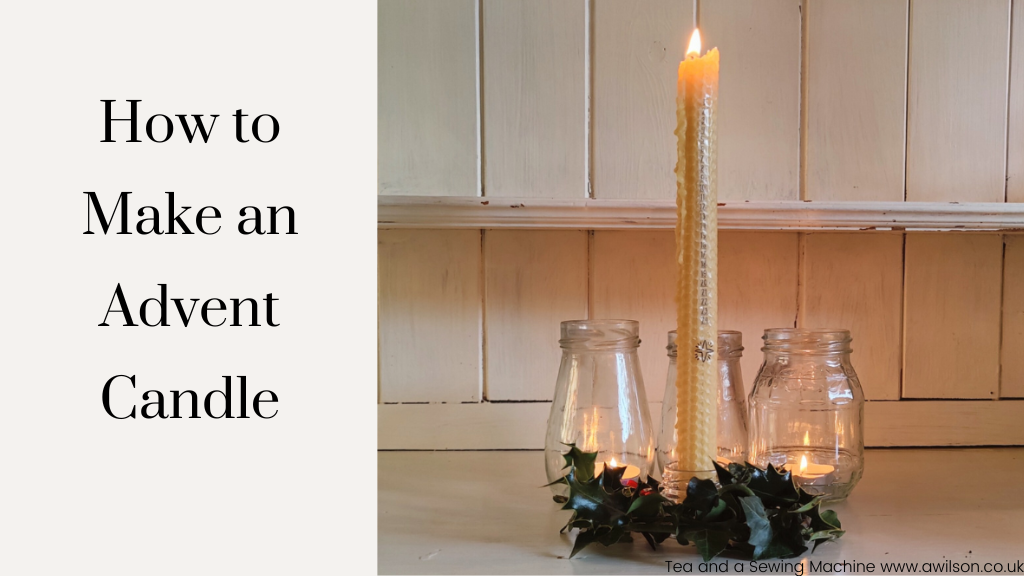
How to Make an Advent Candle
You Will Need
Beeswax sheets. The size of the sheets will determine the size of the candle. We used these from Amazon. There were 2 beeswax sheets the packet, measuring 30cm x 10cm, and we used them both. Using sheets of beeswax is much easier than melting the wax and pouring it into a mould. It also smells lovely and it’s much nicer to use than paraffin wax.
Wick. Wicks were included with the beeswax sheets, but it was assumed that the candles would be rolled from the short end, not the longer edge, so they were not long enough. So we bought some wick on a roll.
Number transfers. I couldn’t find anywhere to get them in the UK, so the ones we got came from Germany.
A heatproof surface. We used a silicone baking sheet. Beeswax is non toxic, so you can use it again for baking afterwards :).
A heat gun or a hairdryer. The wax needs to be melted a little bit to make it pliable.
Making the Candle
Take one of the sheets of beeswax and put in on the heatproof surface.
Cut a length of wick about 5 cm longer than the long edge of the wax.
Using a heatgun or a hairdryer, gently heat the beeswax until it starts to go shiny. It needs to be just soft enough to roll.
Pop the wick on the long edge of the wax and gently fold the wax over it once.
Now, carefully, start rolling!
Once you’ve rolled the 1st sheet, pop the second one on the heatproof surface.
Gently heat it again. Now line the edge of the second beeswax sheet up with the edge of the first one. If it doesn’t match up perfectly don’t worry, but it will be neater if you can get it close. Check that you’ll be rolling the second beeswax sheet in the same direction as the first one.
Now roll the second sheet of beeswax round the candle in the same way that you did the first.
Trimming the Wick
Decide which end of you candle is the bottom and which is the top. Ours was slightly wider at one end, so there was an obvious bottom end.
Cut away the wick at the bottom.
At the top, trim the wick so that about 1 1/2 cm is left.
Applying the Transfers
It’s easiest to stick the transfers to a smooth surface. So gently heat a spoon (you can do this in the flame of a candle), then gently rub the spoon up and down the beeswax.
Cut the transfers down to size, then gently wipe a damp cloth over them until they lift off the backing.
Carefully place the transfer onto the candle. Wipe it wit
If you leave the transfers off, you could use the candle for your Christmas table with some foraged greenery.


Leave a Reply