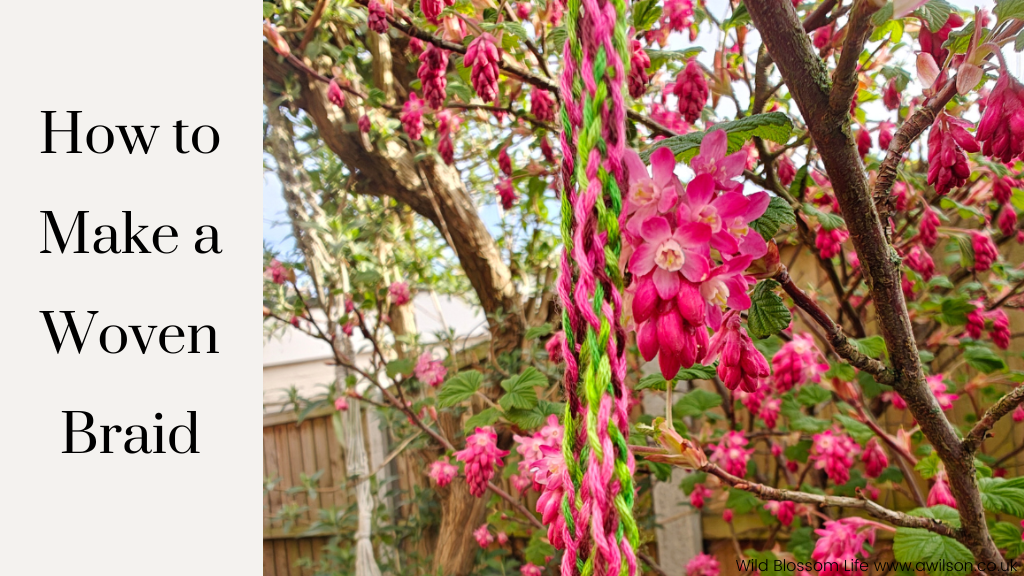
How to Make a Woven Braid
For anybody who has had some fun making colour schemes using the free mini course, and might be wondering what they need for exploring the colour schemes they’ve made, I would always recommend having a look at what you already have in the first instance. Coloured pencils, scraps of fabric, different sorts of thread in all kinds of colours, an old painting set, and scraps of coloured paper are all things you can use to make stuff and explore the possibilities of a colour scheme.
But if you did want to buy something, embroidery thread is good place to start. It’s inexpensive, comes in a whole range of colours, and it can be used for all sorts of different things. Even embroidery if you want to!
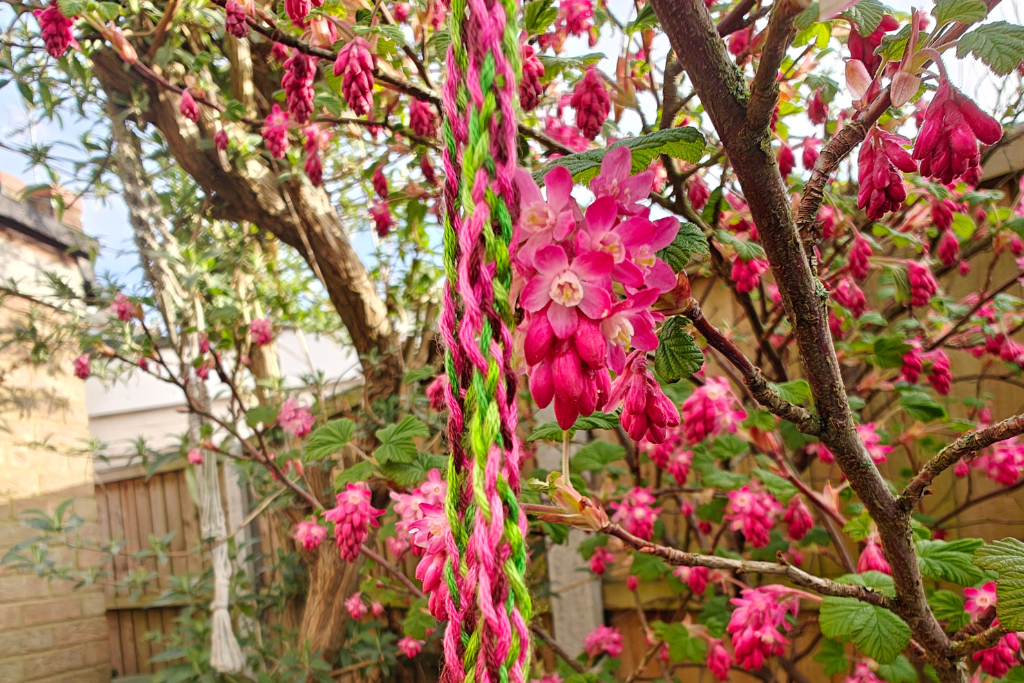
Feeling inspired by the flowering currant outside my kitchen window, after sploshing paint about and doing some drawing, I had a rummage in the bag of embroidery thread and found some colours that were a good match.
Last summer, I was similarly inspired by a colour scheme I made using a photo of some lupins that were growing outside the library. On that occasion, I used embroidery thread to make a tiny piece of weaving. So this time I decided to make a woven braid instead.
Planting with 3 strands tends to result in a braid that is rounder. But braiding with more strands produces a flatter braid that is more like weaving.
Here are some instructions if you fancy giving it a try!

How to Make a 7 Strand Braid
You Will Need:
Embroidery thread (you could choose random colours, all the same colour, or colours inspired by a colour scheme)
Washi tape, masking tape or pins. This is to stick or pin the braid to something while you are working on it. It’s also handy to stick the threads down if you have to leave it while you are still working on it, especially if you have cats that tend to sit on things or a husband who has a habit of dumping stuff on top of your projects.
Something to attach the braid to. I used a pin to hold mine in the spirals of a sketchbook. You could tape it to the table, or pin it to a heavy cushion.
What to Do
Tie the ends of the embroidery thread together in one knot. I used them straight from the skein, rather than cutting a length off as I had no idea how long I would need them to be.
Spread the threads out a bit. You might like to decide on an order, but I wouldn’t overthink it. You’ll need 4 strands on the left hand side, and 3 on the right.
You’ll be working into the middle each time. So starting with the strand on the outside of the left hand group (ie the group with 4 strands), weave the outside strand through the other strands in that group. So you will move the outside strand over, under, over, towards the middle, then stop.
You now have 4 strands on the right hand side. Do the same with the right hand group. So starting from the outside of the right hand group, weave over, under, over towards the middle.
Now you have 4 strands on the left again. Do the same as you did before: outside strand over, under, over.
Keep going until it is long enough, which is as long as you like, or until you decide that you have scratched that itch and it’s time to do something else 🙂
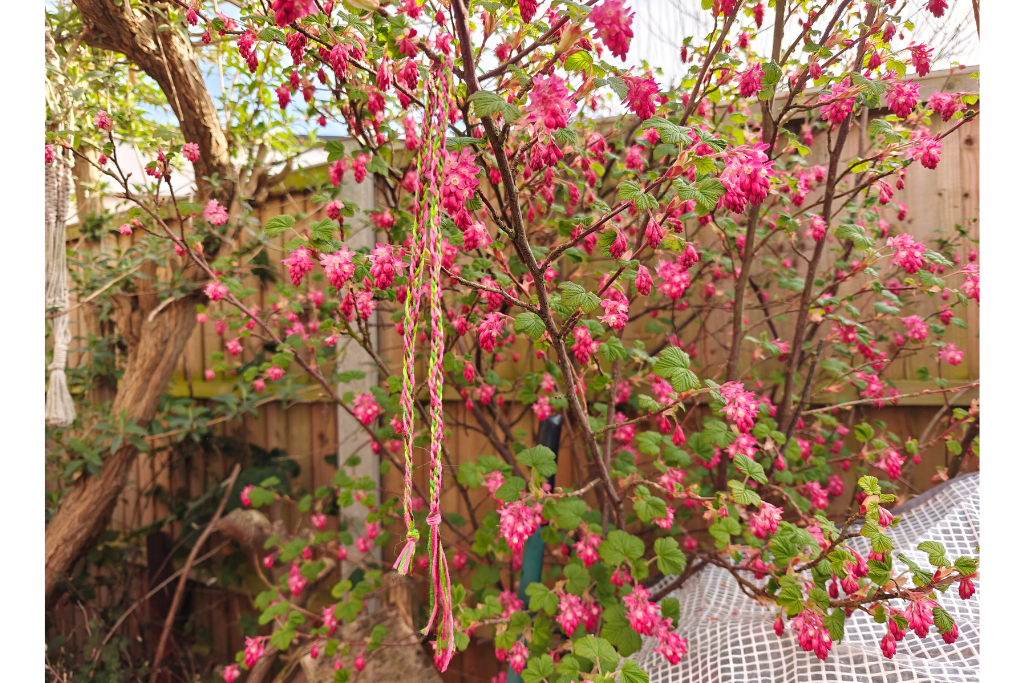
What to Do With the Finished Braid
I don’t think it’s always necessary to have a plan. Sometimes a use for something won’t occur until later. It’s also fine to try things out as creative ideas. Some might lead to an actual purpose, but some won’t.
But if you want to use your woven braid, and you’re a bit stuck for ideas, here are a few.
Add it to the bottom edge of the skirt (you’ll need a lot though!)
Use it to decorate a cushion.
Add it to a bag.
Sew it to one edge of a towel (even a tea towel) to pretty it up.
If you make lots, you could weave it, then use it like a fabric to make a little purse or a notebook cover.
Happy braiding!