With warmer weather hopefully imminent, one of the things on my list of things to make was a waterproof picnic blanket.
It’s lovely to be out in the fresh air and the sunshine, but sometimes you have to sit down, and there isn’t always a bench.
I’m also thinking ahead to next spring. I’m determined to have a Japanese style cherry blossom picnic, and I will definitely need a waterproof picnic blanket for that!
Our lovely temperate English climate means that it’s rarely unbearably hot in the summer, and we sometimes have nice days even in early spring and into the autumn.
The climate being what it is though means that it’s often also quite wet. Even after a few days of sunshine, unless it’s the middle of summer, the ground will still be damp.
And at the seaside, the sand is usually damp and will soak through a towel, leading to feeling uncomfortable quite quickly!
The answer is a waterproof layer that stops the wet from soaking through.
I’ve joined the layers together by sewing bias binding around the outside. Turning something this size the right way out did not appeal, and often turning out results in crumples, and ironing could be a problem with the plastic layer. Using bias binding also means that the edges are not unnecessarily bulky.
You Will Need
To make a waterproof picnic blanket, you will need:
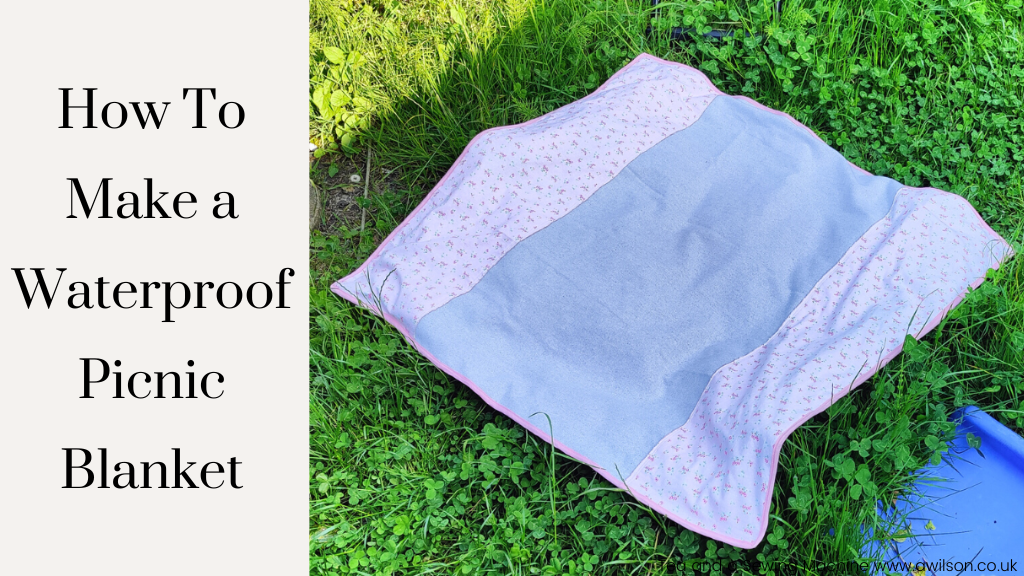
Fabric for the top and the underside. How much will depend on how big you want the blanket to be. I would suggest at least 1m x 1m (3’x3′). For the bottom, I used fleece fabric to provide some insulation, and for the top I had some wool fabric and some brushed cotton which I sewed together to make one large piece.
If you don’t want to spend a fortune on fabric, there are other options.
You might have some fabric you could piece together. This is what I did!
It doesn’t necessarily need to be fabric left over from other projects. There are other sources of big bits of fabric!
An old sheet or duvet cover might do. There’s lots of fabric in those, and it can be hard to know what to do with sets that have got a bit tired. You could also use a curtain or an old blanket.
Sometimes Poundland sell fleece blankets. They’re very thin, but they would be fine for this project.
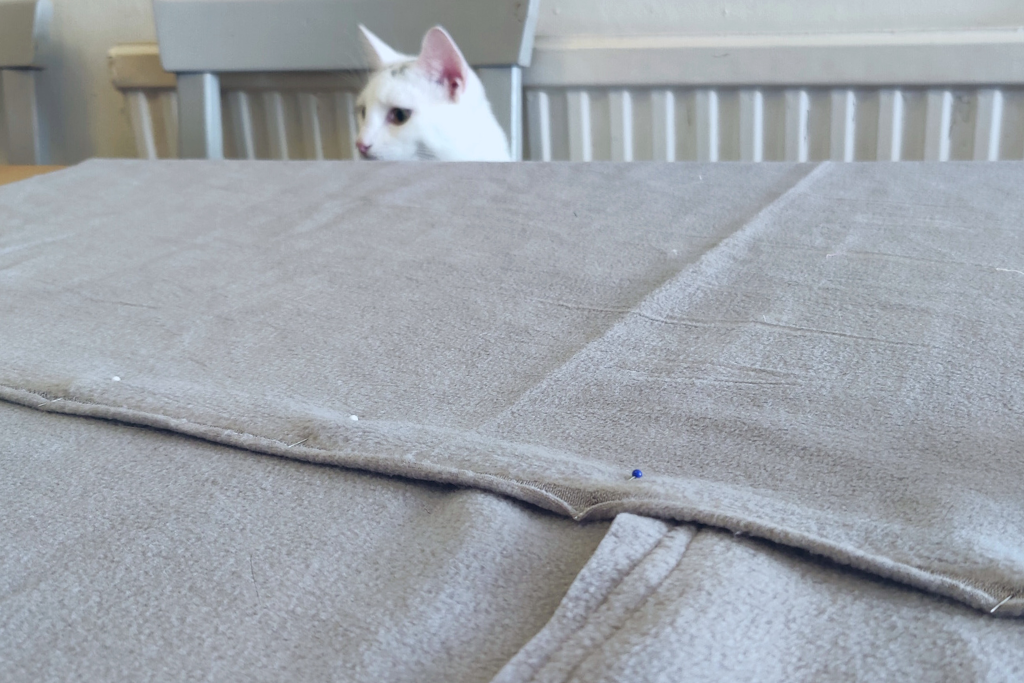
Something for the waterproof layer. I used the remains of a plastic shower curtain. Other things you could consider include bags for life pieced together, those blue Ikea bags or old waterproof macs.
If you need to piece them together, overlap the edges and sew 2 rows of stitches. Don’t attempt normal seams because it will make it bumpy. The plastic layer will be hidden, so it doesn’t matter too much if it’s not beautifully neat. Having the bits all lying flat is more important.
Bias binding for finishing the raw edges. You could make your own so that it matches, but buying it ready made is easier and quicker.
If you have fabric left over, you could make a drawstring bag to put it in.
Making the Waterproof Picnic Blanket
Assemble the layers. You’ll need a top layer, a bottom layer and a waterproof layer. If you need to piece them together, it can be helpful to have one layer already the right size. Otherwise you could use pattern paper or newspaper, or just measure it!
As I mentioned earlier, sewing the pieces together by popping one on top of the other, then sewing 2 rows of stitches, will result in a neat join that won’t be too bulky.
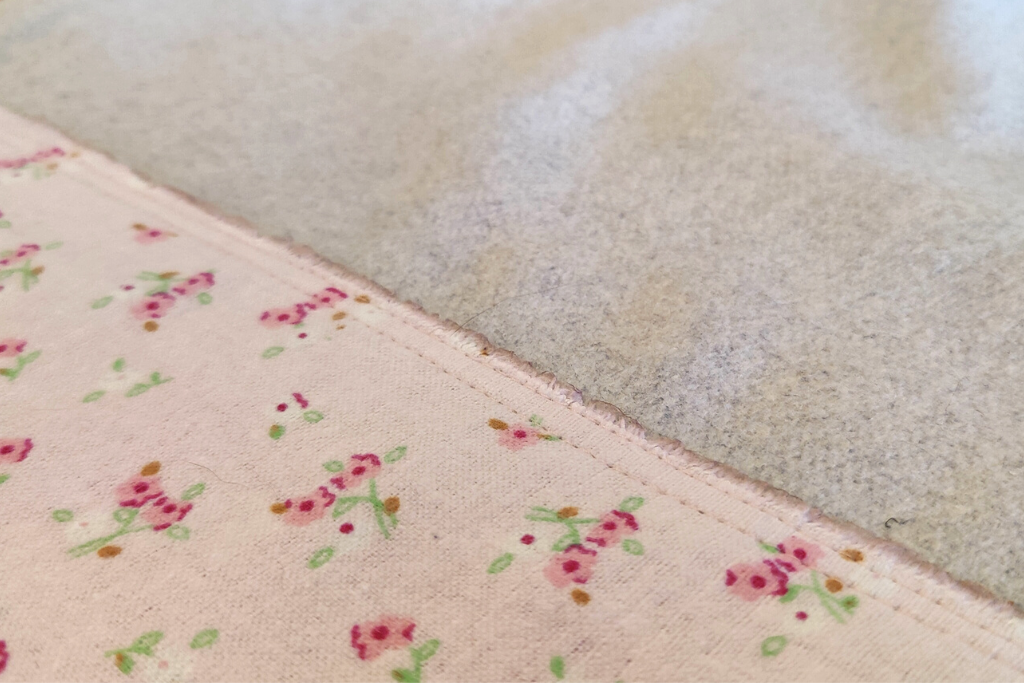
Place the bottom layer face down, then the waterproof layer on top. Then pop the top layer, face up, over the waterproof layer.
Pin the layers together, making sure that they are all smooth and flat. Sew around the edge to join them together. I found that I needed to reposition the pins after sewing each edge.
Once you’ve sewn round it, trim the edges. I took a photo of one of the messy edges, but I forgot to take one after I’d neatened it up!
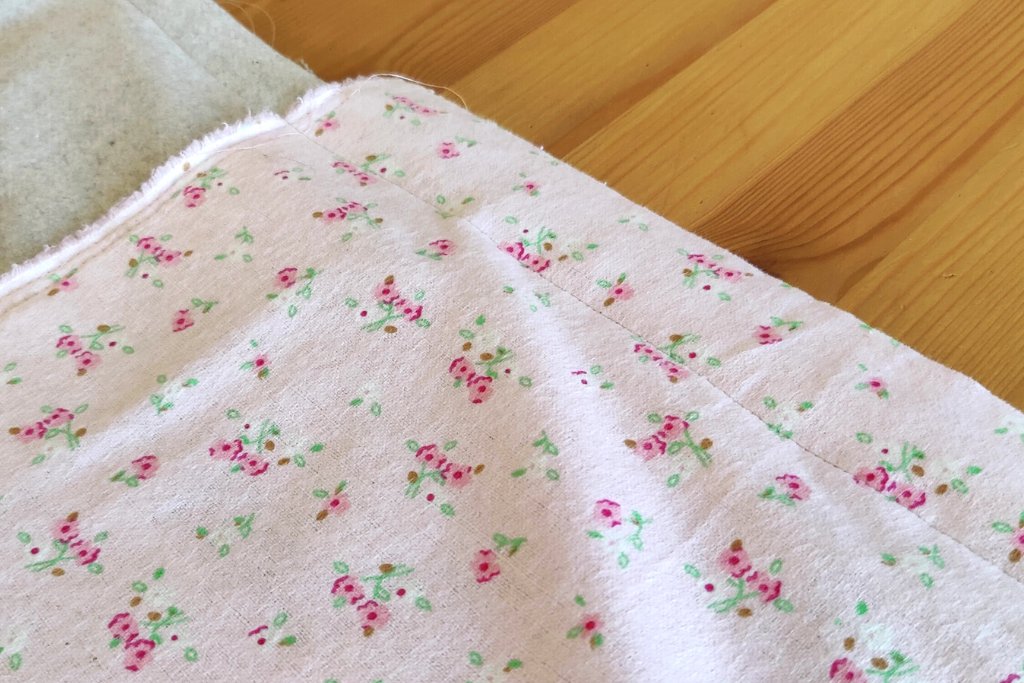
Sew the bias binding to the edge of the blanket. Pin one edge of the bias binding to the edge of the blanket, on the underside. I wouldn’t bother pinning it all the way round, especially if the bias binding is on a roll. Sew close to where the fold is.
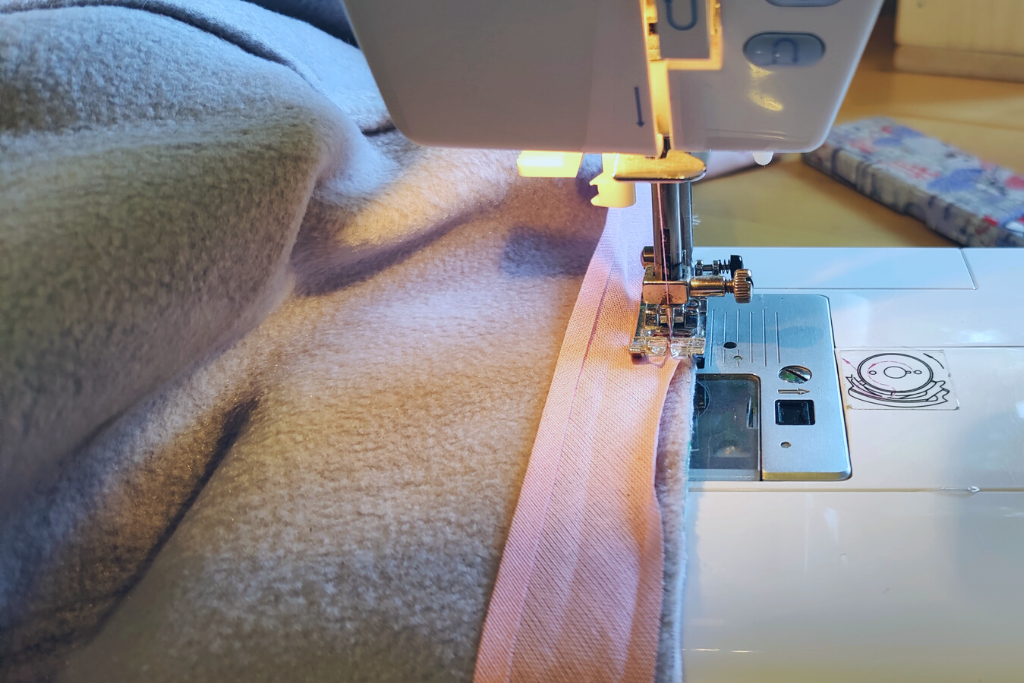
Keep going until you get to the corner. With the needle down, turn the corner. Turn the bias binding so that the edge of it is aligned with the edge of the blanket.
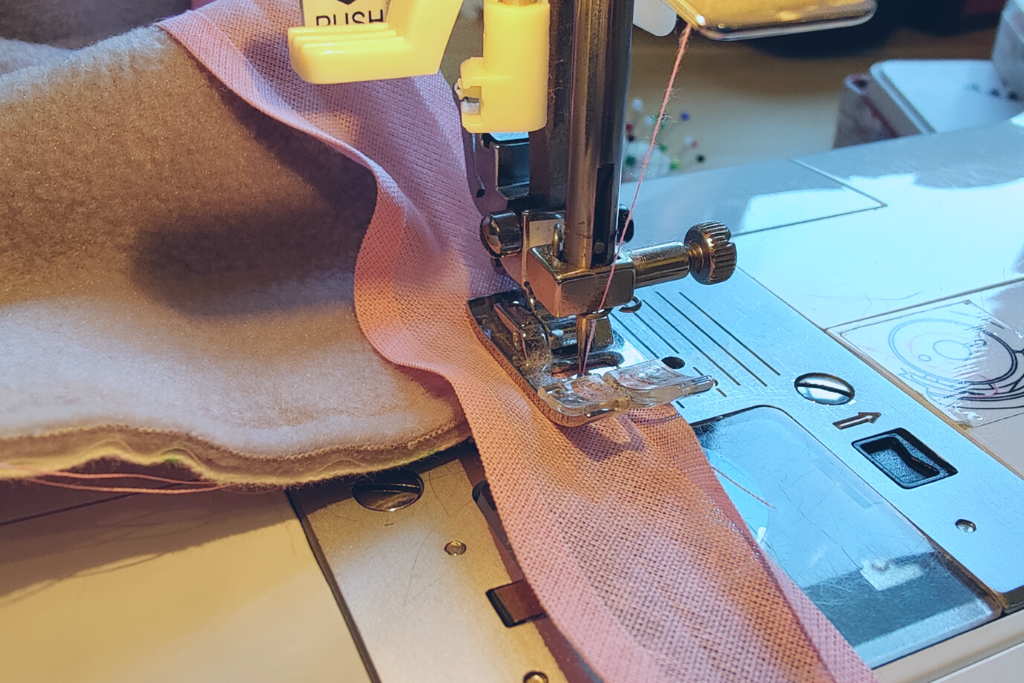
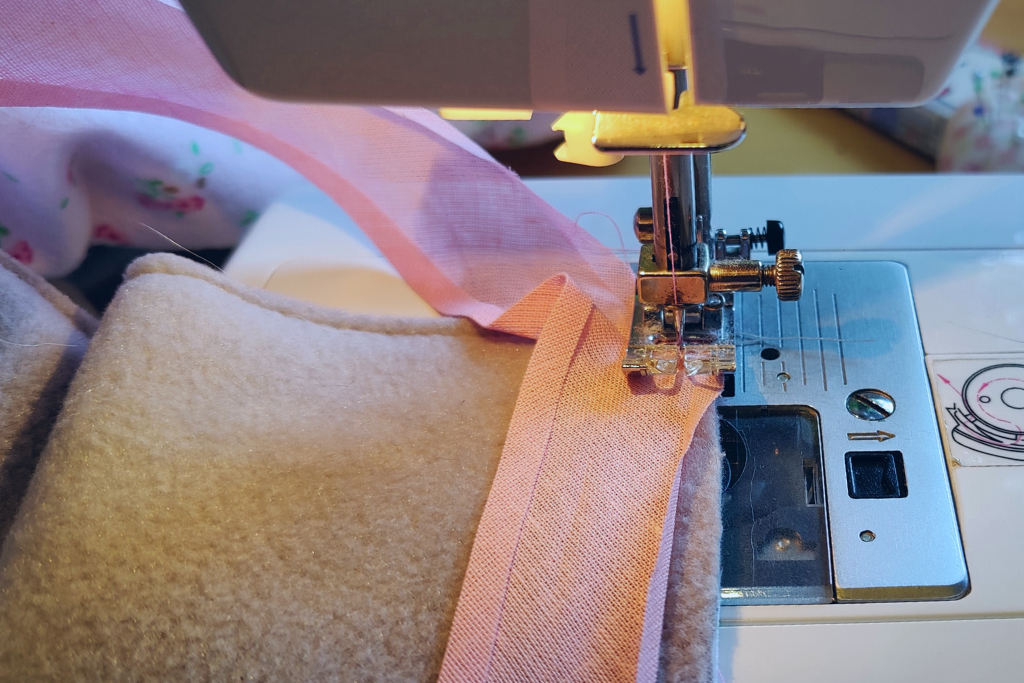
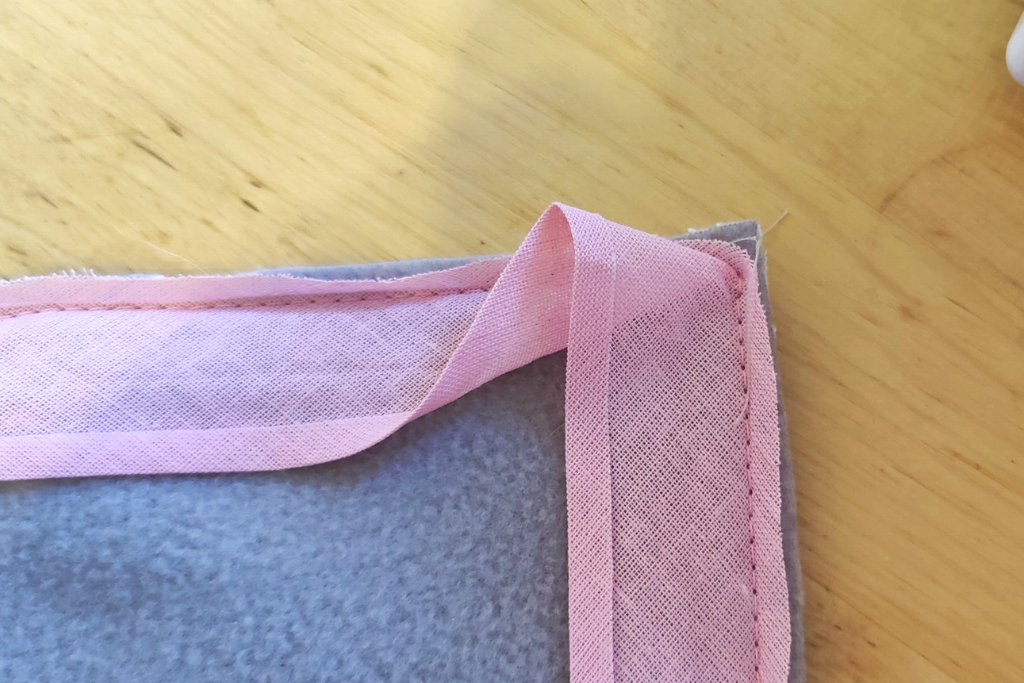
Keep going all the way round, and deal with the corners in the same way.
Once you’ve got back to where you started, cut the bias binding, leaving enough to overlap. Match up the folds of the bias binding and sew, until you’ve sewn over the end.
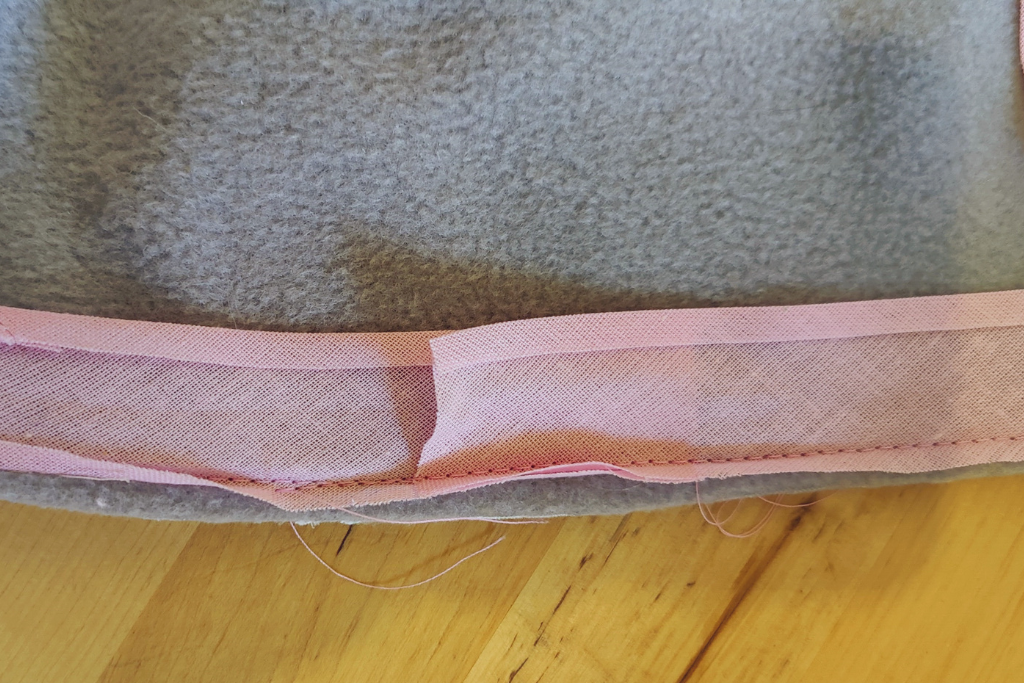
Now fold the bias binding over the raw edge. Keeping the folded edge of the bias binding tucked underneath, sew the bias binding to the blanket on the top.
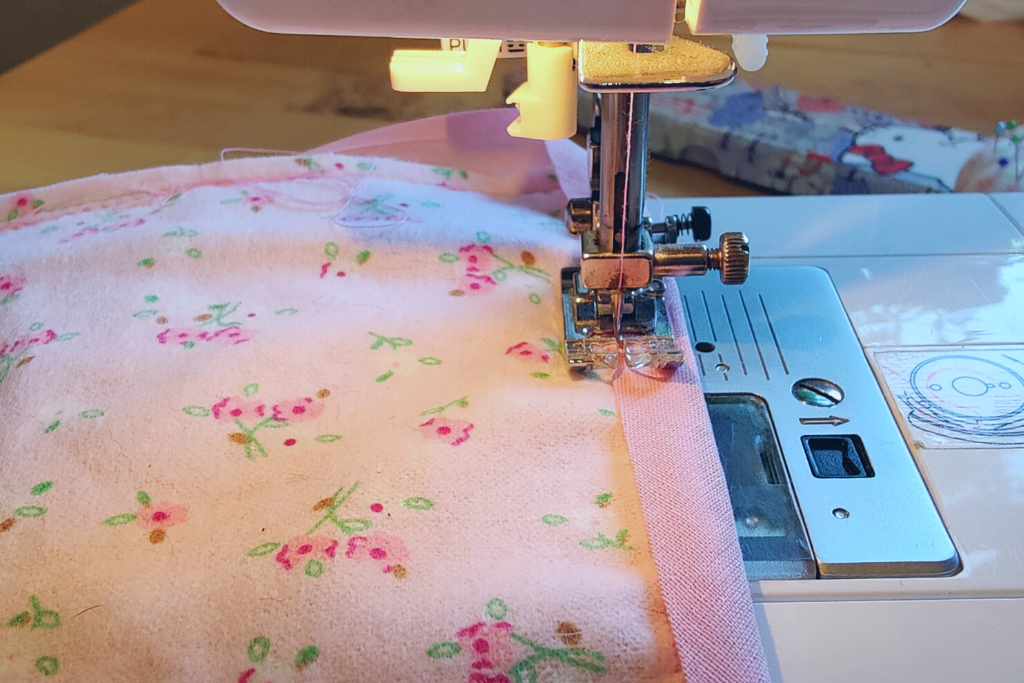
When you get to a corner, carefully fold the bias binding so that you have a little triangle underneath, and a neat little diagonal line. Continue sewing close to the edge of the bias binding.
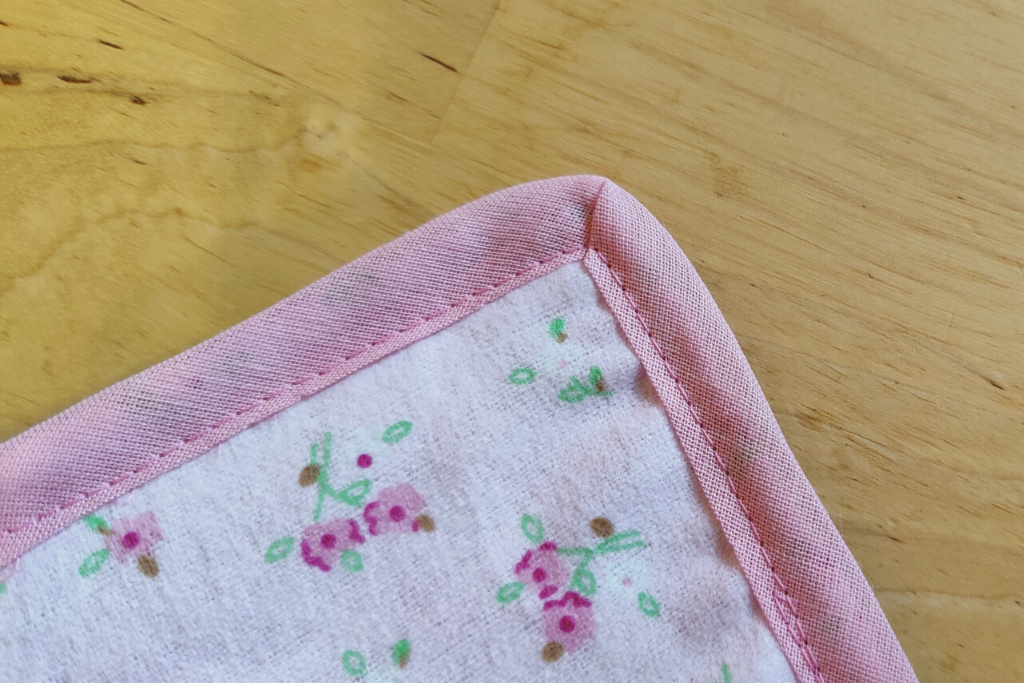
Now your blanket is ready to use!
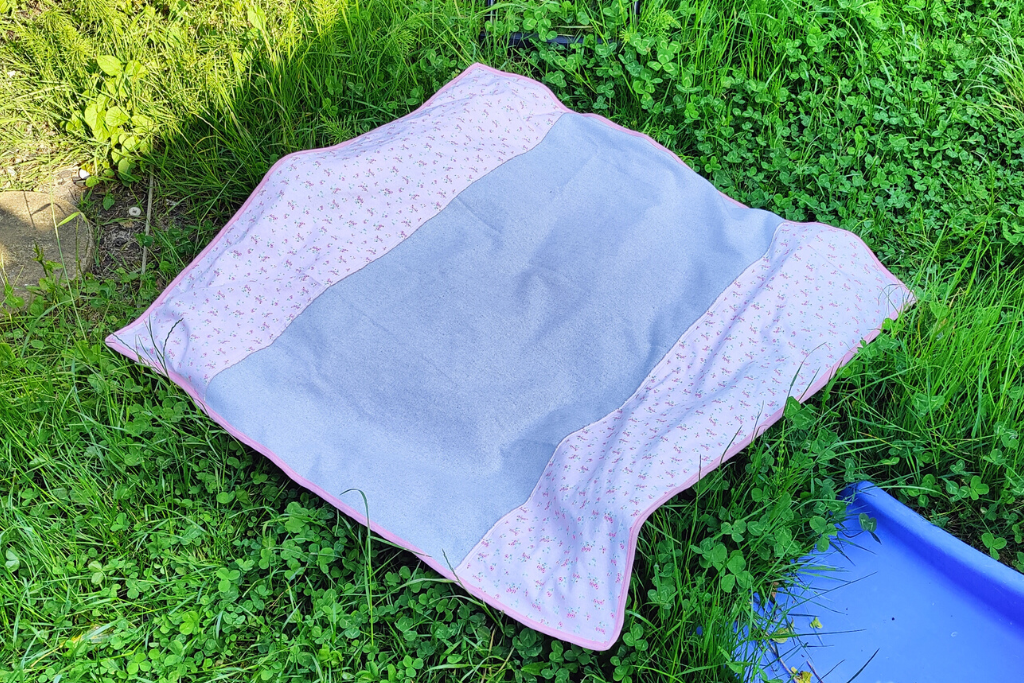
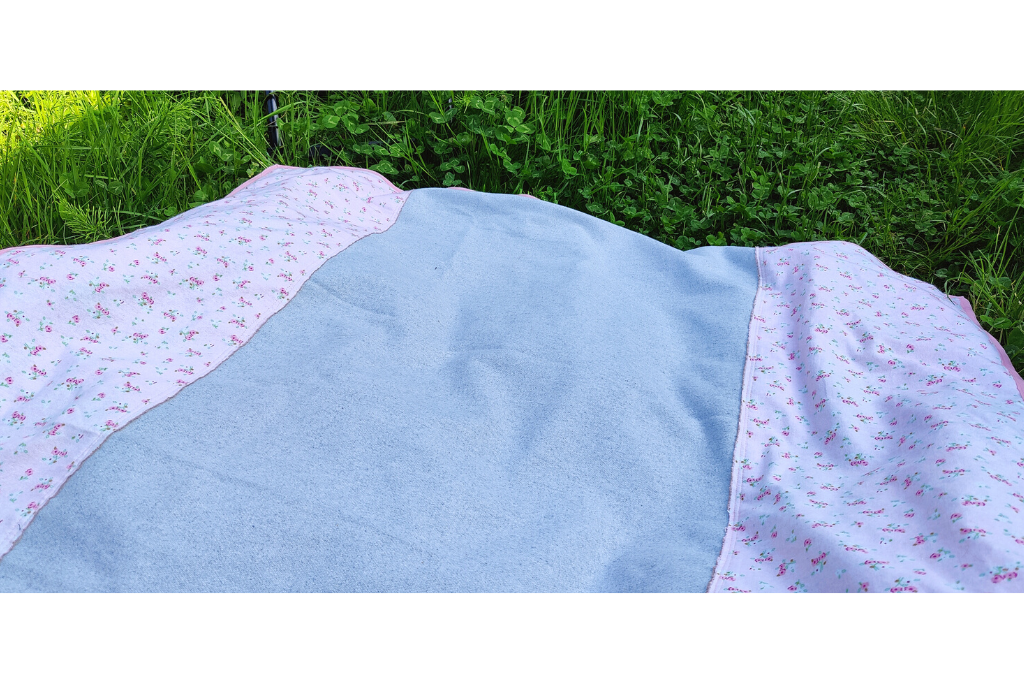
How to Fold Your Waterproof Picnic Blanket So That the Top Stays Clean and Dry
So you’ve been to the beach, or had your cherry blossom picnic, and now there’s sand or grass and stuff all over the bottom.
To avoid getting the top layer mucky, you can fold your blanket in a similar way to how I was shown to fold groundsheets and things many years ago when I was in the Guides.
Fold the edges into the middle.
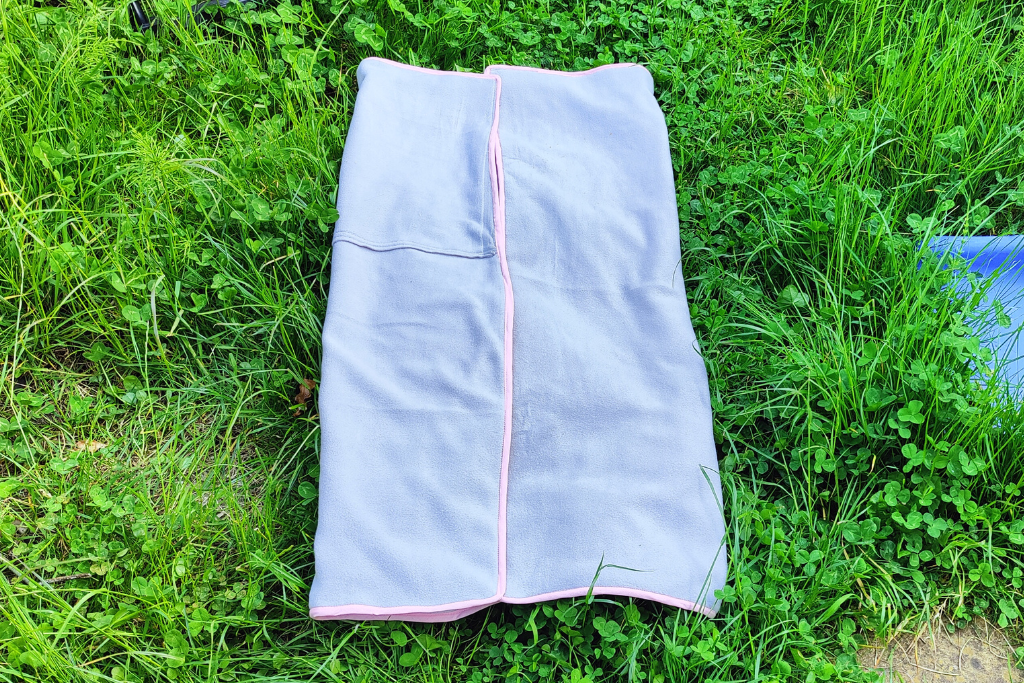
Now fold one edge in, then the other.
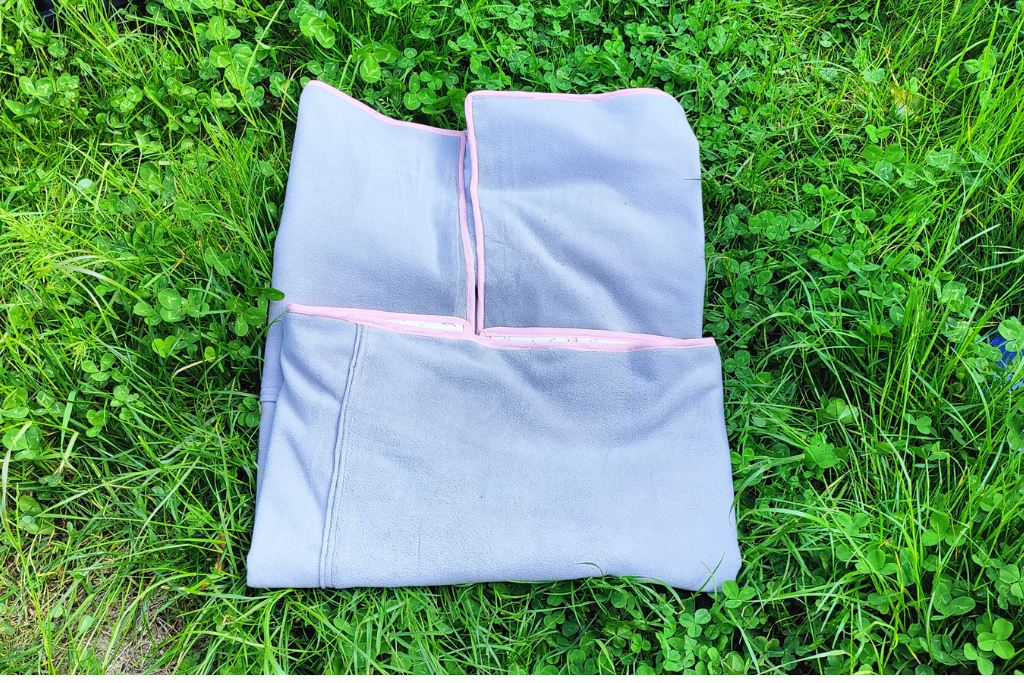
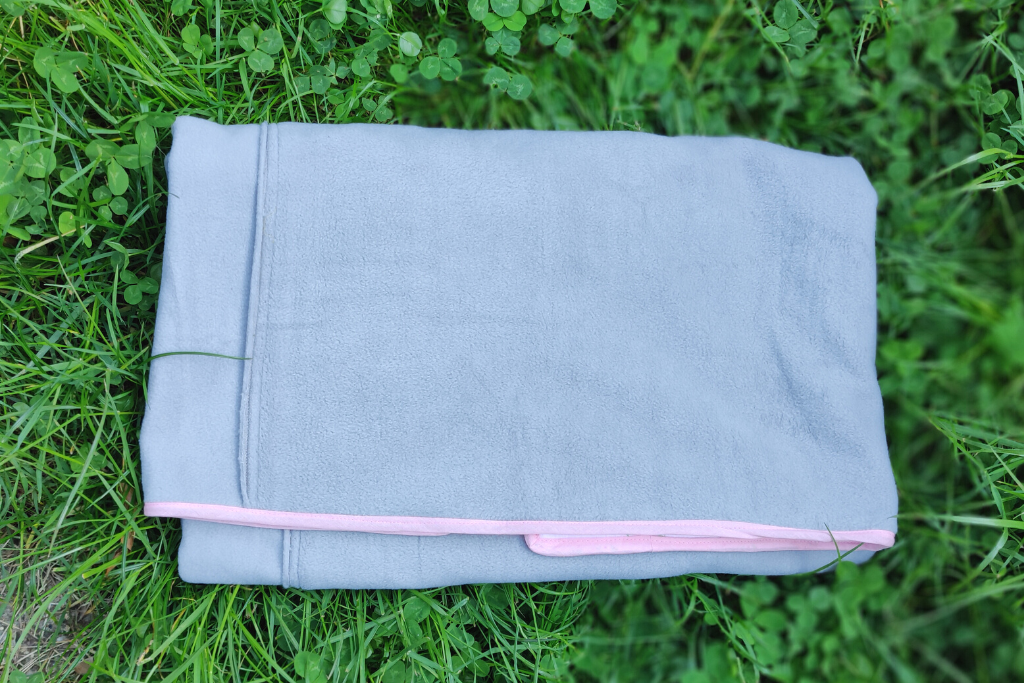
Roll it up. The mucky bits will only be touching the other mucky bits!
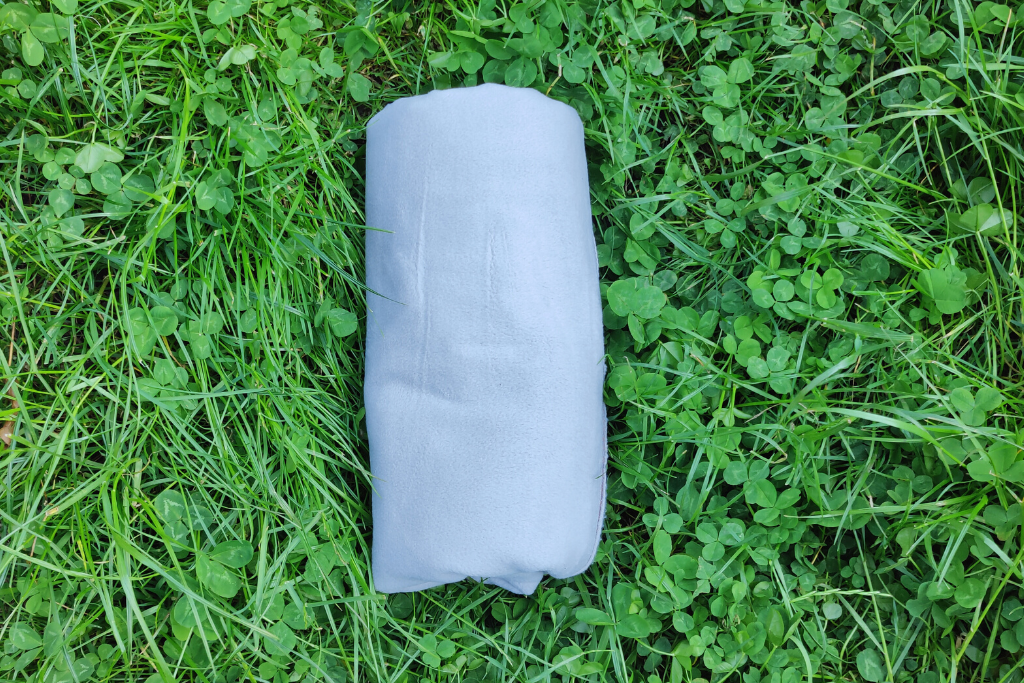
You could probably wash it, but don’t put it in the tumble dryer!


Leave a Reply