It’s nice to have a reason to make things, and this waterproof drawstring bag is one of those kind of projects.
Having a word for the year was a thing a few years ago, and although it can seem as much as of a cliche as New Year’s resolutions (and last about as long!), it can be helpful to go into the New Year with a some focus.
What makes a word for the year different to a New Year’s resolution is that it is vague enough to allow a person to choose little bits and things and ideas that are going to help. After all, a word for the year is supposed to be helpful, not something to beat ourselves over the head with when we don’t stick to it or finish it.
My word for the year is peace. I used to have peace, years ago, before Covid, but it seems to have gone. I think life would be better if I had it back.
Obviously peace isn’t going to be found in material things, but sometimes, things can offer a solution. I can’t craft my way into peacefulness, but I can make things that offer a solution when I do not feel peaceful. Having something that can fix a problem, and knowing I have, will mean that when a situation arises, I can deal with it rather than have it make things worse.
So one of the things I’m doing is reavaluating what I have in my bag.
When my boys were little, I used to have things in my bag for them. It made life easier for me and nicer for my boys. So I carried around bananas, boxes of raisins, books, gloves, pencils and post its for a bored moment.
Now they’re bigger, and although I still have pencils and post its, I don’t have the other stuff. If the boys need things, they can carry them themselves in their own backpacks!
So there’s space in my bag now to make things nicer for myself when the need arises.
Things I find objectionable include knotty hair, sore hands and wet feet. So in my bag now, I have a small hairbrush and some bobbles, hand cream that I got Christmas, and a pair of ballet pumps that roll up, along with an extra pair of tights.
The question is what to do with the wet things? I’m probably not going to put my shoes into my bag. I’ll hold them instead, but I’m not going to hold the wet tights.
A waterproof bag is the answer, and although I could just use a plastic carrier bag, there’s something to be said for having things that are nice.
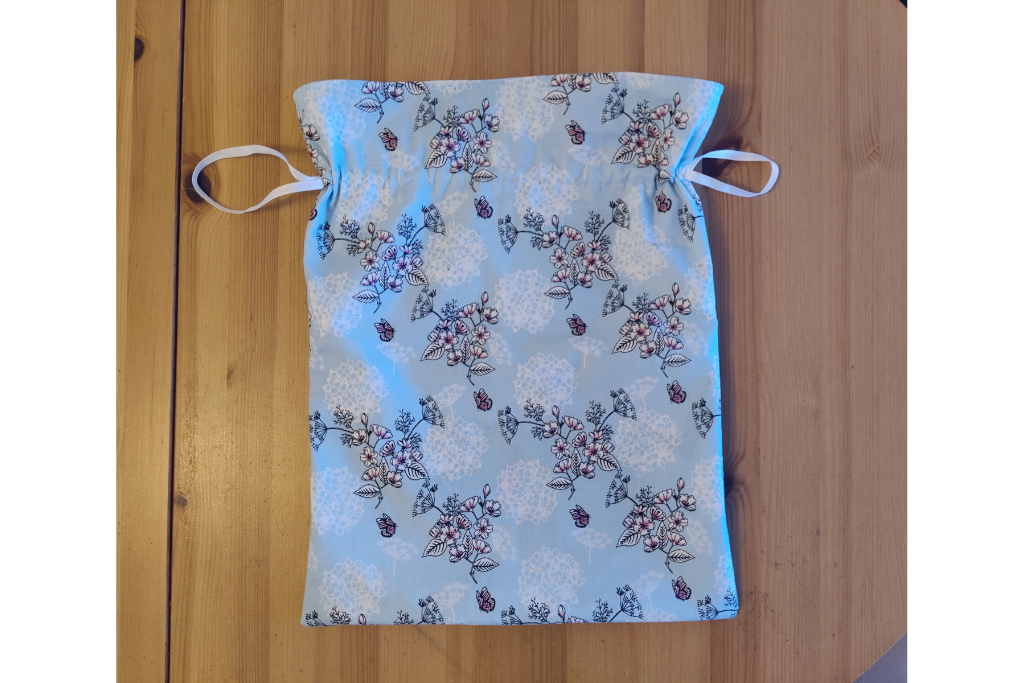
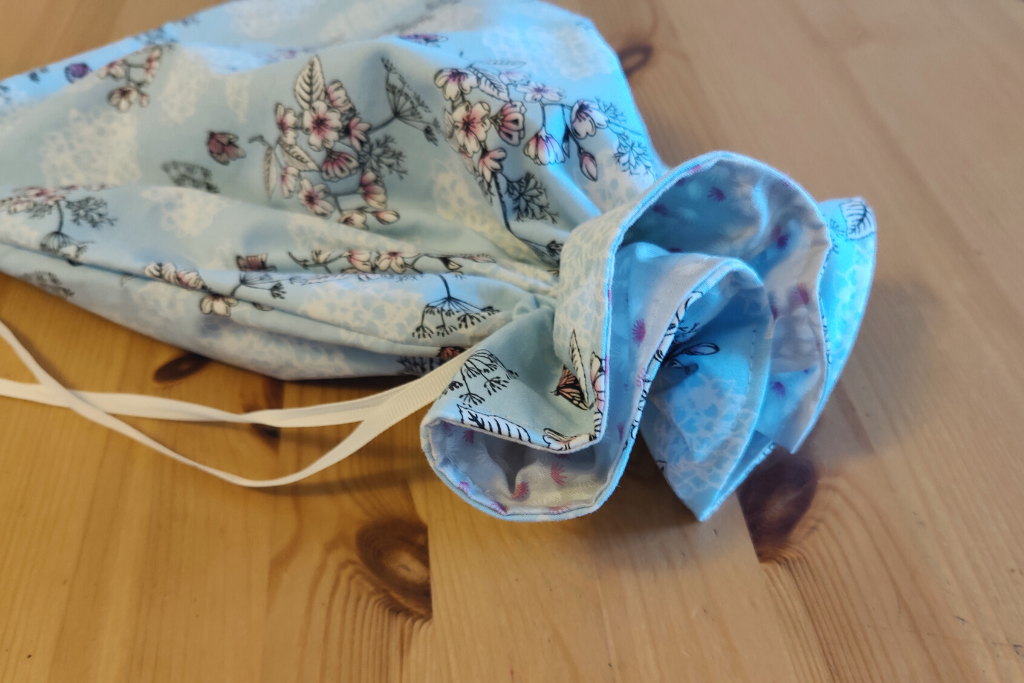
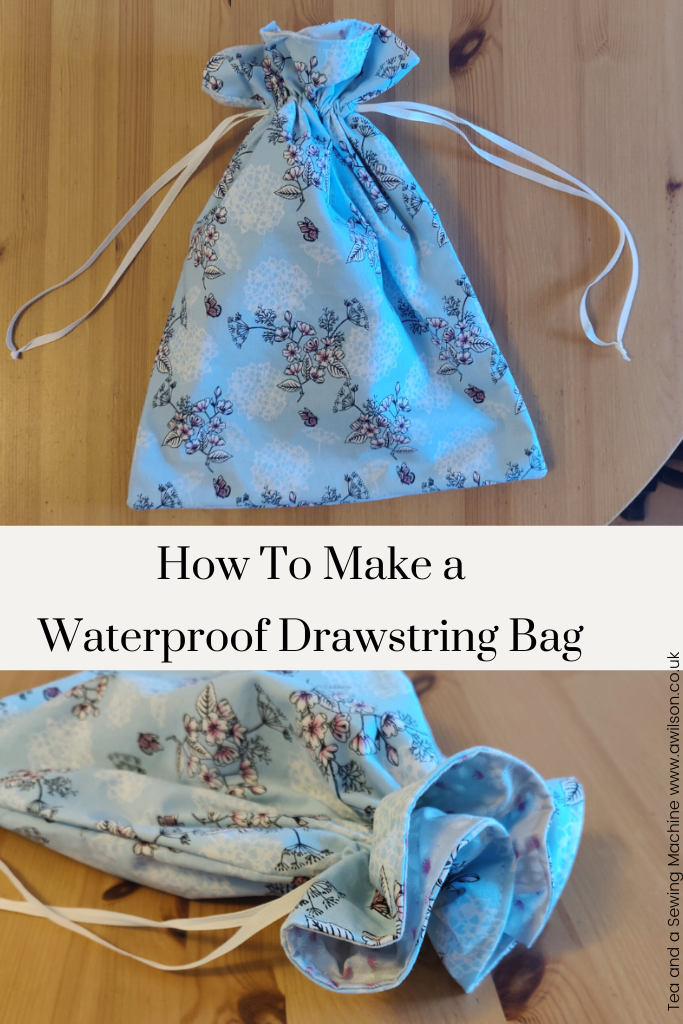
So I’ve made a waterproof drawstring bag to hold the wet things.
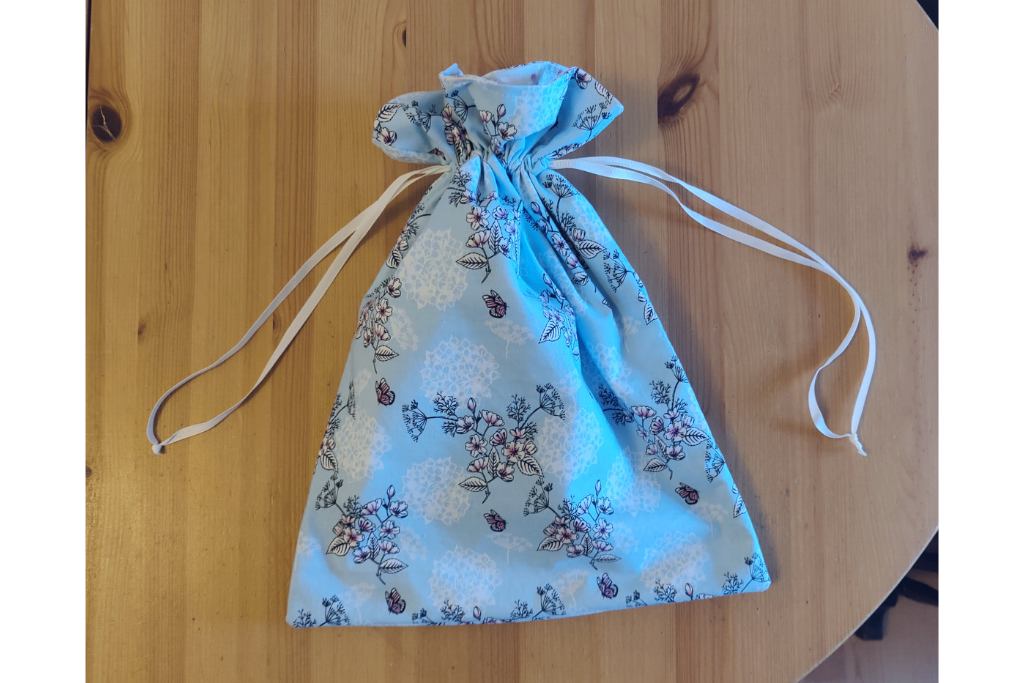
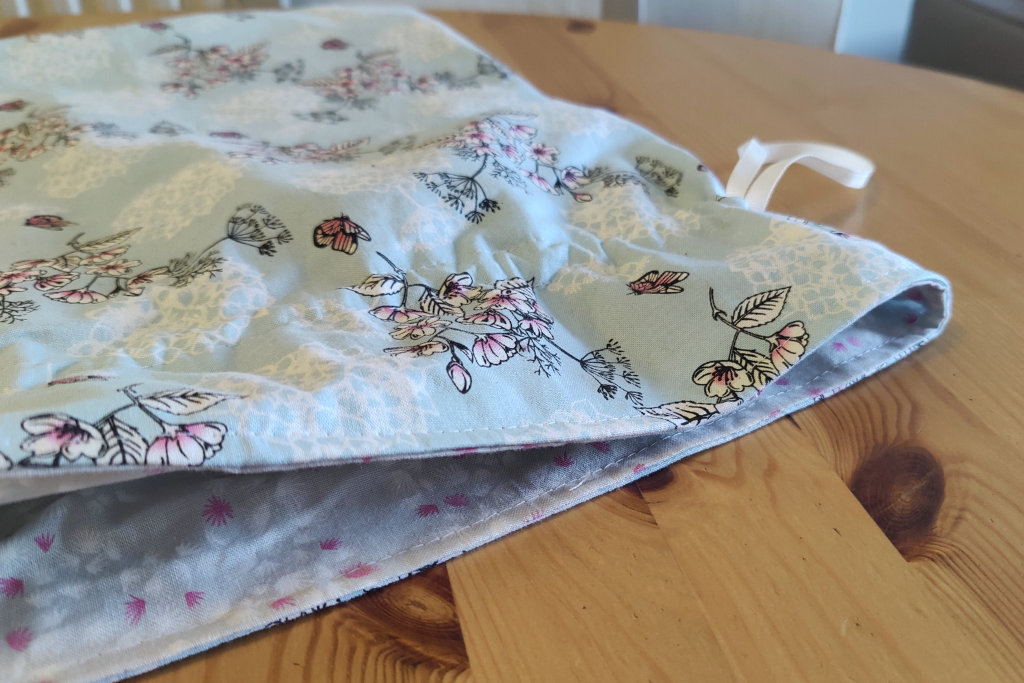
The secret that you can’t see in the picture is the waterproof layer between the outer and the lining, made from a shower curtain. The fabric is cotton I had already in the disgrace behind my bedroom door.
You could also use the bag to hold wet swimming things, or to keep things dry if you find yourself out in the rain with a bag that isn’t fully waterproof.
You Will Need
Fabric. I used cotton that I had already. It doesn’t matter too much, Just choose something you like.
Plastic for the waterproof layer. A shower curtain is ideal. Plastic from a bag for life will probably also work. It will need to survive being sewn without tearing, and if it’s the kind of thing that will survive being put in the washing machine, that’s even better.
Ribbon or cord for the draw strings. Piping cord would work, or you could make your own cord from selvedges or scraps of fabric. If you don’t know how to do this, there’s going to be a post about it in a couple of weeks!
Cutting Out
For my waterproof drawstring bag, I cut 2 pieces from the lining, outer and the shower curtain that were 32 cm x 42 cm.
I used a 1 cm seam allowance and the finished bag measured 30 cm x 40 cm.
I think the best thing to do is to decide how big you need your bag to be. If you’re planning on using it for swimming things, you might need it to be a bit bigger. The easiest way to find out how big is grab your swimming things and work out the size that the pieces of fabric will need to be, then add a bit extra for seam allowances.
Sewing the Outer and the Lining
Take the 2 lining pieces and pin them with the right sides together. Sew along 2 of the long sides and one of the short sides. Trim the seams and cut the points off the bottom corners.
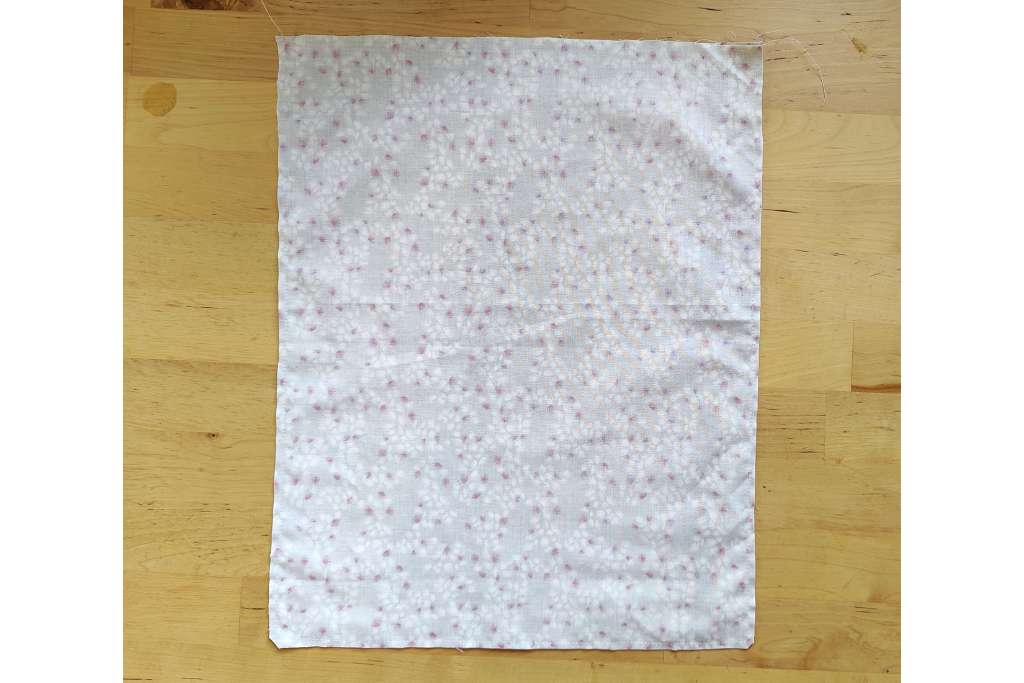

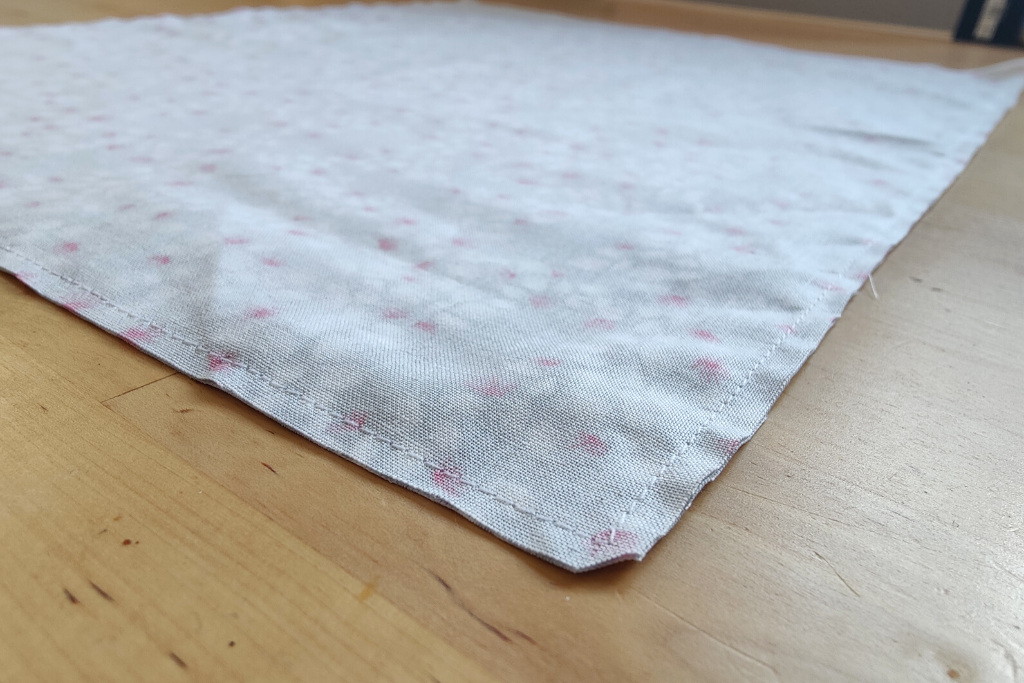

Take one of the waterproof pieces and pop one of the outer pieces on top of it, face up. Put the other outer piece on top of that, face down, then the 2nd waterproof section on the top.
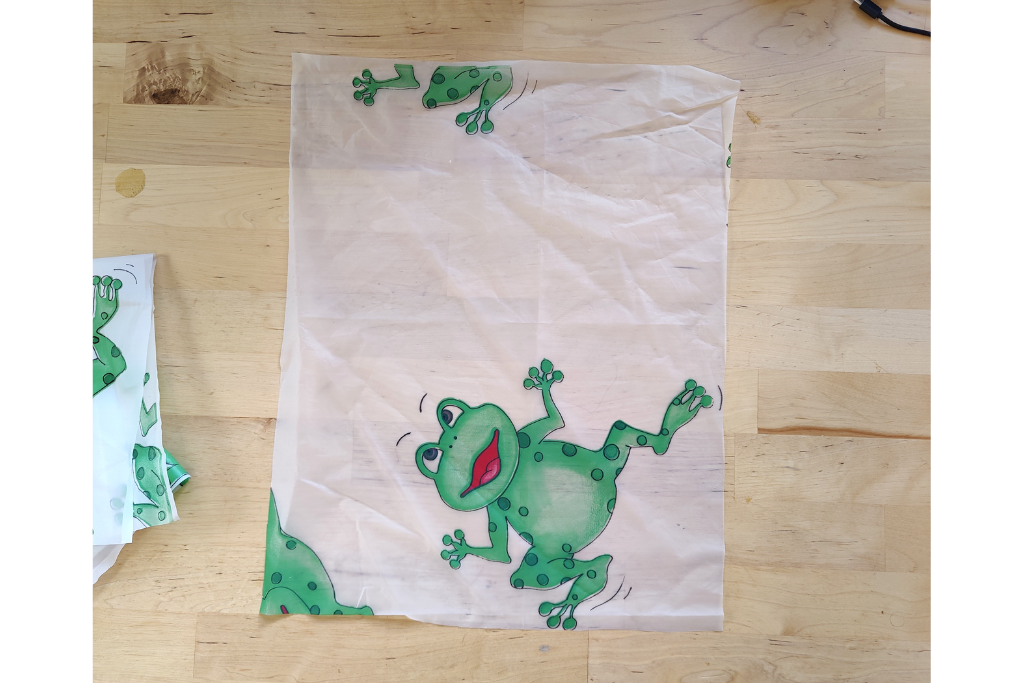

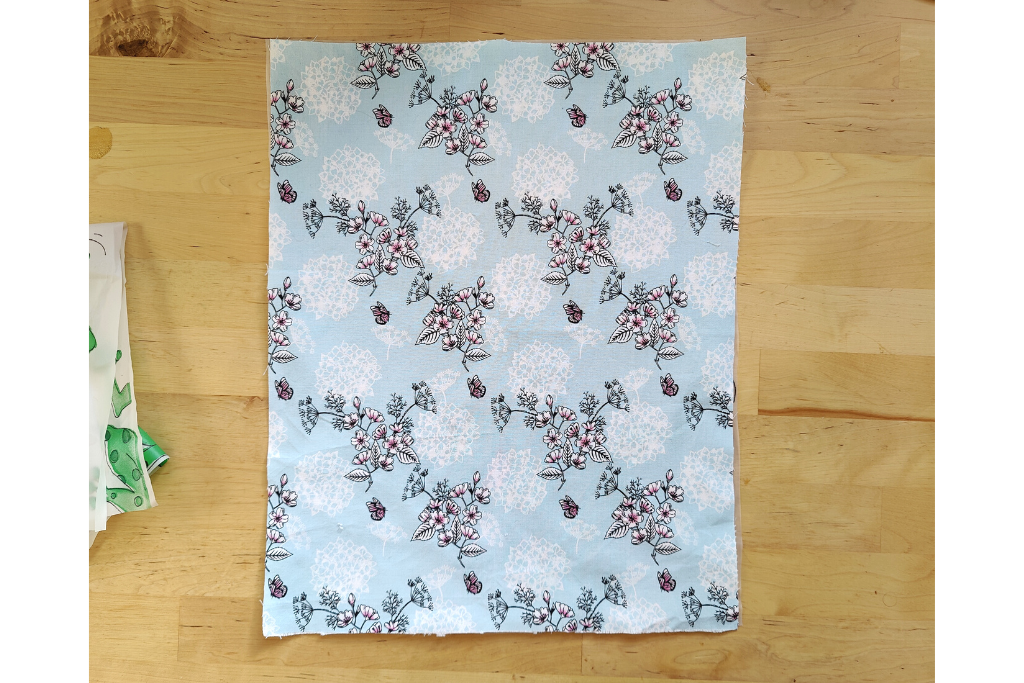

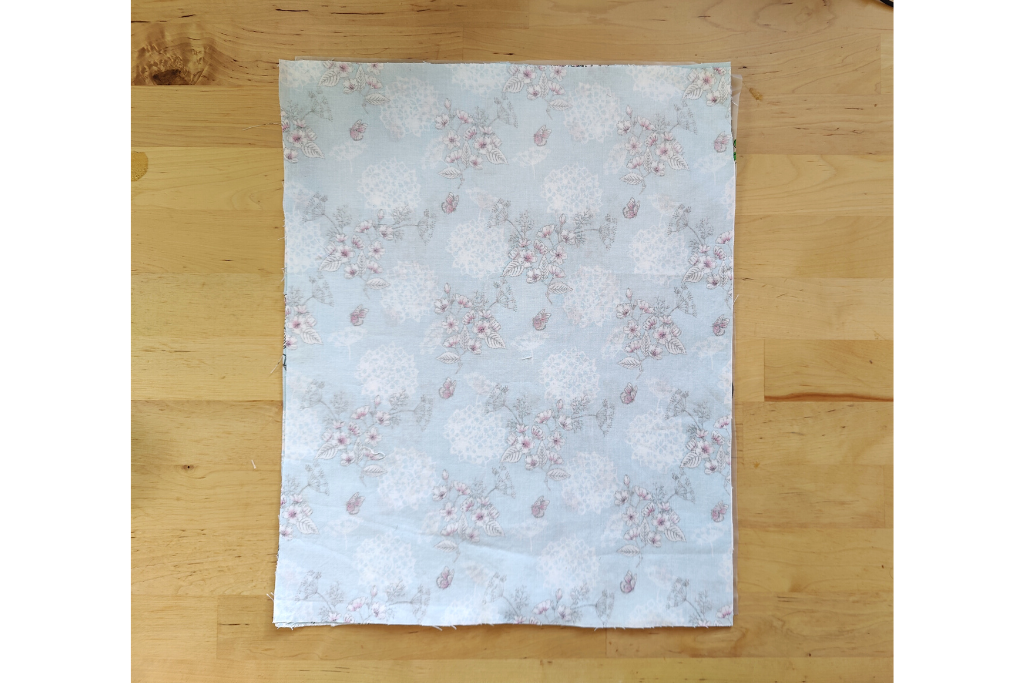

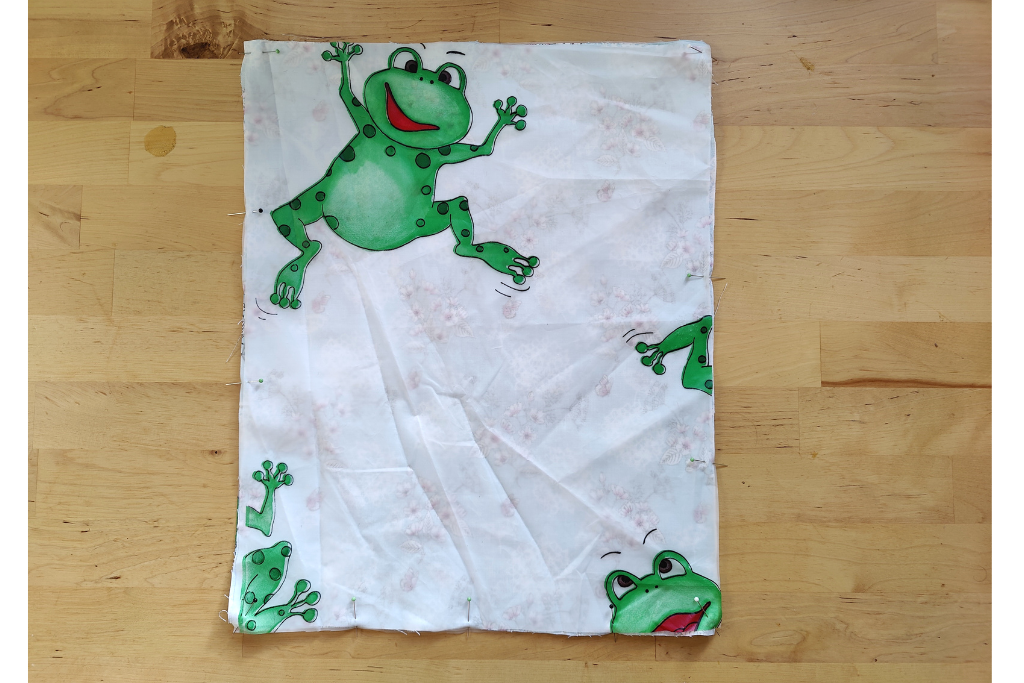

Pin the layers together. It’s best to pin within the seam allowance so as not to damage the plastic that will be keeping the rest of your stuff dry!
Sew along both the long edges and one of the short edges.
Trim the seams and cut the points off the bottom corners.
Assembling the Bag
Pop the outer with the plastic layer inside the lining, so that the right sides of the outer and the lining are together. Pin along the top, matching the side seams for neatness.
Sew around the top of the bag, leaving a small gap for turning out.
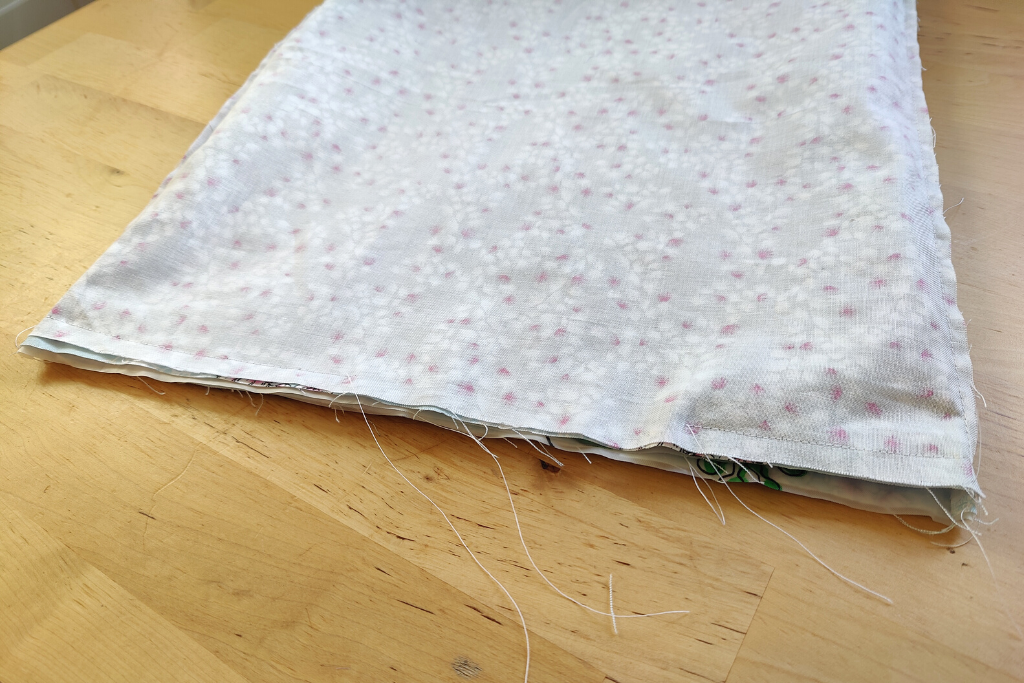

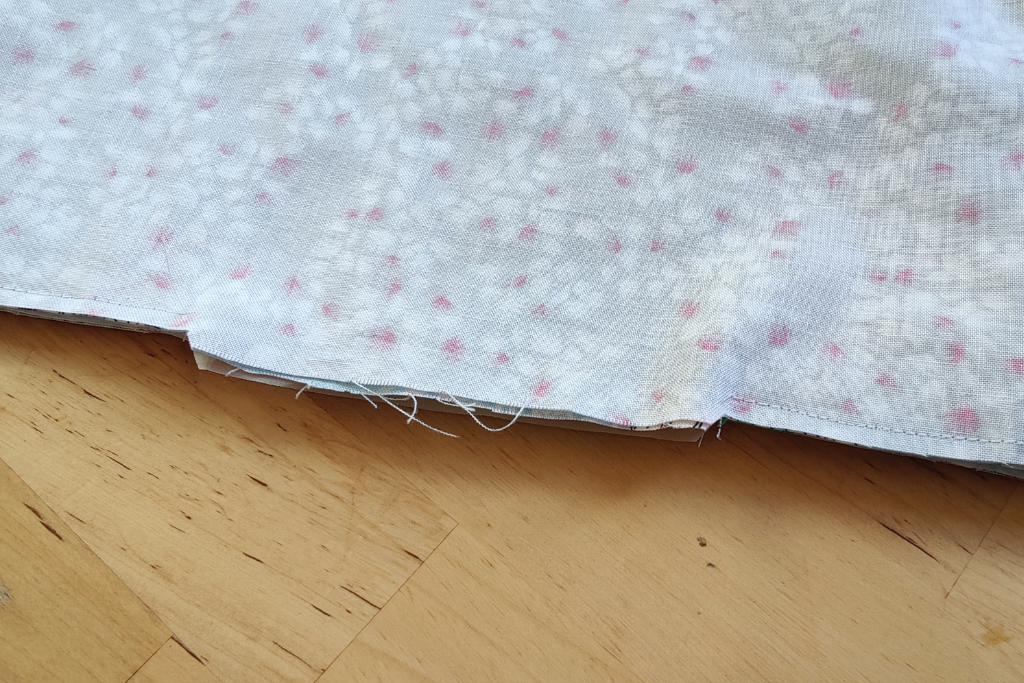

Turn the bag the right way out and slip stitch the opening.
Making the Casing
Measure 6 cm down from the top of the bag and mark with pins or tailors’ chalk all the way round.
Sew around the bag where you have marked.
The sew another row of stitches 1.5 cm below the first ones. You can use your sewing machine foot as a guide.
Unpick the side seams inside the 2 rows of stitches.
Adding the Drawstrings
To have 2 handles, the cord will need to go round twice. If you don’t have enough cord, you could just go round once and pull the drawstring at one side.
Cut a length of cord or ribbon 150 cm long, or the same length as round the top of the bag twice, plus a bit extra.
Attach a safety pin to one end. Push the safety pin through the casing. Go round twice.
Tie the ends together. If you pull the correct bit of cord in the other opening, the bag should close. Once you’ve worked out which bit of cord is the right one, tie a knot in it.
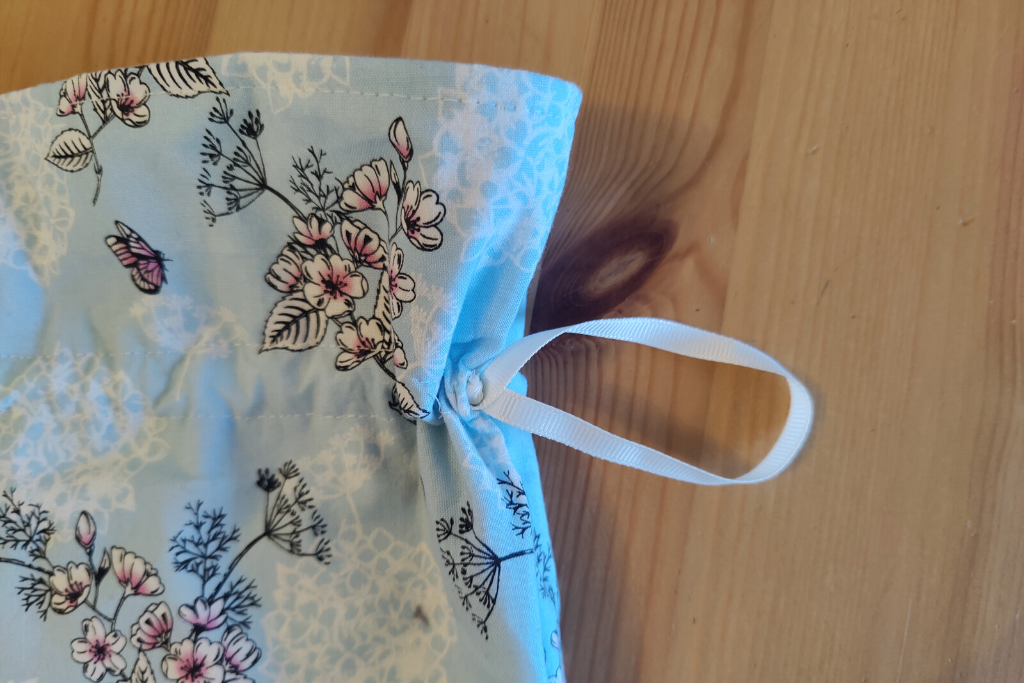

I’m half hoping to get caught in the rain so I can use my waterproof drawstring bag!






Hi Anna
I’m new to your website and love the drawstring bag you made. I’ve made these before but with cotton lining.
As for a waterproof fabric I use RIPSTOP for linings in my cosmetic bags and toilet bags and it can also be used to make linings in jackets and coats or to make waterproof outer wear. It comes in a variety of colours and weights and isn’t that expensive. Take a look as you may be surprised.
I haven’t started any craft projects yet as I’m trying to get my sewing and arts and crafts room sorted out. However I cannot stop buying fabric at the moment (New Years sales) so I’ve had a lot to wash and iron before working on any projects. January is not my best month and am trying to take it mentally easy (I have depression) but hope to start doing something early February.
Love the website and emails and looking forward to more.
With thanks.
Cee Jay.
Ripstop’s a good idea for a waterproof layer. Having a sort out is great for getting ideas 🙂
Anna, thank you for the tutorial for making the draw string bag. I could have done with this a few months ago when I was asked to make two felt bags for my husband’s fishing reels.
Your bag is lovely and I will make some more now I have proper instructions. Just one thing, I think you should have made your bag from your lovely frog shower curtain rather than just using it as your lining 😁although the material you used is very pretty.
Thank you again for all your posts, I don’t comment or reply often but I do read each one.
Sue
Thanks Sue, I hadn’t thought of fishing stuff but they’d be good for that too. The frog is cheerful isn’t he xx
Hi Anna, I am a new follower of your blog. I love making drawstring bags but haven’t made any waterproof ones! Thanks for the directions! That will definitely be on my list to make in the coming week. Stay warm and stay dry 🙂
From across the pond. Eva
Thanks Eva!