How to Make a Needle Felted Pumpkin
How to Make a Needle Felted Pumpkin
There’s something about autumn that makes me want to leave the sewing machine alone a little bit and reach for some woolly crafts.
I discovered wet felting a few years ago, and if you’re looking for a new craft to try, I’d recommend it!. The wool rovings are lovely to work with and it’s quite easy to get pleasing results, even if you generally don’t consider yourself to be artistic.
Needle felting has been on my list of things to try. I’ve never used wet felting it to make something solid, only pictures, and to be honest, I didn’t fancy clearing up all the mess and the water afterwards!
With wet felting, it’s the warm water, soap and rubbing that makes the fibres felt together.
With needle felting, the needle has barbs on it that catch the fibres, so the felting occurs that way.
It took me an hour or so to make a pumpkin, although the process could be speeded up with one of those pen things that allows you to use more than one needle.
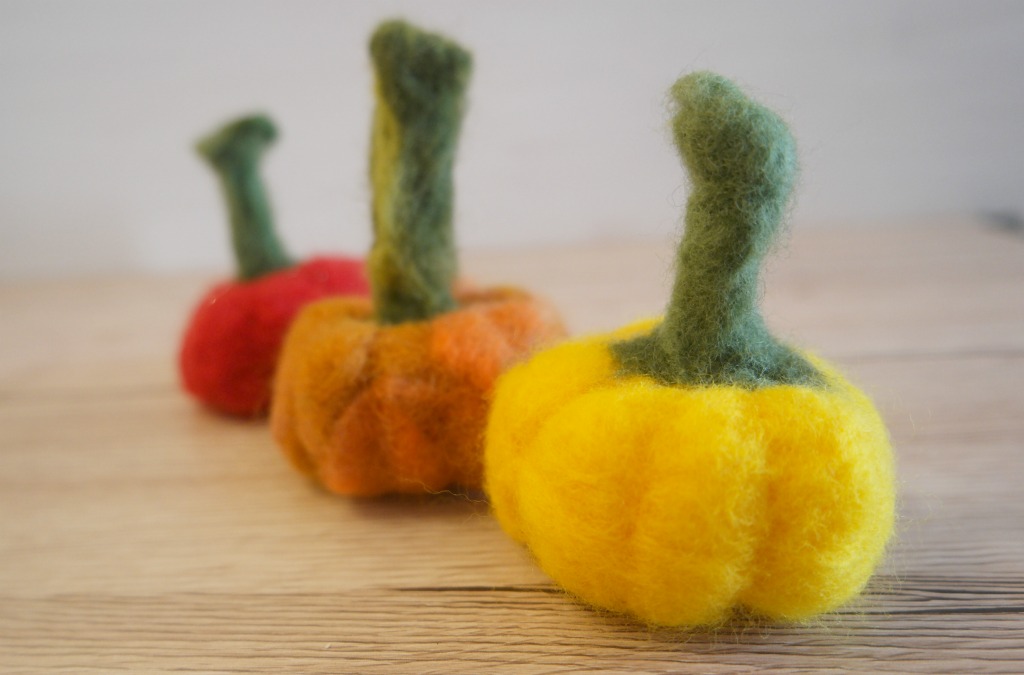
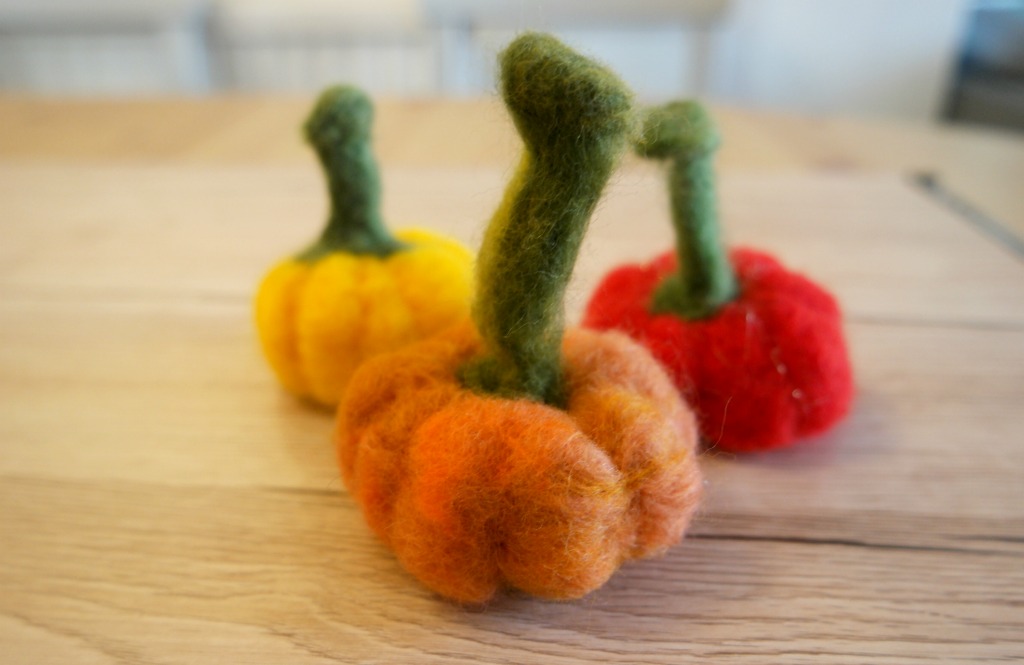
Here’s how to make a needle felted pumpkin!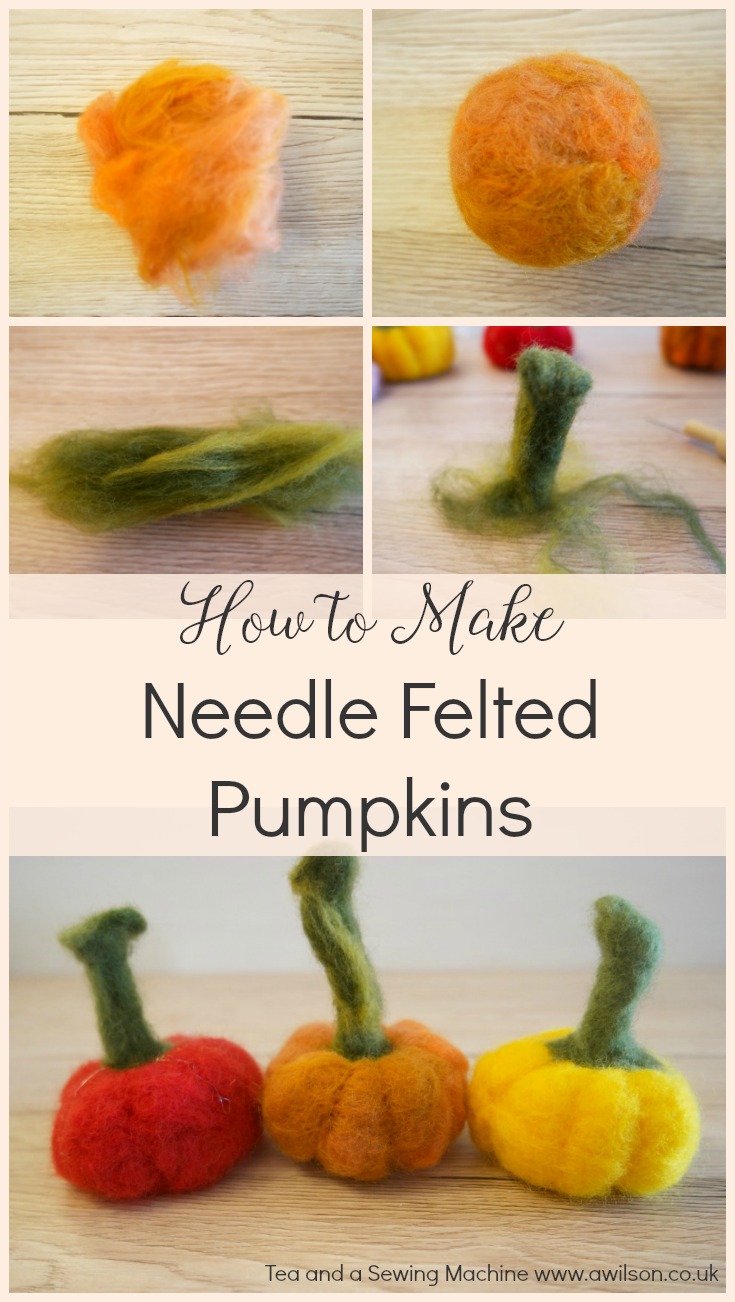
Instructions For Making a Needle Felted Pumpkin
I’ve included some affiliate links.
You Will Need
Wool roving in autumn colours (including green), felting needle, foam mat. If you don’t have a foam mat, you could use a washing up sponge instead.
Making the Pumpkins
1. Pull off some of the roving. This is easier to do if your hands are further apart. Pull the fibres apart until it’s fluffy.
2. Roll the roving into a ball.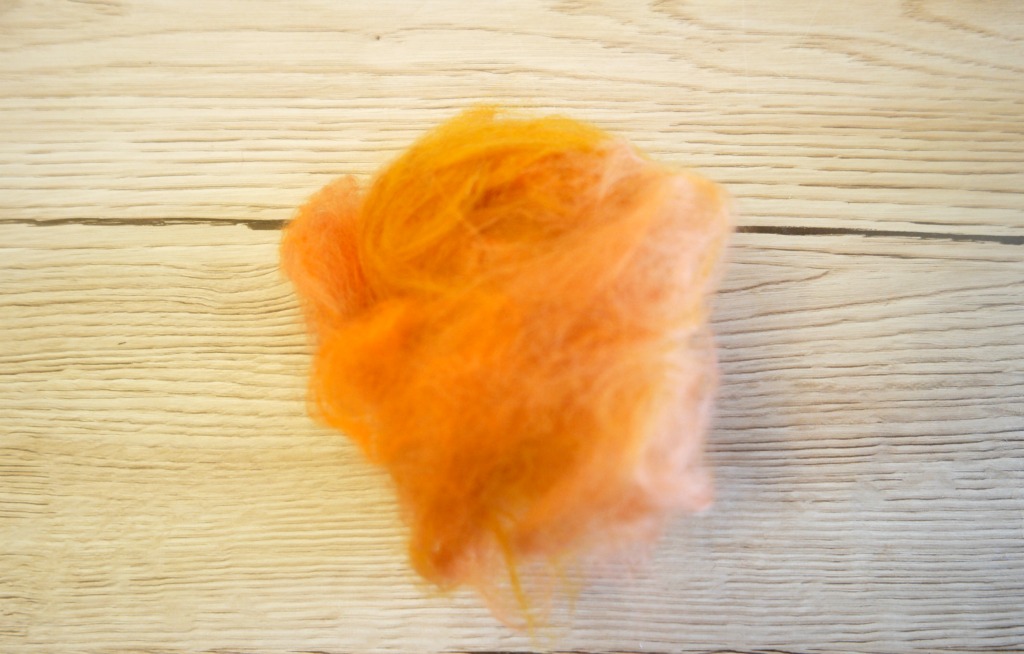
3. Start jabbing the ball with the needle. Make sure you stab it all over so that it felts evenly. Just mind your fingers because stabbing yourself hurts!
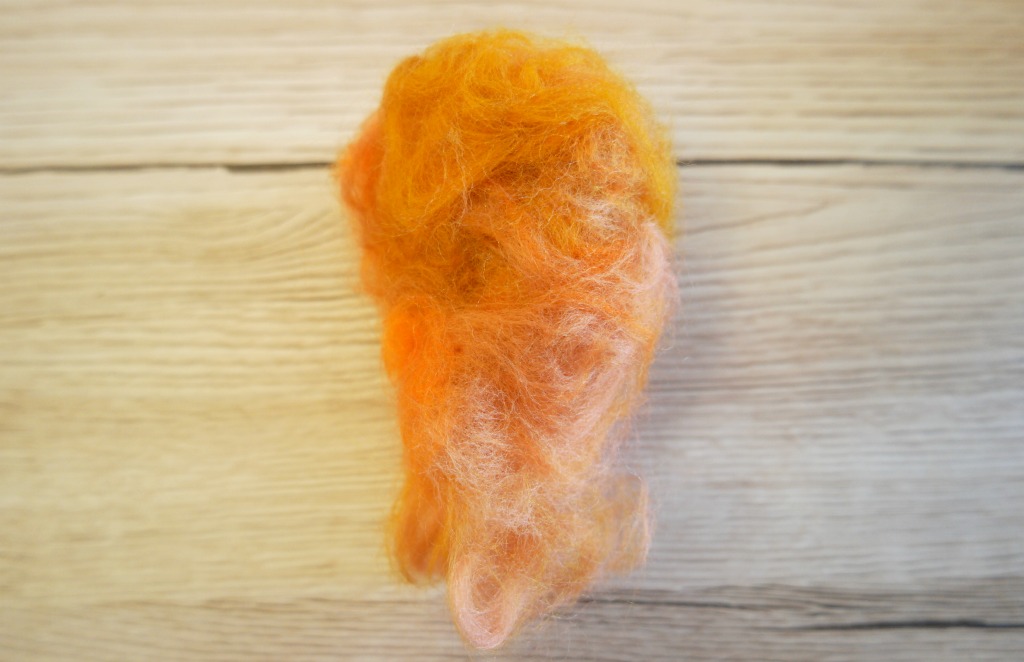
As the fibres start to felt, you can shape it by poking the needle in diagonally. After a few minutes it will start to firm up. Keep going until you have a ball. It should be quite firm on the outside with no wispy bits, but still squishy.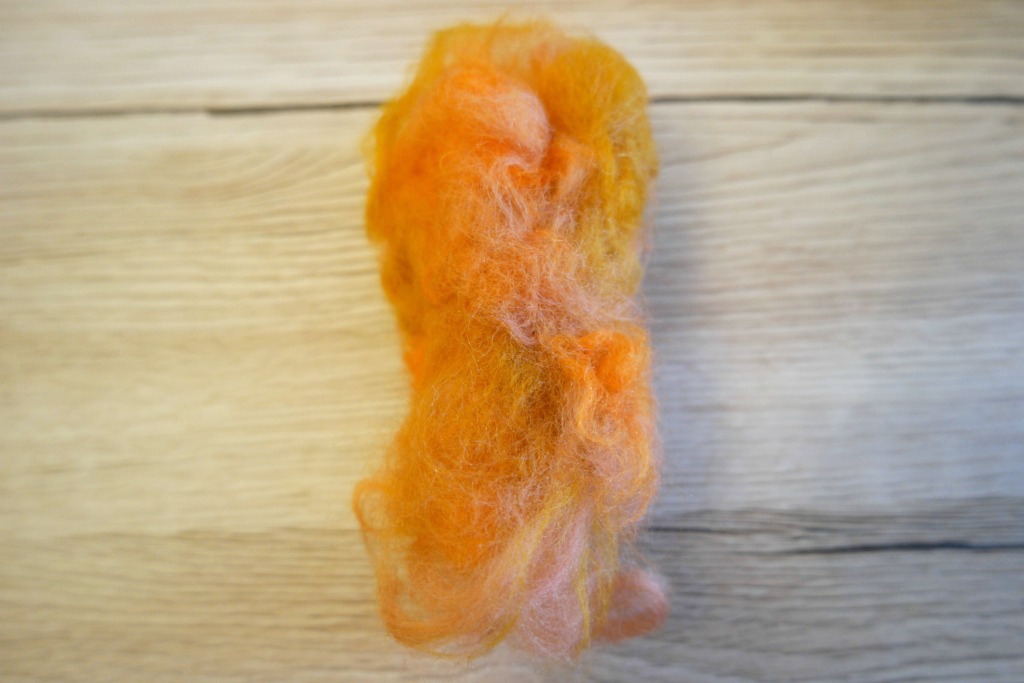
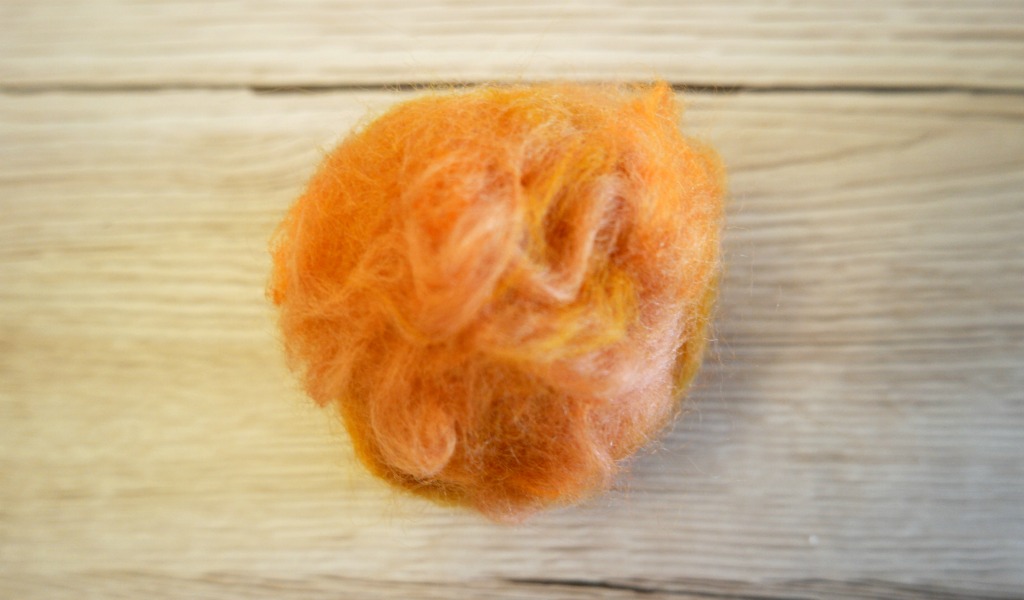
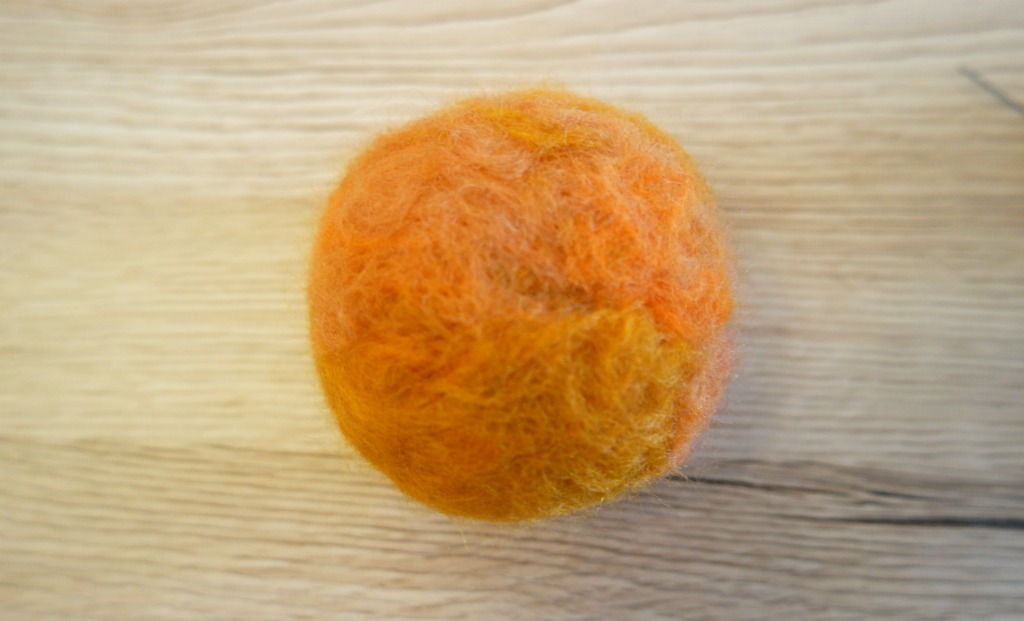
4. To make the pumpkin shape, stab in a line from the north pole of your ball down to the south. Go over this a few times. Repeat on the opposite side. Keep going like this until your ball is divided up into little segments like a satsuma (or a pumpkin!).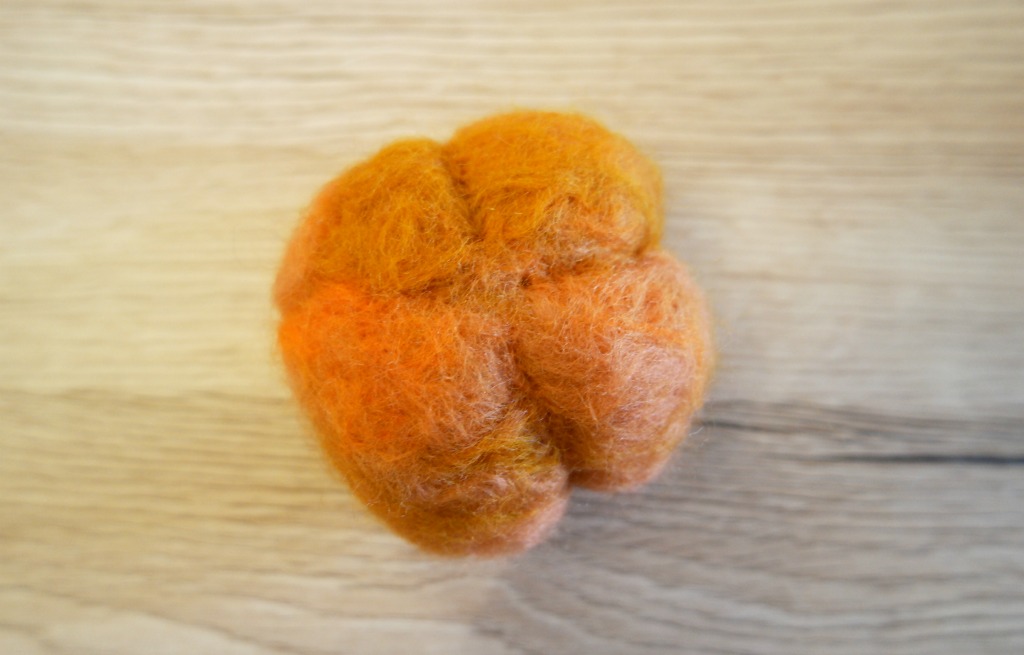
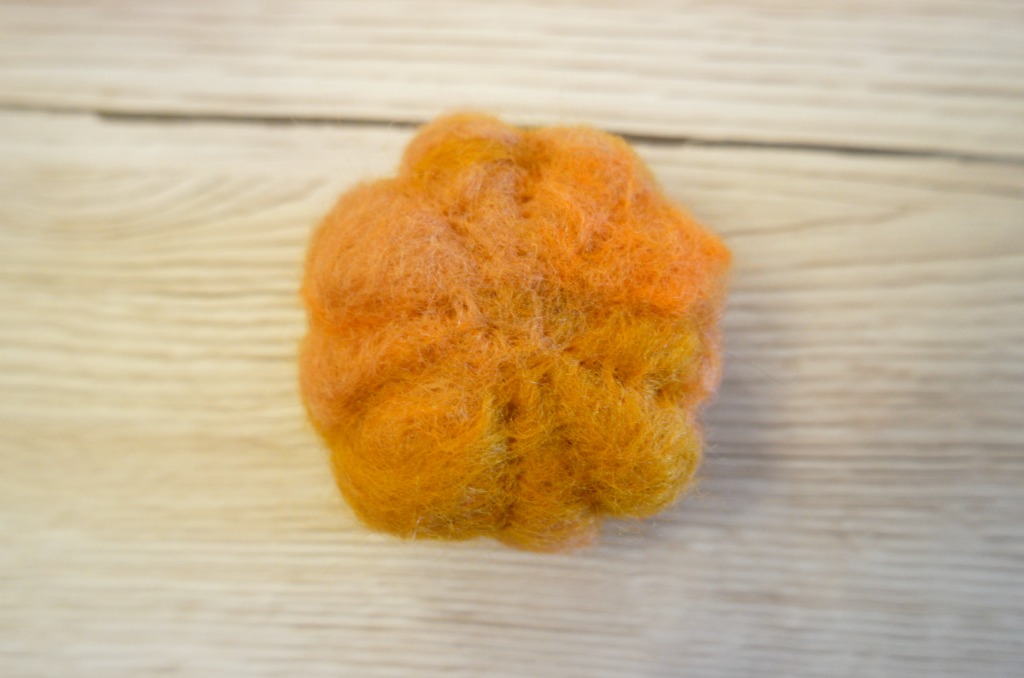
5. To make the stalk, pull off some green roving and fluff it it up like you did for the pumpkin. Roll it into a sausage and start poking it with the needle.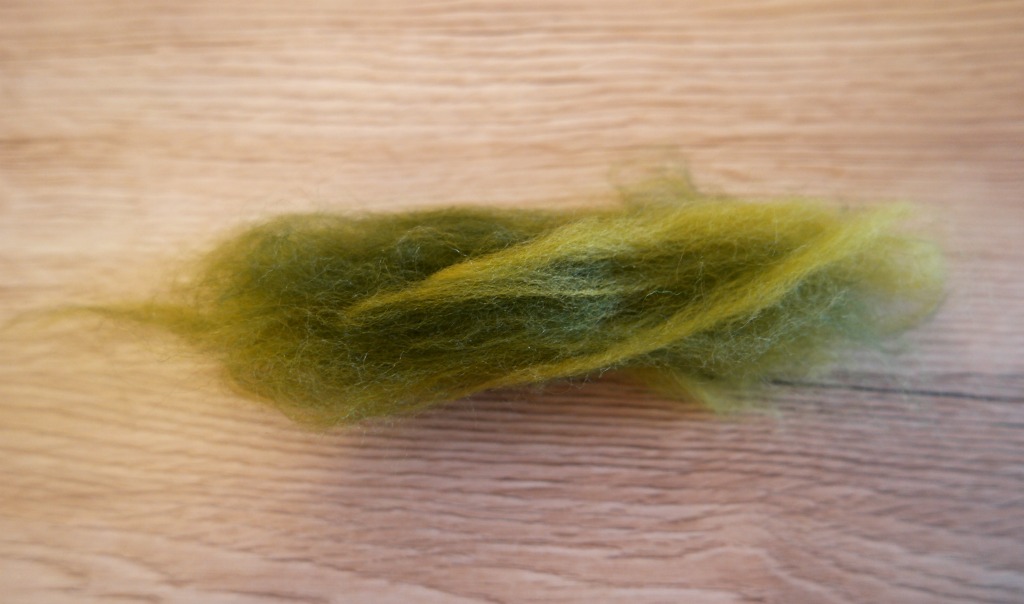
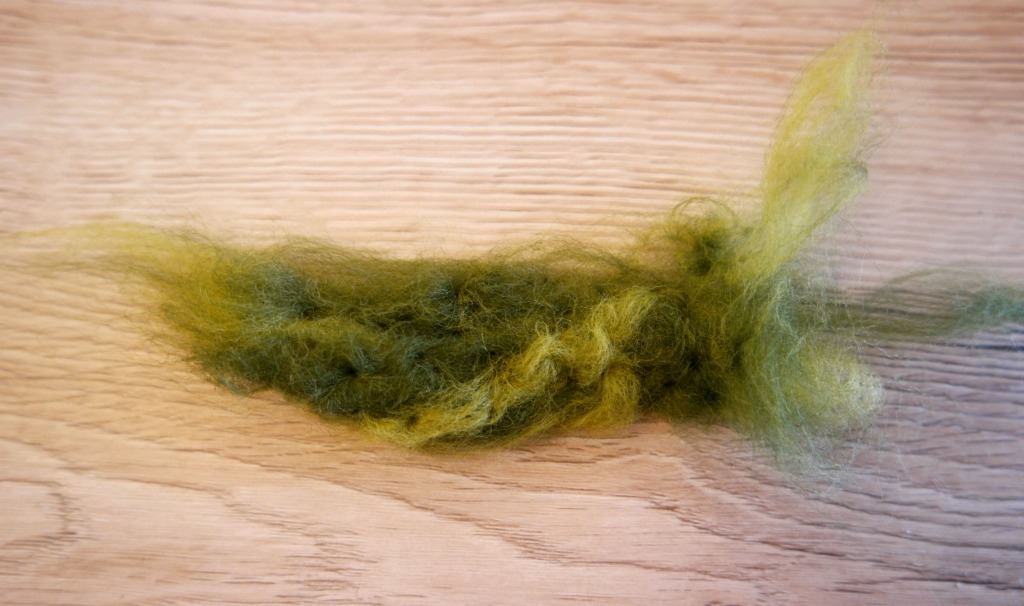
6. Keep rolling it over and poking it with the needle. Leave one end fluffy and free. When it’s firm, fold the top over and felt it to the rest of the stalk.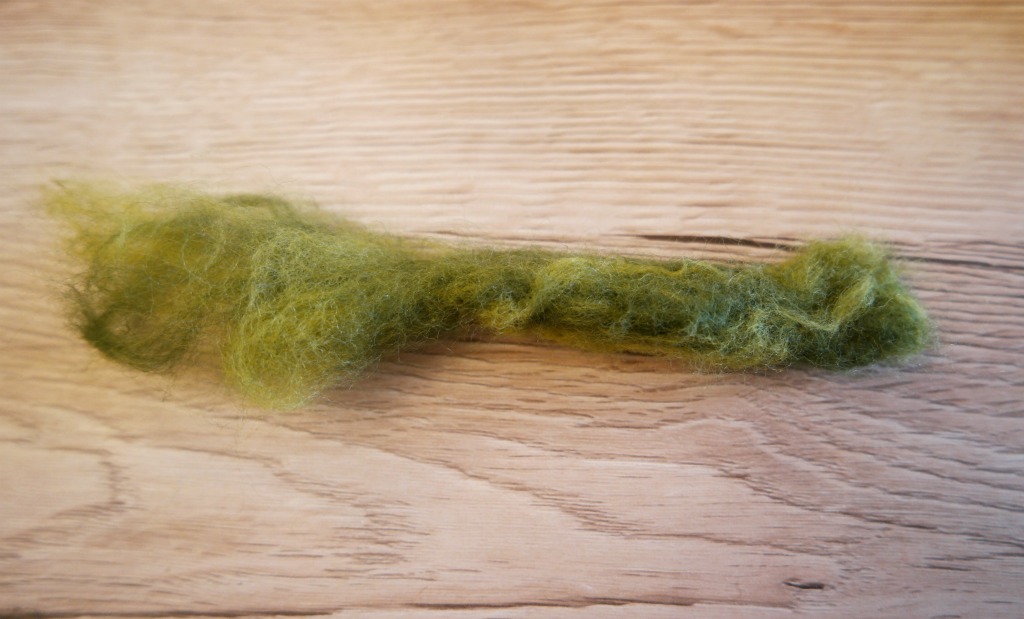
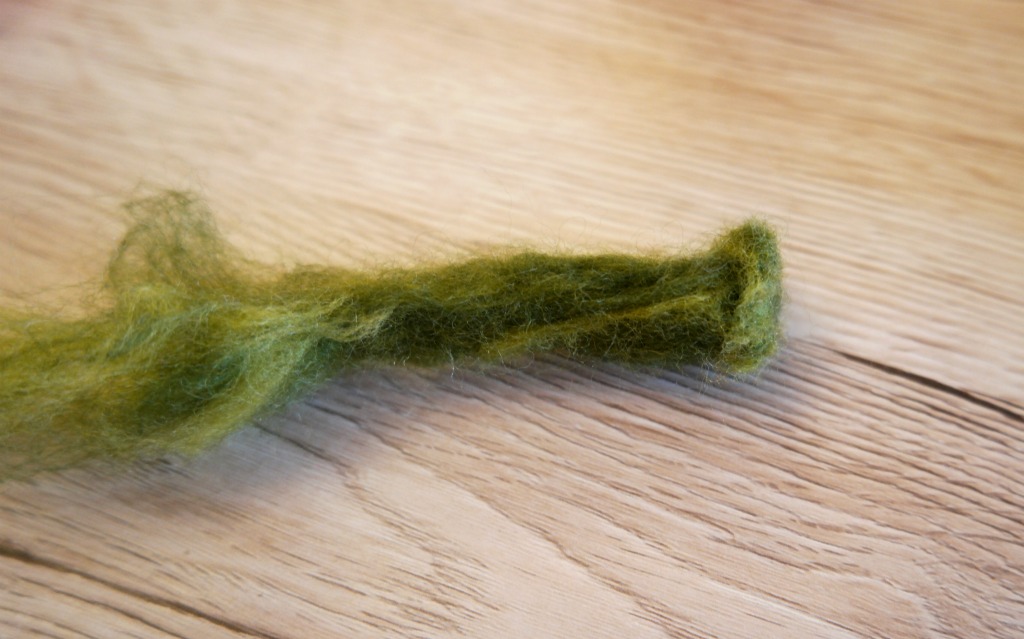
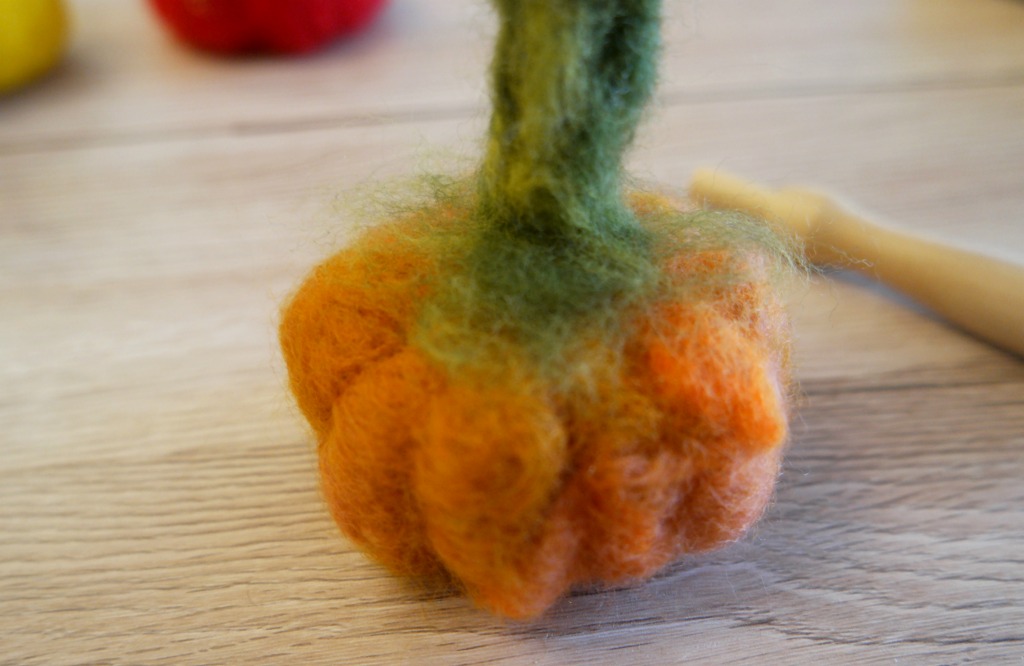
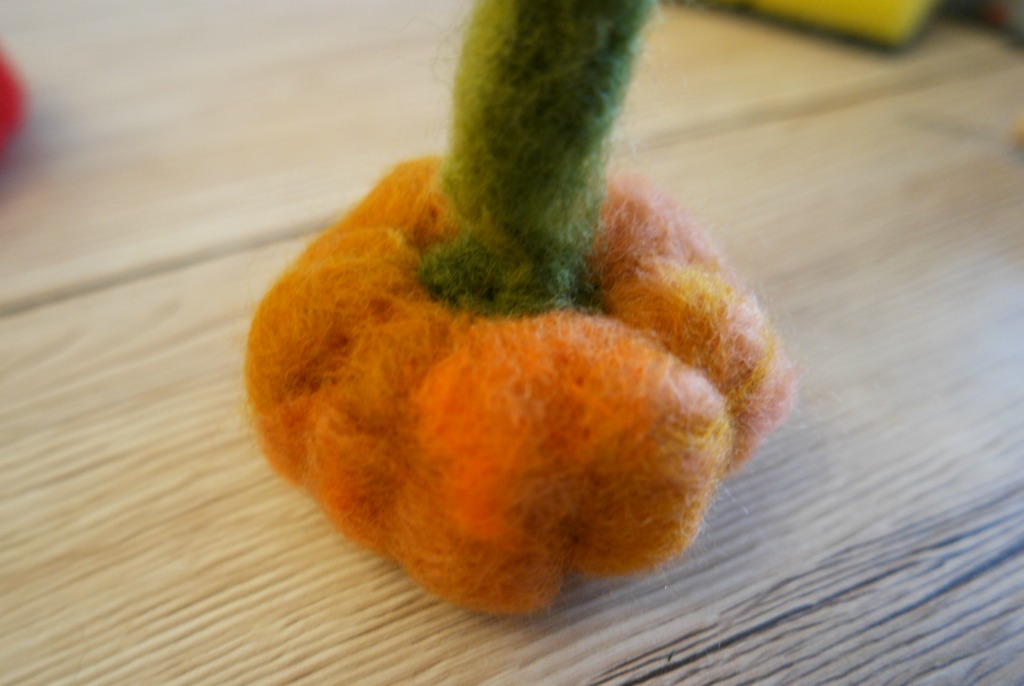
7. Take the fluffy end and spread the fibres out. Position the stalk on the top of the pumpkin and using the needle, felt the stalk to the pumpkin.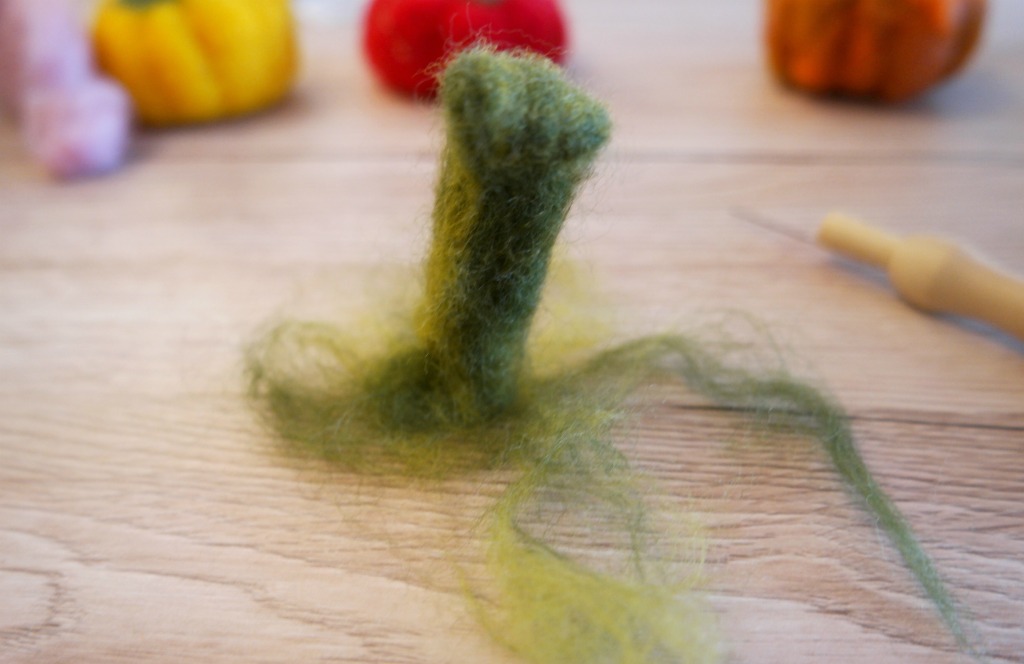
Tips
To mix colours, pull the fibres apart. Put them together and keep pulling until the colours are mixed.
You can add other fibres to the outside of the pumpkin once it starts to hold its shape. Just remember that the gold stuff and the silk fibres won’t felt, so you’ll have to put a tiny bit of roving over the top, then felt it.
Remember that the felting process makes stuff smaller!
Have fun! It doesn’t matter if the pumpkins aren’t a perfect shape, because the real ones aren’t either.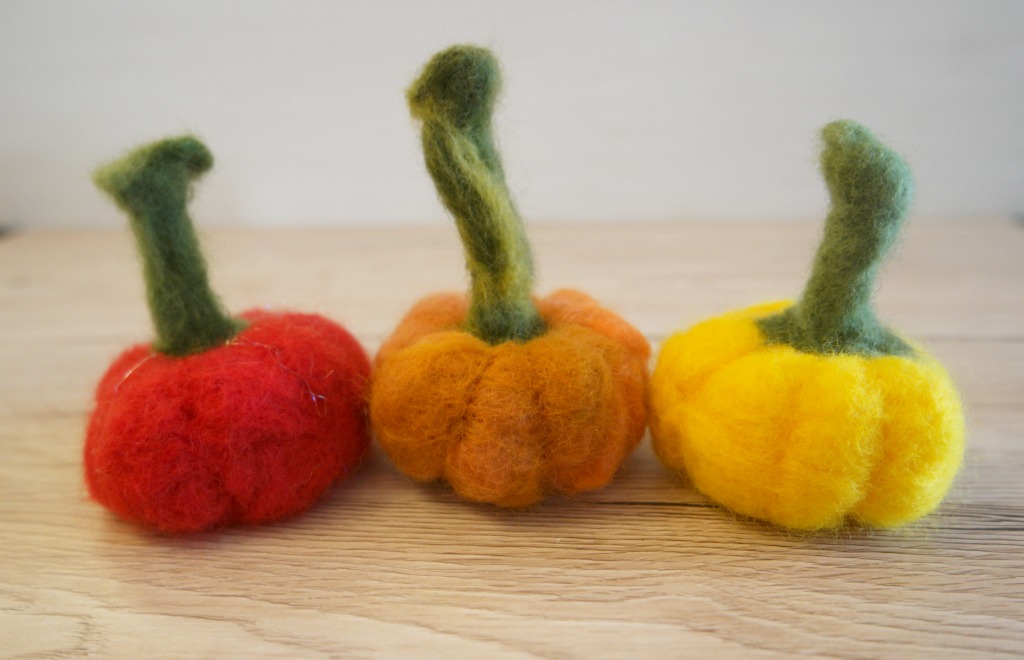



Very nice tutorial to start!
So sweet your Little pumkins and so colourful – I love wool for the cooler season as well, though never tried needle felting before. Thanks for the tutorial!
Thanks Hanna 🙂
So fun and you
make it sound
easy!
Carla from Utah
Thanks Carla! They are easy 🙂
This is so sweet! I adore this idea! I can imagine a mantlepiece full of them!
Thank you 🙂