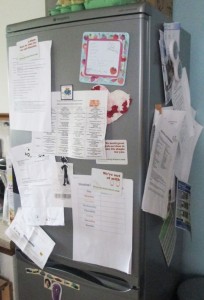
Every time the boys came home from school or an activity with a letter, it went on the fridge.
Every time we got a notice about bin collections or a dentist appointment or a money off voucher, it went on the fridge.
The fridge is a good place to put stuff because my boys drink gallons of milk and we drink gallons of tea, so somebody is always going to the fridge. Unfortunately, some of the magnets are not very strong and the stronger ones were usually holding up several bits of paper, so stuff would fly off every time we opened the fridge door.
I have seen some beautiful command centres on the internet, but they have been made by people who seem to have a lot more room than we do! I was especially inspired by this one at Renovar Design.
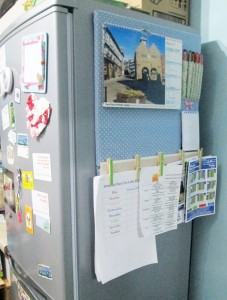
I don’t have room to make anything that big and I wanted to keep stuff on the fridge, so I decided to make a fridge notice board instead. Here it is!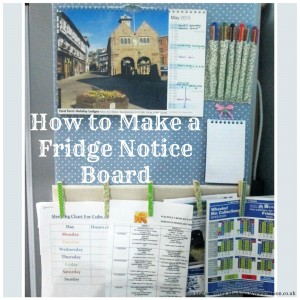
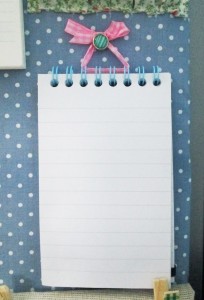
It has a calendar, pens and postits in elasticated pockets (underneath the bin notice!).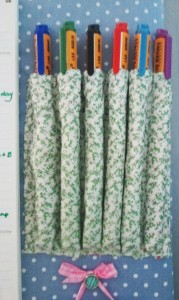 it will have a meal plan when I get round to it (that’s what the space is for!) and a shopping list pad.
 The pegs provide a place to put stuff from cubs and school.
I was going to use cardboard harvested from boxes, but in the end I spotted some cork noticeboards while I was out shopping so I used those instead.
I haven’t included a tutorial for the washi tape clothes pegs as they are so easy you don’t need one! All I did was stick a strip of washi tape to one side of the peg 🙂
How to Make a Fridge Notice Board
You will need: 2 cork pin boards, strong tape or wood glue, fabric, drawing pins or brads, cardboard, double sided tape, washi tape pegs, anything you want to put on your fridge notice board (calendar, pens etc) and some means to hang it up (I used picture hanging strips).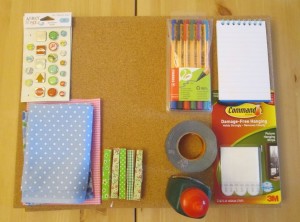
1. Consider what you would like to include on your fridge notice board and draw a plan. I didn’t bother with a scaled drawing, I just moved stuff about to fit. The drawing helps you to think about what you want to include and a vague layout.
2. The cork boards I used were quite small for what I wanted so I stuck 2 together. I had planned to use wood glue but the edges did not sit flush so I used gorilla tape instead.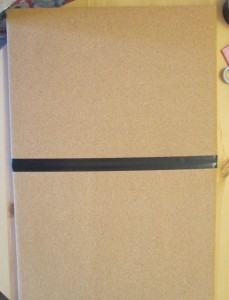
3. If you are using 2 different fabrics to cover the board, sew them together.
4. Place your fabric on the board. Check that your layout works. If it doesn’t, move things about until you have a layout you are happy with. Take a photo so that you remember it! Using pins mark where the corners or the pin board are.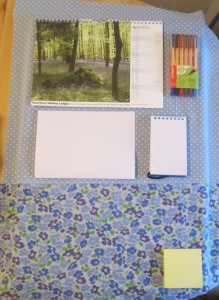
5. To make the bit where the pegs go, cut 2 pieces of card about 4 cm wide and as long as the notice board is wide. My strips were 40 cm x 4 cm. Stick the strips together. Cut a piece of fabric large enough to cover the strips. 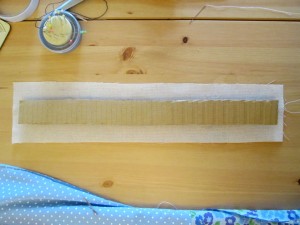 Sew the edges together on the back of the strips.
Decide where your pegs need to go and make 2 small holes about 2/3 of the way up with a darning needle. Take some strong thread and thread it through the one of the holes from the back. Thread it through the hinge of the clothes peg, then back through the cardboard. Do this a couple of times then tie the ends together.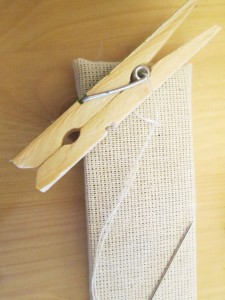
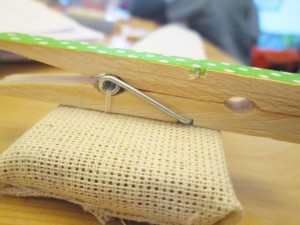 Repeat until you have attached all the pegs.
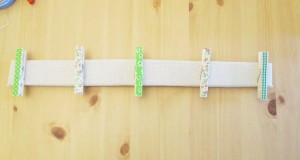
6. To make the pockets for the pens, decide how much fabric you need by laying out the pens and putting the fabric over them. Remember that the pockets are going to stick out the front and there will be no give in the back of the pocket, so the pockets you make will need to be big enough to accommodate the pens.
Using pins, mark on the fabric covering the board where the edges of the pockets will need to go. Having worked out how big the bits need to be, cut out two pieces of fabric, one for the outer and one for the lining. Sew them together, right sides together, along the long edges. Turn out and press. 
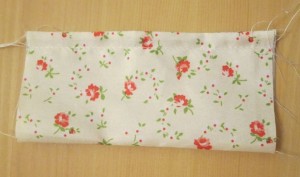 Sew the casing for the elastic along the top edge. Using a safety pin thread the elastic through the casing.
Find the half way point between the pins on the main fabric and fold the pen pocket piece in half. Pin in place then sew. 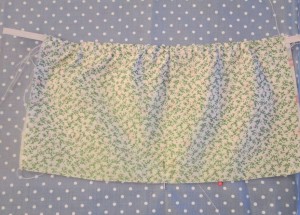 Tuck the edges of the sides underneath and pin in place.
 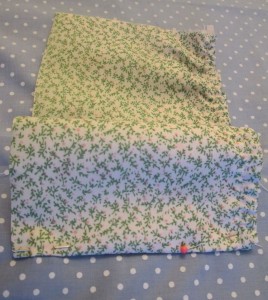 Divide up the remaining pocket piece and space and pin the pocket sections.
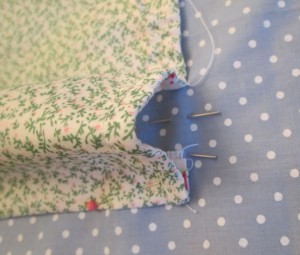
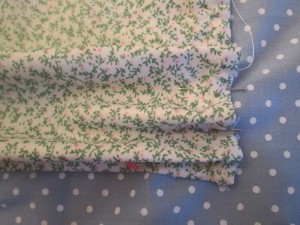 Sew, backstitching at the top of each pocket.
 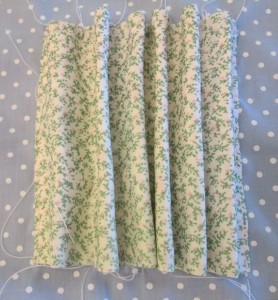 To sew the bottom of the pocket section, squish each pocket flat and sew across it.
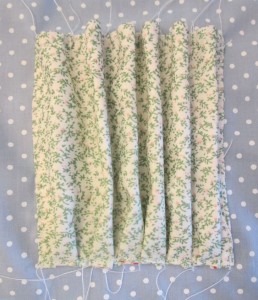
7. The post it pocket is made in a similar way to the pen pockets. Cut two pieces of fabric, one for the outer and one for the lining, big enough to accommodate the post its.
Mark on the main fabric where it needs to go. Sew the pieces of fabric together along the long edges, right sides together. Turn out and press.
Sew the casing for the elastic along the top edge. Thread the elastic through the casing using a safety pin.
Pin the sides of the pocket to the main fabric, tucking the raw edges underneath. Sew the edges in place. 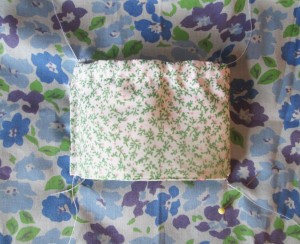 Squish the pocket flat and sew across the bottom.
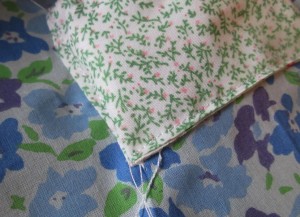
8. Hand sew the fabric covered cardboard peg piece to hide where the two bits of the main fabric are joined together.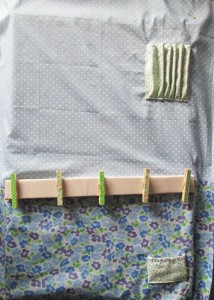
9. Put the main fabric back on the pin board, lining up the pins up marking the corners with the corners of the pin board. Fold the fabric over the corners and sew in place.  I used tape to hold the fabric at the sides too.
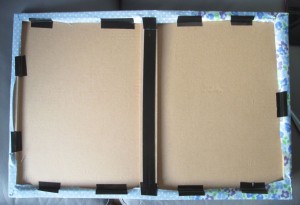
10. Position your calendar, shopping list pad and anything else that’s still loose on your board. Use ribbons and brads or pins to attach them to the board.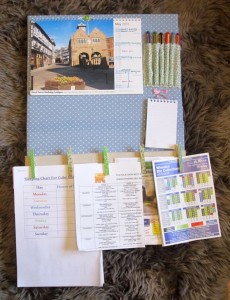
11. All that’s left to do now is sort through any mess on the fridge, add dates to the calendar and transfer bits of paper that need to be kept to the pegs. Using picture hanging strips, stick your fridge notice board to the fridge. Admire your handiwork. Get stuff out of the fridge and enjoy paper not falling off it!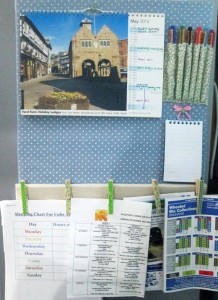


Thanks for sharing your tutorial @DearCreatives Inspiration Spotlight Party! Great idea for staying organized. Pinned & shared! Hope to see you again soon!
Thanks Theresa 🙂
Such a good idea! Looks amazing and really functional xx
Thanks!
Your old fridge is my fridge too!!! I’m stealing your brilliant idea, you make it look so simple so I’m going to have a go #MMWBH
Go for it Lianne!
Brilliant idea and so much tidier
Thank you!