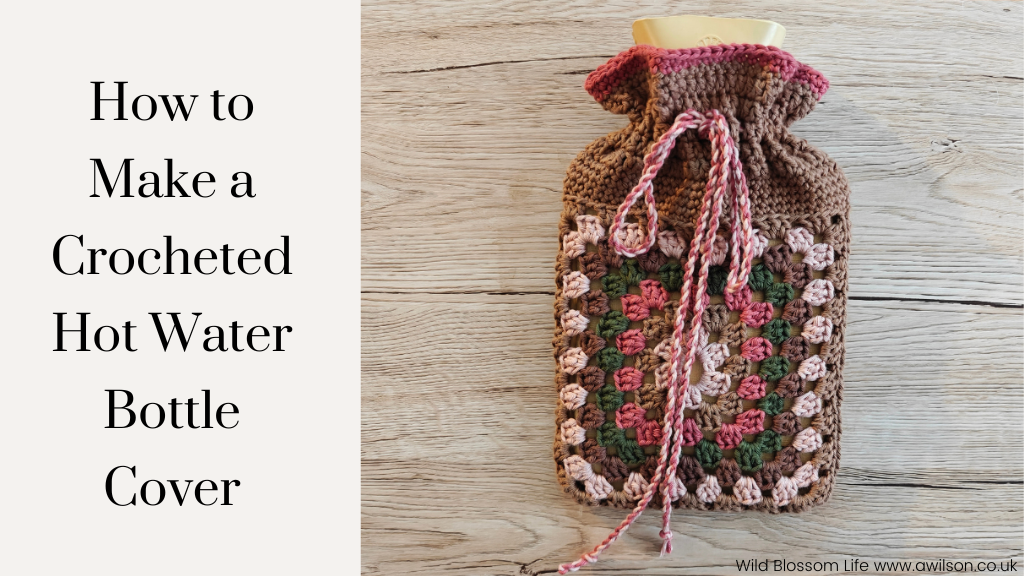
I often find that when the weather starts to get colder, I feel more inclined to woolly crafts. If it’s something larger, like a blanket, of course it has the added benefit of keeping my legs warm at the same time! But even smaller projects appeal as well.
Deciding which colours to use for a crochet project can be tricky, and even if you have an idea of the kinds of colours, it can be difficult finding combinations that look nice together.
The colours I have used for the hot water bottle cover are based on a colour scheme I made from a photograph.
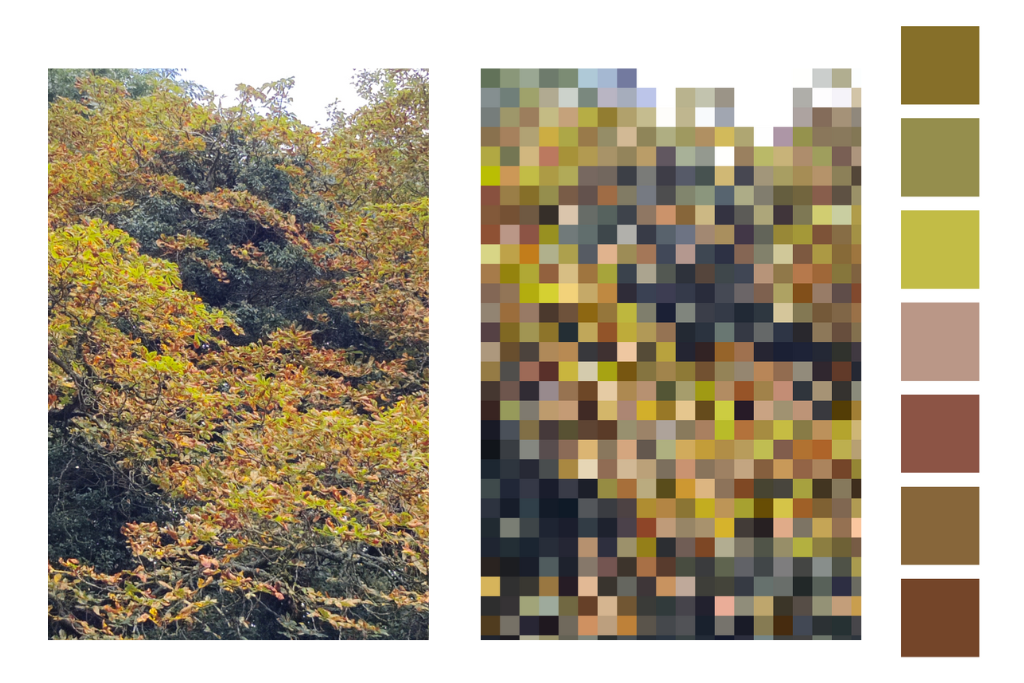
I chose this one because I like how it has pink in it. Pink is not a colour normally associated with autumn, but in this case it’s lovely with the muted browns and greens.
The yarn I ended up buying didn’t match the colours perfectly, but I think it’s ok. The colour scheme narrowed the options down enough that it was much easier to choose, and the overall effect is similar with the soft, muted pinks and browns. We will always be limited to what is actually available, even if there is a lot of choice!
The advantage of using a colour scheme from a photo is that the colours will work together. There are sites like Design Seeds that have dozens to choose from, but I encourage you to make your own colour schemes from photos you have taken. You don’t need to be a brilliant photographer, or have fancy equipment, or have training in graphic design. Your phone and computer are all you need!
The secret is to pixelate the photo first. Doing that makes it much easier to choose colours for a colour scheme. If you’d like more information about how to do this, I have a free mini course called Crafted Colours which shows how to make colour schemes from photos. You can find out more about it here.
Making granny squares is a nice thing to do if you want to put your colour scheme to use. The most obvious thing to do with finished granny squares is to turn them into a blanket. However, you need quite a lot of squares for even just a small blanket, and for those of us who are easily distracted, or get bored quite quickly, a blanket probably isn’t the best project for us.
Fortunately there are plenty of things you can make with just a few granny squares, and this crocheted hot water bottle cover is one of them!
I originally had the idea to make 2 granny squares, each big enough to cover the width of the hot water bottle. When I mentioned in an email newsletter that I was thinking of doing this, one person was kind enough to reply with the suggestion that I made a granny rectangle instead.
It hadn’t occurred to me that I even could make rectangles instead of squares, and it is the perfect solution! The granny rectangles are big enough to cover the main part of the hot water bottle, and I’ve lengthened them at the top with extra rounds of trebles and double crochet.
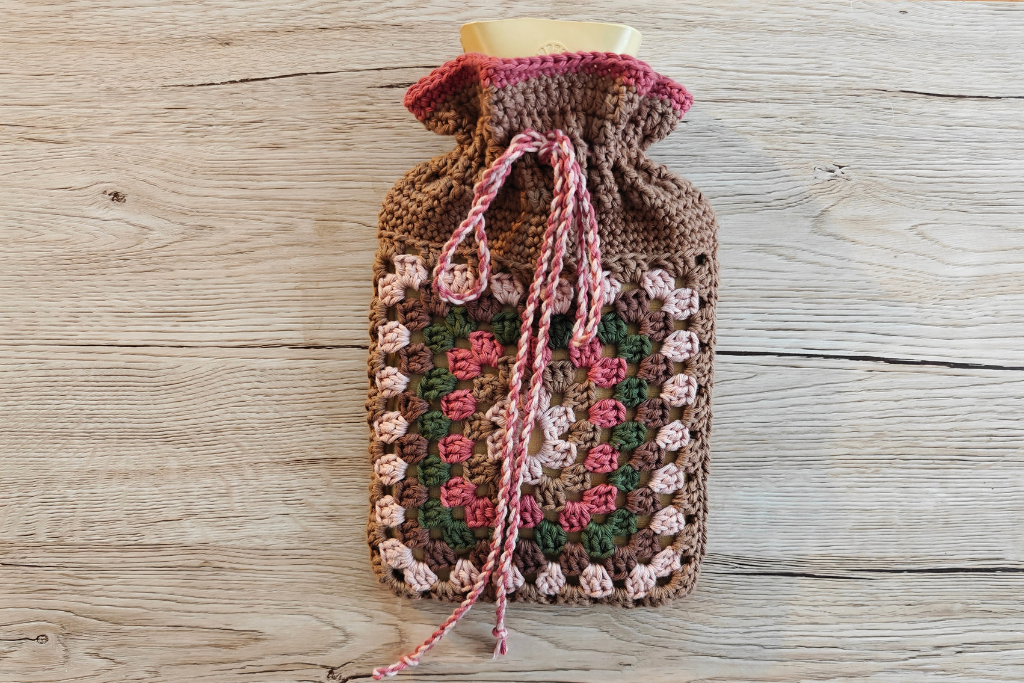
Instructions For the Granny Rectangle
It’s going to become clear in a minute why I have called them instructions and not a pattern! I find it easier sometimes to look at the bigger picture and do it that way, rather than get caught up in a pattern where it might not be entirely clear what is going on or what the outcome is supposed to be!
Granny squares start off with chains made into a loop, then 4 groups of 3 trebles (I’m using English crochet terms!).
To make a rectangle instead, I used 6 groups of 3 trebles. This meant that there was an extra group of trebles on the two long sides. So even if you decide to use a different number for your first round of trebles, you will need to start with 4, plus an even number so that you can add extra groups of trebles.
Whether you are making a granny square or a granny rectangle, it’s worth remembering that the corners are formed in the first round by linking 2 groups of trebles with 3 chains, and in the second and subsequent rounds by crocheting a group of trebles into the corner space, then making 3 chains, then another group of 3 trebles into the same space. Then all the other groups of trebles are joined with 1 chain.
There are pictures further down if you’re starting to get confused!
Once you’ve done the first round, it becomes much easier.
So for the first round:
8 ch; join with a ss.
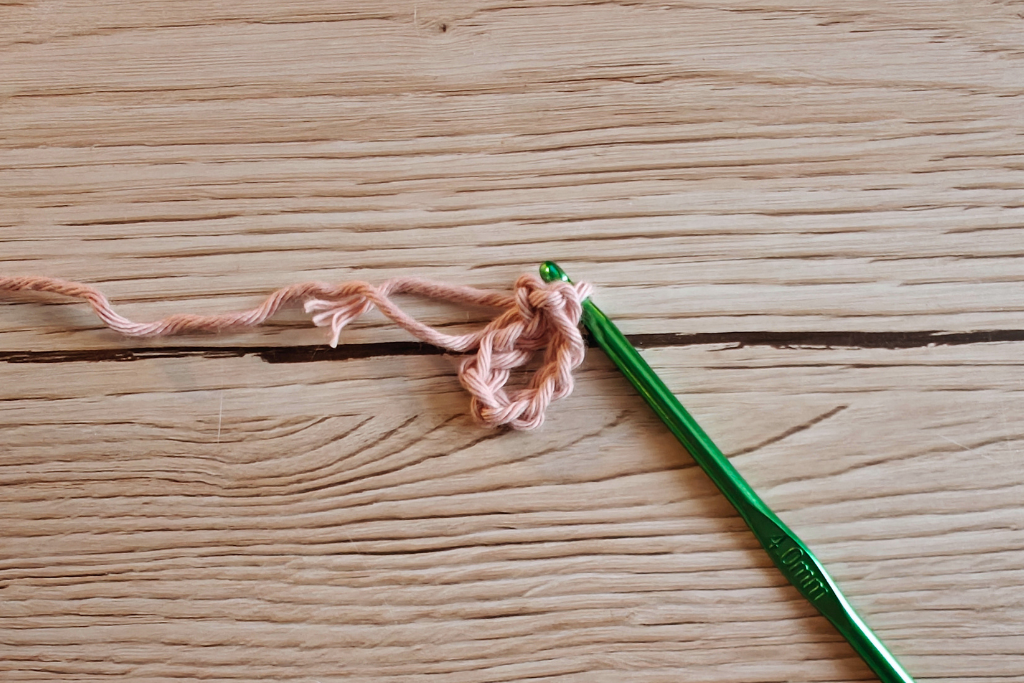

Into the loop made by the chains, 2 ch, 2 tr, 3ch, 3 tr, 3 ch, 3tr.
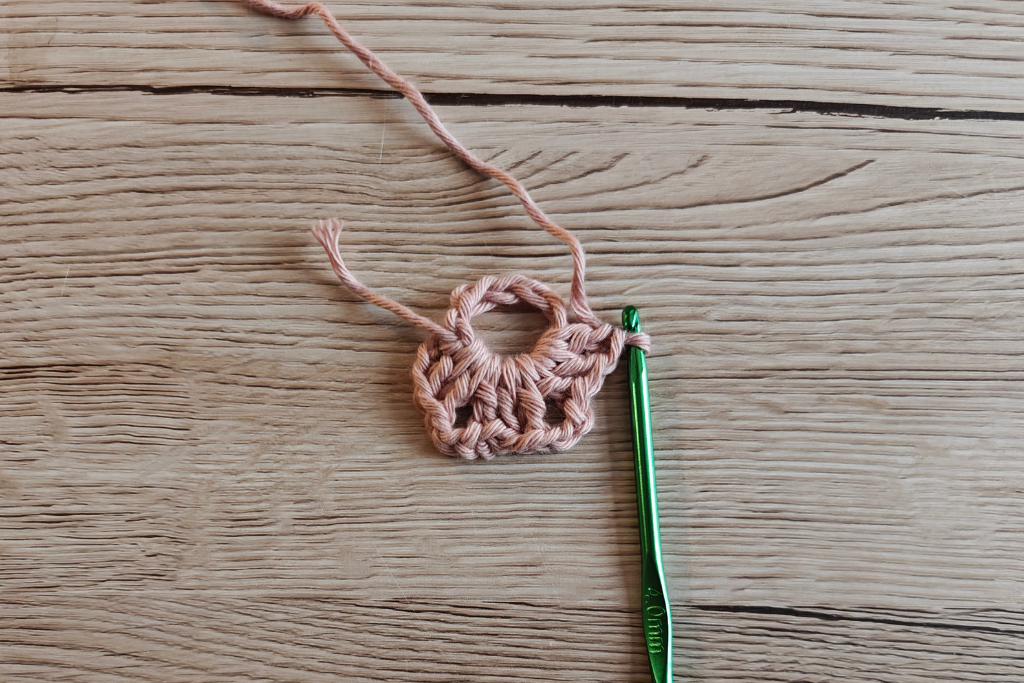

Then 1 ch, 3 tr.
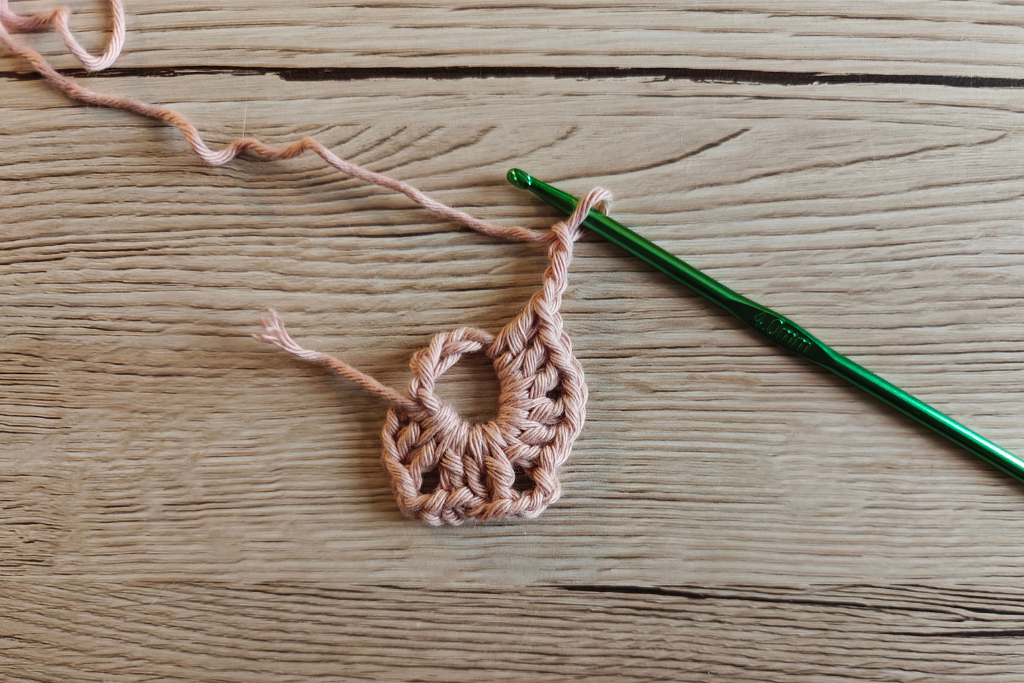

Then 3ch, 3 tr, 3 ch, 3 tr, 1 ch. Join to the first lot of tr with a ss.
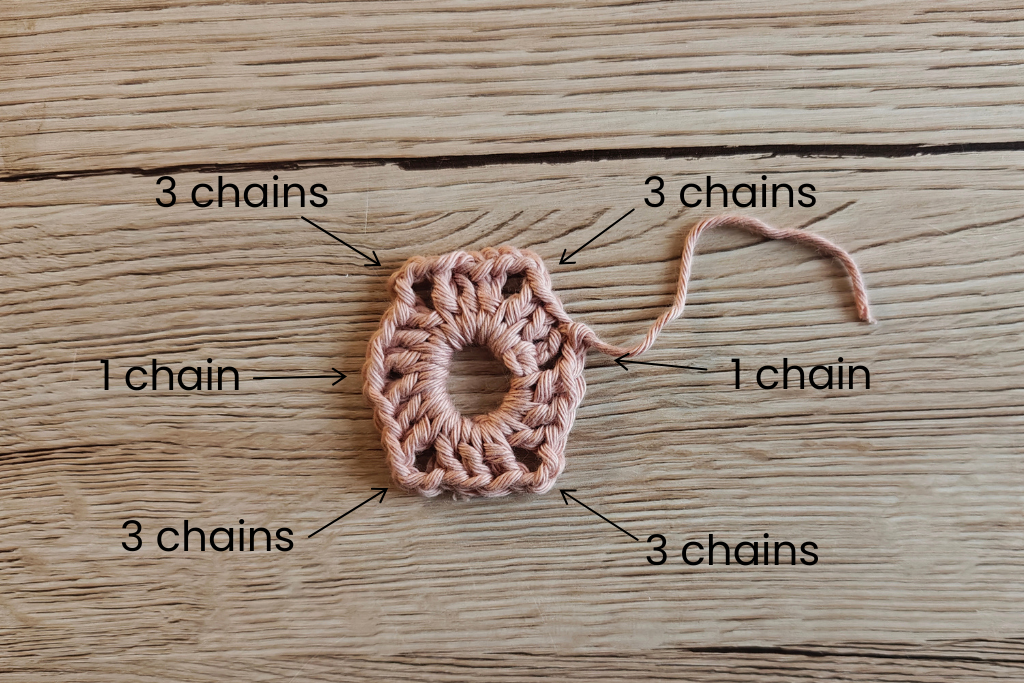

So what you should have now is a round of 6 lots of 3 trebles, in a vague rectangle. At what will be the short sides, there should be one lot of trebles, joined to the ones either side by 3 chains. On the long sides, there should be two lots of trebles joined by 1 chain.
Now it’s easy! Into the corners, crochet 2 lots of 3 trebles joined by 3 chains. Into all the other spaces, crochet 1 lot of 3 trebles, and join them to the next group with 1 chain.
When you’ve been all the way round, join it up with a slip stitch.
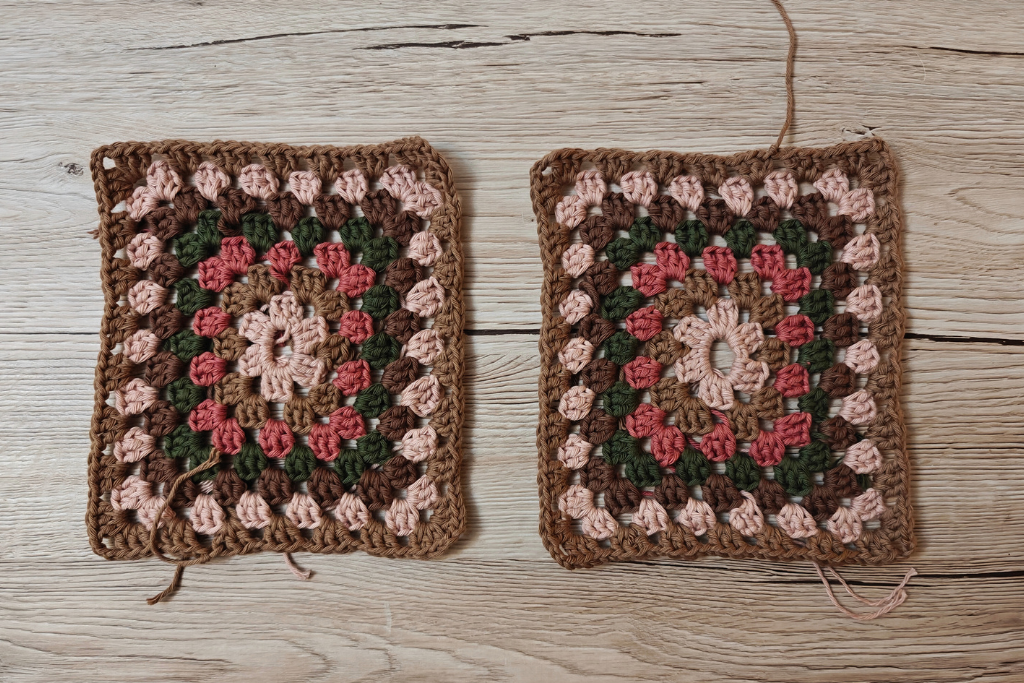
I forgot to take a photo of the second round! So here are the second and third rounds.
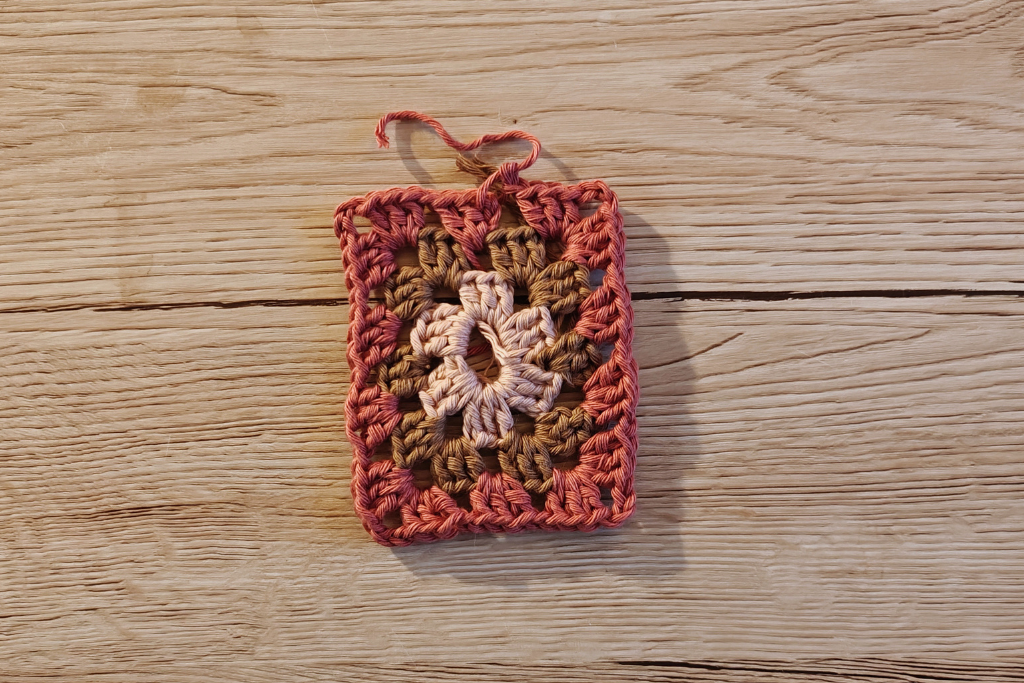

Keep going round in this way until your granny rectangle is big enough to cover the width of the hot water bottle. We’ll deal with the length in a minute!
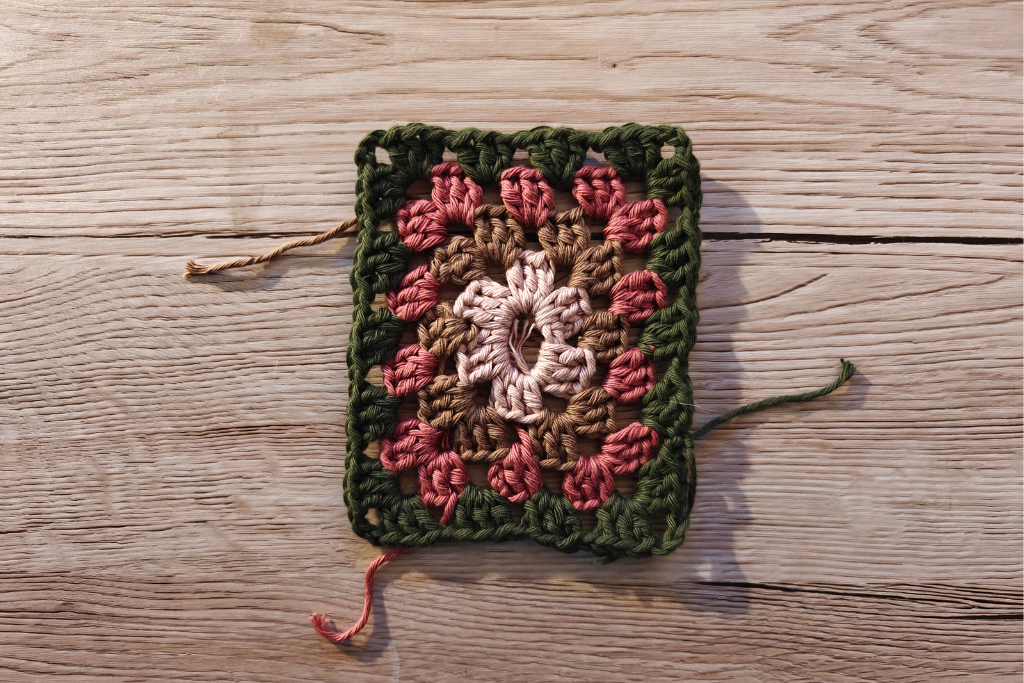

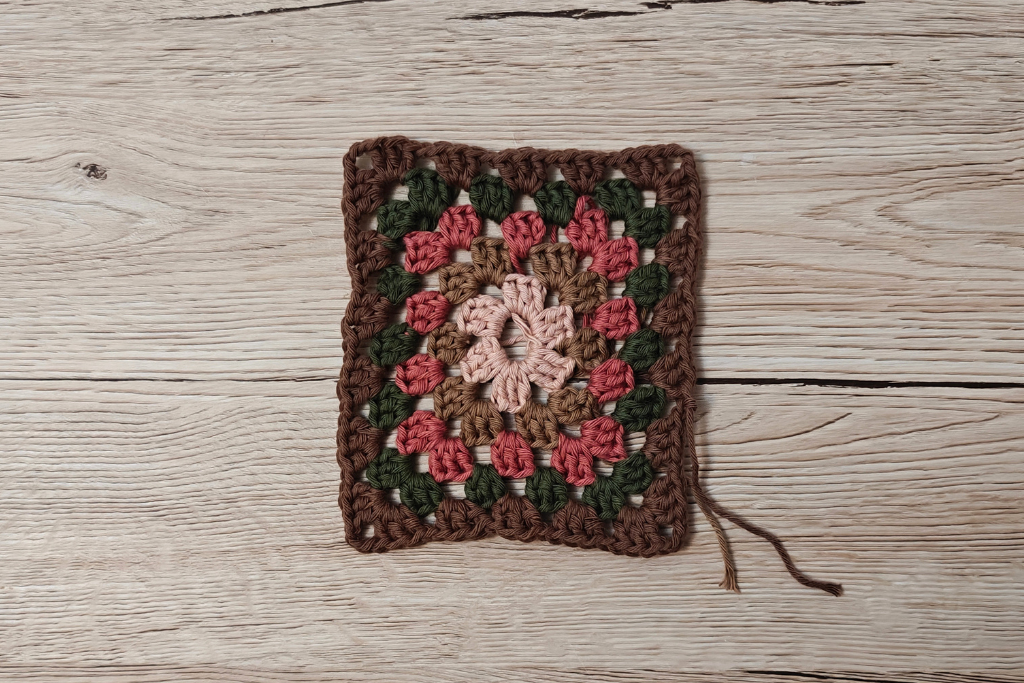

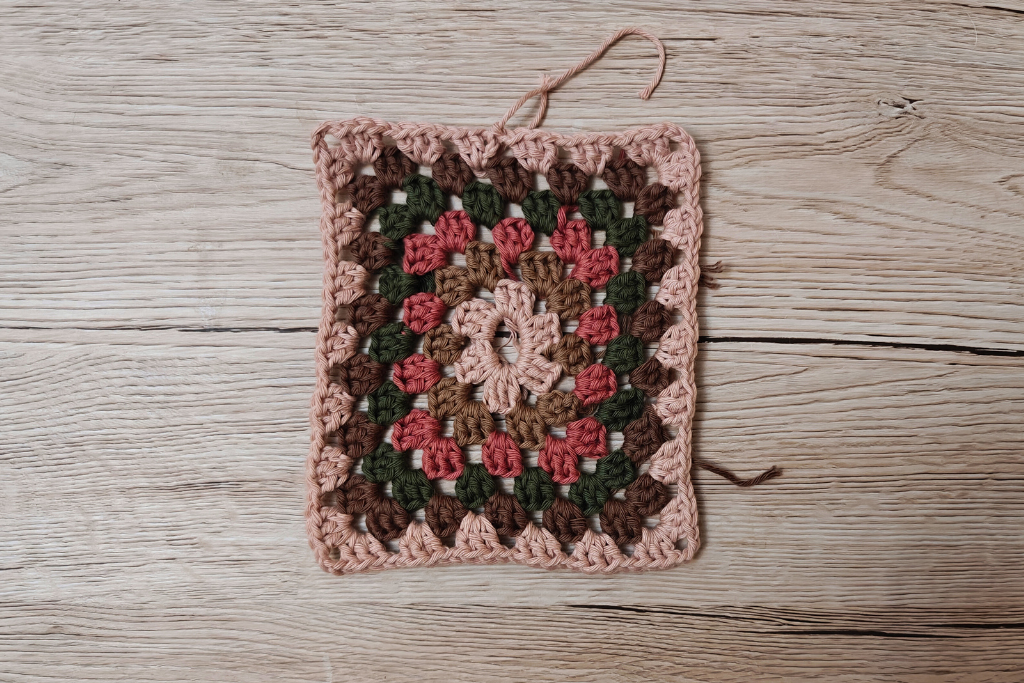

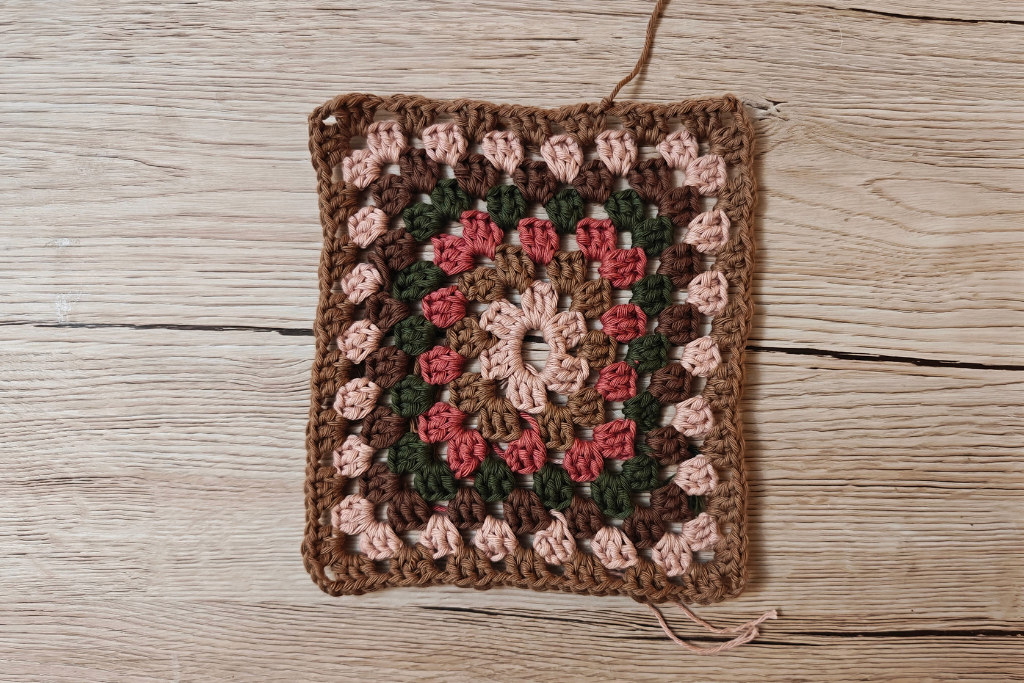

You’ll need to make two. A normal crochet pattern would tell you to make the same, but this is not a conventional pattern, so instead I’m going to tell you to do what you like! The same or different, it’s up to you.

Making the Granny Rectangle into a Hot Water Bottle Cover
Join the granny rectangles together along one of the short sides and two of the long sides.
If you don’t know how or you’ve forgotten, there is a tutorial here on Attic24. I used it myself because I couldn’t remember!
Your granny rectangles will now be like a little bag that you can pop your hot water bottle into, but it will probably need to be a bit longer.
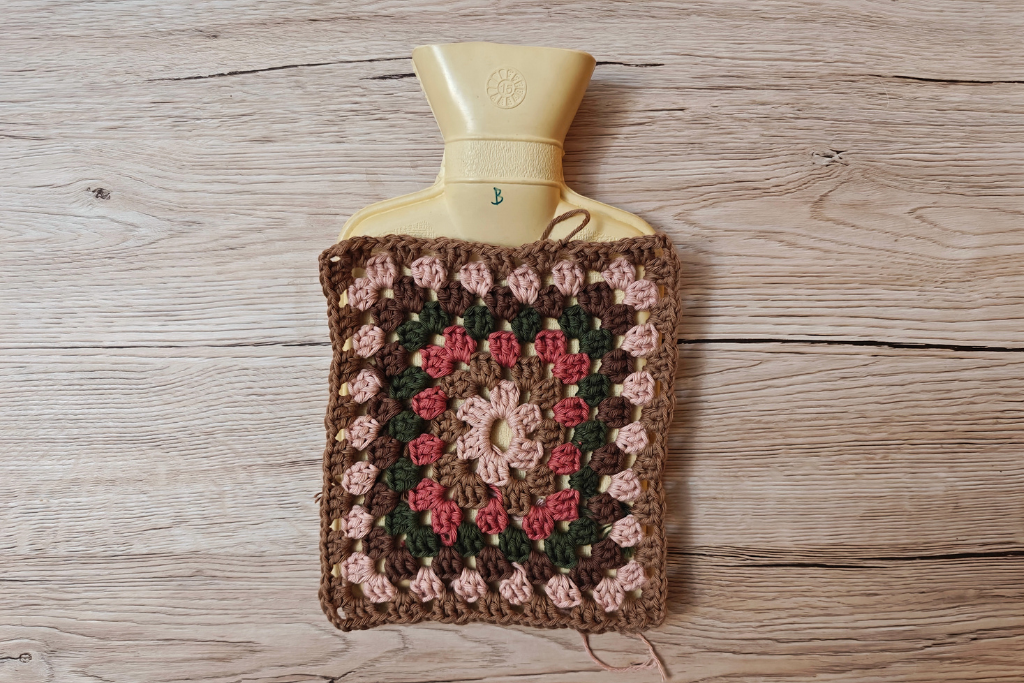

So join the yarn at one side, and keep crocheting rounds until it is long enough. I started off with double crochet, because I wanted a contrast with the trebles of the rectangles. I switched to trebles after 4 or 5 rounds because the gaps between the stitches would make it easier to thread a ribbon through to tie it round the neck of the hot water bottle.
After 5 rounds of trebles, I changed back to double crochet. I also changed colour because I ran out of light brown!
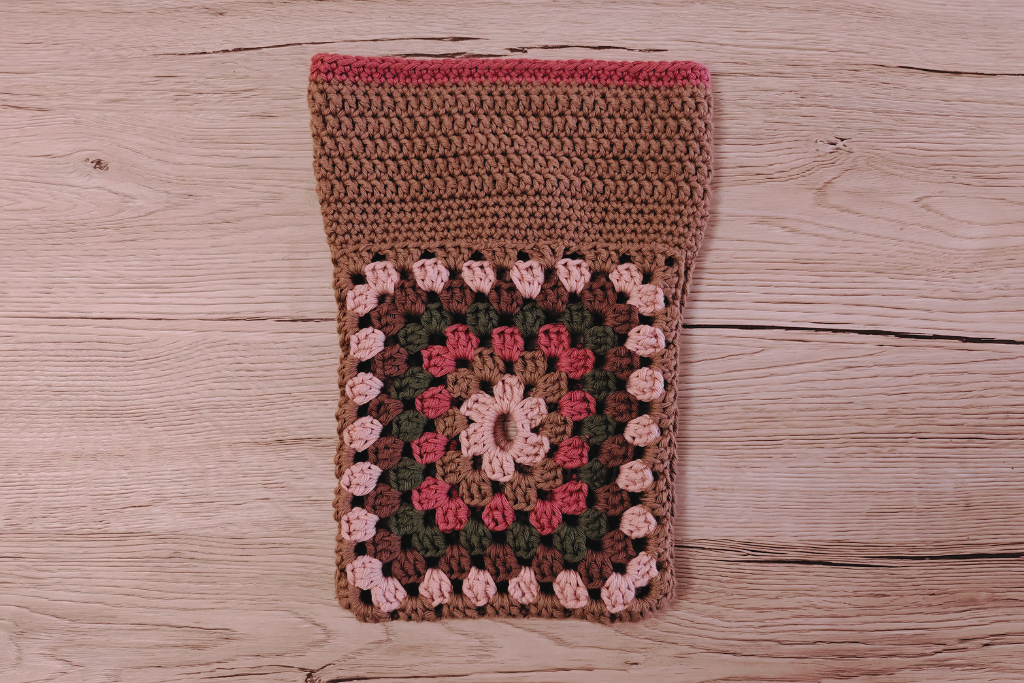

You can see that the section with the double crochet and the trebles gets wider, but it doesn’t matter very much as it’s not noticeable at all with the hot water bottle in it as the top is gathered by the cord.


I made the cord by twisting two strands of yarn together, then folding them in half so that they twist back around themselves. You could use whatever you like, perhaps ribbon, or you could thread some elastic through instead. Just thread it through the stitches, then you can pull it around the neck of the hot water bottle.


Leave a Reply