How To Line a Wooden Box With Fabric
I love a junk shop.
Ikea is fine, and it depends on what you’re looking for, but I love the idea of taking something that nobody wants and giving at a new lease of life. Even if it’s a bit tatty, it’s possible to completely transform an old piece of furniture just with a little bit of creativity.
I bought an old wooden box from a junk shop years ago, before we had the boys. It was tatty and stained, but I had plans to do something with it. In the end, I never got round to it and before too long it became home to junk.
As part of an ongoing effort to sort out the mess in my house (a battle I am not completely sure I’m winning!), I have dejunked the box so that it can be useful.
And now, 14 years after bringing the box into my home, I’ve now got round to transforming it into something nicer.
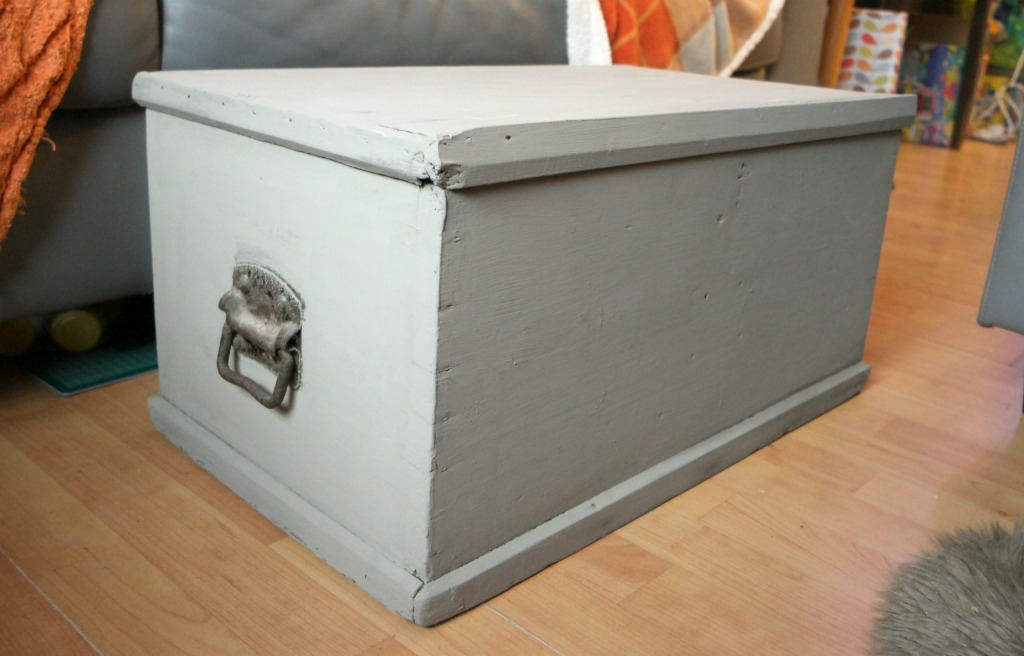
The first thing I did was paint it. For this I used Annie Sloan chalk paint in French Linen, which is a pretty shade of grey. I already had the paint as a little of this stuff goes a long way. It doesn’t need any kind of primer or undercoat, you can just slap it straight onto anything. Adding a layer of wax is recommended. I haven’t done that yet.
This is what I did if you want to line a wooden box! And please excuse the visible mess under the sofa :).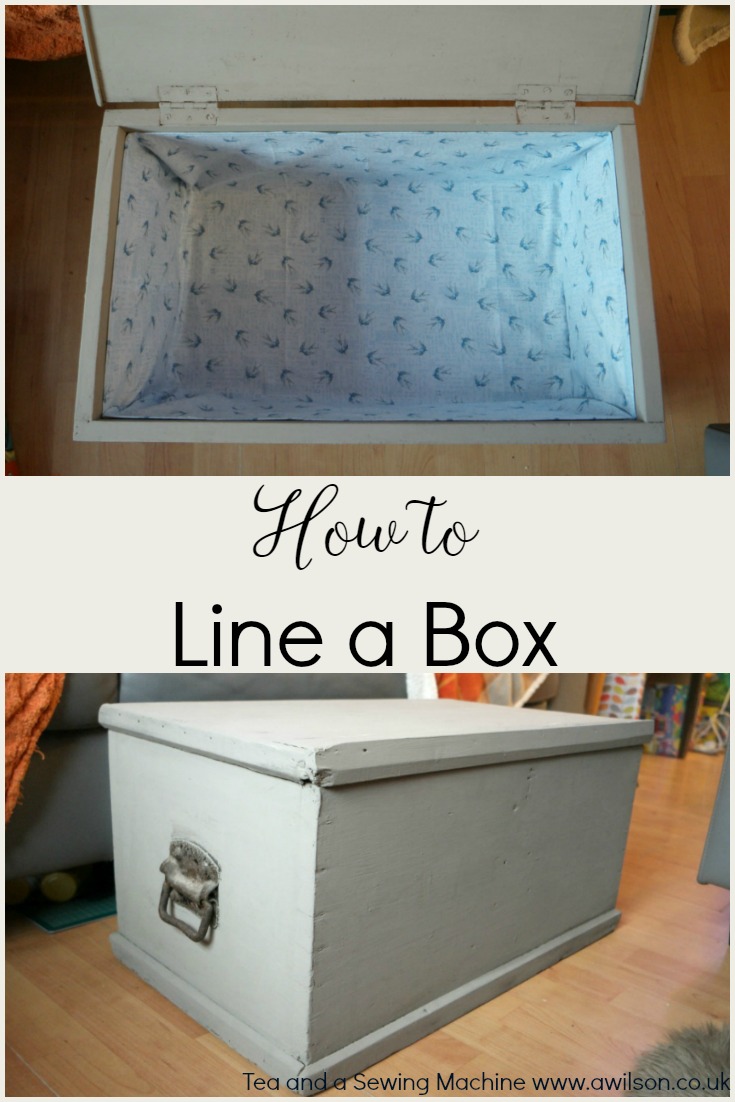
How To Line a Wooden Box With Fabric
You Will Need
Paint if you want it paint it, and a paint brush
Fabric (I used 1 m of cotton fabric)
A wall stapler. I used this one (affiliate link).
Usual sewing supplies
Instructions
1. Paint the outside of the box, the inside of the lid and around the top of the inside which will be visible. I did this in 2 stages, the outside first and then the inside.
2. Measure the box. You will need to know the width, breadth and depth. Make sure that you measure inside the box, especially if the sides are quite thick.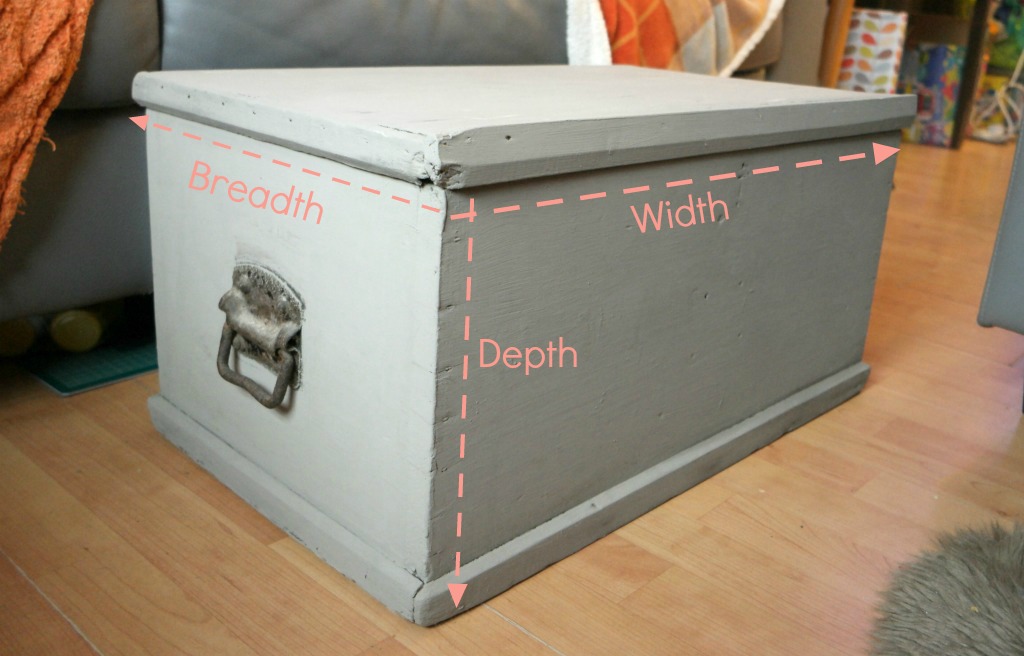
3. To work out the width of the fabric, add the width to the breadth, then add a couple of cm extra for the seam allowance. My box was 55 cm wide and and 31 cm broad, so the fabric needed to be 88 cm wide.
4. To calculate the length, multiply the depth by 2 and add it to the breadth. My box was 25 cm deep and 31 cm broad, so I needed the fabric to be 81 cm long.
If you are using a directional print, you will need to add another couple of cm, cut the fabric in half and turn one half round. Reattach the second half, so that when you look into the box the print will be the right way up on both sides.
5. Take your fabric and fold it in half so that the folded edge is at the bottom and the top edges are together. Sew along the sides.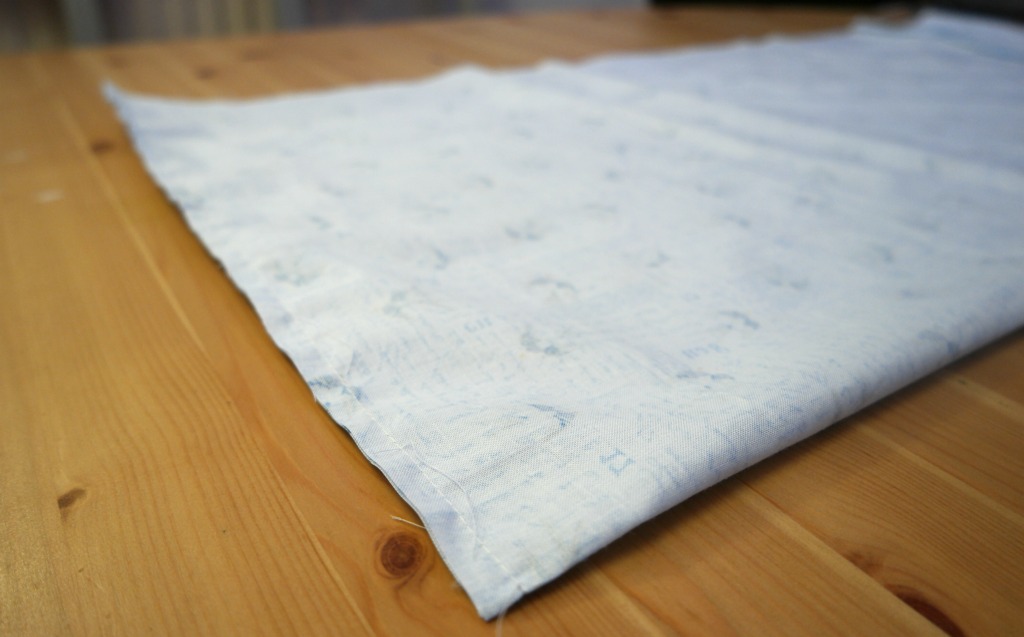
6. Squash one of the corners flat so that the side seam is next to where you folded it along the bottom. Measure up the seam from the corner half the distance of the breadth of the box. So for my, the breadth of my box was 31 cm, so I measured up 15.5 cm. Pin.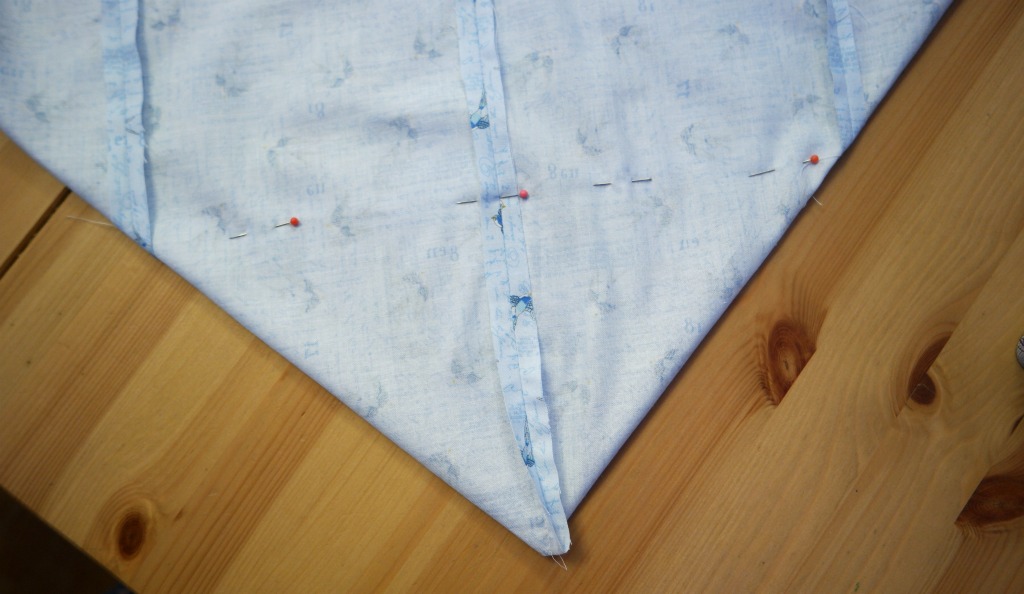
7. Sew across the corner at right angles to the seam. Cut the corner off. Repeat for the other corner.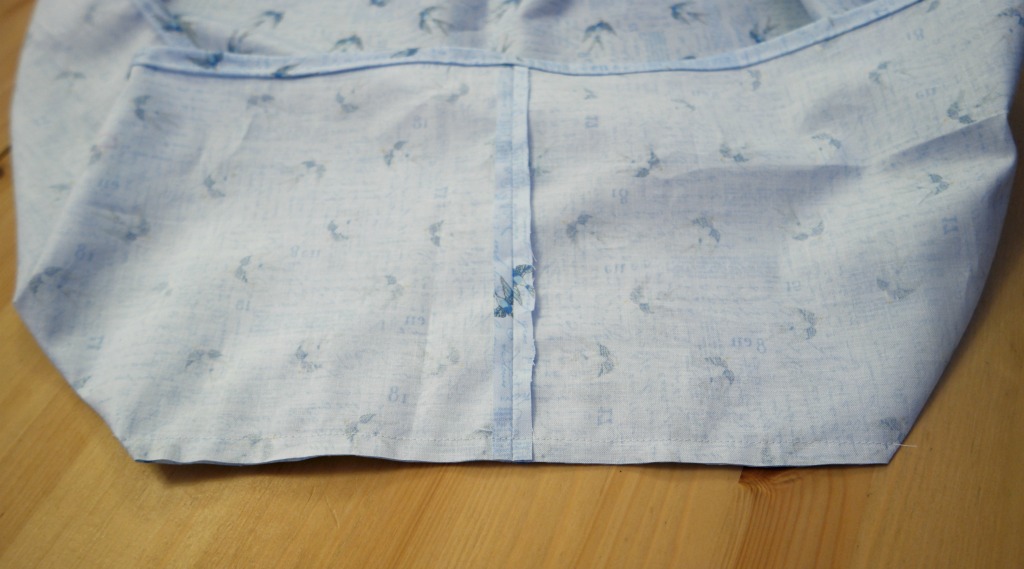
8. Hem all around the top edge. I made a folded hem as the fabric didn’t fray very much but I wanted it to look neat.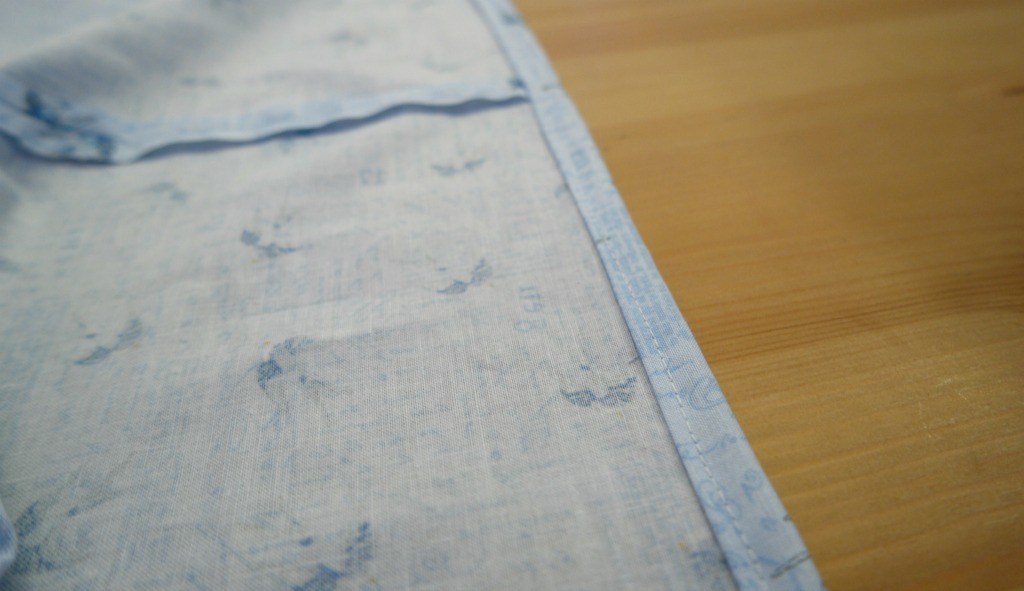
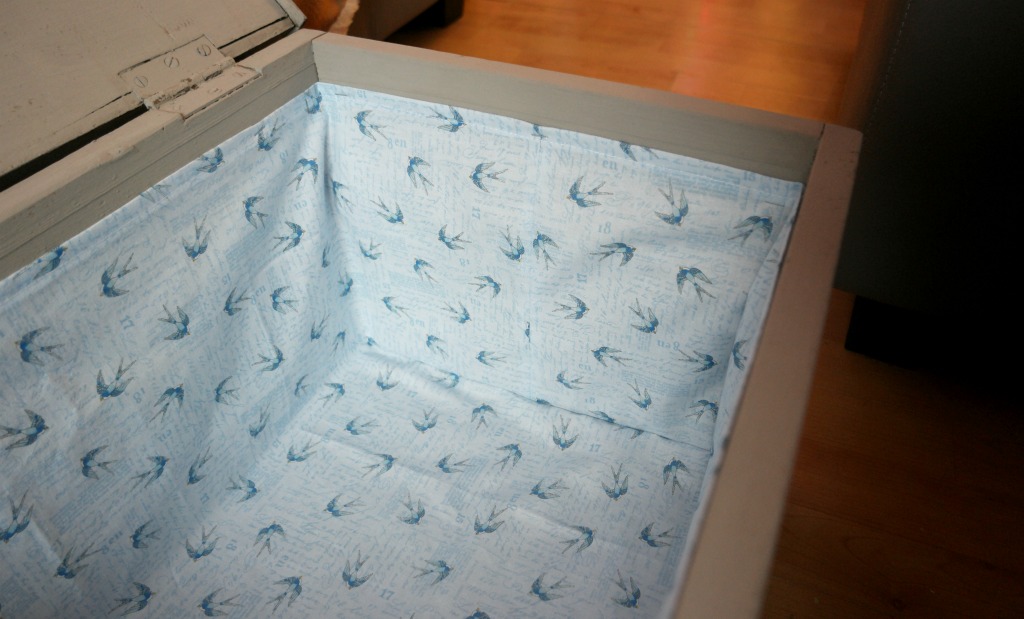
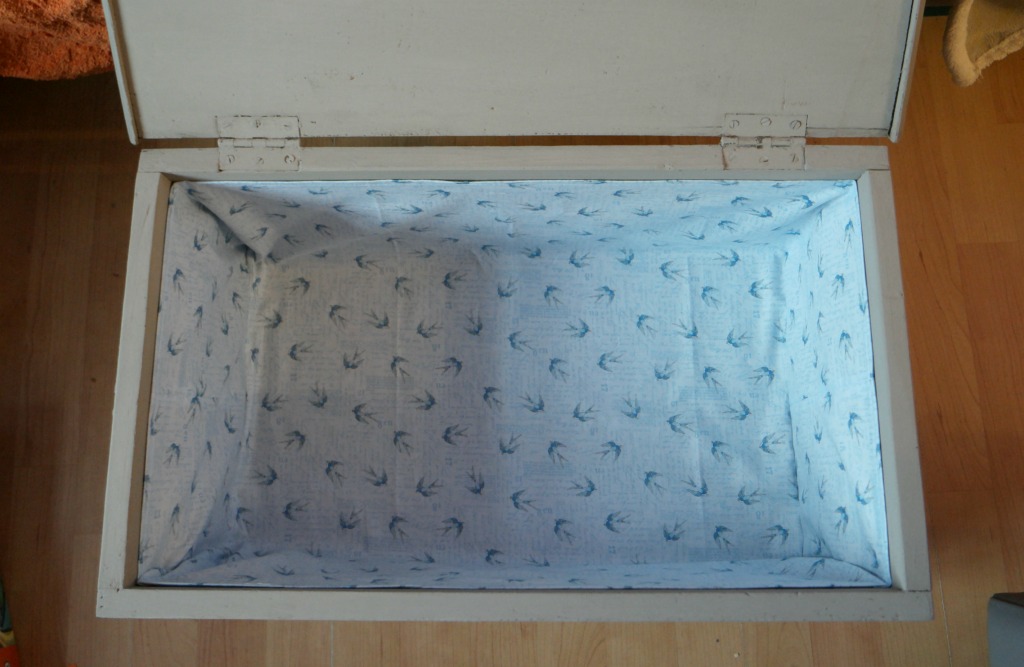
9. Pop the lining inside the box so that the wrong side is next to the inside of the box. Push the corners of the lining into the lining of the box. Starting at one corner, staple the lining to the inside of the box.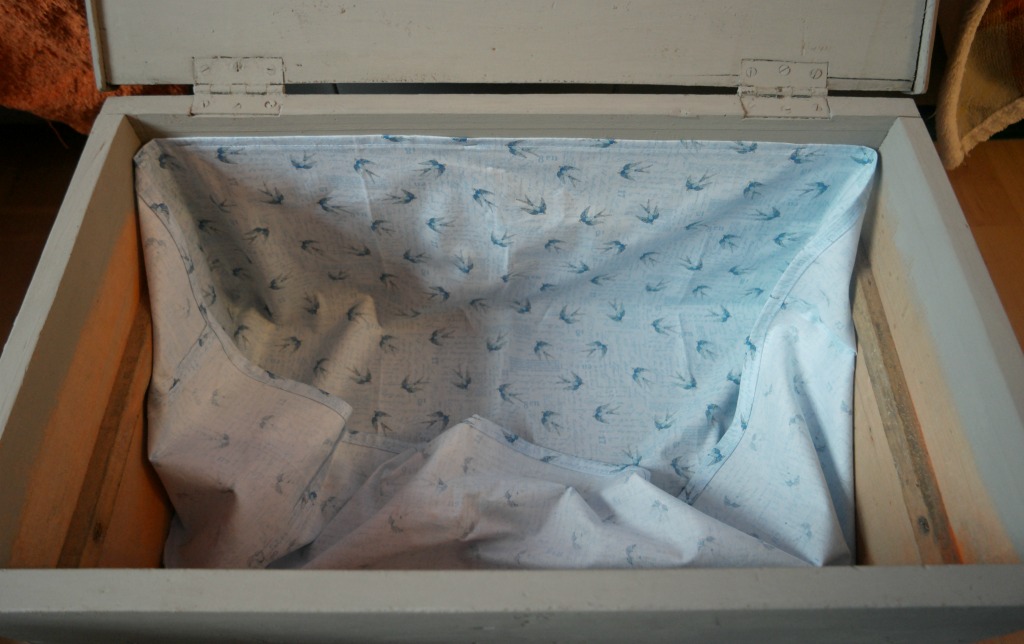
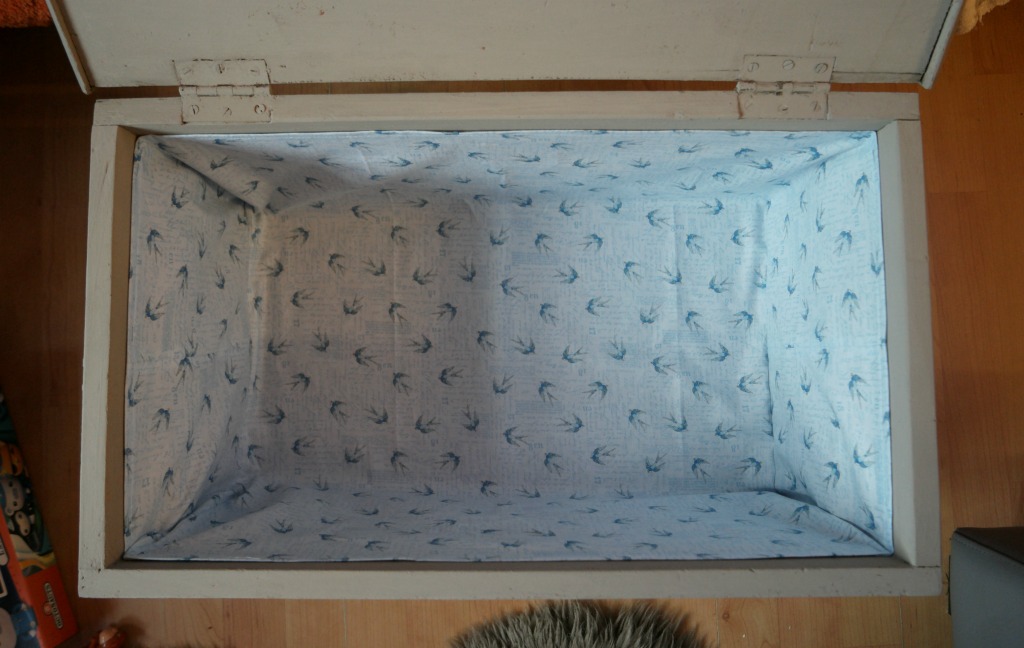
I’m so happy with how pretty my tatty old box looks now! It was a pretty quick project, even with painting it.
Linking up here.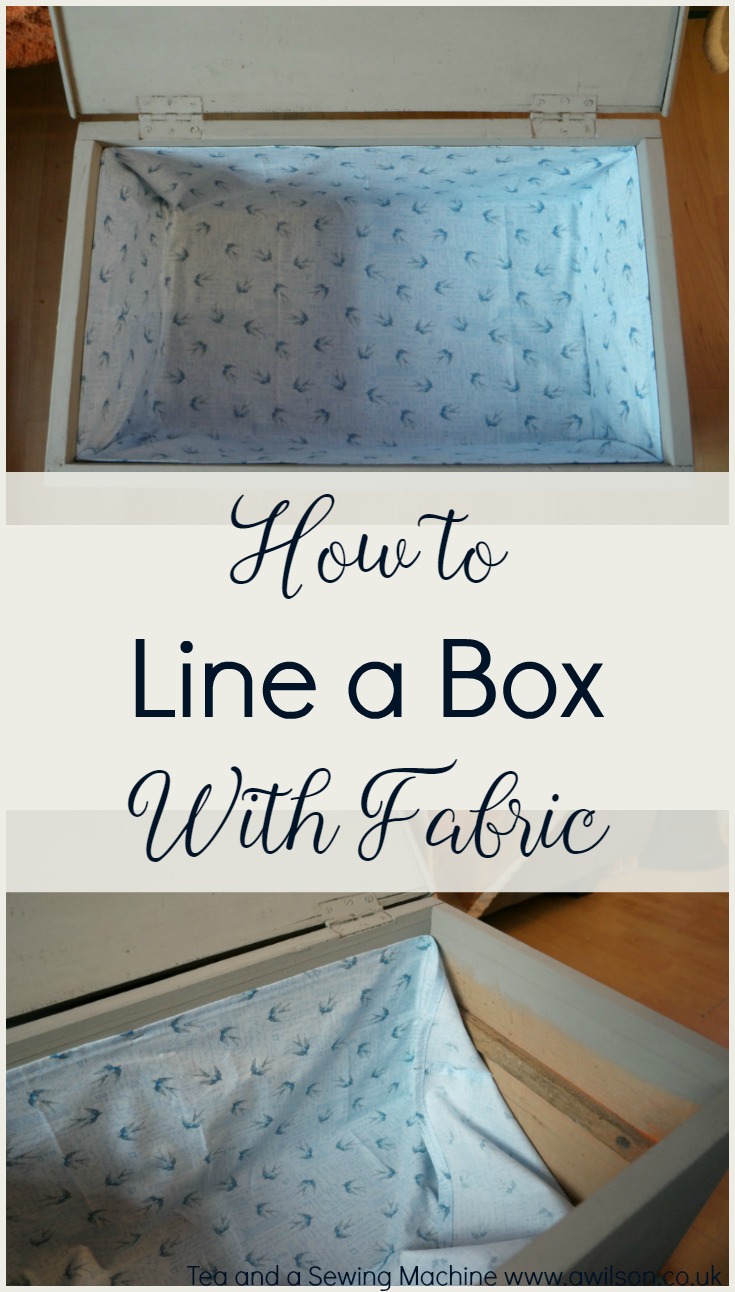


That’s not just a tatty old box, that looks like an old woodworker’s tool chest! The ribs on the sides were for drawers to slide back and forth on, and the whole thing was brought between jobs on a wagon.
Great tutorial, with lots of photos – thats the kind of tutorial I like!
I am tempted to try chalk paint but have not been brave enough yet. I like the idea of no undercoat needed !
Julie recently posted…Recycled Plastic Valentine Hearts
I love it, I wouldn’t use normal wood paint now 🙂
Lovely idea and a great tutorial
Hi Anna, I too am in Norfolk; edge of small town, not quite rural, but consider myself a rural gal at heart! Love the box idea – got my eye on a tatty box in hubby’s garage (ssshh … don’t tell him!) which would look great upcycled in this way. I had the thought that you could pop some wadding behind the fabric if the box is a bit rough – how professional would that look?!! Looking forward to seeing more of your projects. I am a novice stitcher – had a Mum who hated sewing, so didn’t learn at her knee!
Hi Shirley, using wadding is a great idea :). I grew up in London so the edge of a small town counts as rural 🙂
looks nice. the trouble is I just keep filling boxes and then I don’t know what I have put where.

Brenda Cupryna recently posted…Socks
I have hoarder tendencies and stuff takes over, so I’m forcing myself to be organised and get rid of stuff so that it’s easier to keep track!