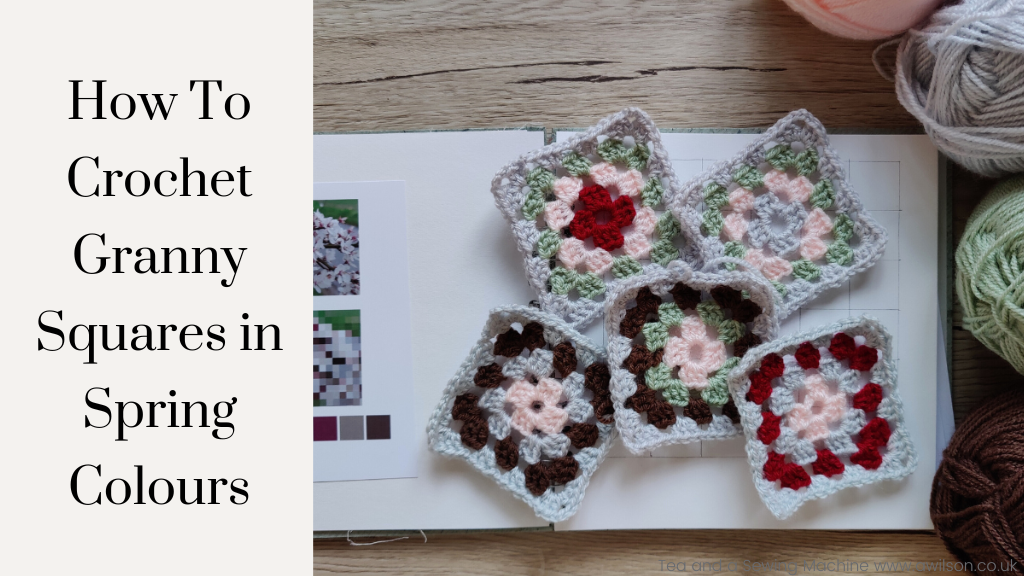
One of my favourite things to do at the moment is to make colours schemes from photos that I’ve then while I’ve been out.
Where I live is beautiful. And although there is a lot to be said for just enjoying what is there in front of us, in the moment and for its own sake, sometimes I want to take a photo because I want to remember it.
I don’t have have an especially good visual memory. I can improve things if I make a point of remembering. But my memory seems to work best at recalling conversations from 25 years ago, and snippets of tunes, but not much else.
As well as aiding our memories, and helping us to hang on to something for a little bit longer, photos can also be useful in drawing our attention to things we might not have noticed.
It’s nice to think I could just go outside on a brisk spring morning and come back with a head full of pretty colours, all ready to matched to thread, yarn and fabric.
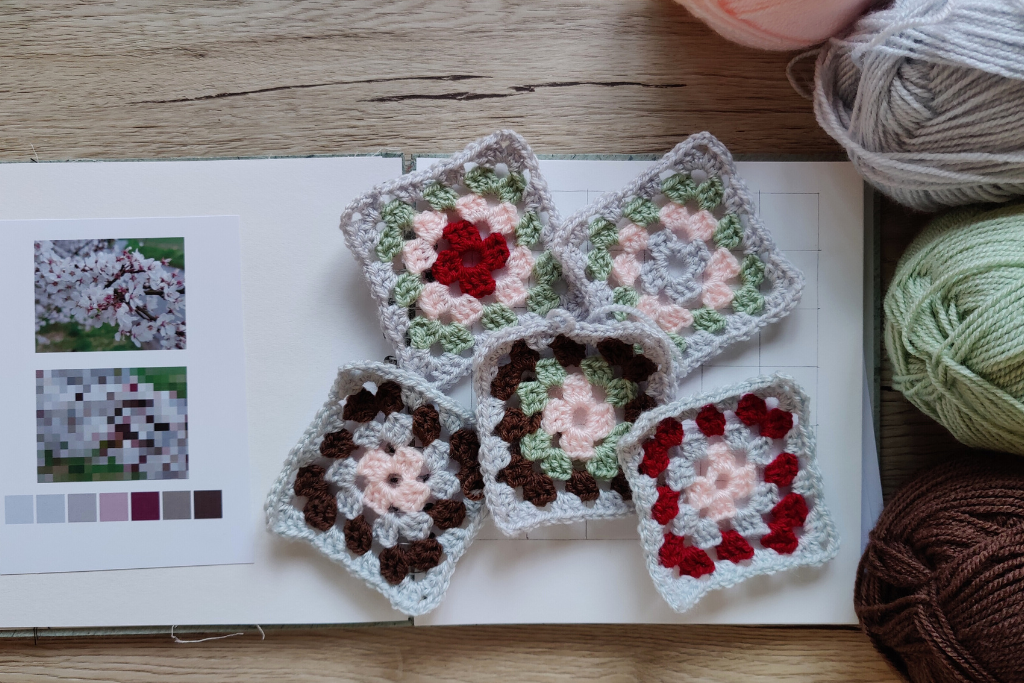
Unfortunately, it doesn’t work like that! But thankfully, technology can help. It’s easy enough to take a photo with my phone, pixelate it, then choose some colours from the pixelated photo. I’ve written about this before.
I want to say at this point that it’s fine just to make a colour scheme, then save it for another time. It’s a creative endeavour in its own right. Not everything has to end in a big, finished project.
But if you are looking for a project for your colour scheme, crocheting some granny squares is a nice thing to do. For matching yarn to the colours you’ve chosen, Paintbox yarns are good. There is a huge range of colours, so you’ll probably be able to get close matches. It’s also nice to work with as it’s beautifully soft. Otherwise, it could be a lovely way to spend some time in your favourite yarn shop!
If Perfectionism Sneaks Up on You…
Perfectionism can be a real problem, in all sorts of ways, not just in creative projects. I’ve written a post about it here. Making granny squares is probably less likely
to induce the kind of paralysis that perfection so often does, but there are 3 things to watch out for.
1. Matching colours perfectly. It’s unlikely that even the Paintbox yarns will be a perfect match. With mine, the best pink was out of stock so I chose another one. The green I used was from a different photo. So allow for colours that are close enough. You could consider it to be a kind of poetic license!
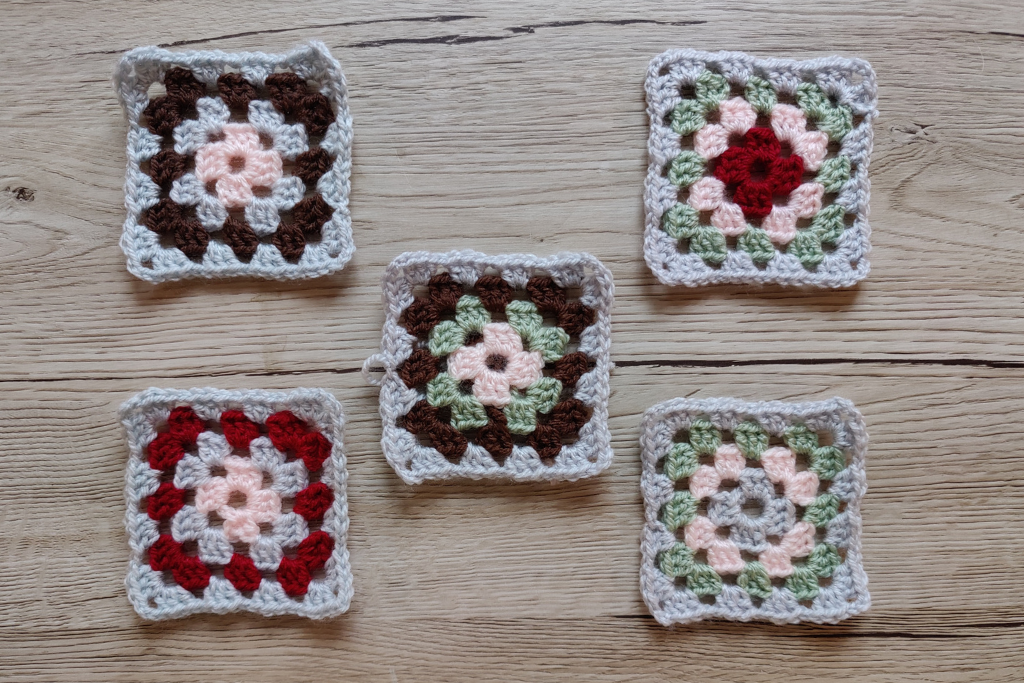
2. What colours to use. Honestly, in the past, this kind of decision has prevented me from even starting! One way round it is to get a few colours, perhaps 6. The granny squares I made them only need 4 at the most, so having 6 allows for some experimentation. And treating it as an experiment helps to let go of the perfectionism at least a bit. So you can try different colours and see what you like. The advantage of using a colour scheme is that colours will all look nice together, so whichever colours you choose they probably work.
3. What to make the granny squares into. If, like me, you’re the kind of person who starts things but isn’t so good at finishing them, you might have some feelings of shame or guilt about squares you’re made in the past but not used. There are two ways you can address this.
The first is to make the squares and have that as the purpose of what you are doing. You could perhaps plan to turn to them into something when you have enough, not just from this but perhaps other granny squares, or even things you’ve knitted or sewn, but for the moment, you are making granny squares, not a massive blanket that you know you won’t ever finish.
The second is to consider making a few squares, and then seeing how many you have when your interest starts to wane. 2 squares would be enough for a purse. 4 would make wrist warmers. 16 would could cover 1 side of a cushion you could do something else for the back).
And Now For the Pattern!
As I am English, I have used British crocheting terms.
1st round: 6 oh; join with a ss.
2 ch, then 2 tr into ring. 3 ch, then *3 tr into ring, 3 ch* 3 times. If you want to change to a different colour, tie off the yarn.
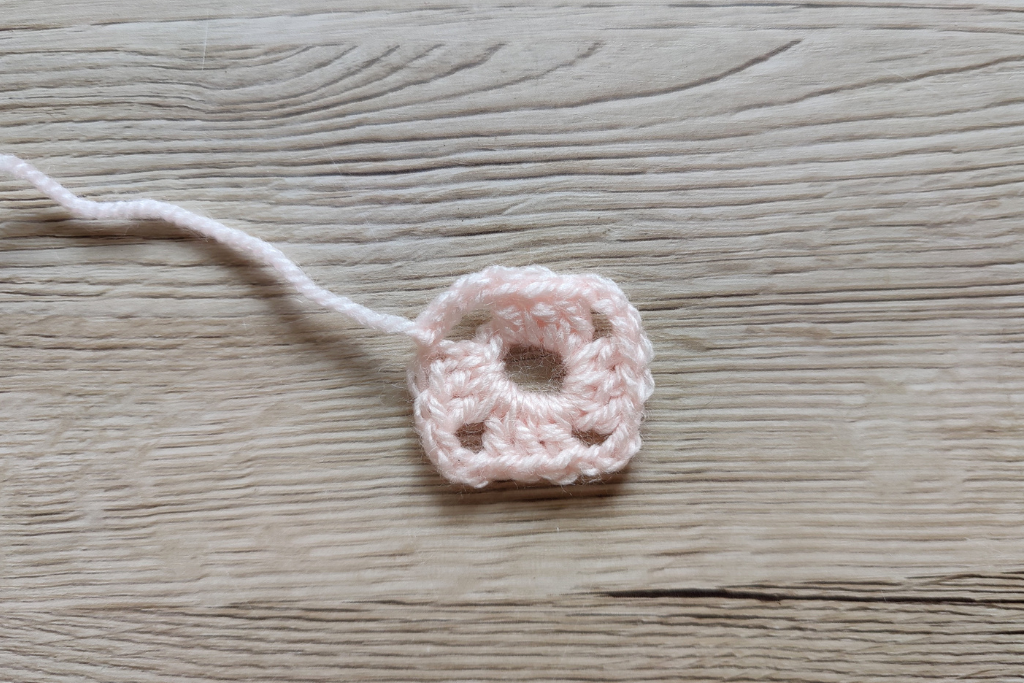
2nd round: join 2nd colour Into one of the chain spaces. Make 2 ch, then 2 tr into same ch sp, then 1 ch. Into the next ch sp. The next chain space is a corner, so 3 tr, 3 ch, 3 tr, 1 ch into that space.
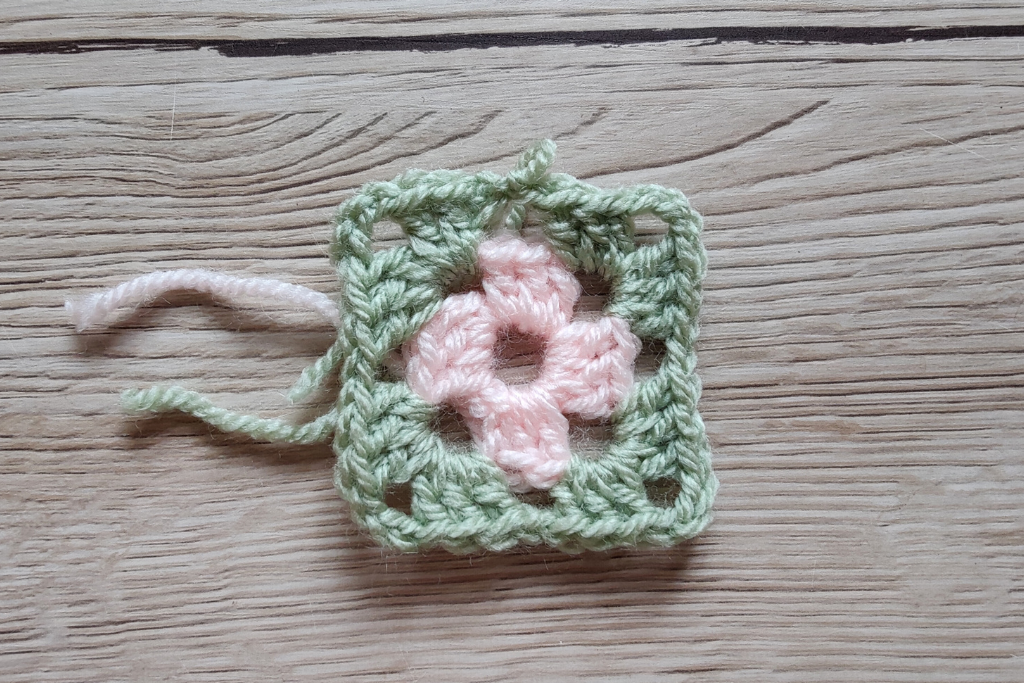
The easiest way to explain making the granny squares is that each cluster is 3 trebles worked into one chain space. Each cluster is linked by 1 chain. The exception is the corners. To form the corners, you will need 2 clusters of 3 trebles, joined by 3 chains.
3rd and 4th rounds: These are worked in the same way. The new cluster at the beginning of each round is ss to join the new colour, 2 chains, then 2 trebles. All the other clusters are 3 trebles. Each cluster is joined with 1 chain, the exception being the corner, which requires 3 chains.
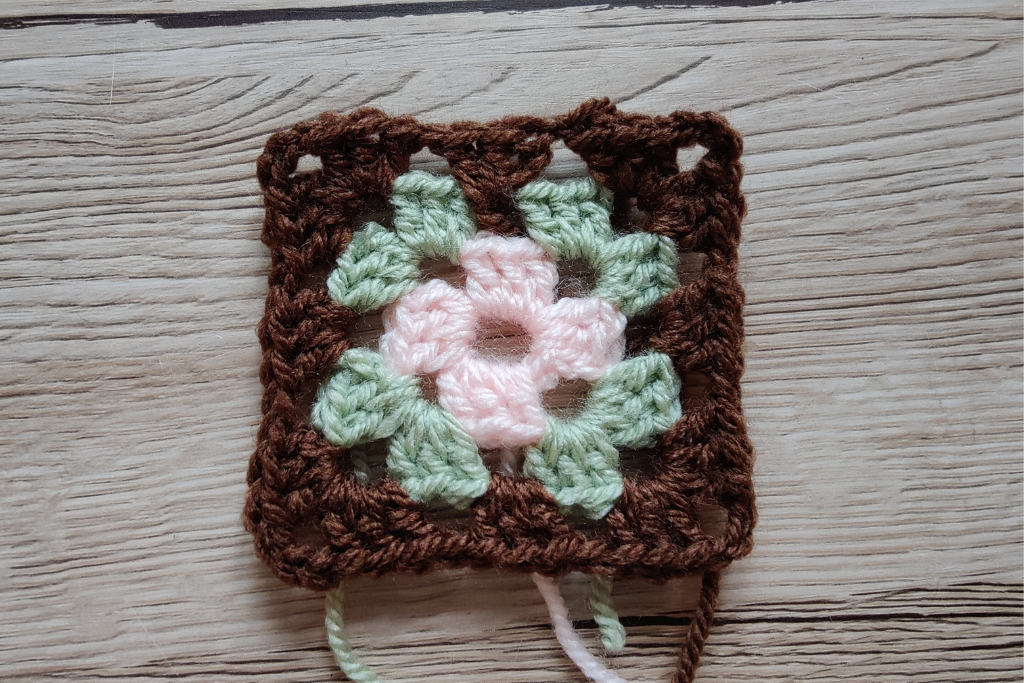
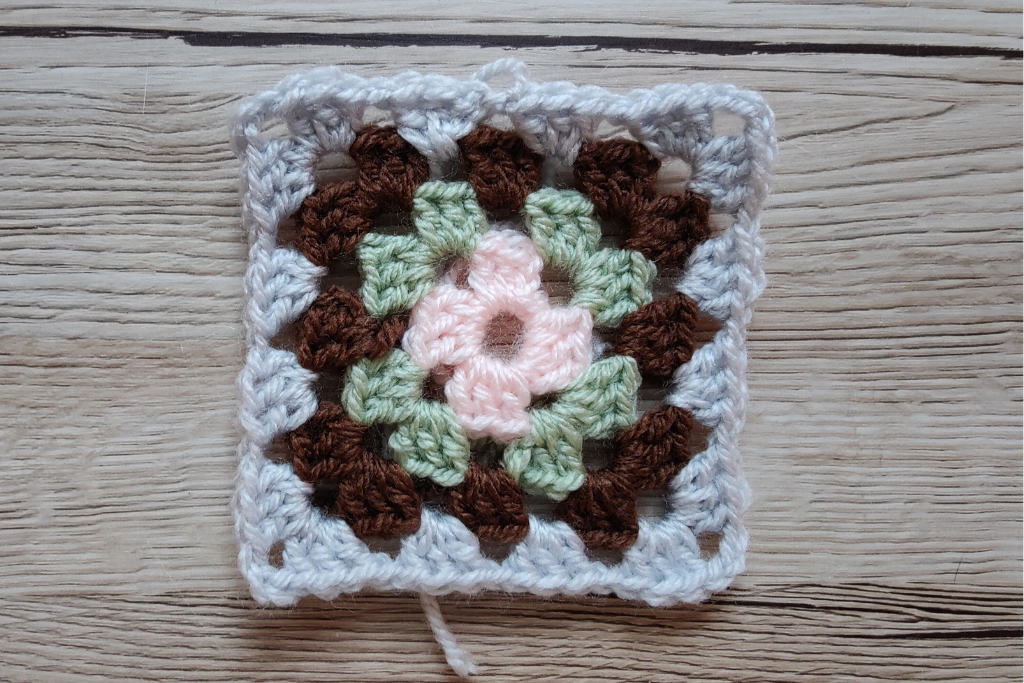
I made mine with 4 rounds. You might like to experiment with more or less.


Leave a Reply