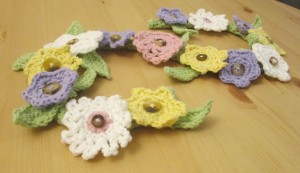
I have been crocheting a lot of flowers recently, partly because I like them and partly because I wanted to crochet a flower garland. I like winter but I’m a bit bored of it now. It takes too long to get myself and the boys bundled into coats and hats and stuff whenever we need to go out and bus stops are chilly places. I spend a lot of time waiting at bus stops.
So here is a spring garland to tide us over until the real thing arrives hopefully in a couple of weeks!
To make the garland, I used 14 crocheted flowers and 12 leaves. With one exception, all the flowers and the leaves I have posted about previously and the tutorials for them are here:
Crocheted Flower Hair Bobble (I just used the flower and not the elastic, obviously!)
Crocheted Flower with Pointed Petals
Crocheted Flower with Lace Petals
Crocheted Flower with Contrasting Centre
If you prefer, text only pdf versions can be downloaded here:
Crocheted Flower Hair Bobble
Crocheted Flower with Pointed Petals
Crocheted Flower with Lacy Petals pdf
Crocheted Flower with Contrasting Centre
Also the pdf for the pink lace flower can be downloaded here: Pink Crocheted Lace Flower
 How to Crochet a Flower Garland
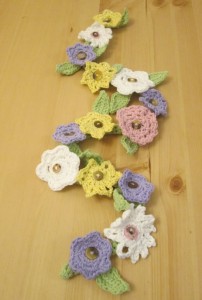
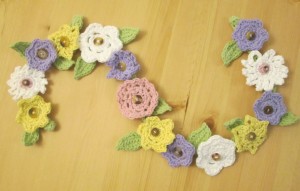
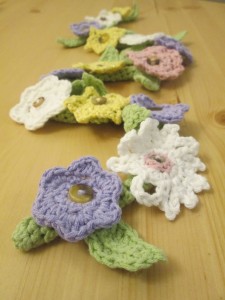
1. Make the flowers and leaves. I made 6 of the hair bobble kind, 2 white and 4 purple (the white ones used the same pattern but the yarn was thicker so they turned out larger), 3 with lace petals, 1 purple and 2 yellow, 2 with pointed petals in yellow, 2 with contrasting centres and 1 pink lace flower.
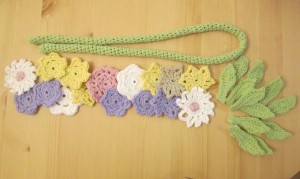
2. To join the flowers together, I made 72 cm of cord. I didn’t plan to make it 72 cm long, I just kept going until it looked long enough and measured it afterwards!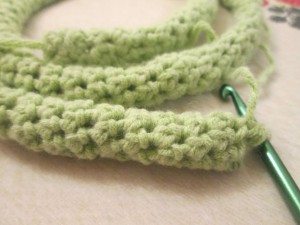
Here is how I made the cord:
4 ch, join with ss.
6 dc into ring. Join with ss.
1 ch, then *dc into next stitch* until the cord is long enough! Don’t join each round with a ss, just keep going round in a spiral.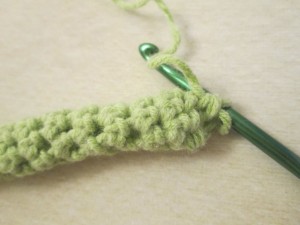
Sew round the end of the cord and pull tight. Fasten off and weave in ends.
3. Next, arrange the flowers how you want them. I took a photo at this point to help remember the order.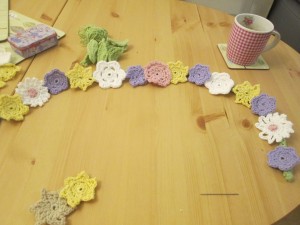
4. Tuck the leaves in behind the flowers and take another photo.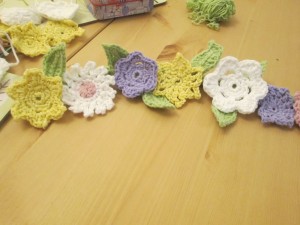
5. To attach the flowers and the leaves to the cord, I sewed a button to the middle of each flower, sewing through the leaves and the cord at the same time.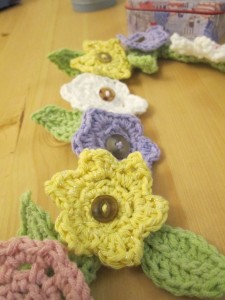
I didn’t add any ties to my crocheted flower garland but if you wanted to you could crochet some ties, or sew on some elastic or ribbon.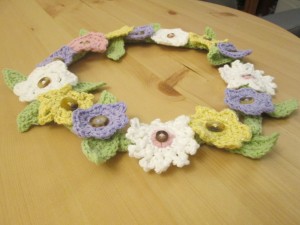
 I’m participating in some linky parties. To see which ones, the list is here!




How gorgeous! Sharing! Thanks for sharing at Totally Terrific Tuesday last week! Can’t wait to see what you have been working on this week!
Thanks Sharon 🙂
It’s so cute, what a lovely idea! x
Thanks Emma 🙂
A wonderful tutorial and so clear thank you
Thanks Caroline 🙂
This is very pretty a great way to start thinking about the Spring hopefully on it’s way soon. Thanks for sharing how to make it. Another one for the ‘to do’ list 🙂
I’m glad you like it!
How lovely and Spring-like. I can’t wait for the sun to start chasing away the dark clouds.
It hopefully won’t be too long 🙂
This is really pretty. What hook and weight of yarn did you use to make the cord?
For the whole thing I used a 4 mm hook and double knit. If you’re American that might be worsted 🙂
This is so pretty, I must have another go at crocheting and see if I can make something as lovely as this. Xx
It’s quite easy Suze, the flowers all start in the same way 🙂
Your garland is so cheerful! I’m going to have to make a crochet garland this winter (it’s summer here at the moment)
I’d love to see it if you do!